
Guide: Heading: EAST Set Build Out and Light Set-up

Disclosure: This post contains gifted product from Aputure, as well as affiliate links. By purchasing through these links you are directly supporting our blog, youtube channel, and us as creators. Thank you!
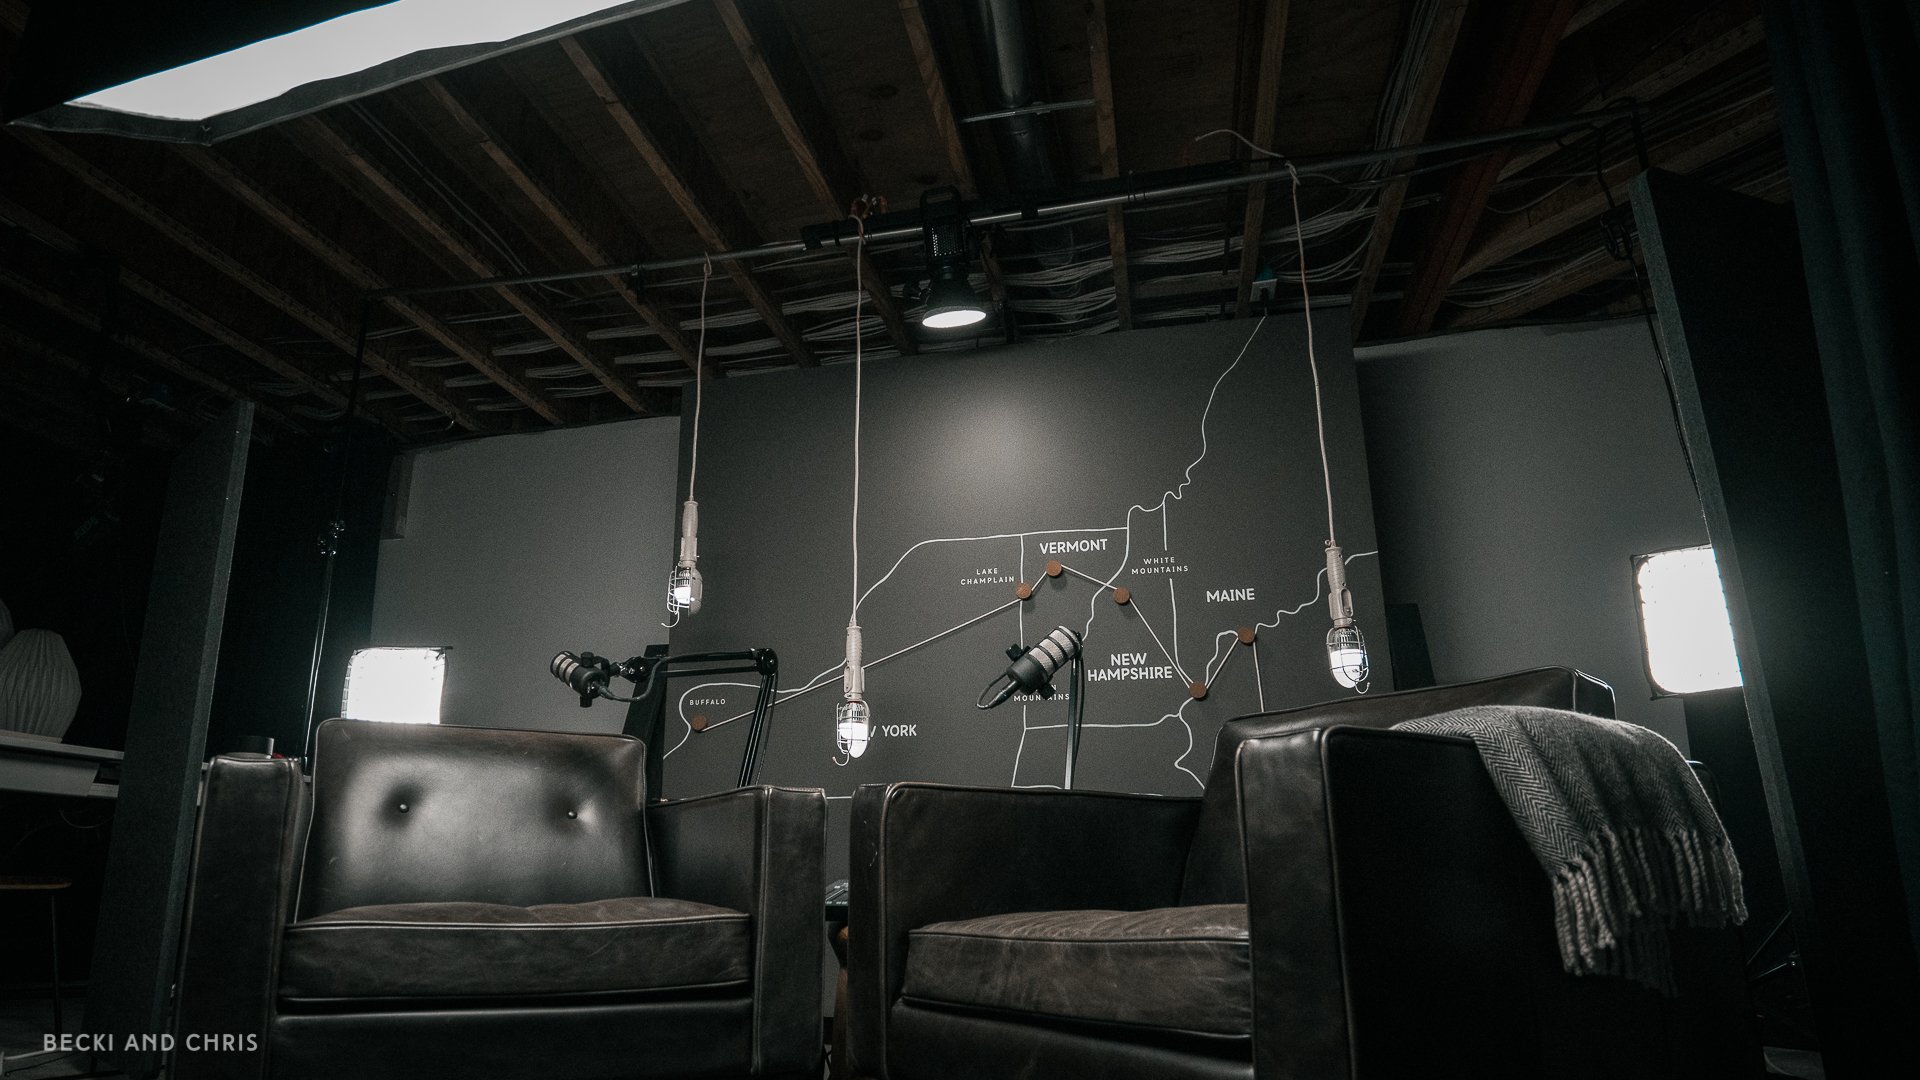
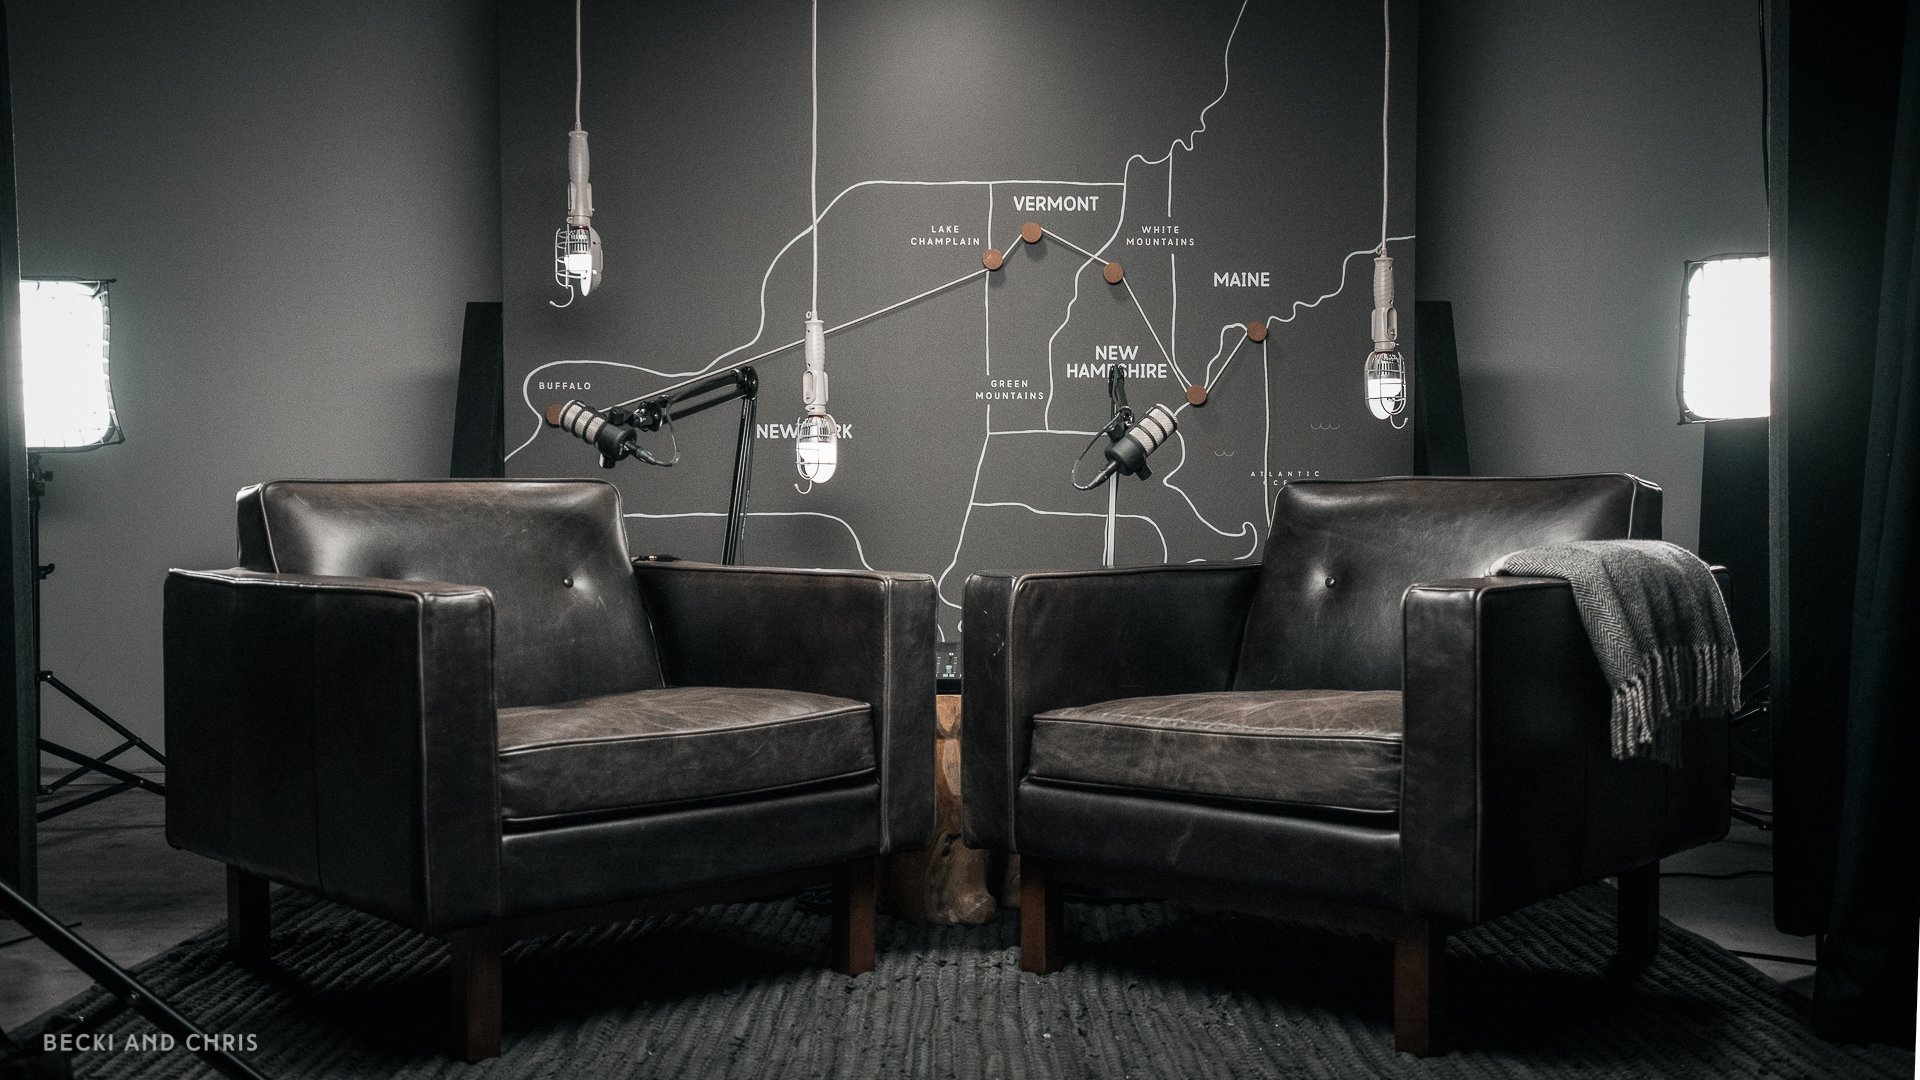
When we were dreaming up the concept for our recent helicopter series Heading: EAST, we wanted to do something a little different and go a little overboard with the extra content related to the series. Originally we built out this map wall to showcase our proposed route in episode one of the series, but we thought it would make a fun branded set for the rest of the videos as well.

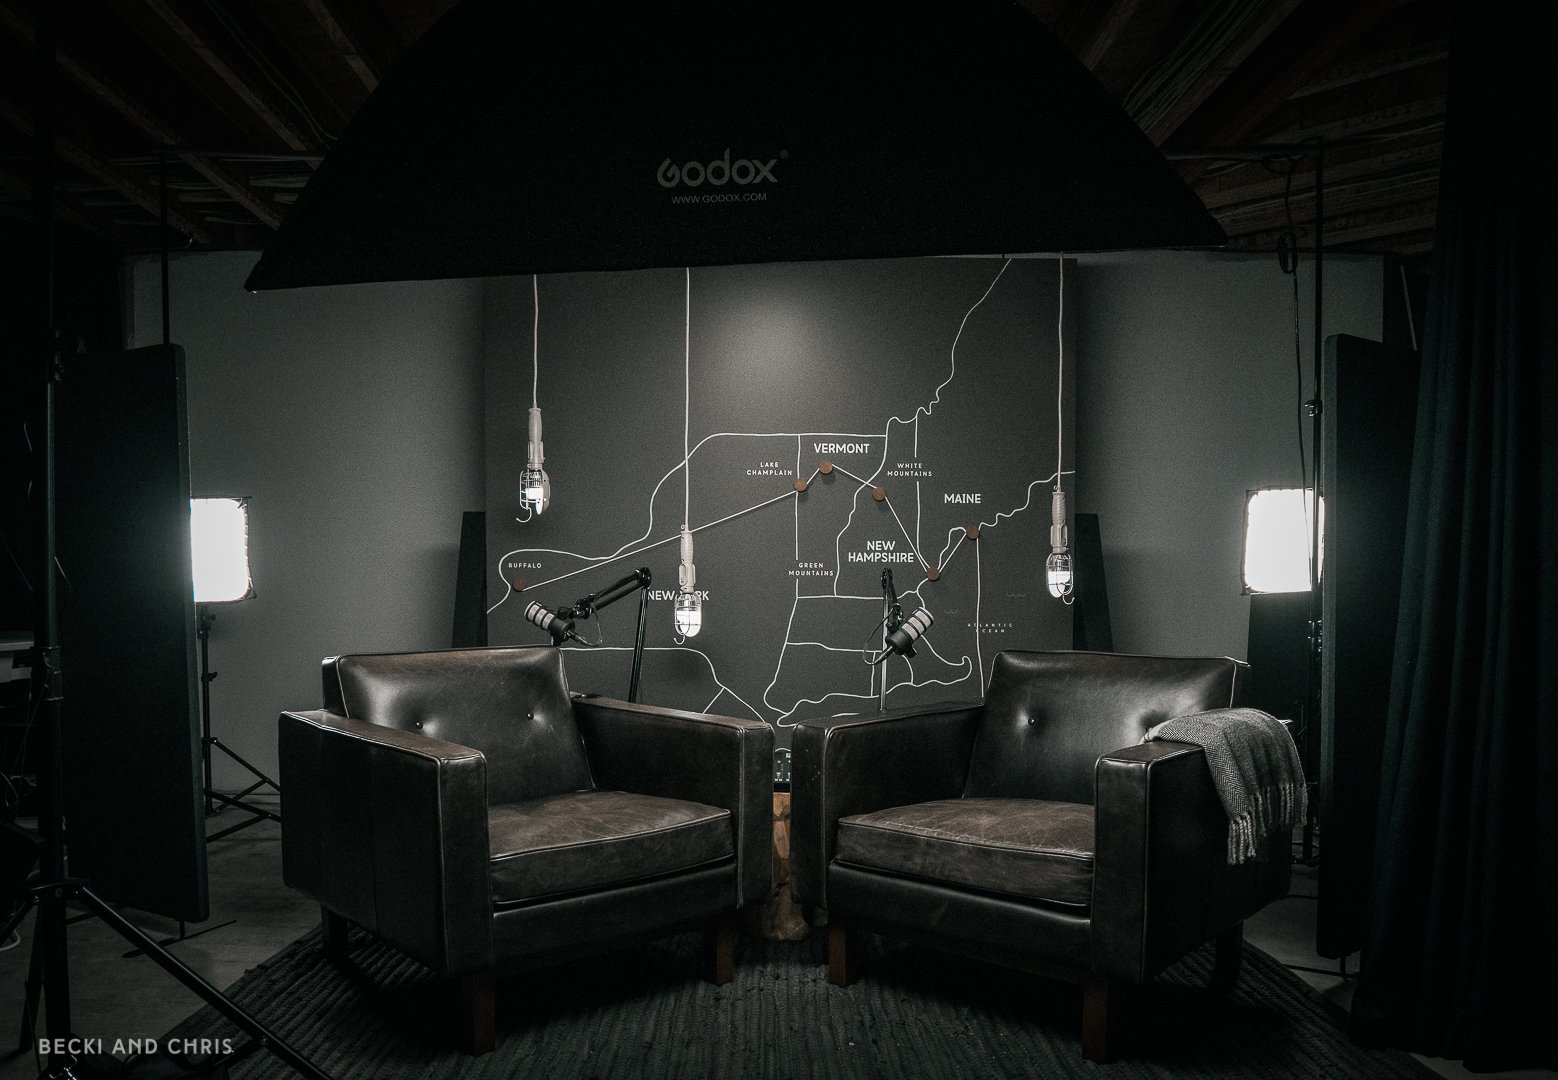
Once we shot the map wall portion of the series, we continued on building out and lighting this custom set so we could have a cohesive look and feel through out all of the Heading: EAST videos.
A few weeks ago we showed you how to build out this movable studio wall, you can find the full tutorial here. The purpose of this wall was to do exactly what we did with it here, use it as a custom backdrop for different projects.
Below is a list of gear we used to build out the set, some images of the finished product as well as the final lighting scheme!
Watch us build this set from scratch:
The gear
Felt Acoustic Divider (we used these as flags)
10' Air-Cushioned Light Stand (Would recommend the 13’ for this set up)
Portable Backdrop Stand
Trouble Lights
The Design
I had completed the branding for Heading: EAST before building out the set. This gave me some direction when it came to deciding how the set would look and feel. I had a color scheme picked which made deciding what colors to use in the space easy.
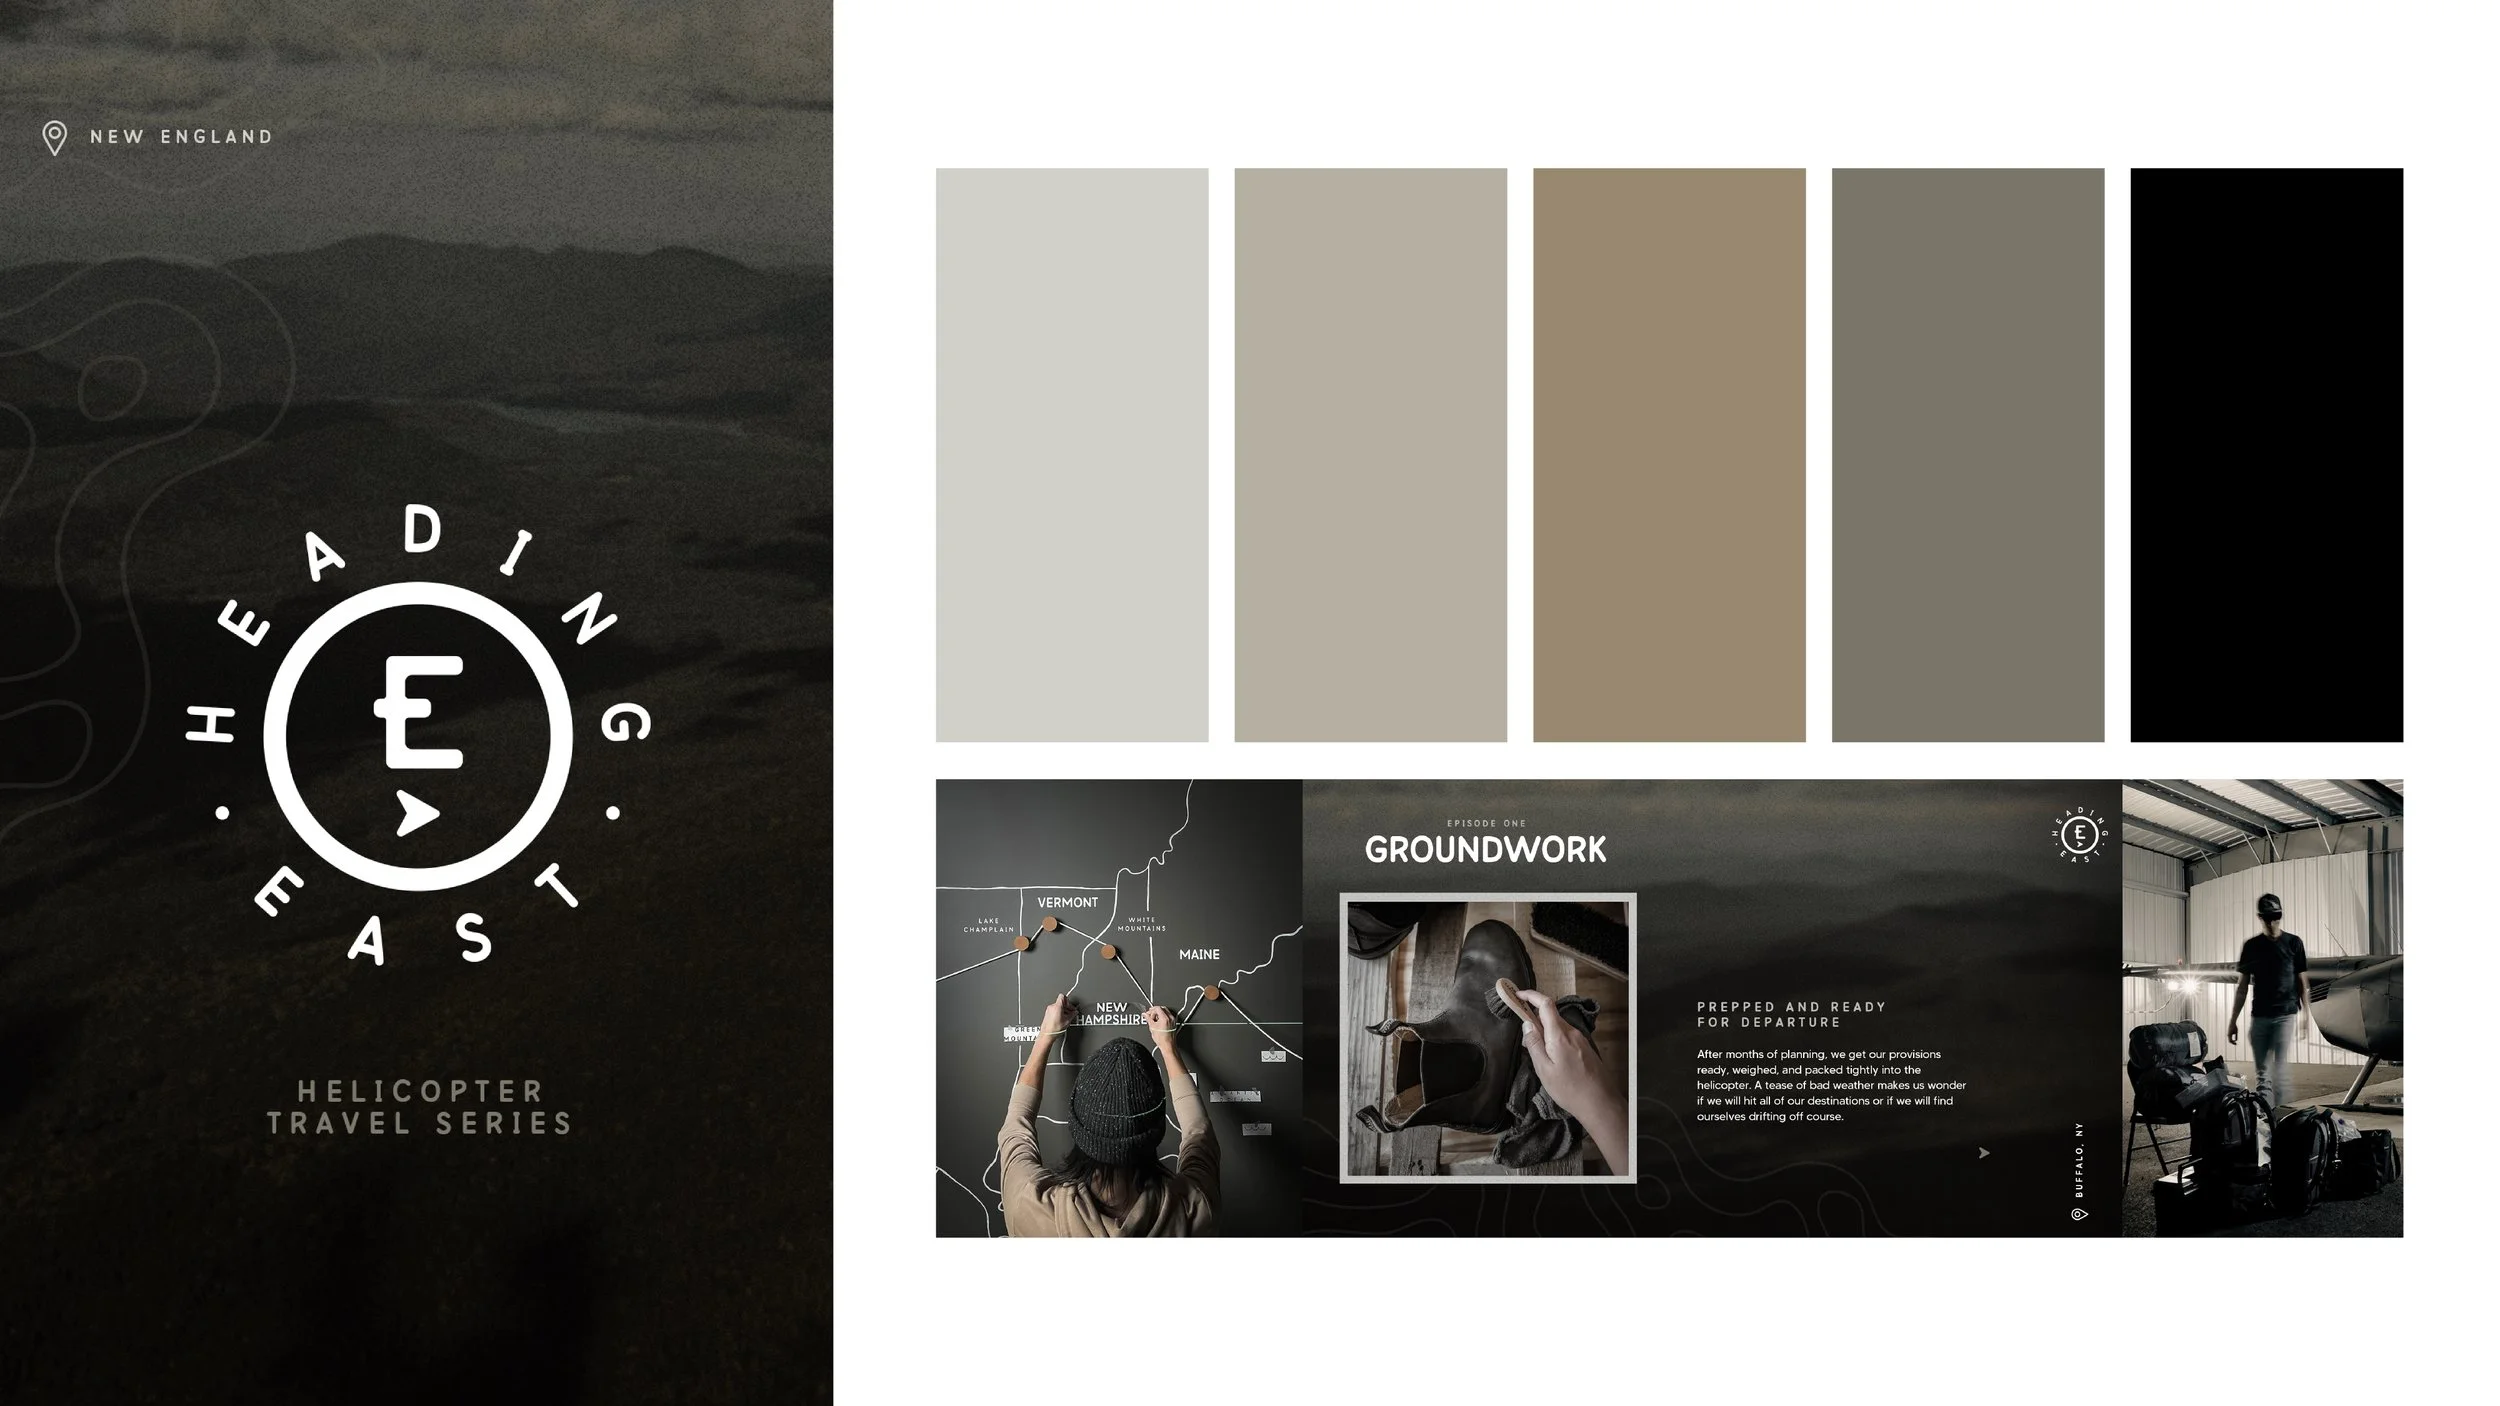
Some screenshots from our social media assets from the series.
I did a quick mock-up in photoshop to plot out where I wanted my mural to be on the wall. This gave me a color map for the vinyl, hooks, and rope.
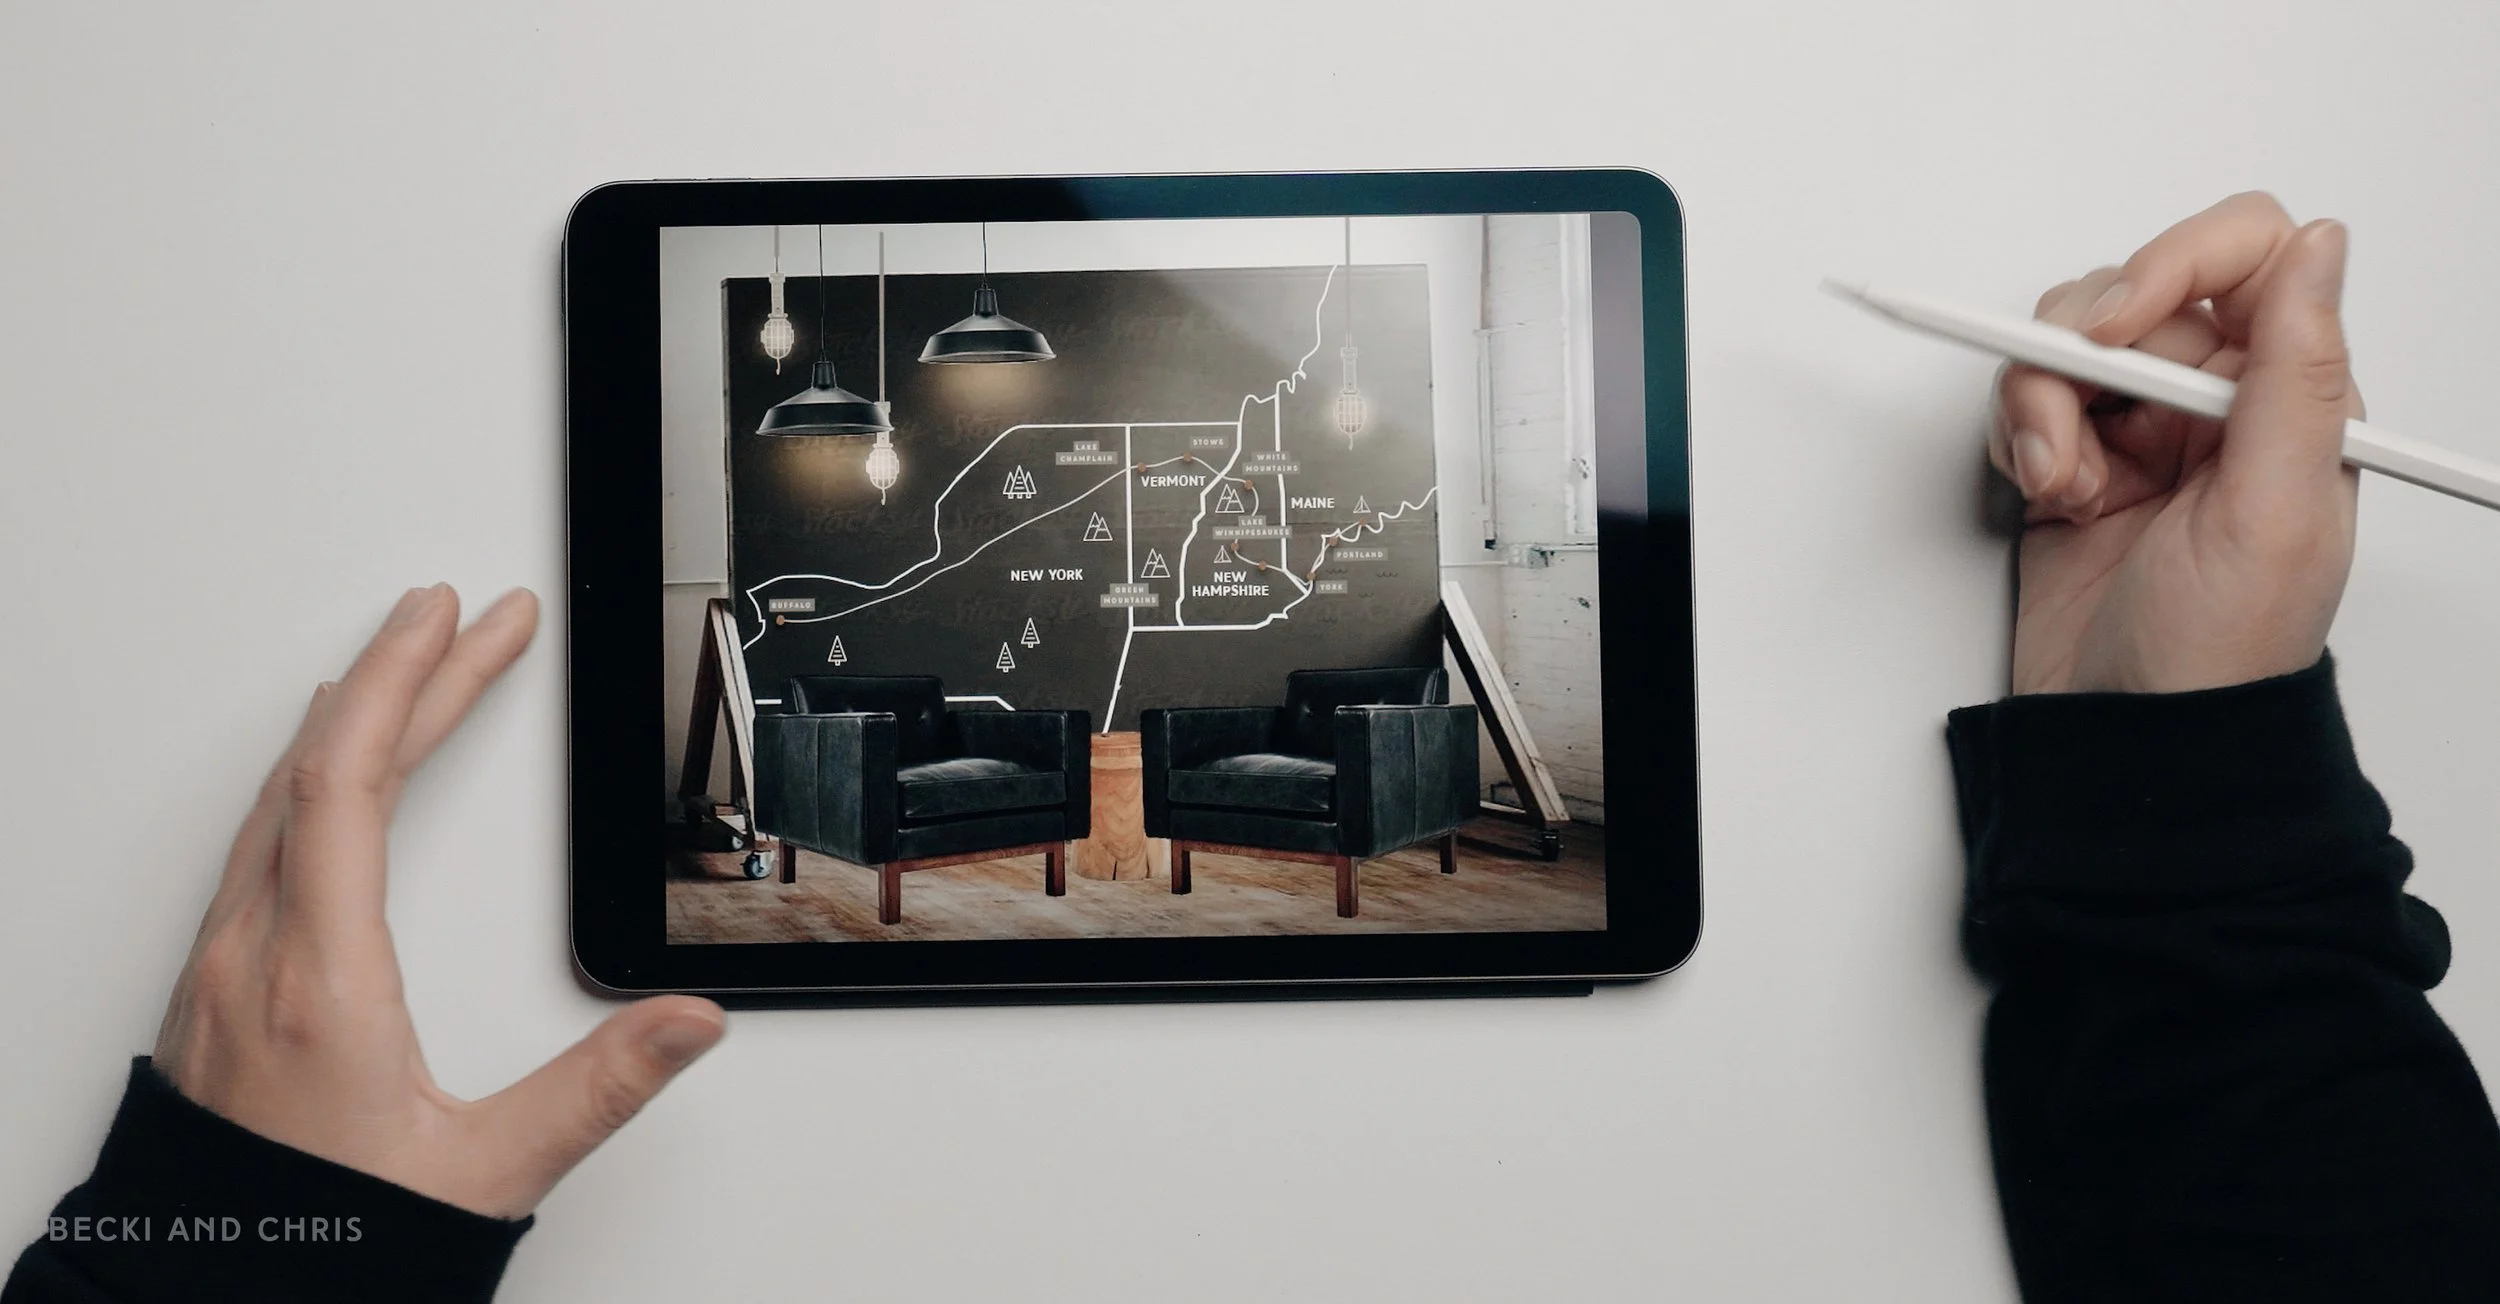

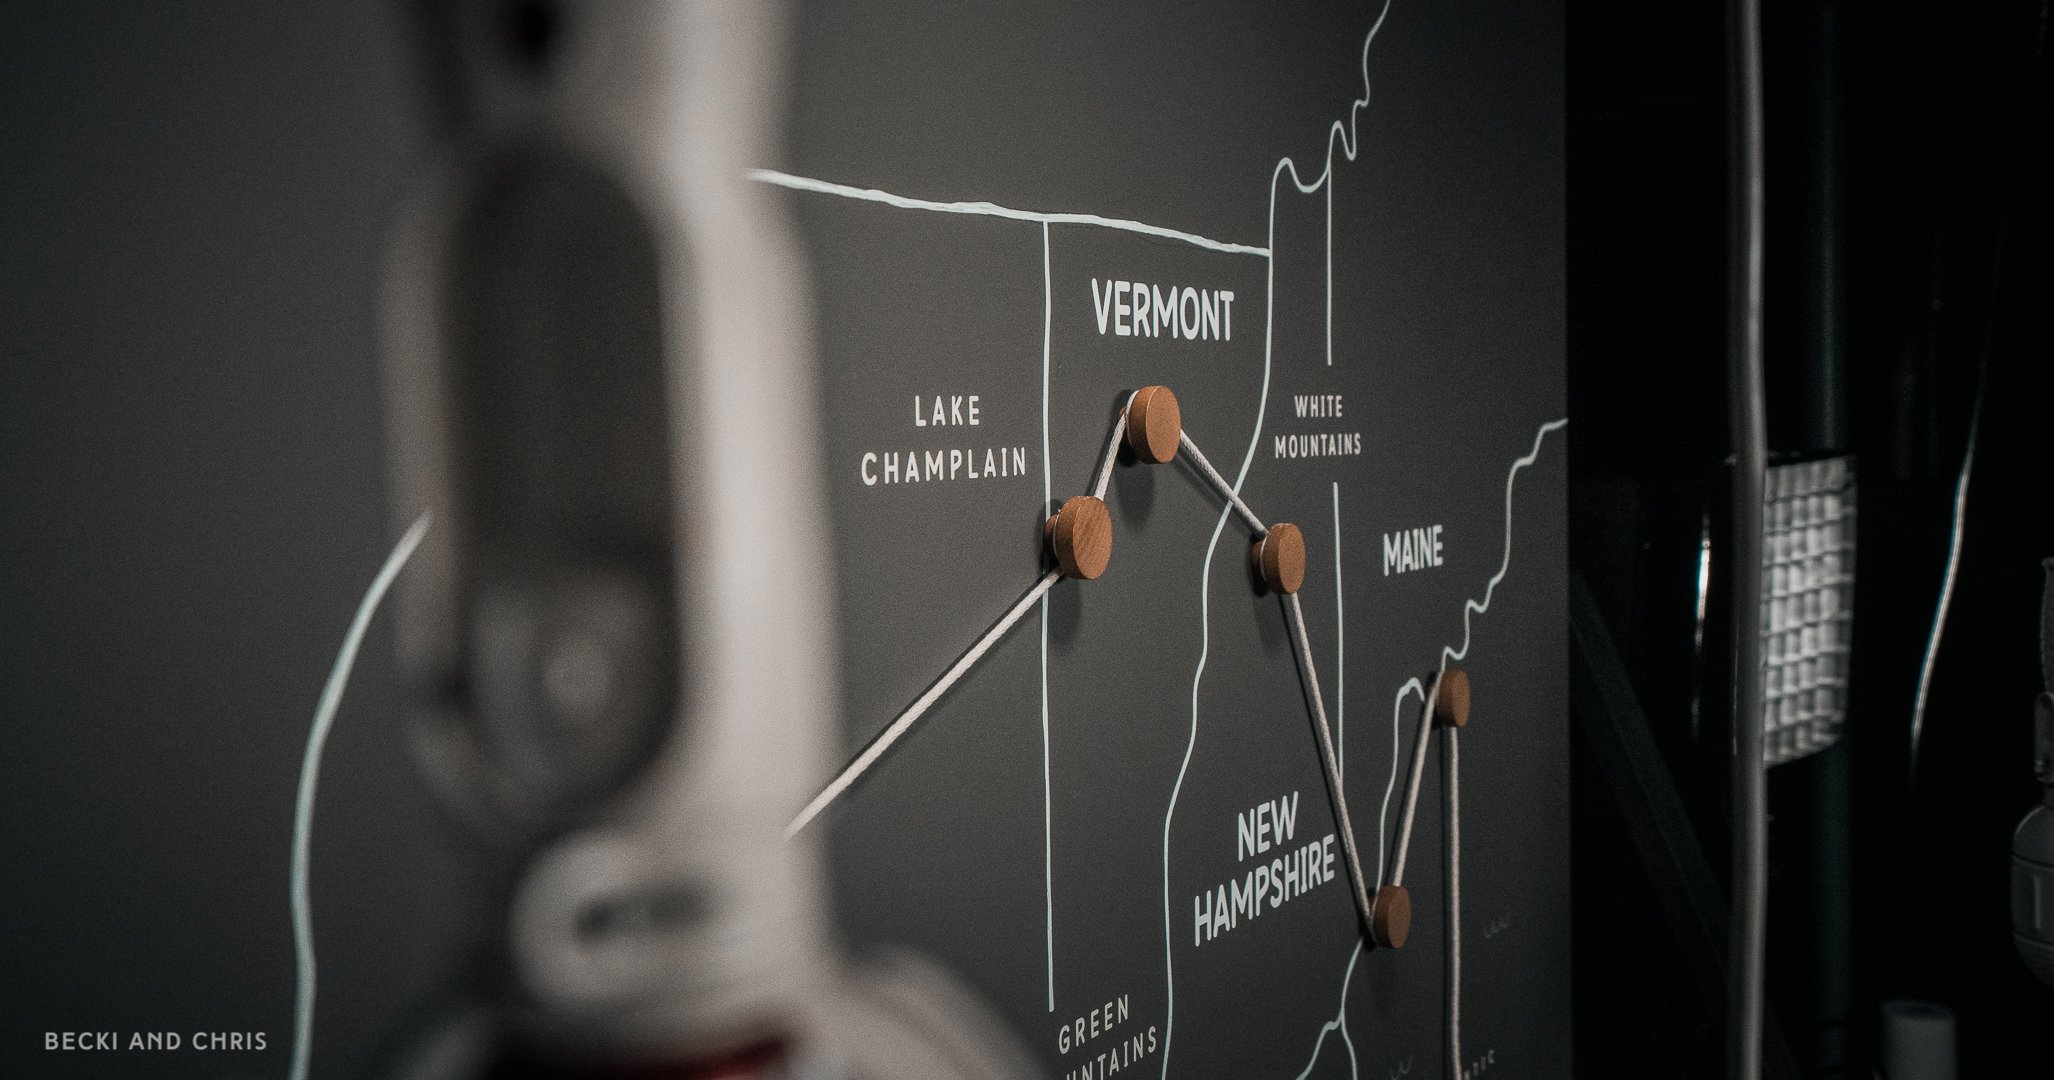
Once I finalized the map I resized it to the proper scale and broke it down into two layers. The first was the map outline which would be traced on the wall with pencil and re-traced with a white chalk marker. The other was the route and location titles which we could use as reference to place the removable vinyl letters.


The Layout
Once we had the mural painted and all the vinyl in place, it was time for lighting. We set our key-light or our main light first and worked our way around the set. In our plan, we wanted to have five practical lights in the background of our set which would hang down from the ceiling to give the set some depth. We ended up settling on three lights instead of five. You can see us work through this part of the process here in our video.
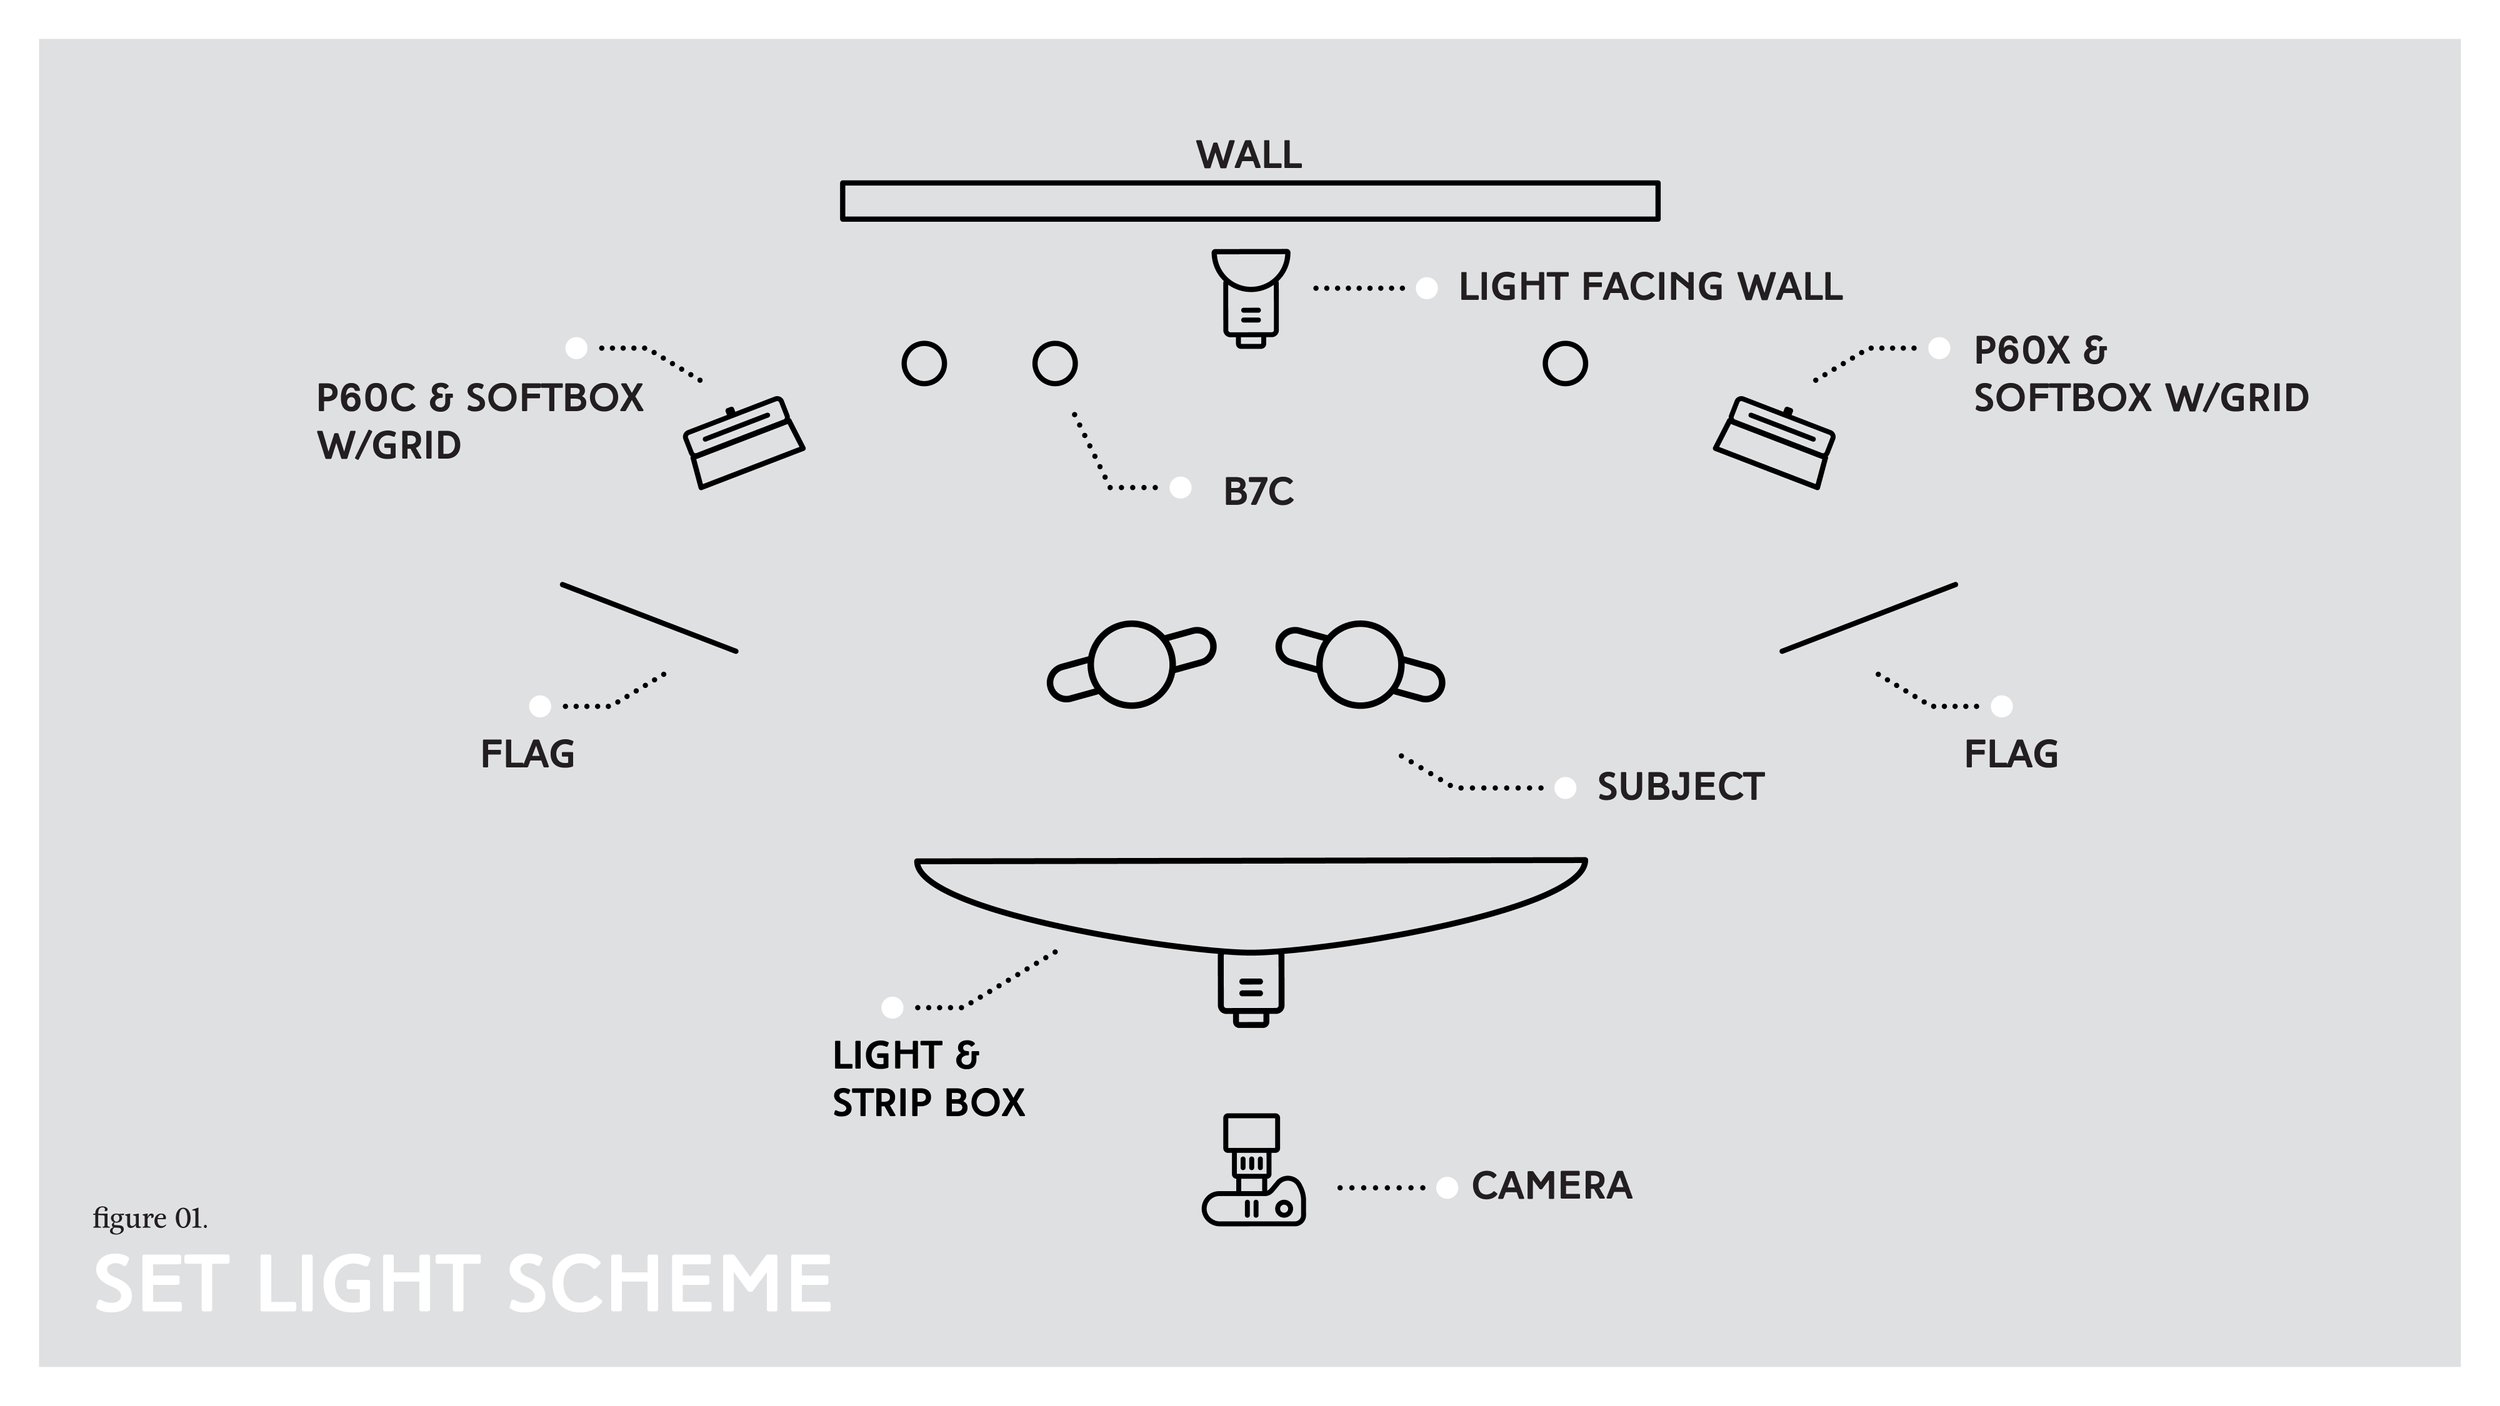
The light diagram
This is a top down diagram to give you an idea where the lights were in relation to the subjects and background.
This was our first time building out a branded set from scratch for a project like this and I must say it was a BLAST to try something new and pull in all of our pillars: home, visuals, and travel, into one large project.
See the full video tutorial here:
Watch all 5 episodes of Heading: EAST along side 6 of our extra posts which breaking down gear, behind the scenes happenings, and how we planned this entire series.
BECKI AND CHRIS
Instagram: https://www.instagram.com/beckiandchris
YouTube: https://www.youtube.com/c/beckiandchris
Twitter: https://twitter.com/beckiandchris