
DIY Movable Studio Wall Plans

We needed a mobile wall/divider for our basement photo and video studio that would also double as a backdrop! This is a fairly straight forward DIY project that uses standard building materials from the local hardware store.
If you want to watch us make it from start to finish, you can check the video below:
Disclosure: This post contains affiliate links.
By purchasing through our affiliate links, you are directly supporting our blog and us as creators! So thank you!
Tools and Materials
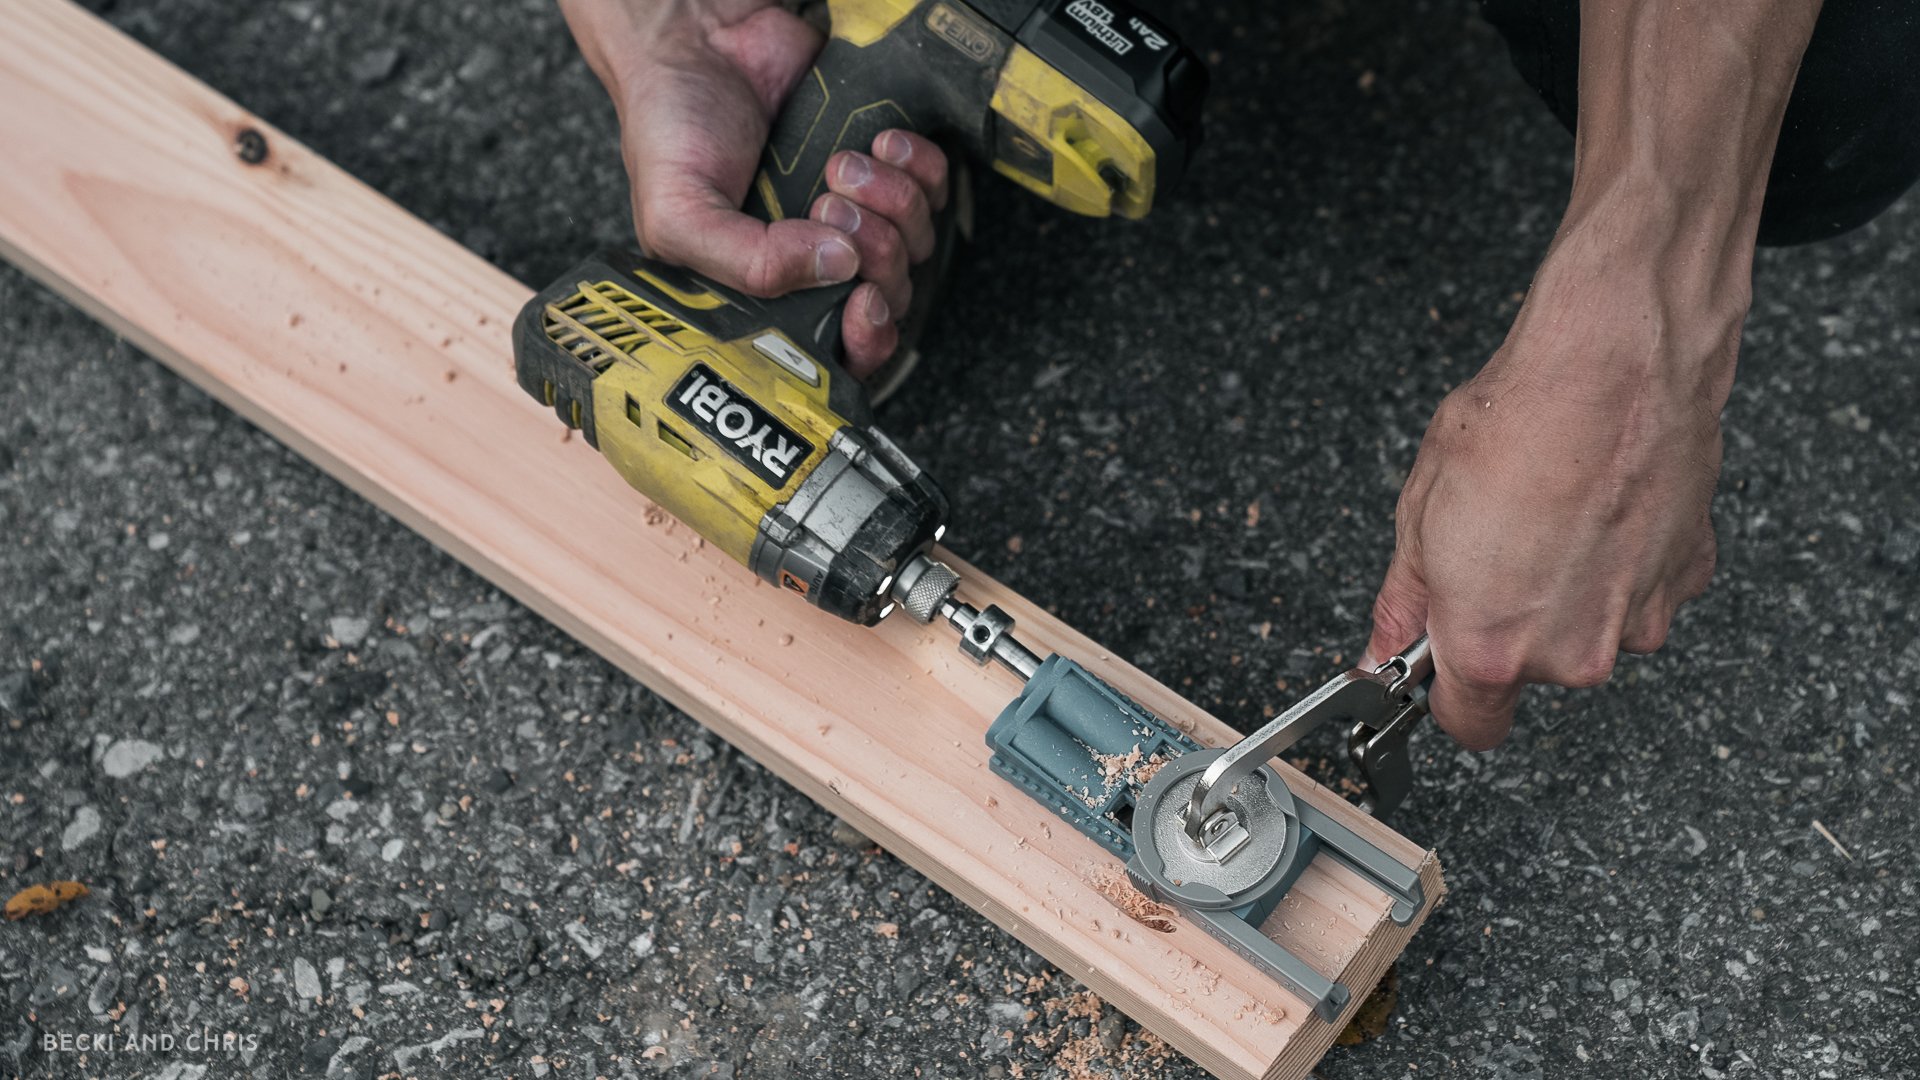
Kreg Pocket Hole Jig and screws (optional)
Kreg Clamps (optional)
Kreg wood plugs (optional)
1/2” drywall (two sheets)
Drywall J bead edging
3” bolt on castors (6 with brakes, 2 without)
Belt sander (optional)
Sand paper (120 grit)
Table saw (or Skil saw + ruler or track saw)
Select 2x4x8 lumber (12)
4’x8’x1/2” OSB (two sheets)
Drywall joint compound
Primer and paint + paint supplies
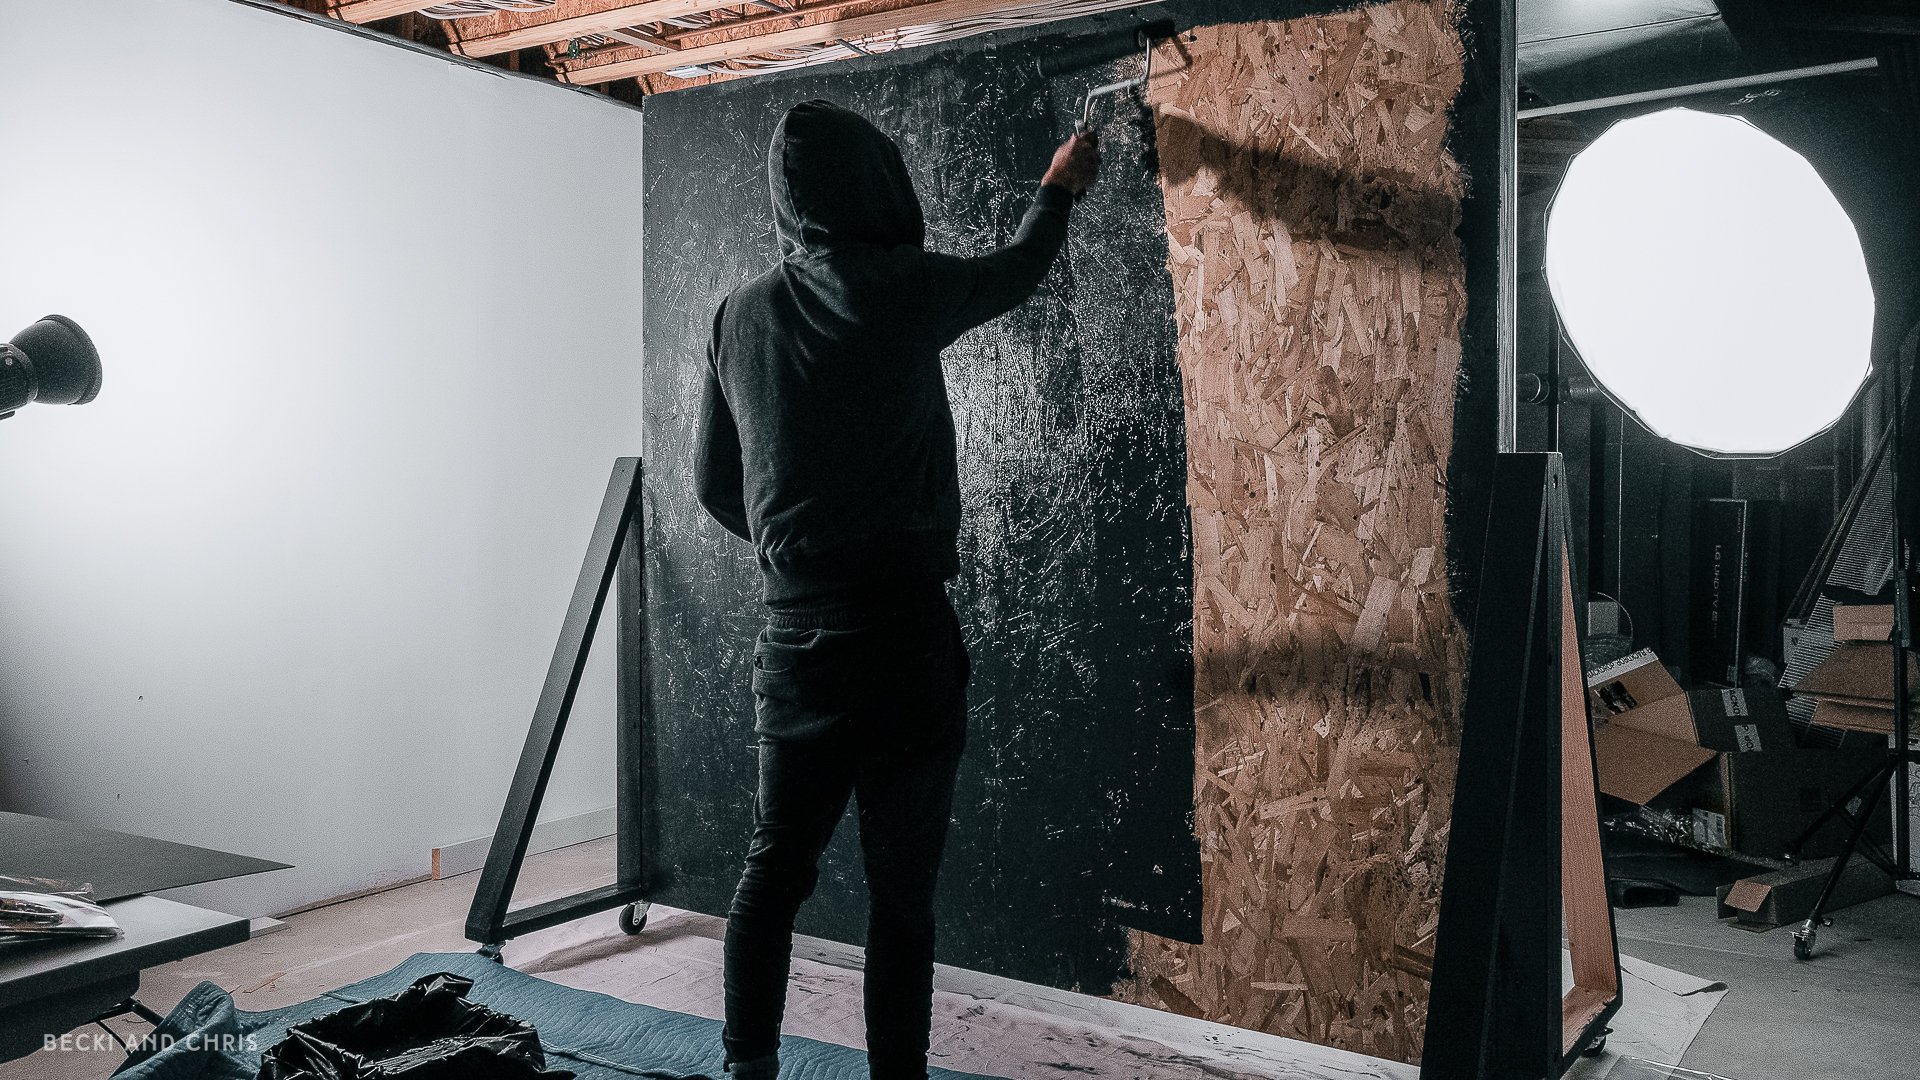
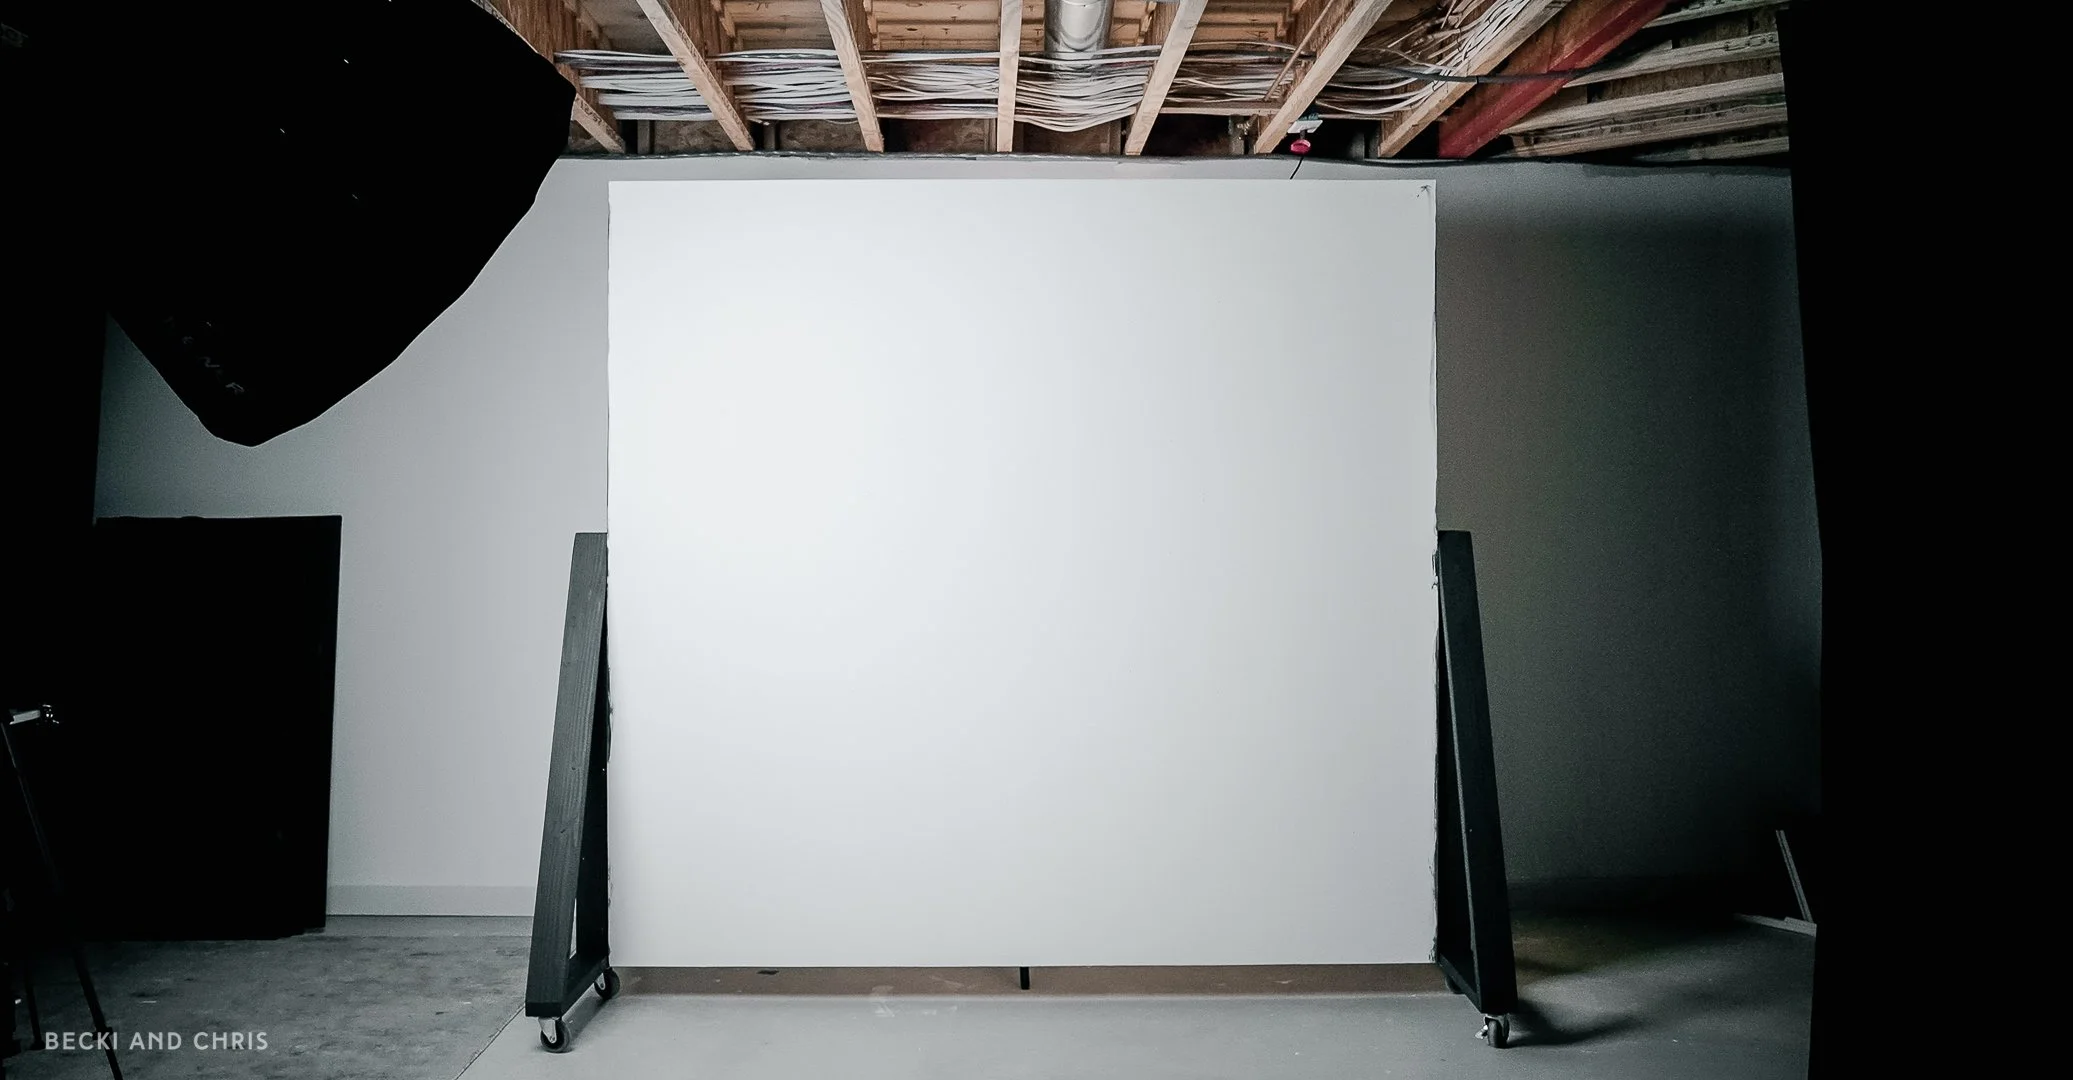
The wall
The dimensions of your wall can be customized; ours was 7’ wide by 6’ 8” tall (not including extra width and height from legs and castors, respectively).
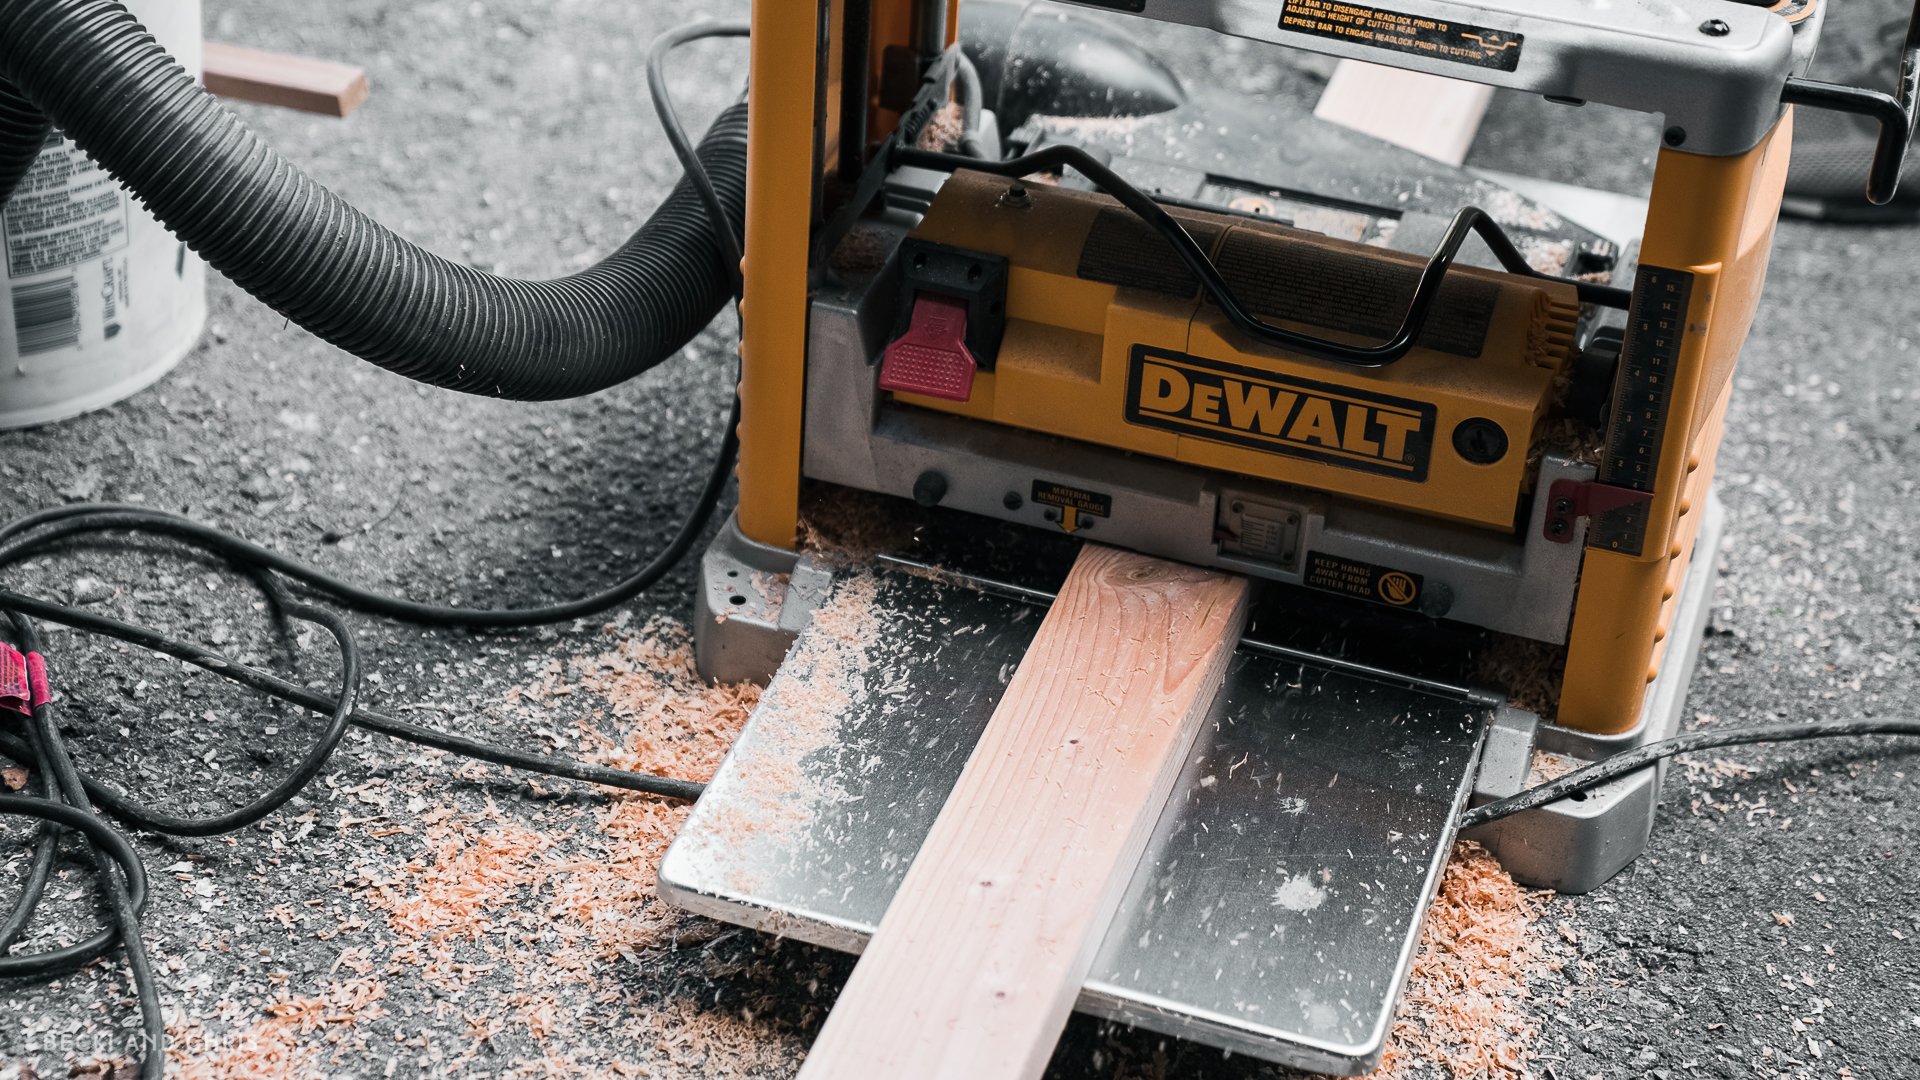
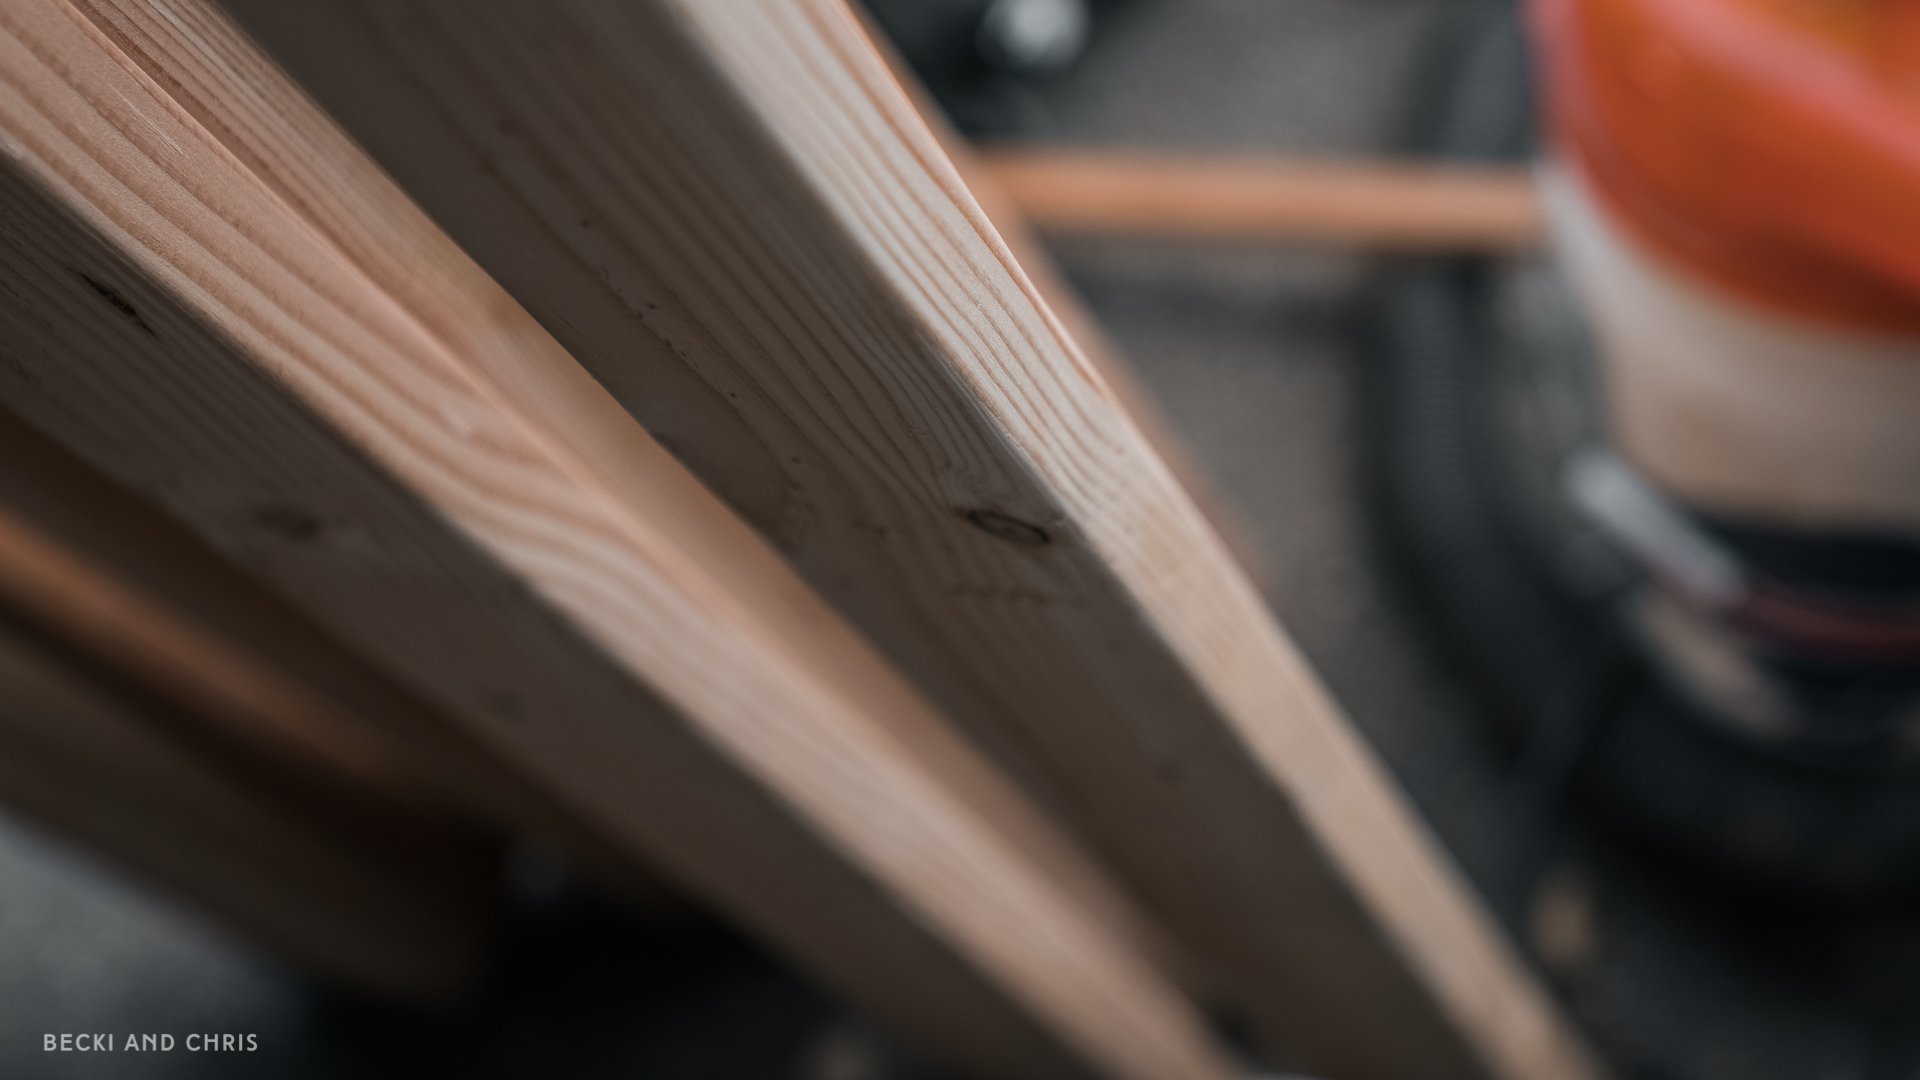
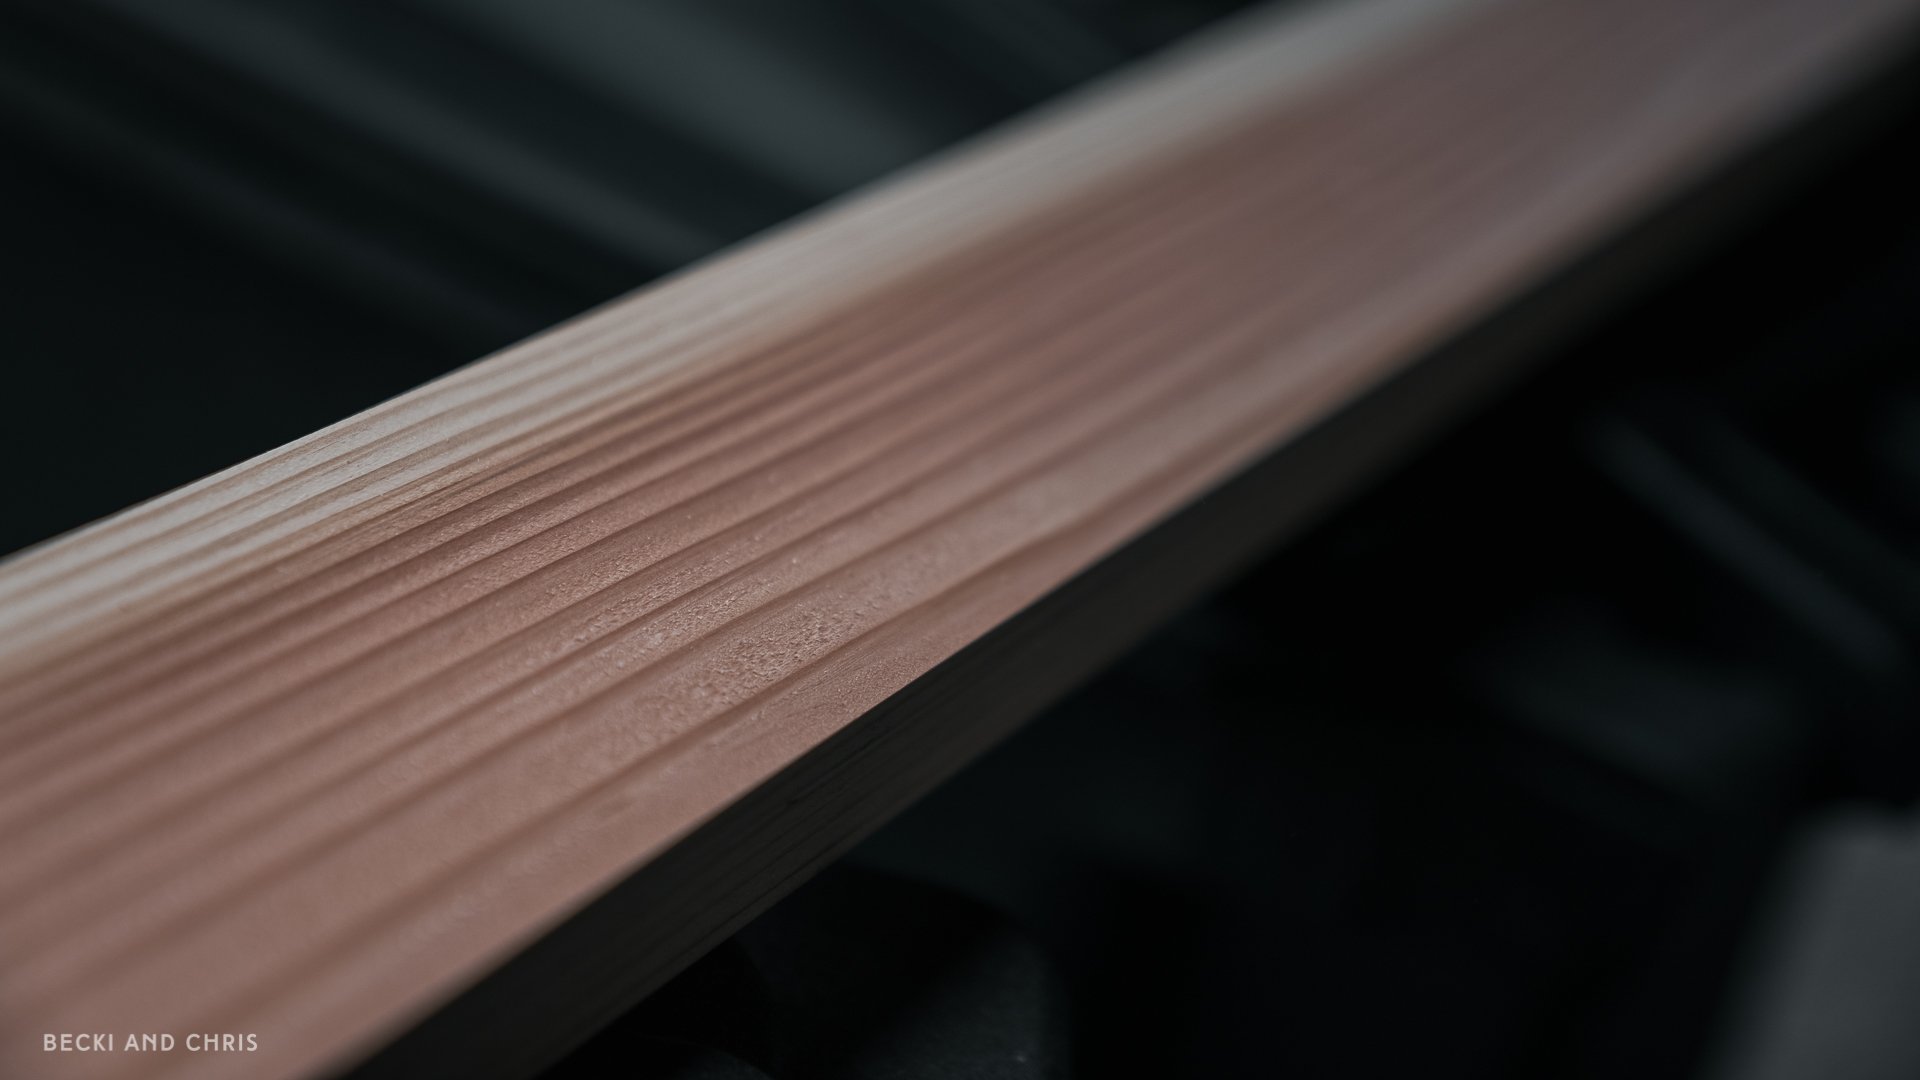
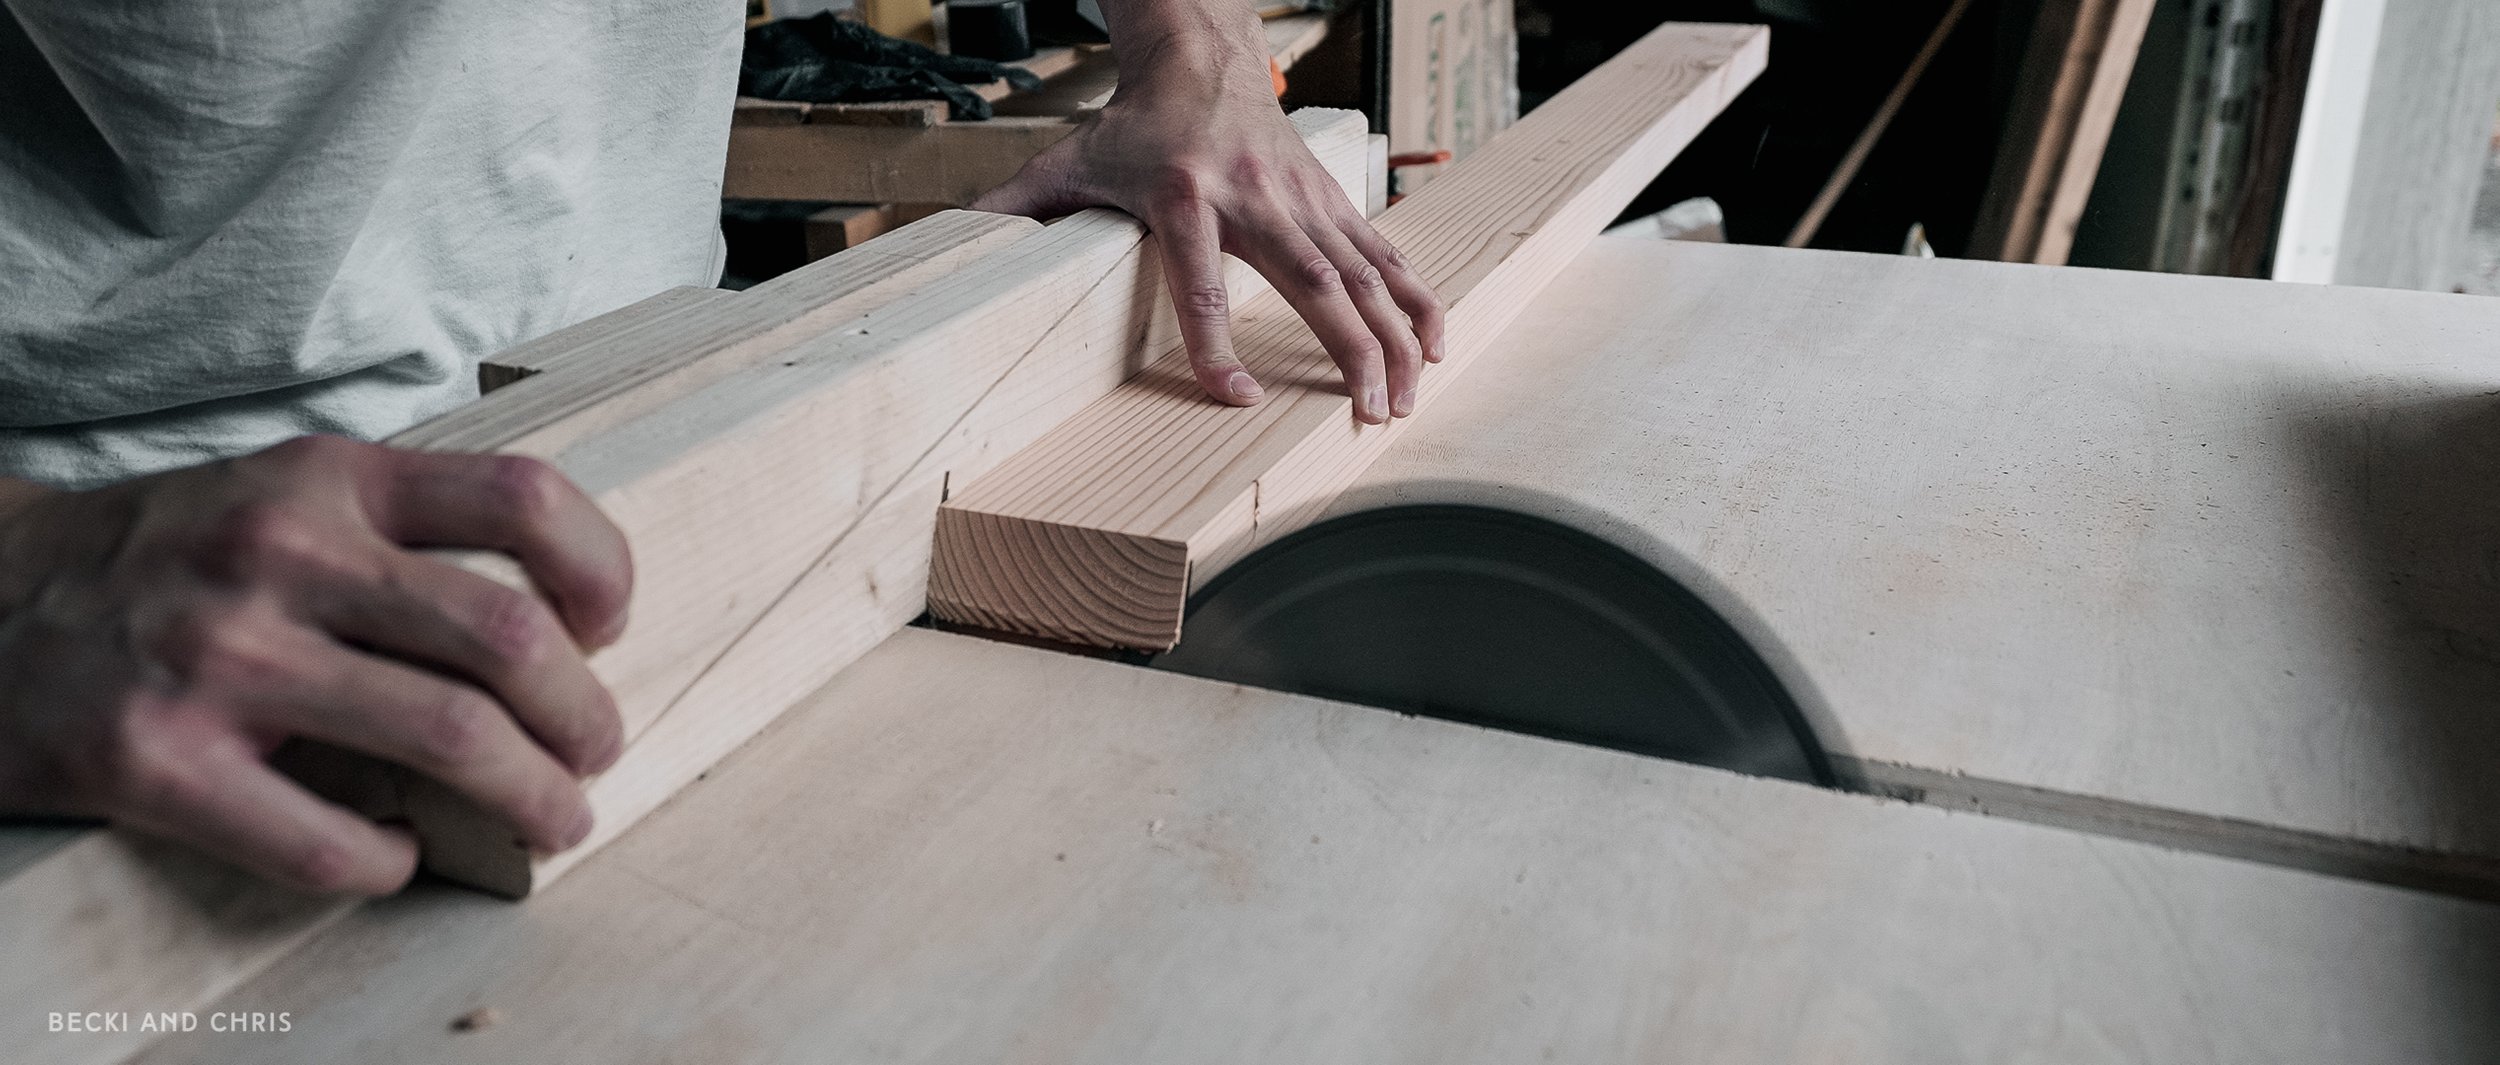
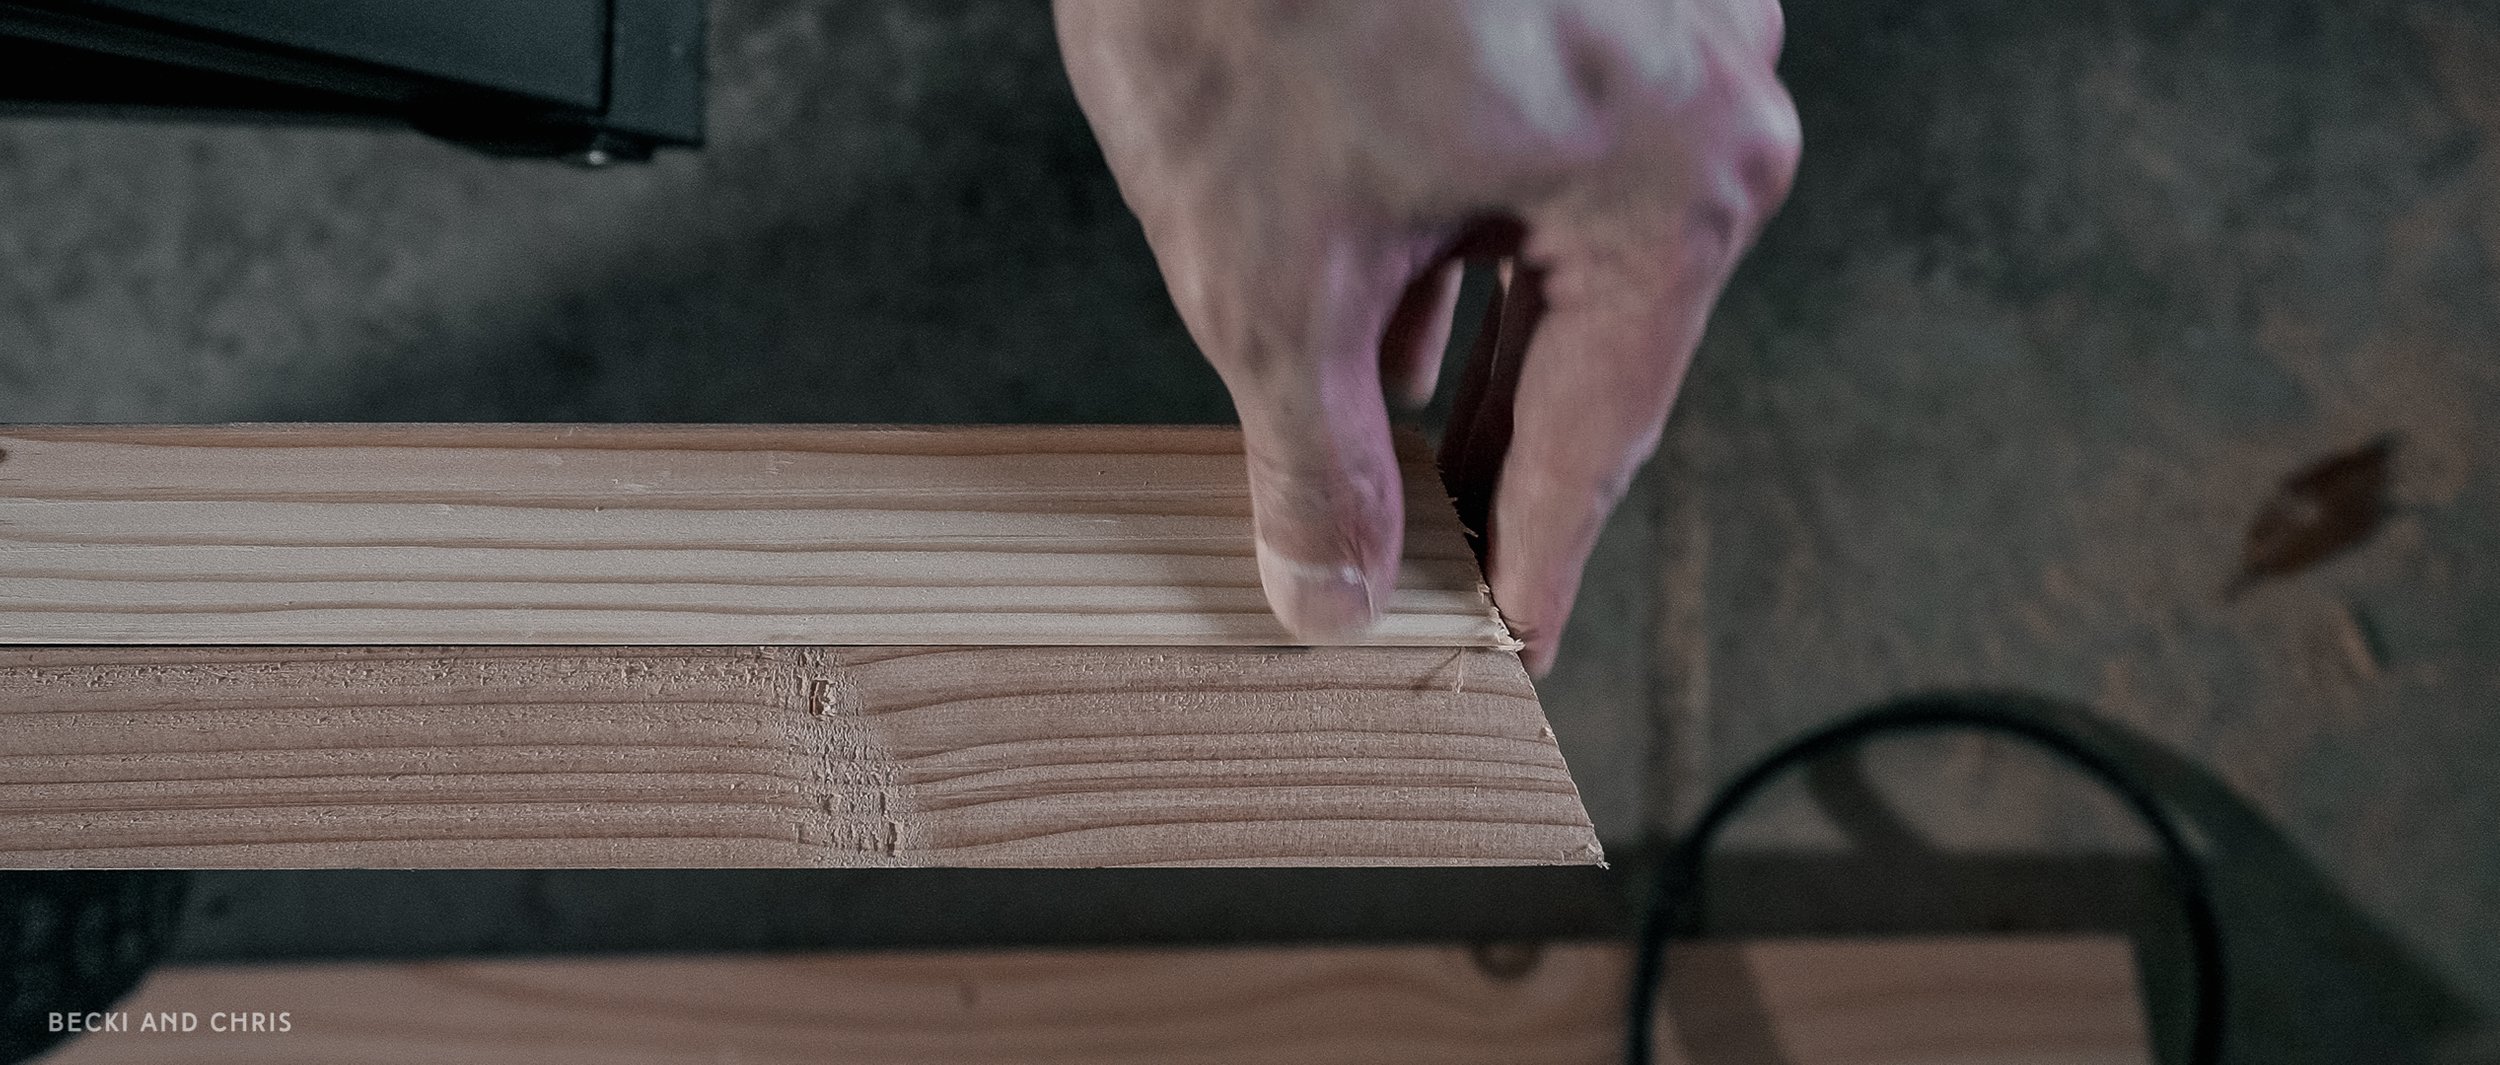
We planed down select 2x4s to get rid of the rounded edges of the rough lumber, but this step isn’t necessary and is a bit over kill. we wanted it to look a little more like a finished furniture piece rather than something cobbled together from unfinished rough lumber. When selecting lumber, look down the barrel of the 2x4s and pick the ones with the least amount of twist/crowning. The straighter the better.
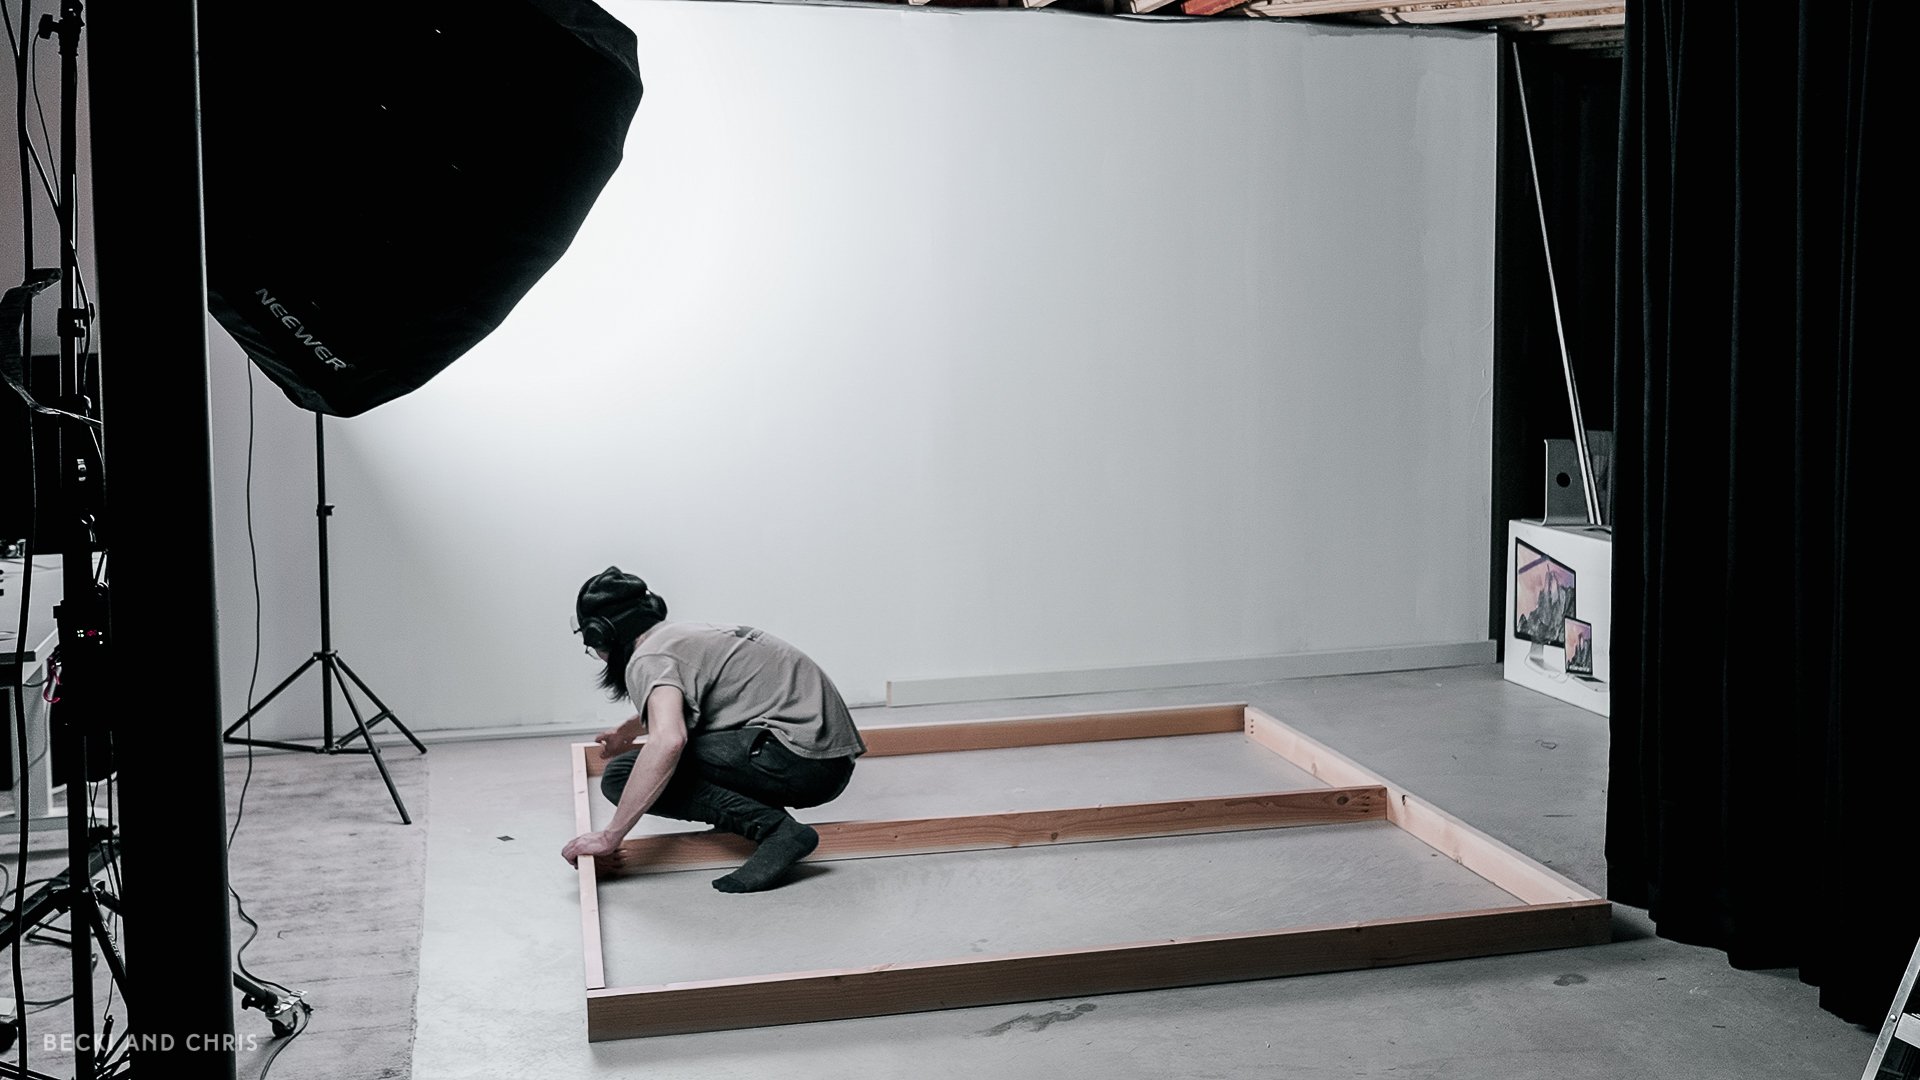
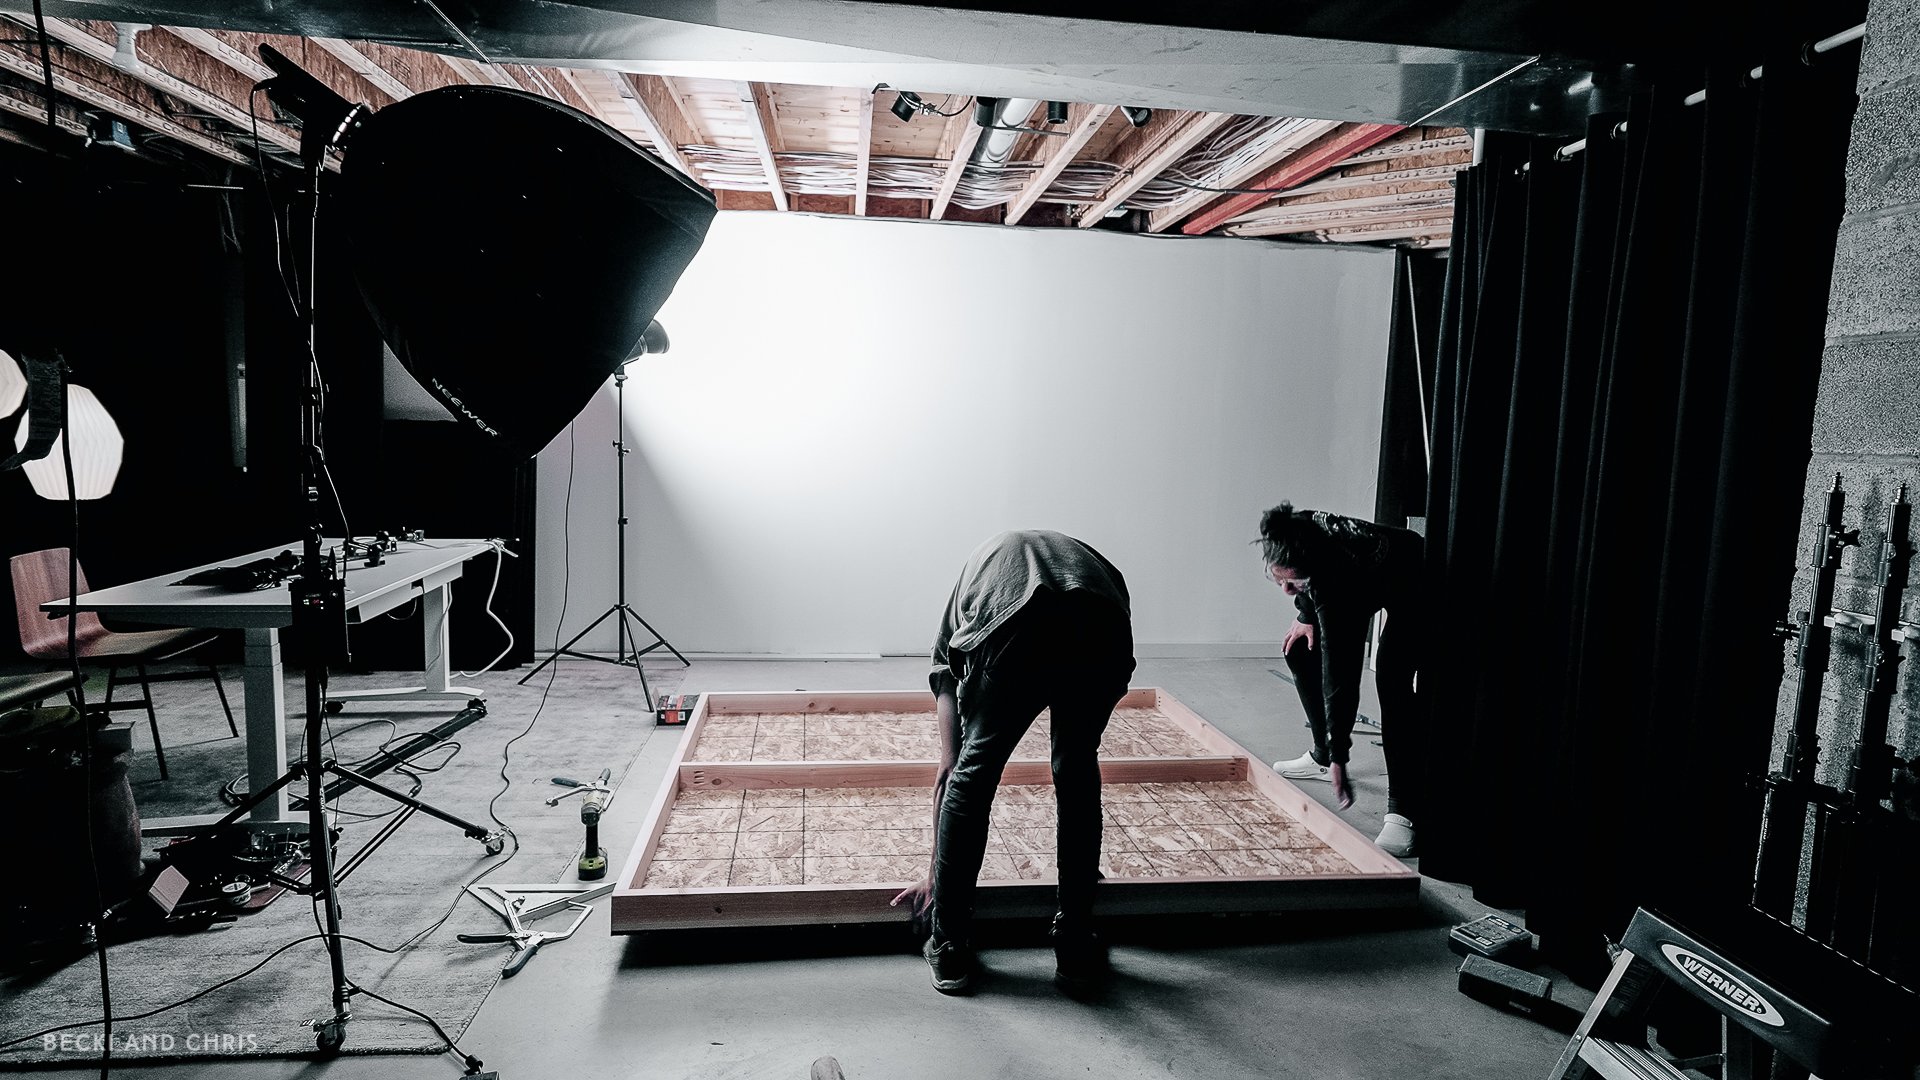
We built a rectangular 2x4 frame matching our finished wall size and attached each 2x4 using pocked holes for a cleaner look since the sides would be exposed. This is overkill though and simply screwing them together will suffice. Typically if this were a structural wall, one would have vertical studs every 16” but this is just a façade so we put only 1 vertical stud in the center to catch the OSB seam and ensure the pieces were flush. Minimizing the number of stud members keeps the wall light. We want o be able to move it! We screwed together the outer 2x4 framing members first with everything flat on the ground. Then we squared the whole thing up while with it on the ground by measuring both diagonals corner to corner. We adjusted the 2x4 rectangle until both diagonal measurements were equal, meaning everything was square. Then we screwed the central stud in place.
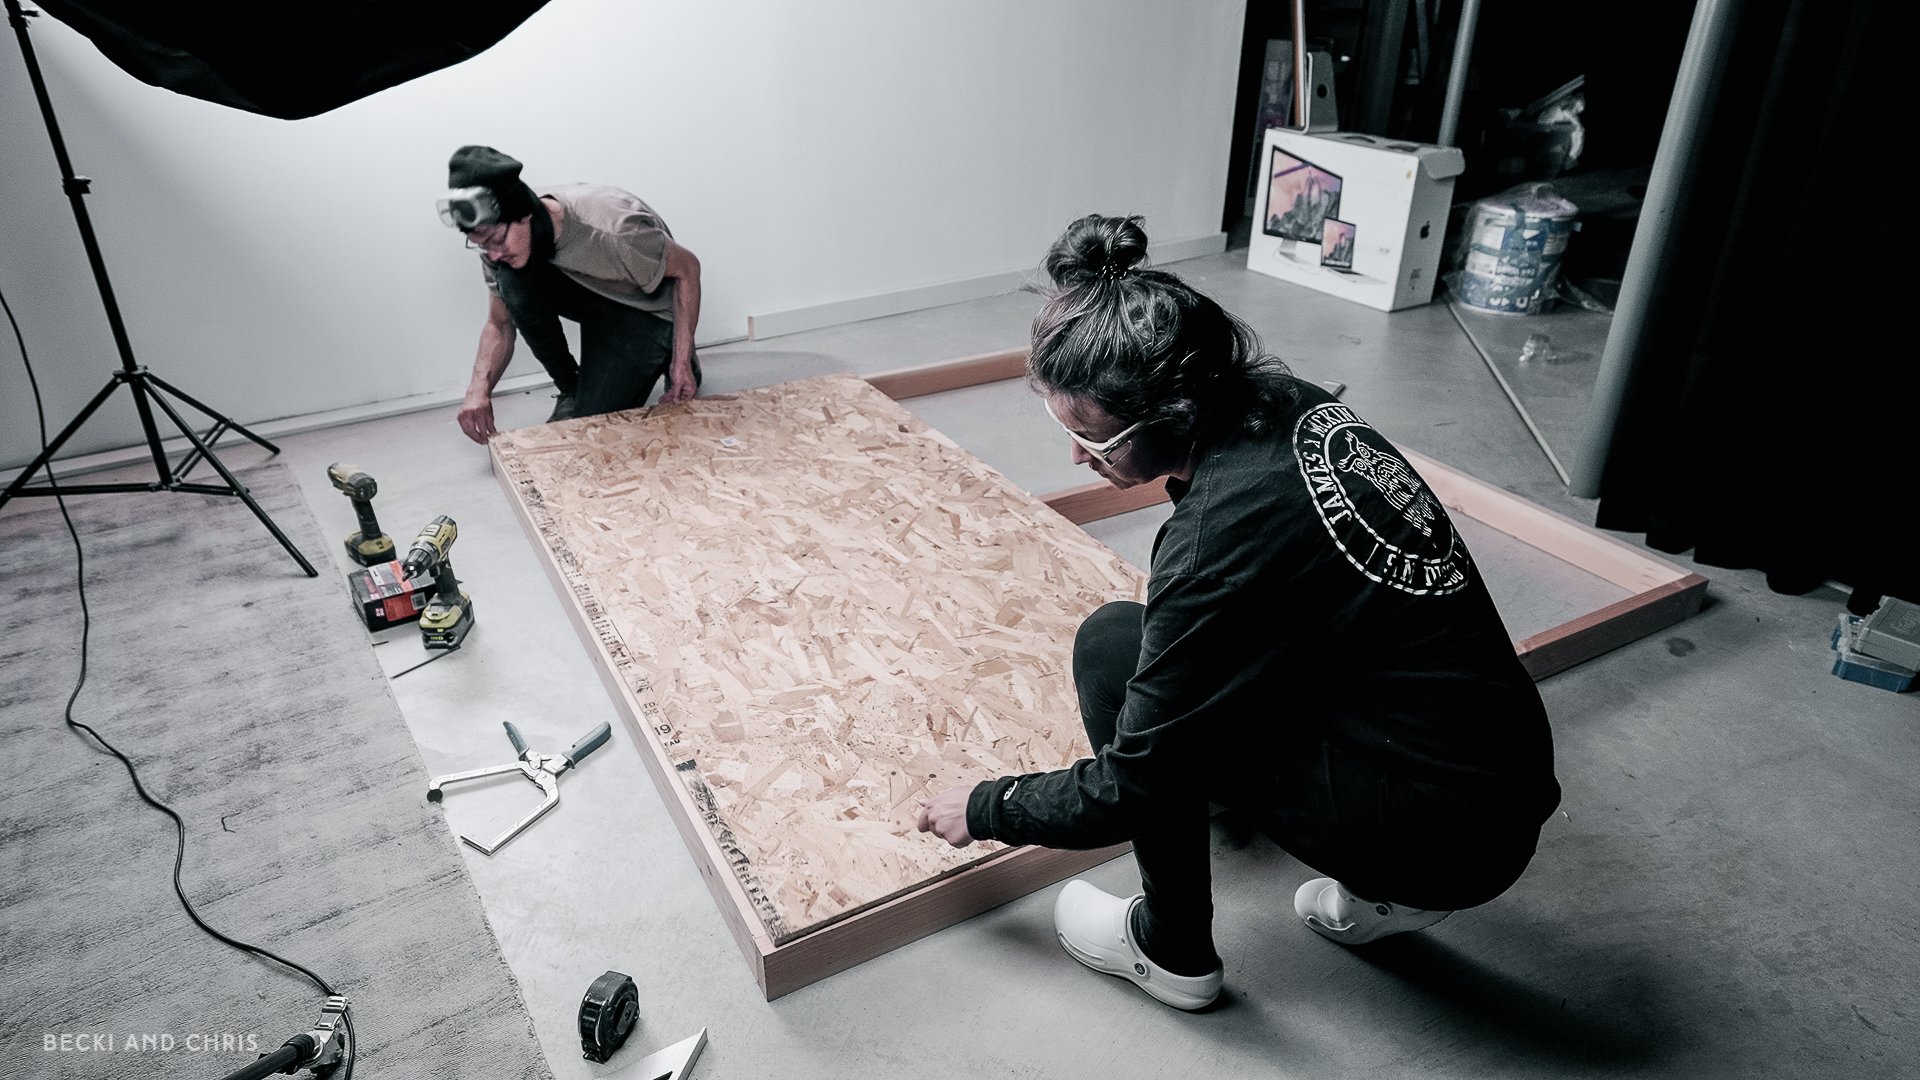
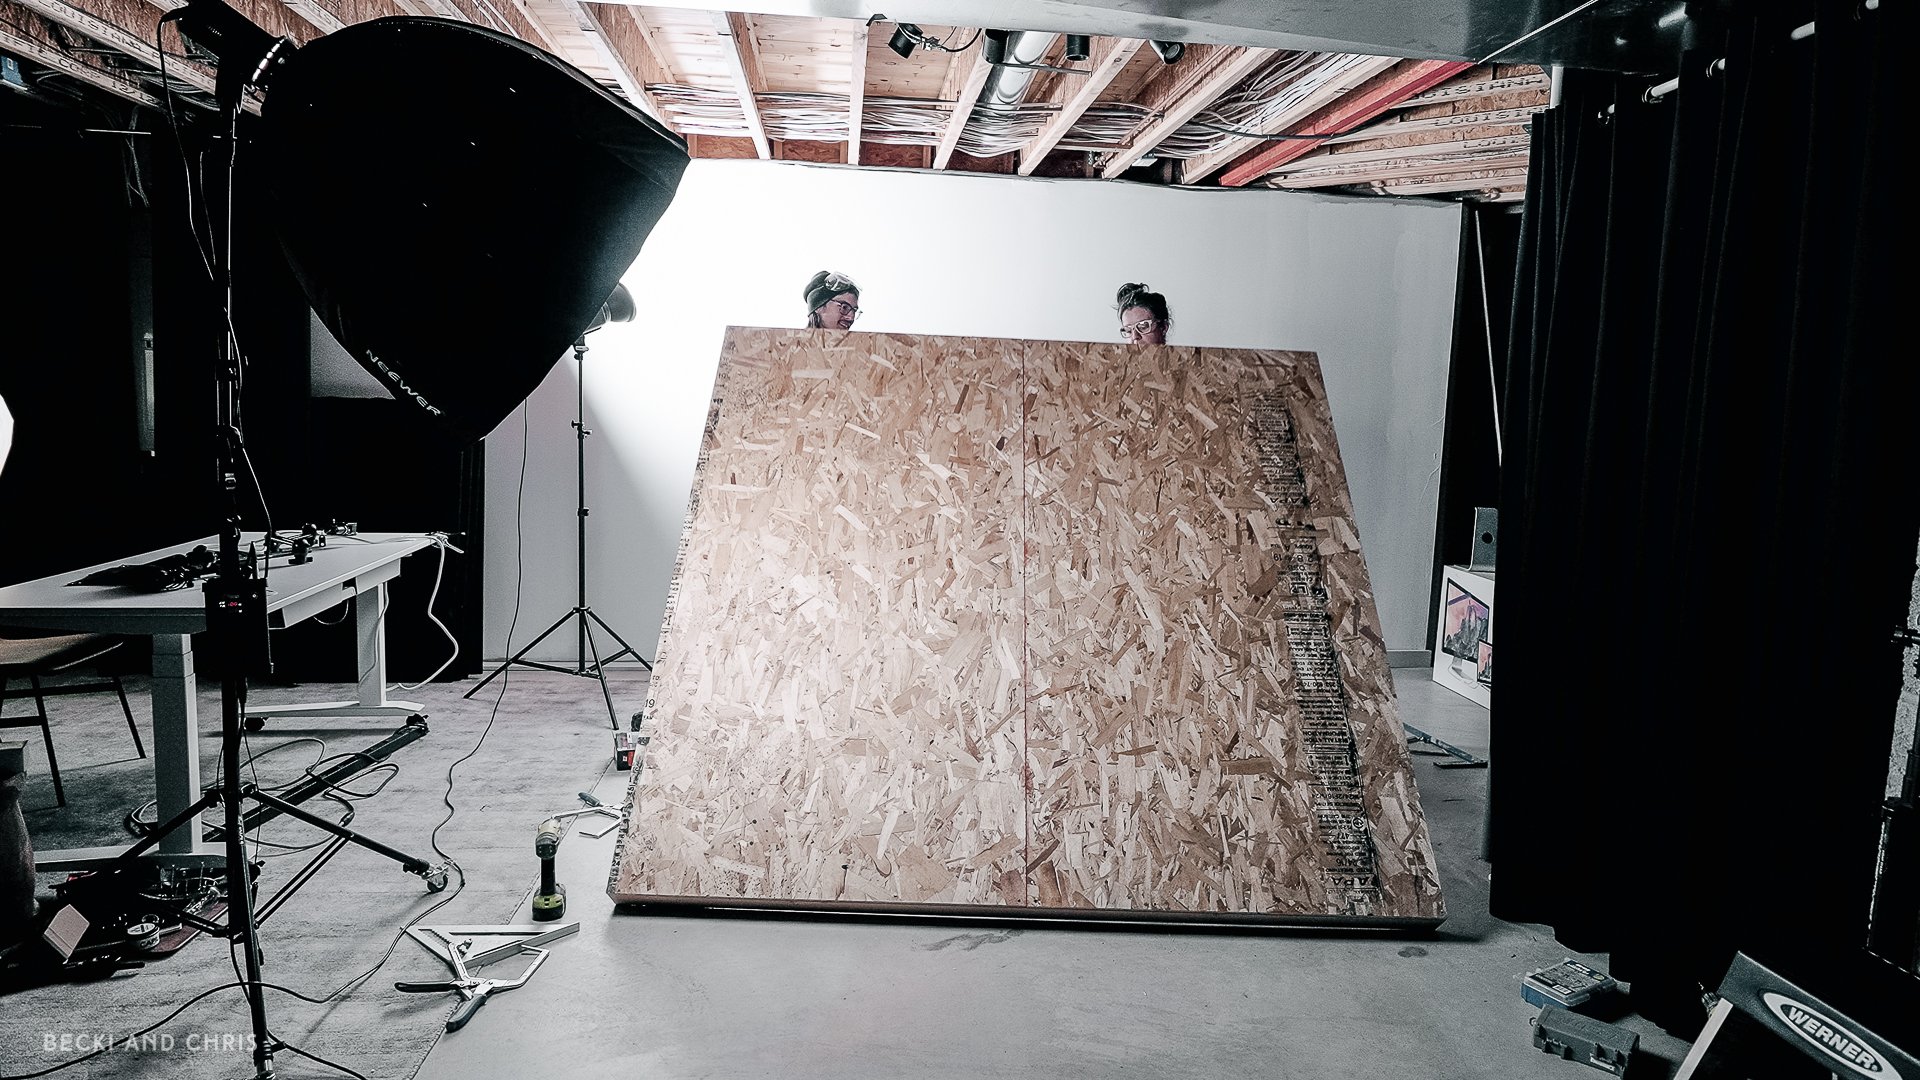
Once we had it framed up and square, we cut down our OSB to fit edge to edge. If you have a table saw, rip down your sheets of OSB to create two equal pieces that match the dimension of your 2x4 frame. For us, that meant creating two OSB rectangles that were 3’6” wide x 6’8” tall. If you don’t own a table saw or track saw, you can clamp a yard stick to your wood and carefully use a Skil saw to make the cuts.

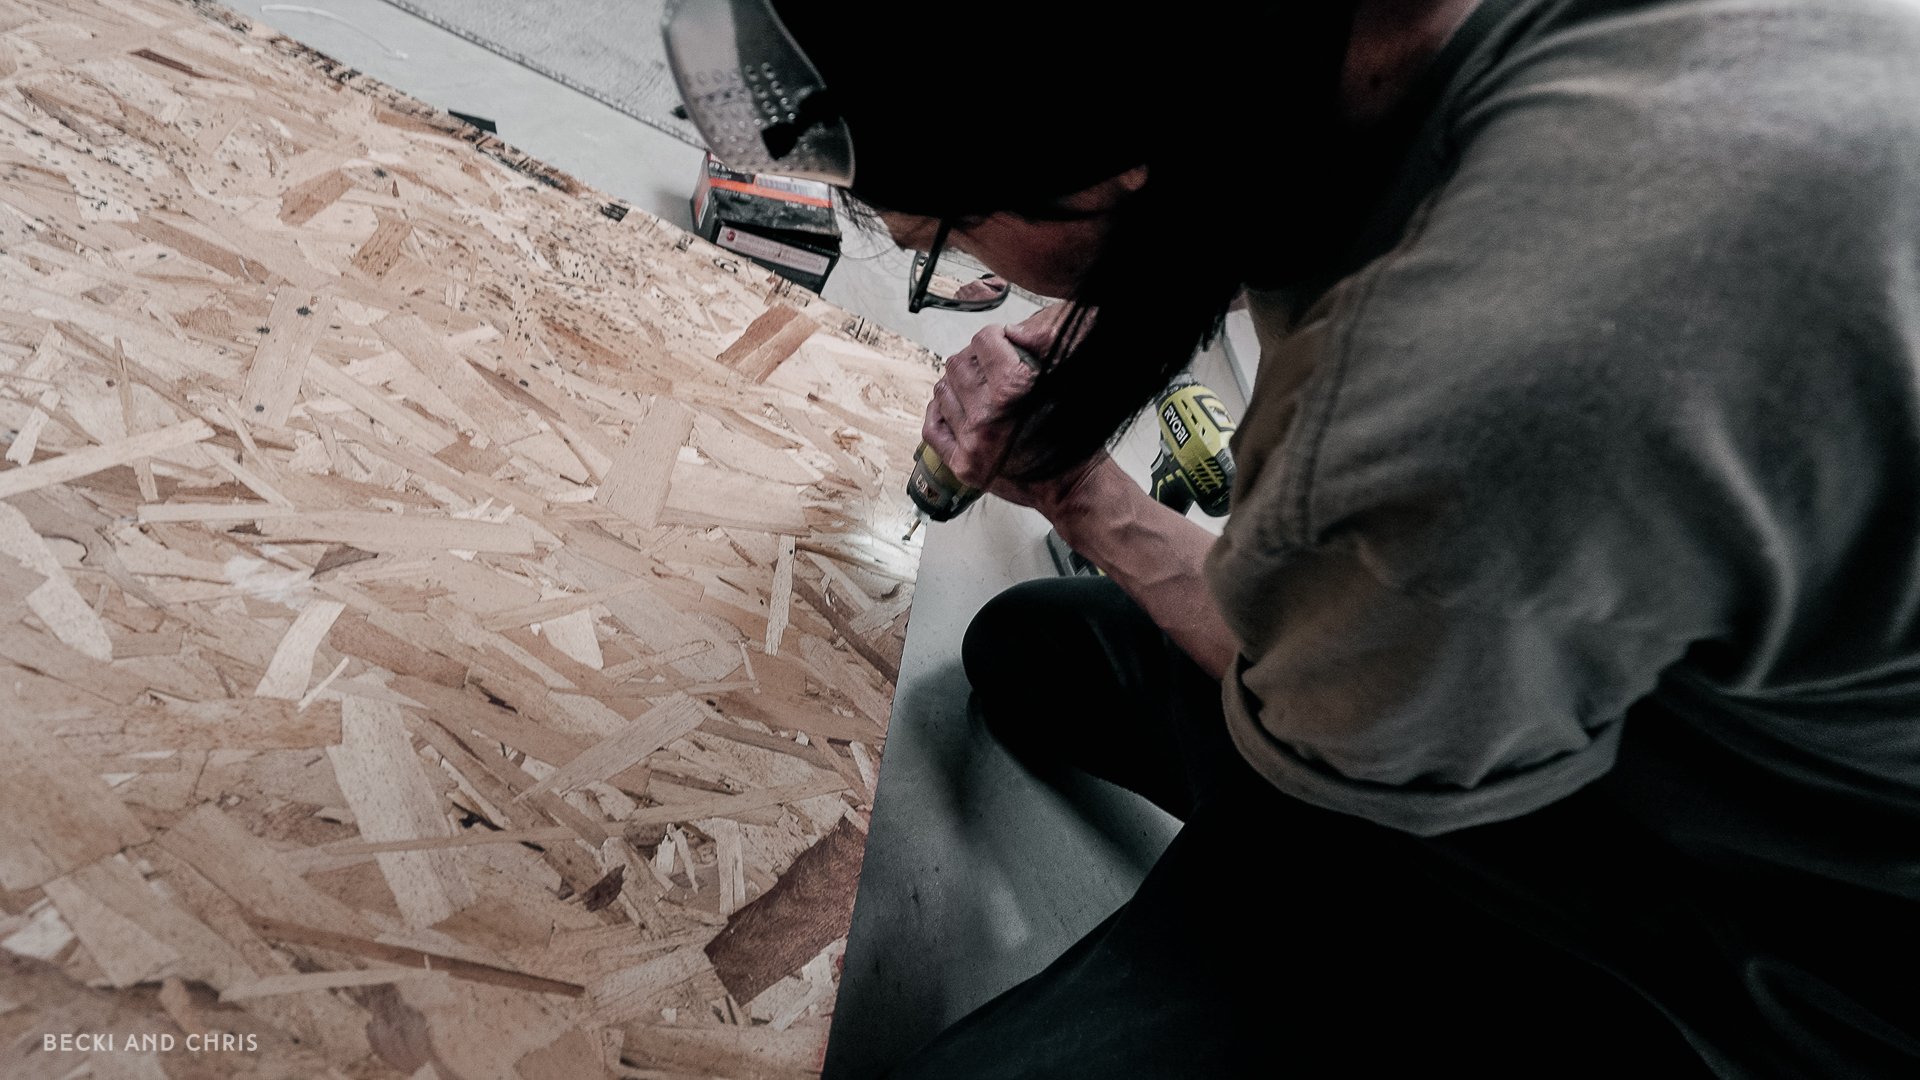
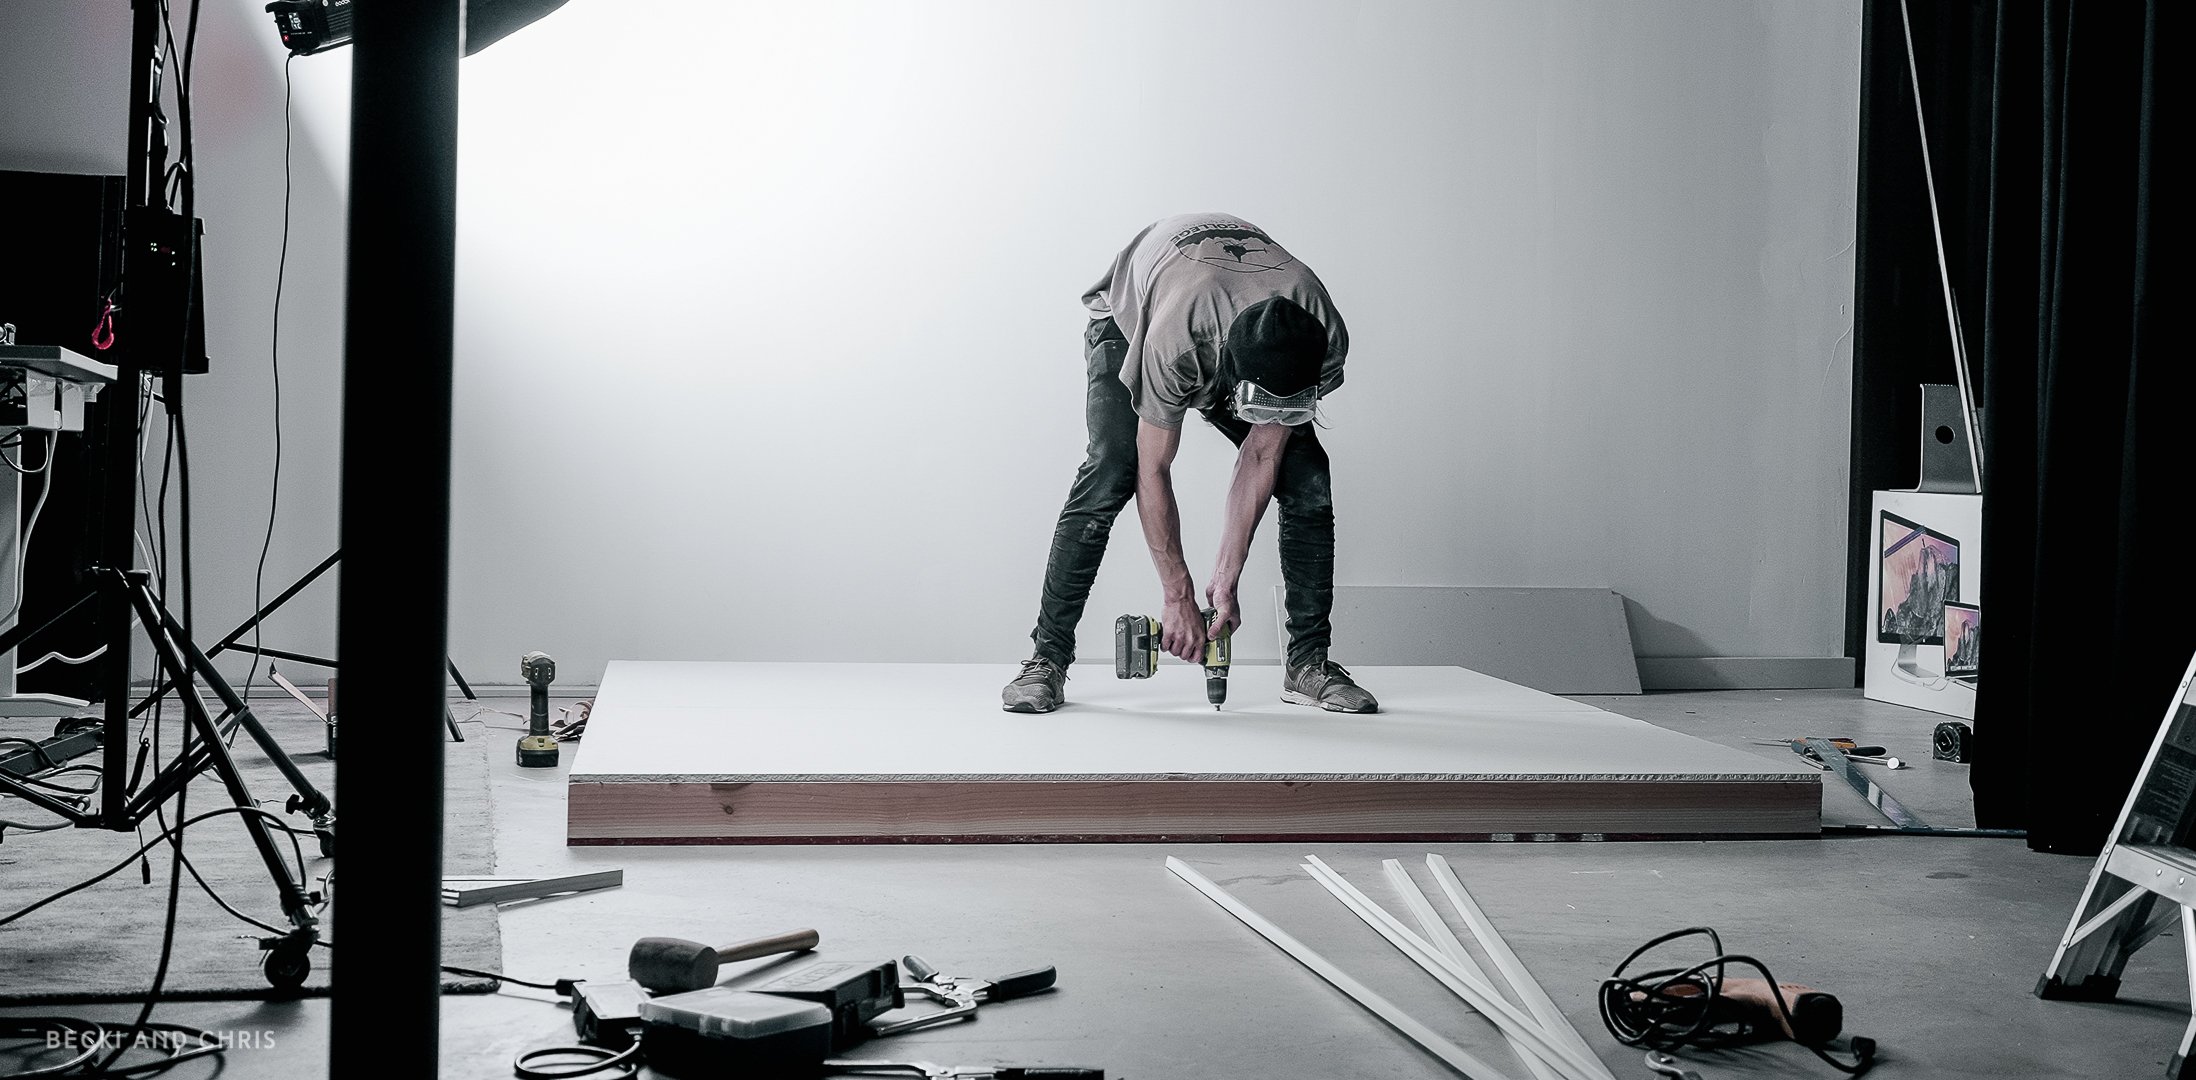
With the frame still flat on the ground, place the OSB pieces on top of the frame and make sure both pieces fit perfectly and everything is still square. If your OSB cuts are true and the framed wall is square, it should be a perfect fit. Once fit and square is confirmed, pre drill and counter sink the OSB for fastening to the frame. We used drywall screws every 12” or so. Once OSB is attached to the frame, the shape will be more or less “locked” in place, so if you’re out of square now, you will be out of square for the whole project.
Once the OSB was attached we flipped it over and installed the drywall on the opposite side. We opted to run the drywall seam perpendicular to the OSB seam as we figured it would stiffen the wall up in both dimensions that way rather than having two parallel sheet material seams. We cut both pieces to equal halves with dimensions of 7’ wide by 3’ 4” tall. To cut the drywall we used a utility blade and tape measure to score it and then snapped and cut it off. You can use a rasp to clean up the cut edge. Note that the tapered edge of the drywall (the part you didn’t cut off) should be in the center to create the seam where you tape and mud the joint.
Just like installing drywall to a regular wall, we attached it to the frame with 1 1/4” drywall screws making sure not to pop the paper. A drywall gun is best for this, we don’t have one so we used this drywall screw setter bit instead. Now normally we have studs every 16” for regular walls, but in this case, we only have a central stud (which our drywall is perpendicular to) and around the periphery, so we used screws every 12” or so.
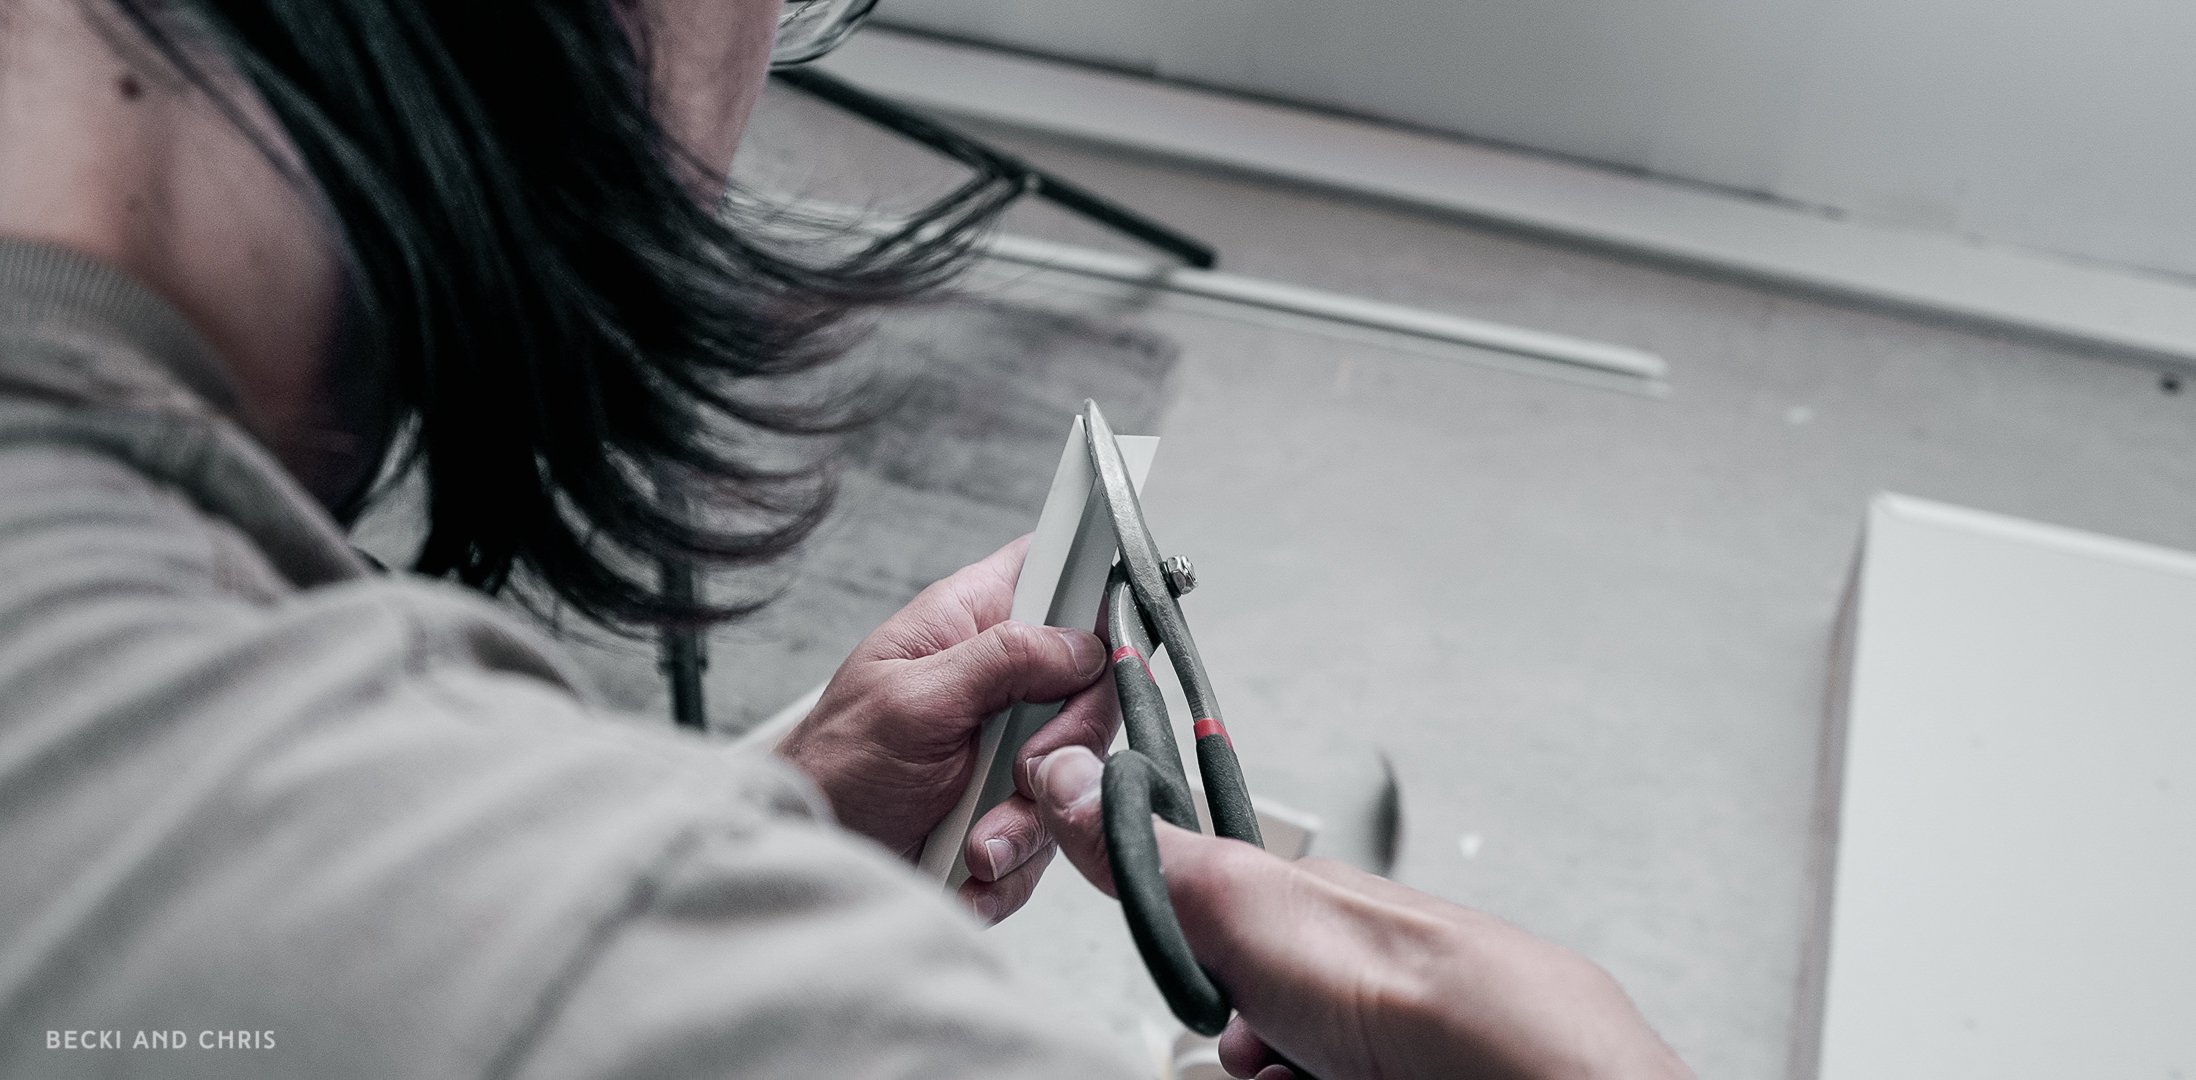
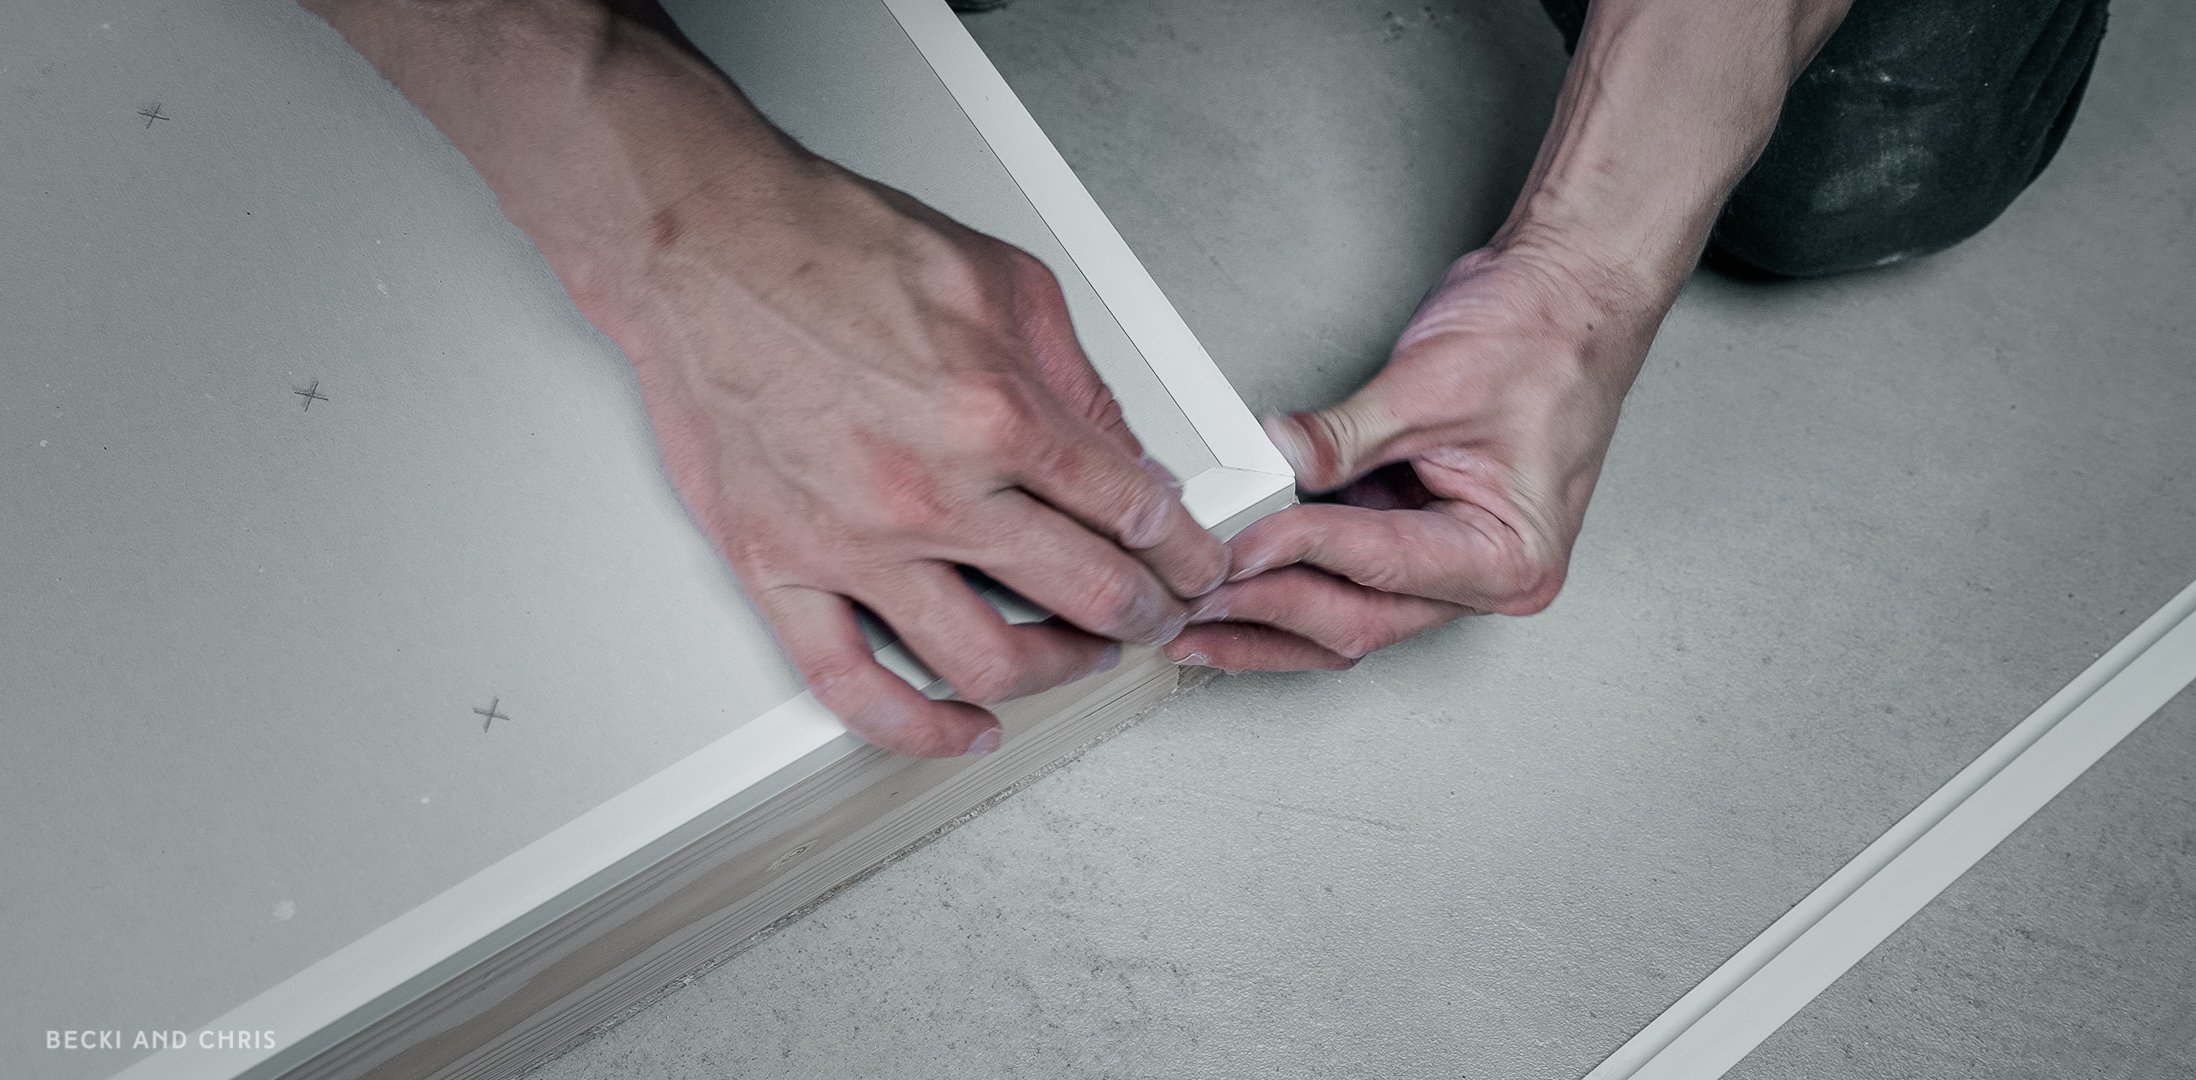
We would have used a mud on J bead to finish the edge, but our local store only had L bead so we used that. You can get a mud on bead, but in this case we just used an electric stapler to staple on the trim. We cut the pieces at 45" degrees to make mitered corners.
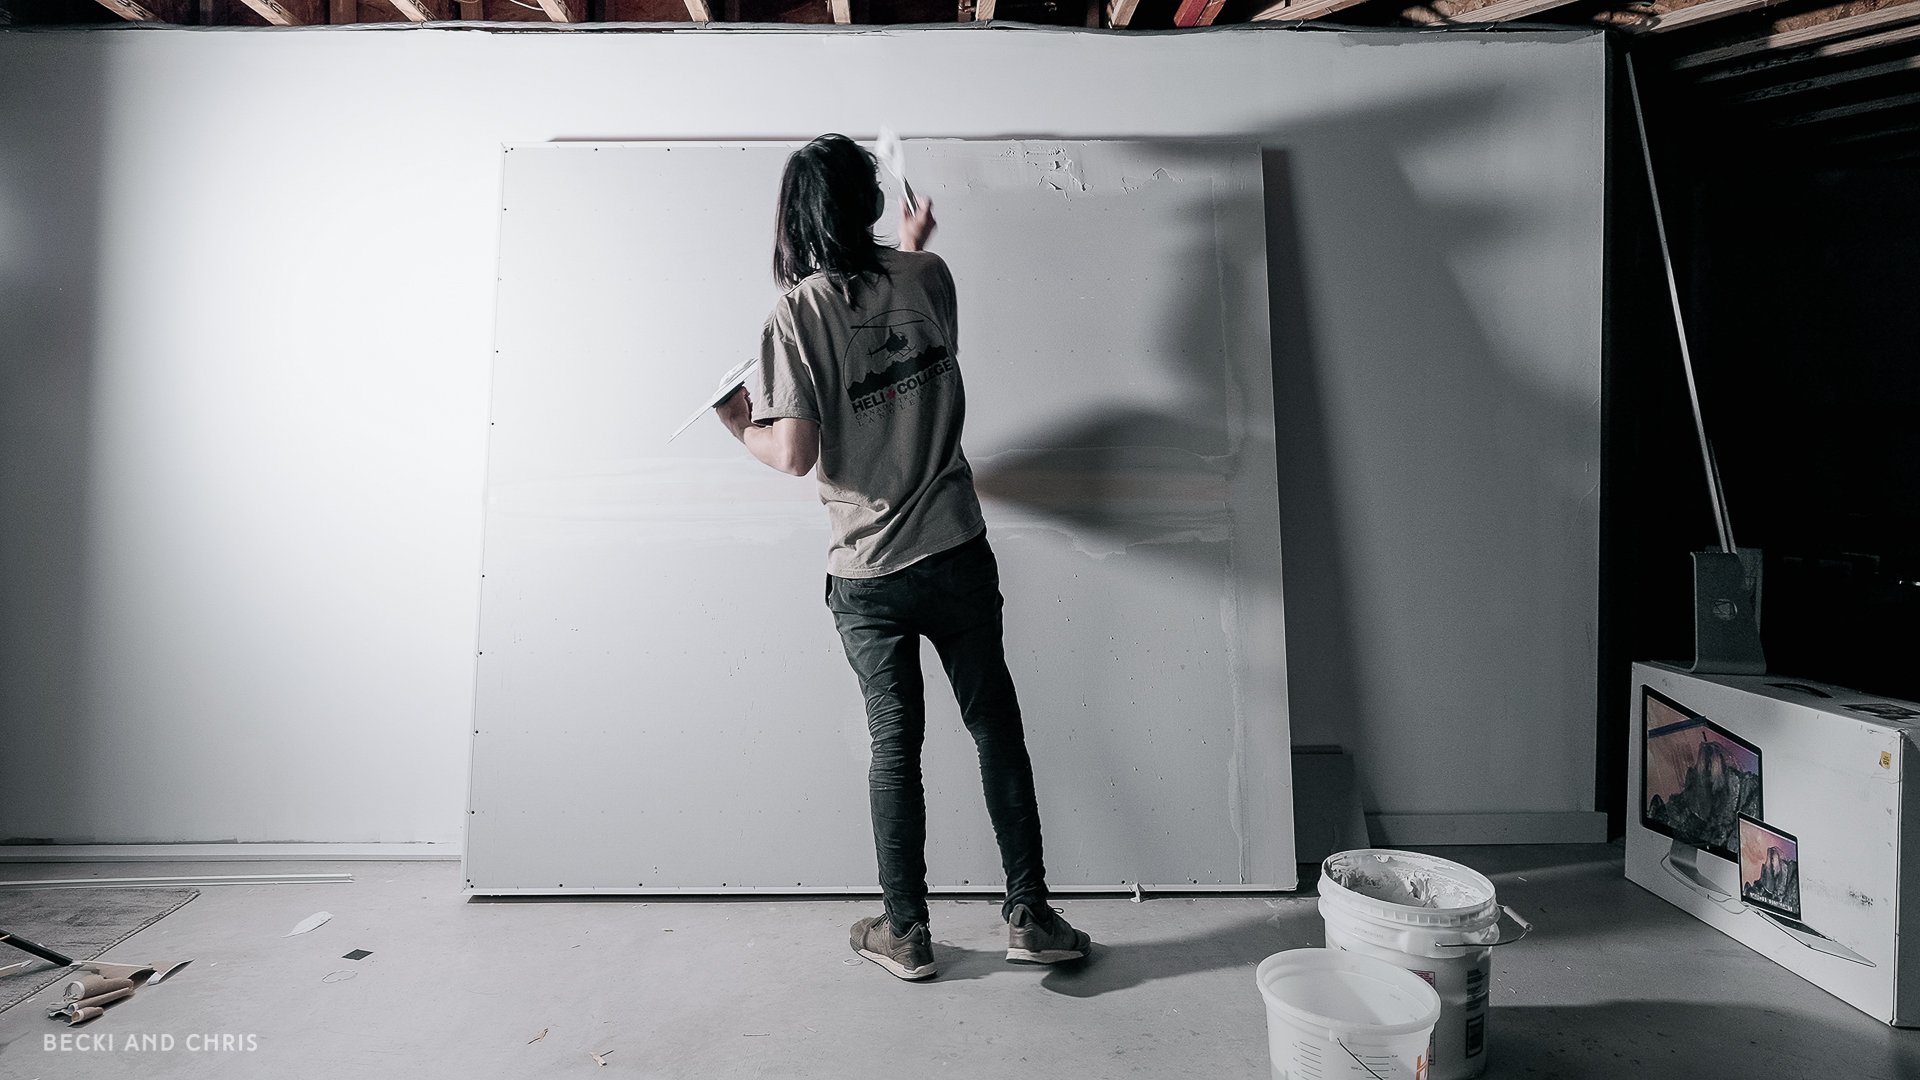
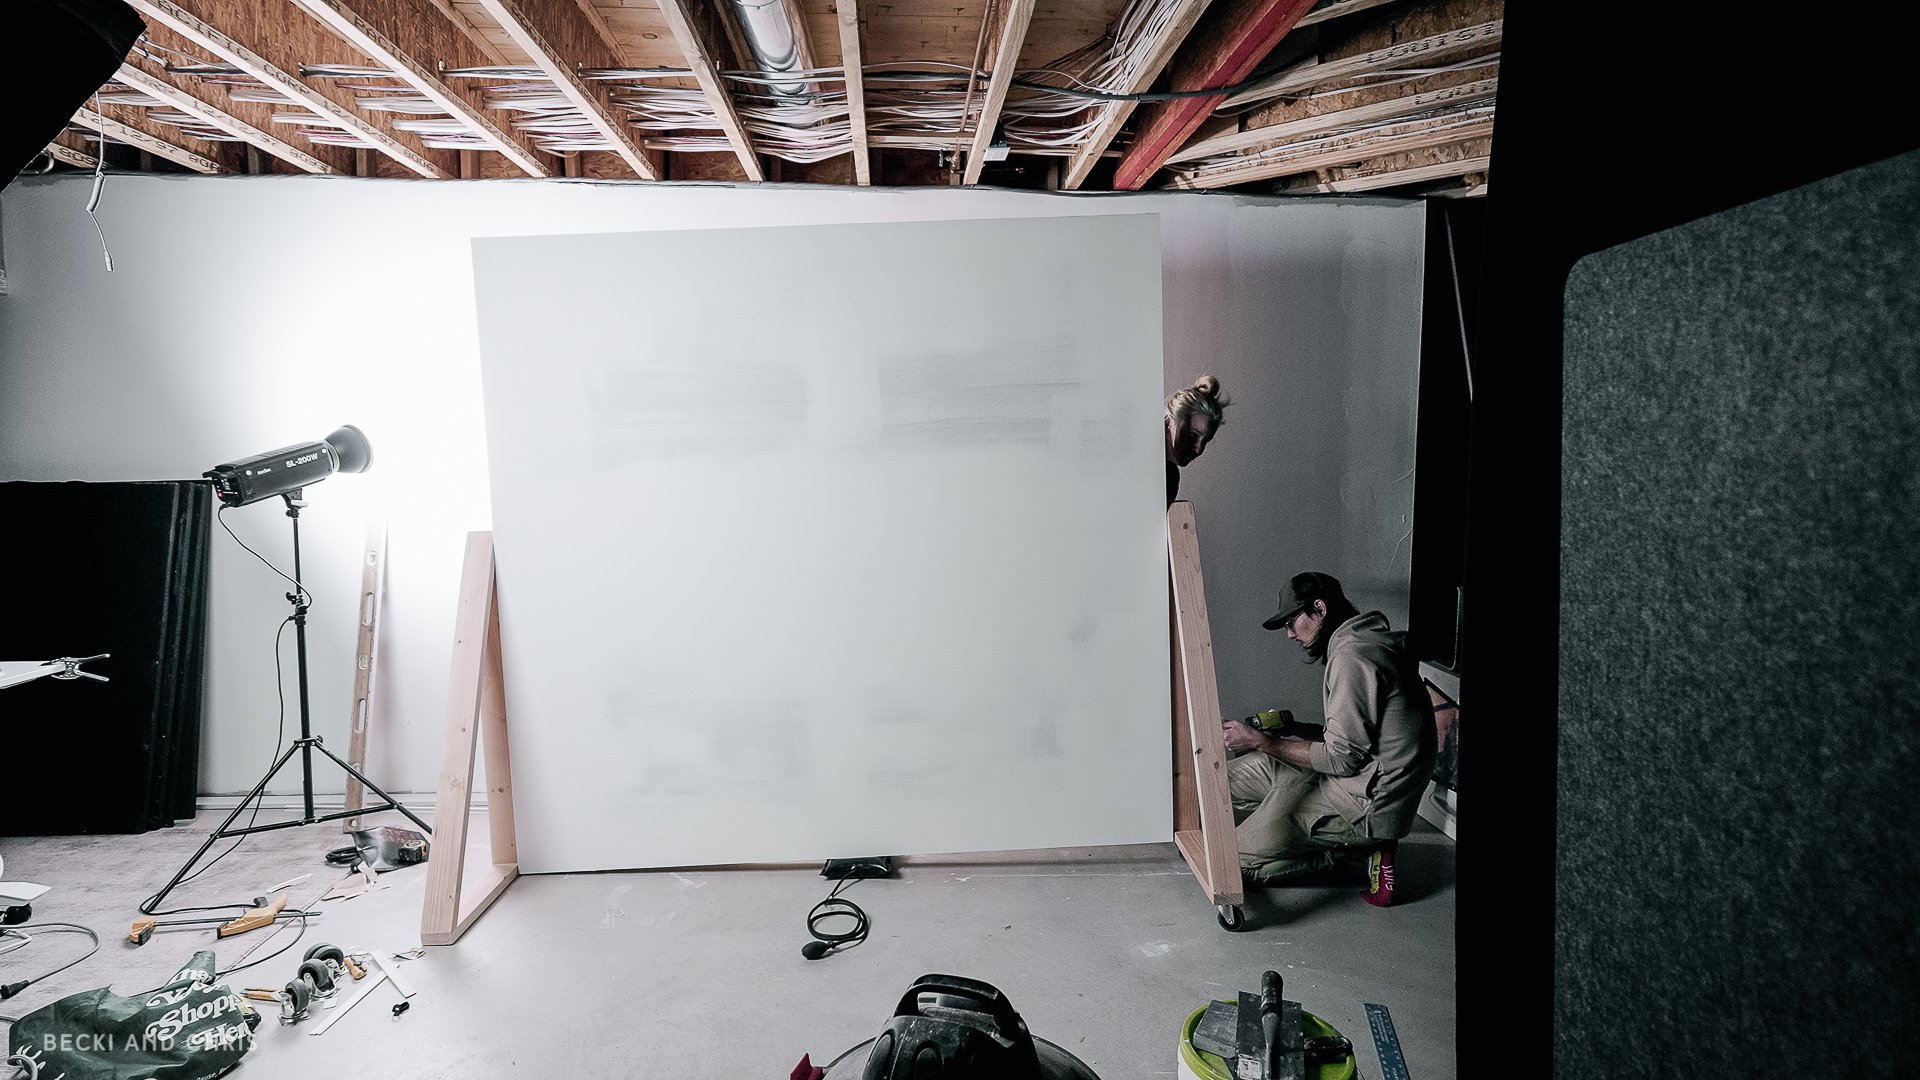
Once the edging was on and drywall screwed to the frame, we propped the wall up against a wall in our studio and did three coats of plaster just like you would for drywall on a regular wall. If you haven’t done plastering before check out this video. The key is multiple thin coats to minimize sanding later on. We did three coats total, with plaster drying 24 hours between coats.
Once plastering was finished, we sanded with sanding sponges. A trick is to place a hard light source tangential to the wall, grazing just along the surface of the wall at a low angle to highlight any imperfections that require sanding. We made sure to use a shop vac in one hand while sanding to mitigate dust.
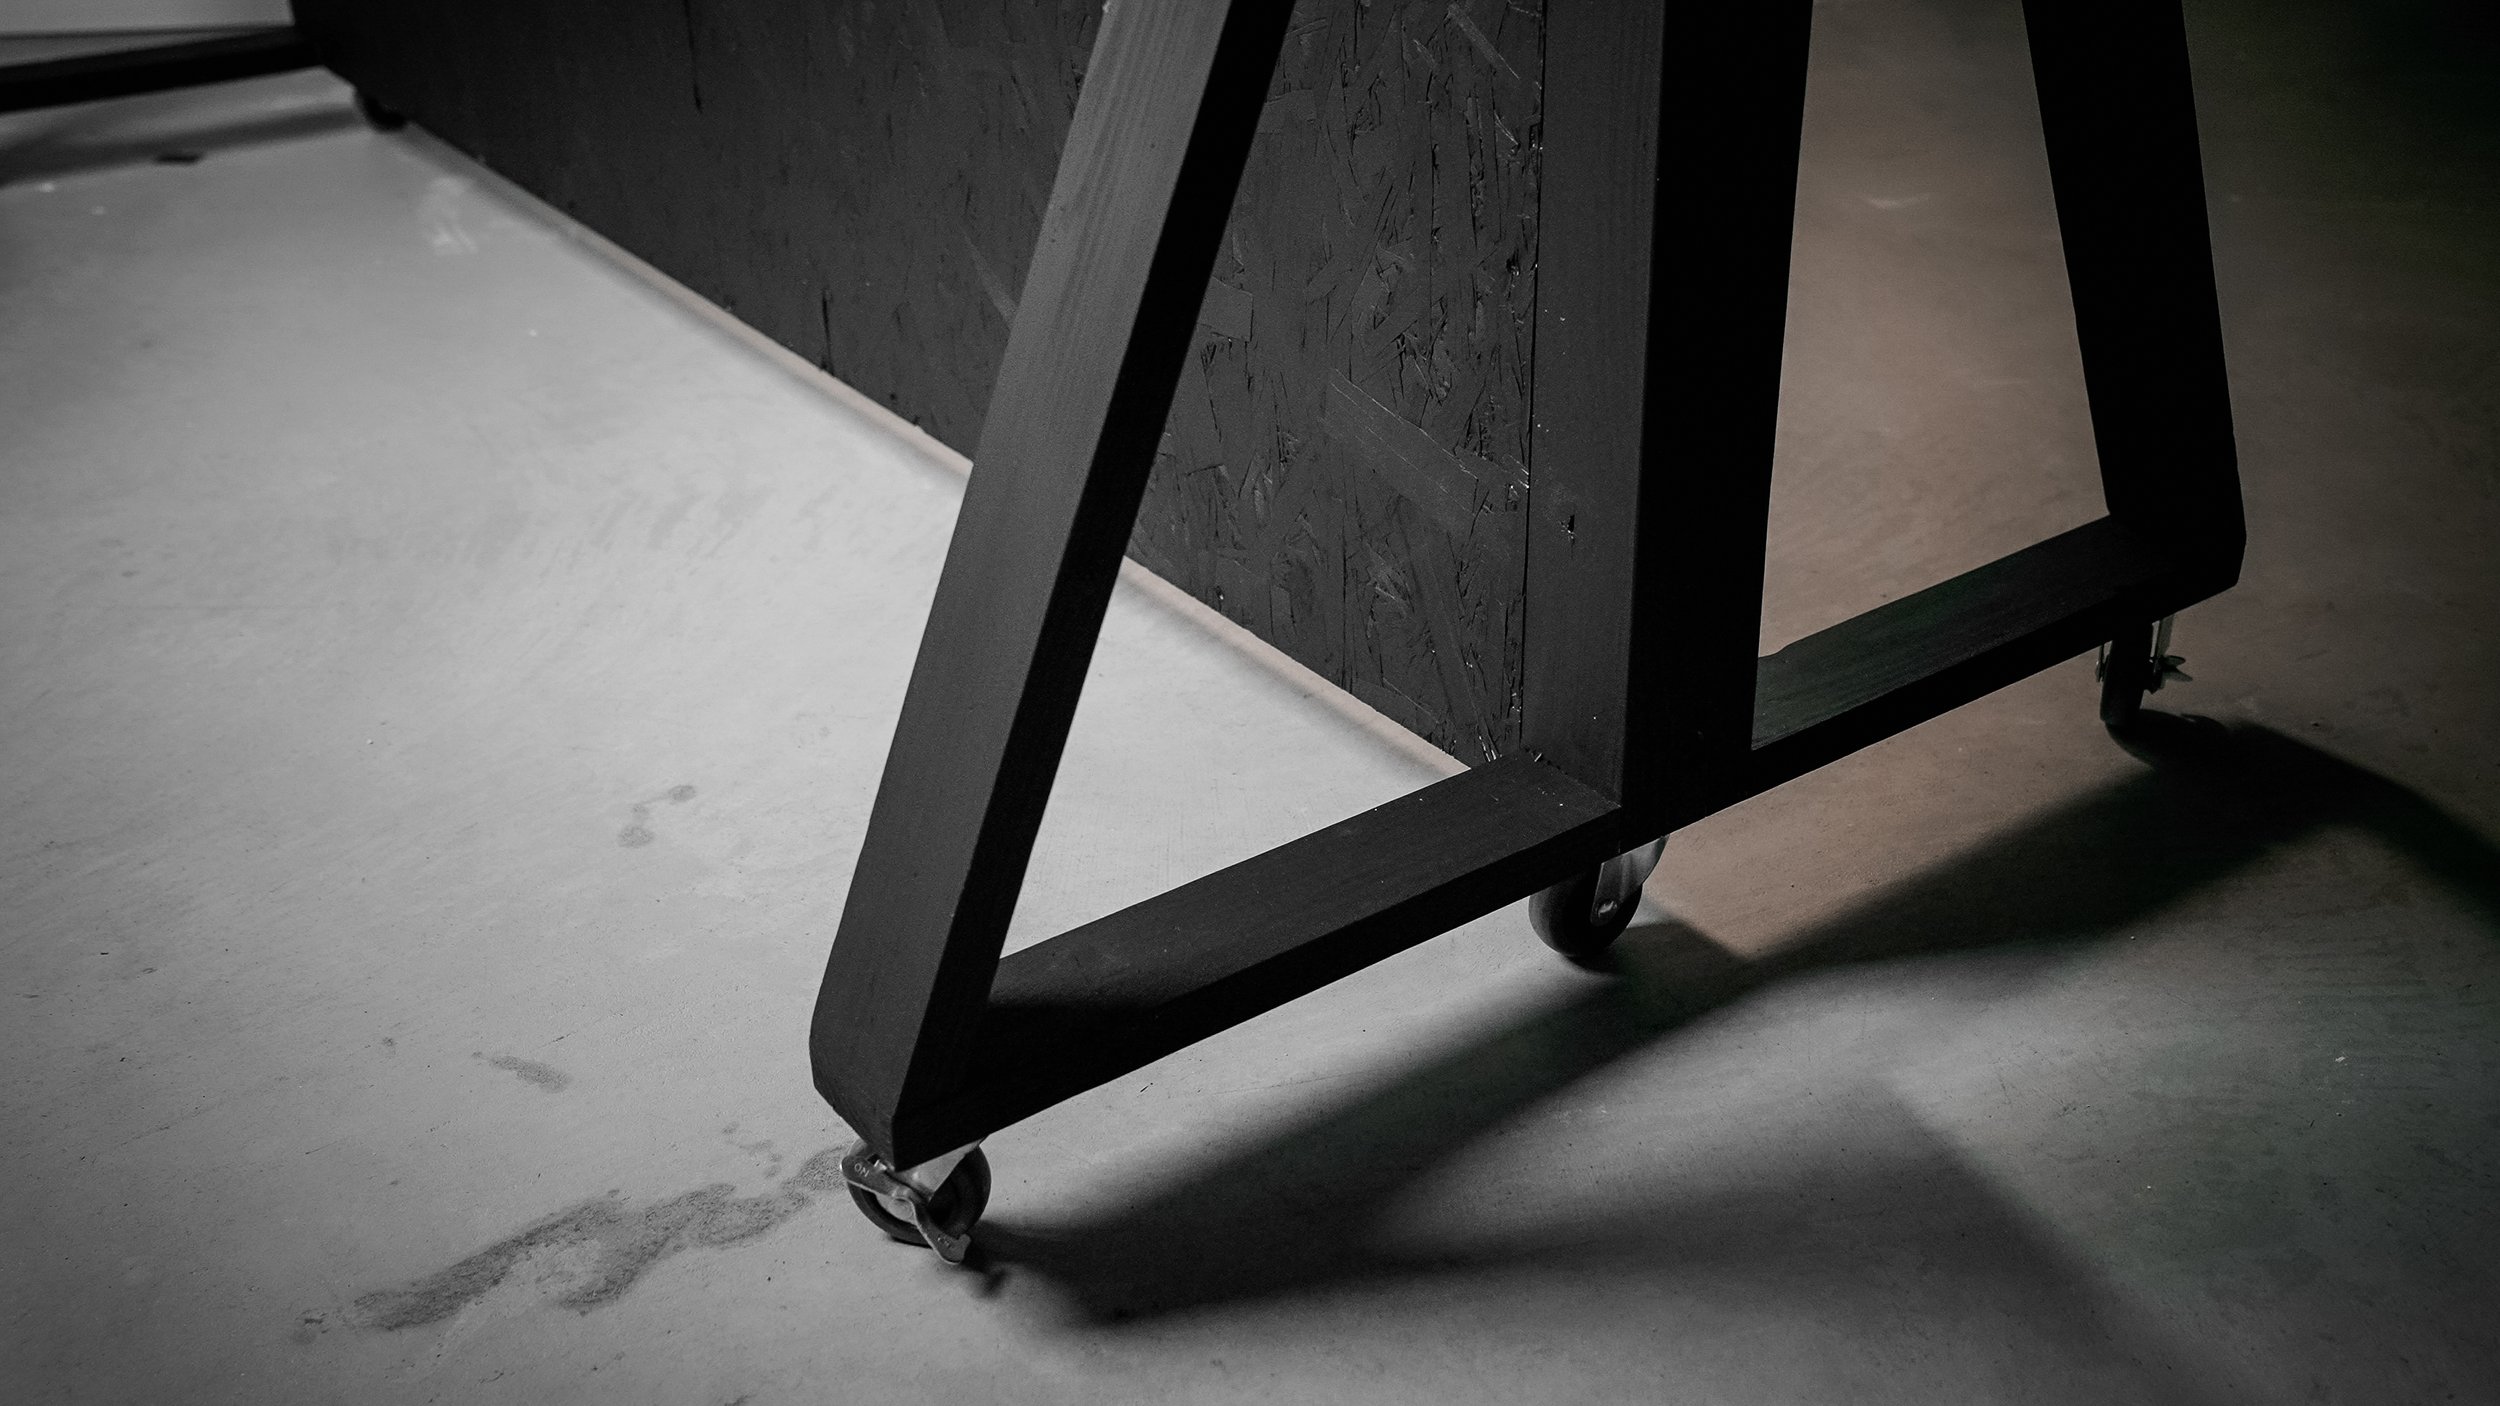
The Legs
Each of the two legs were created by combining two right angle triangle frames made of 2x4s. We made a total of four right angle triangles with the following measurements:
Vertical: 44 1/8”
Bottom horizontal: 18 1/2”
Diagonal: miter cut to fit
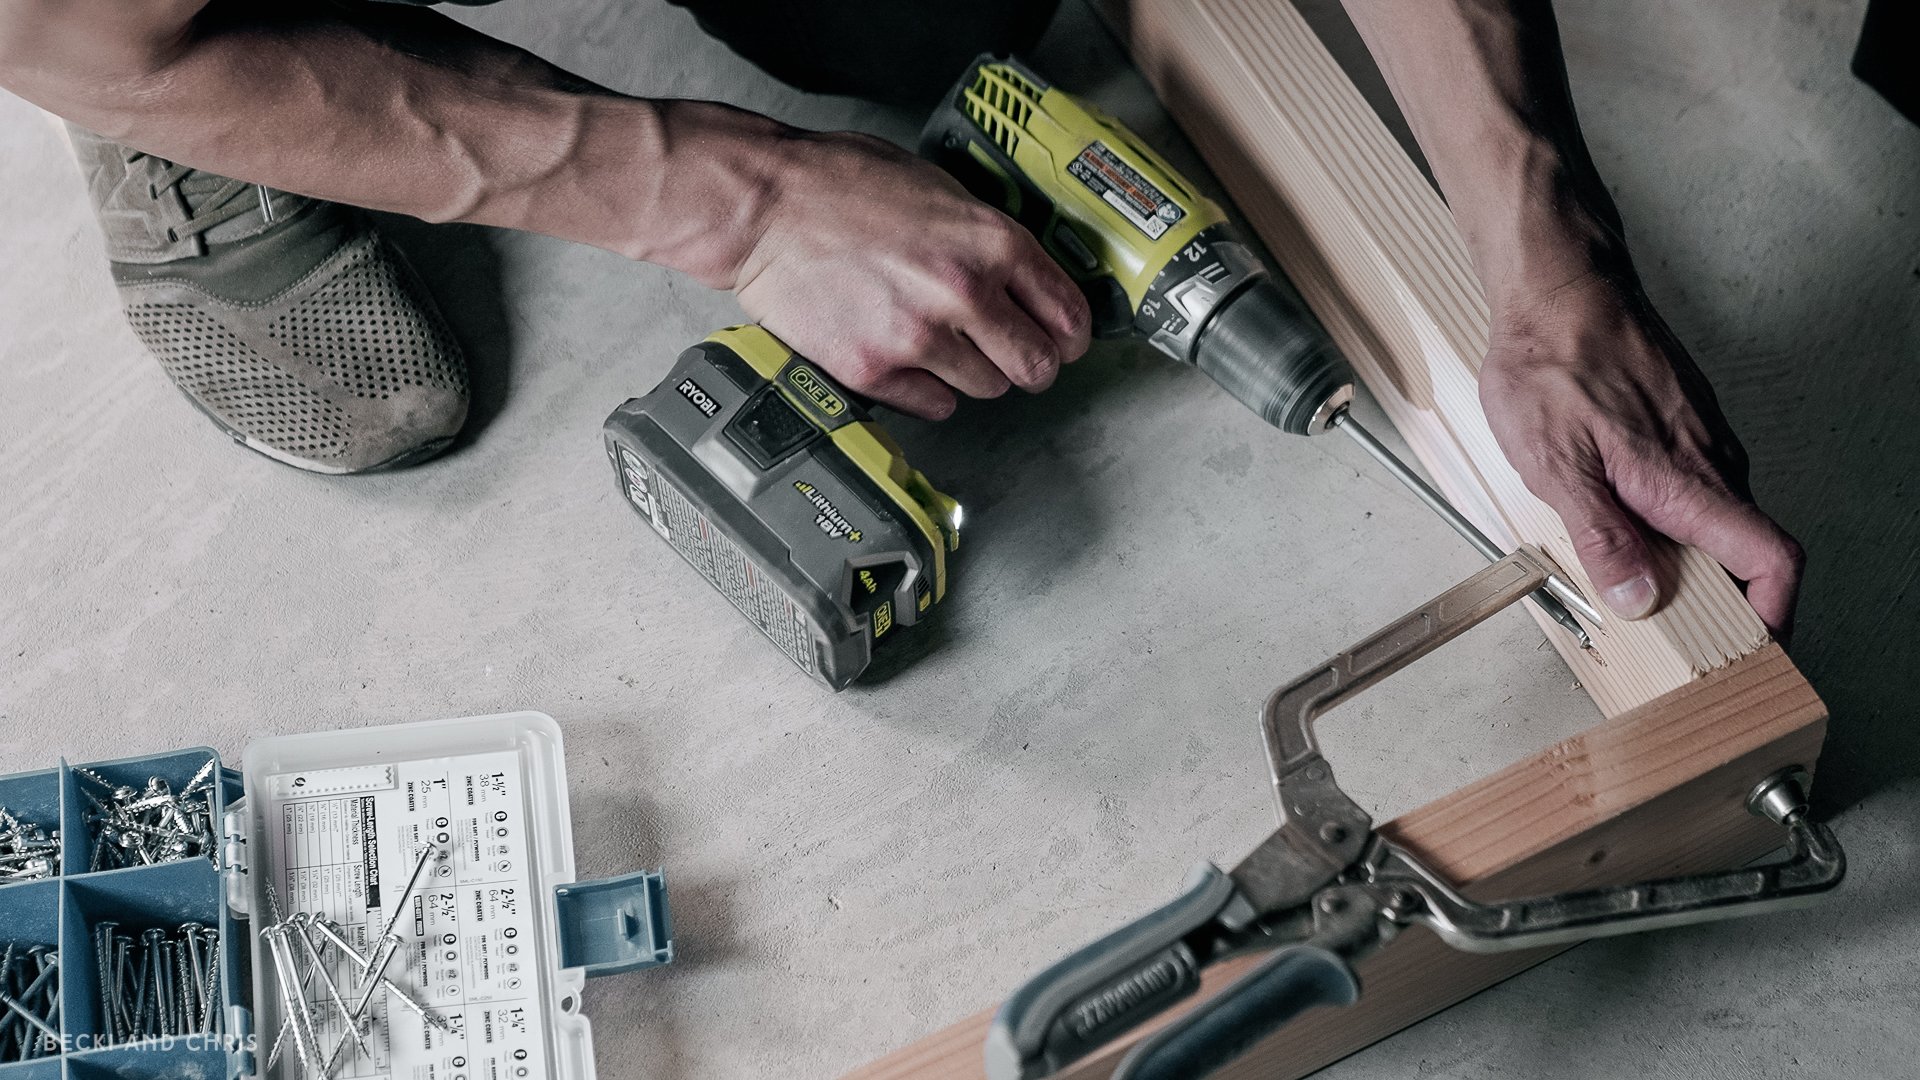
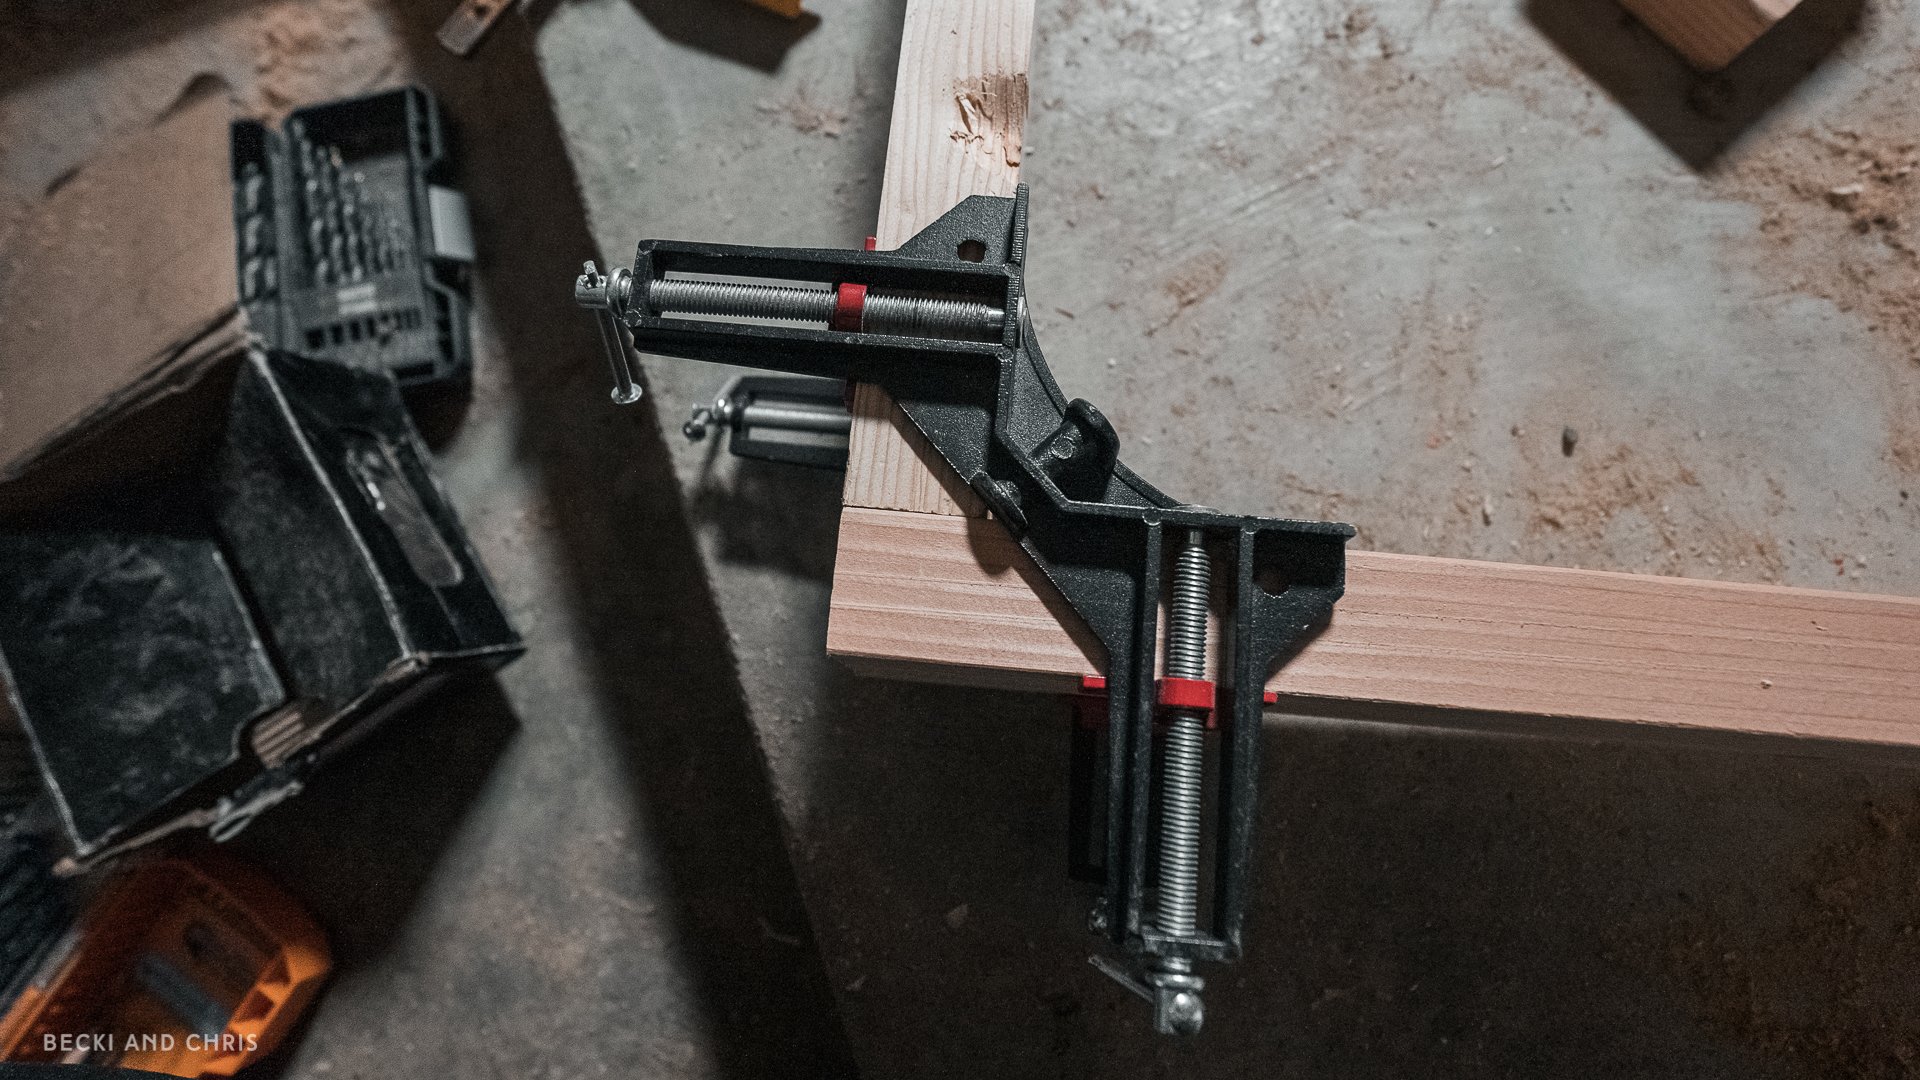
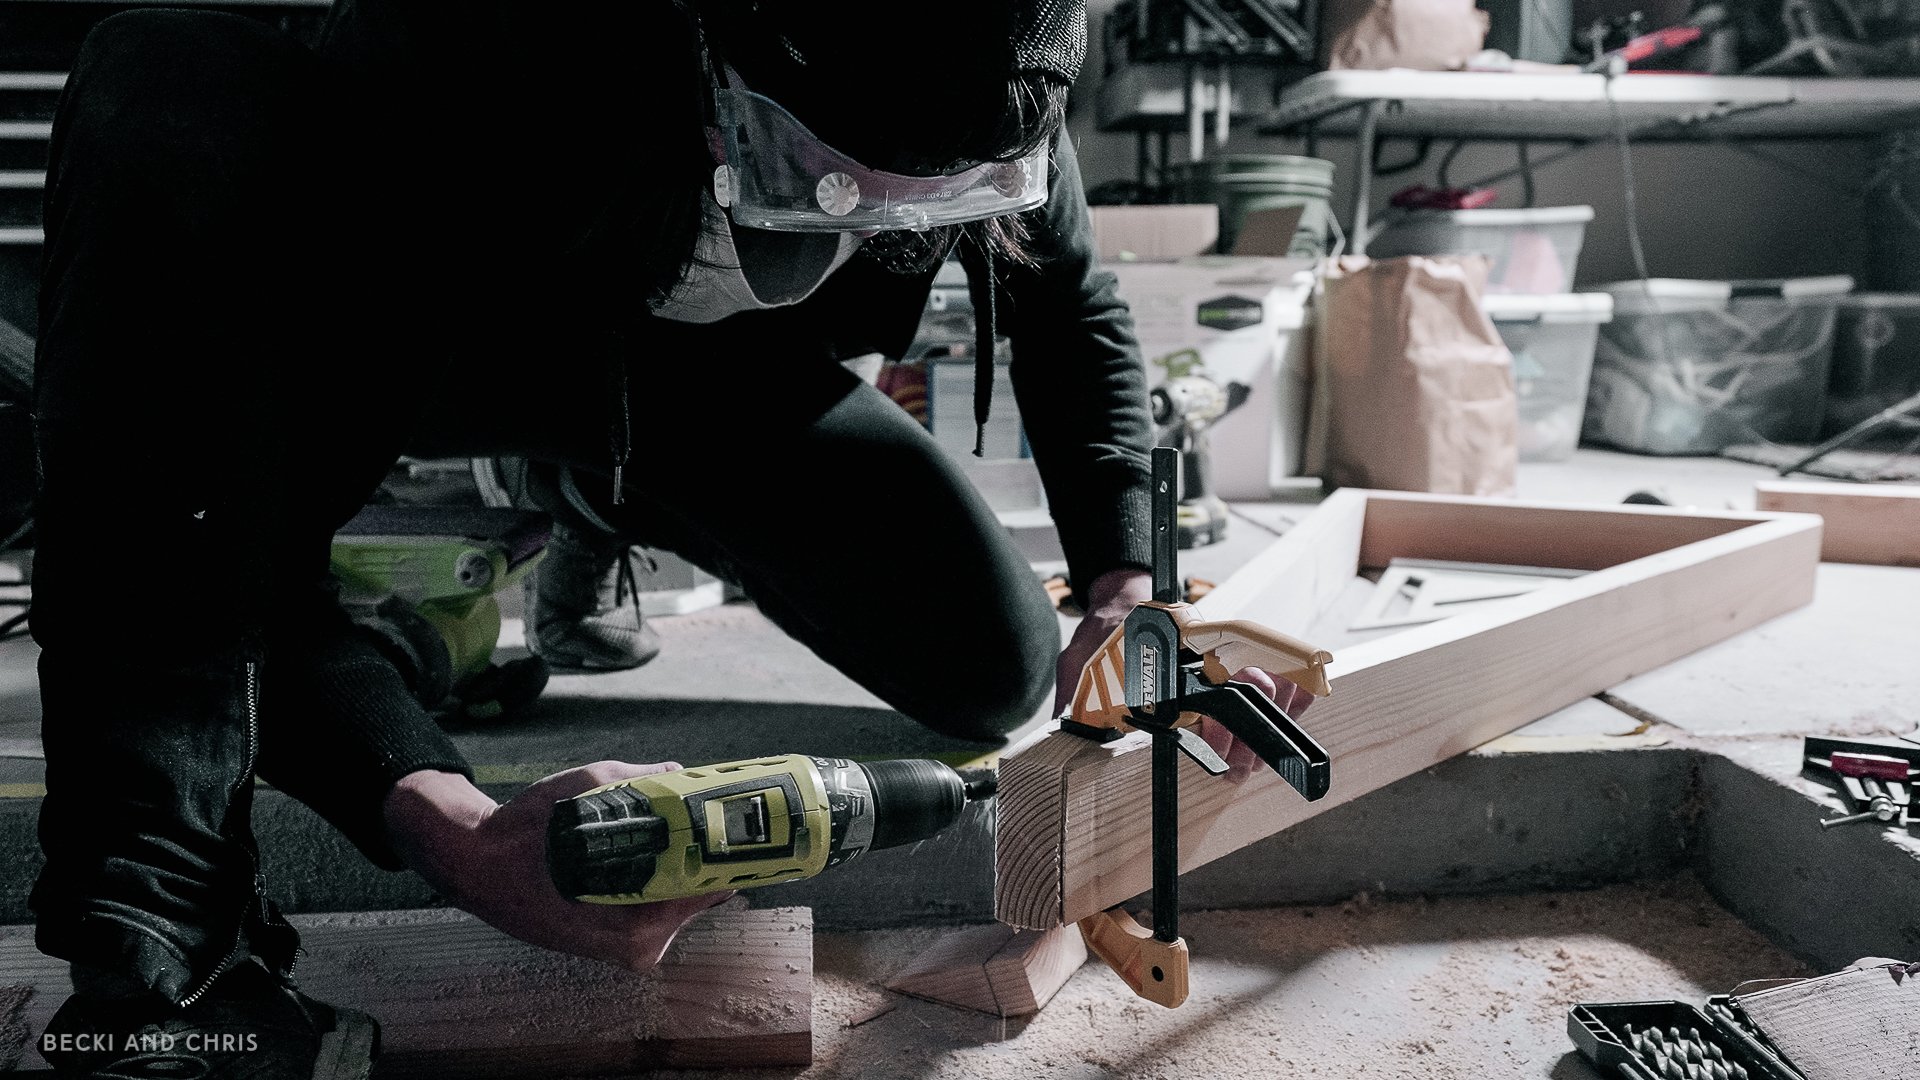
For each of the right angle triangles, we attached the vertical and bottom horizontal pieces together with three wood screws, pre drilling the holes first so the wood didn’t split. We also counter sunk the screws so they were just under flush with the wood surface. We used 90° clamps to hold the wood together while we screwed the pieces together.
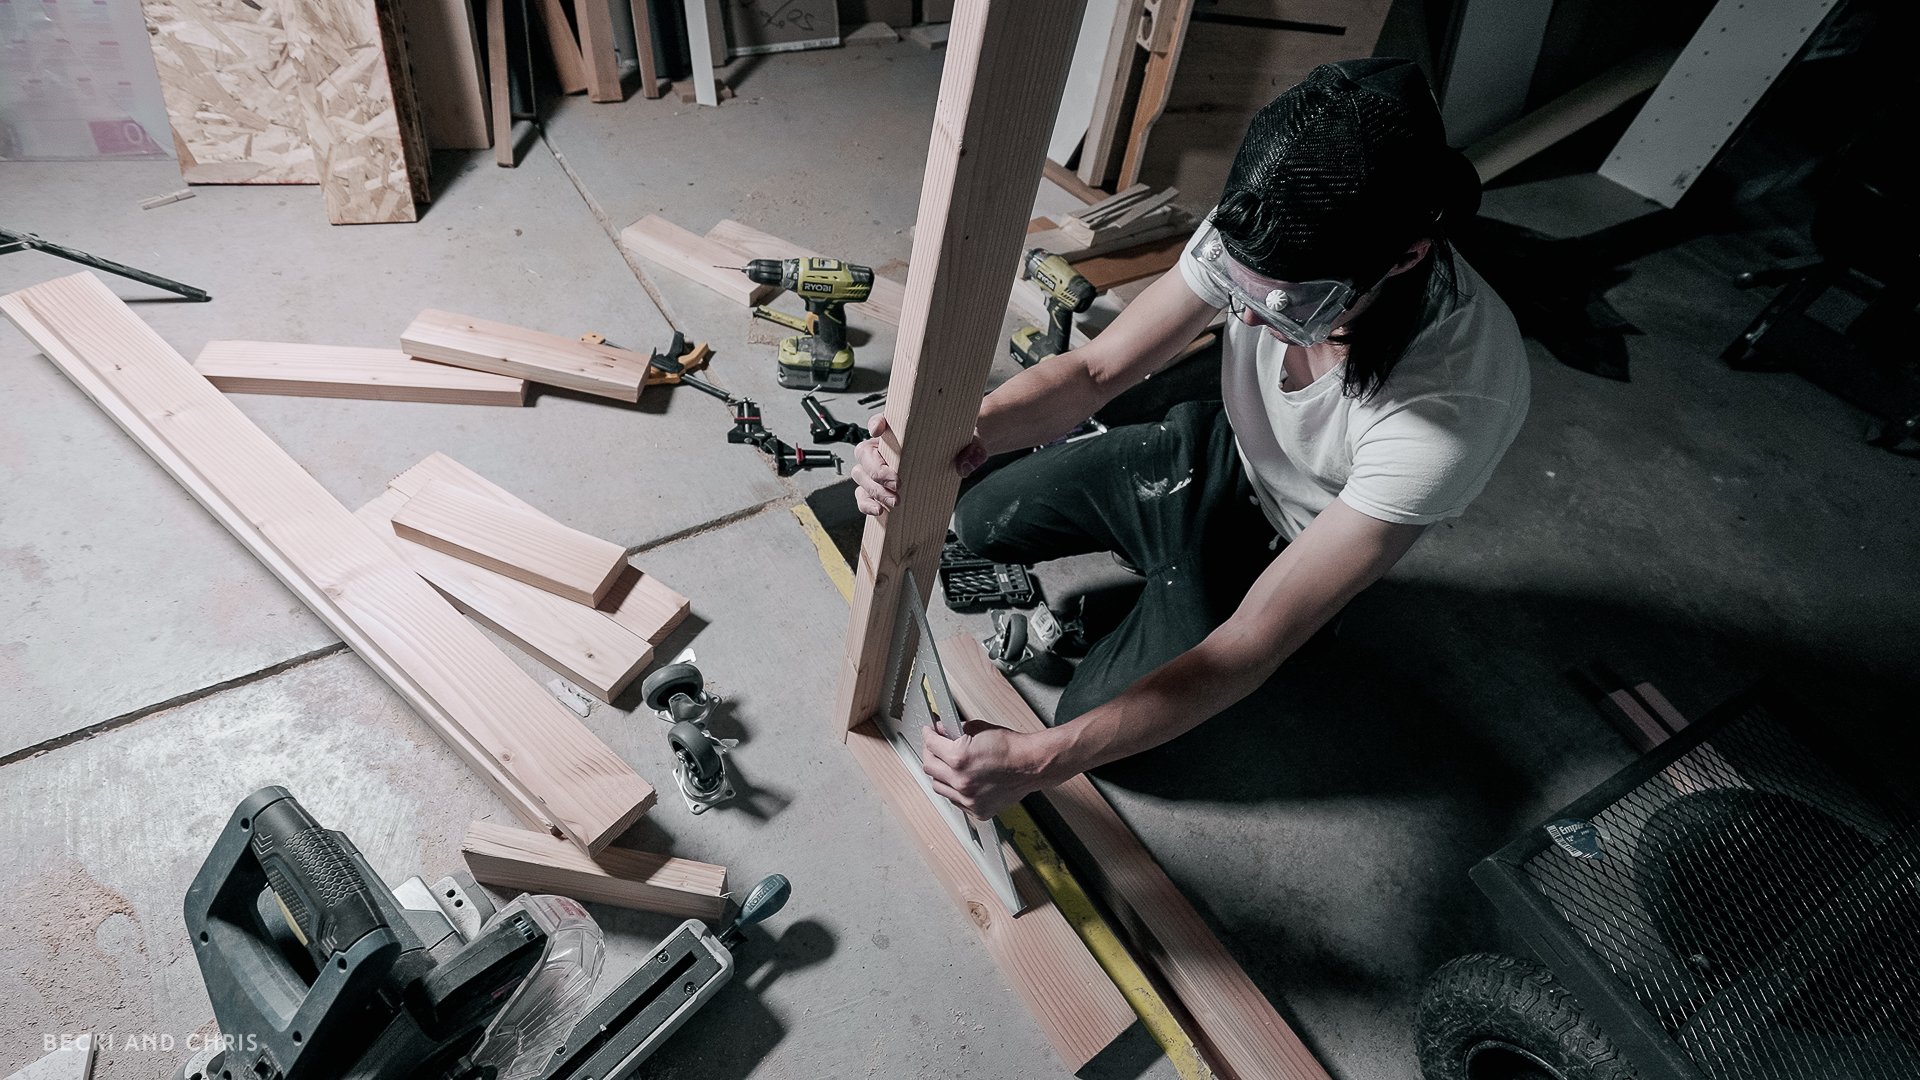
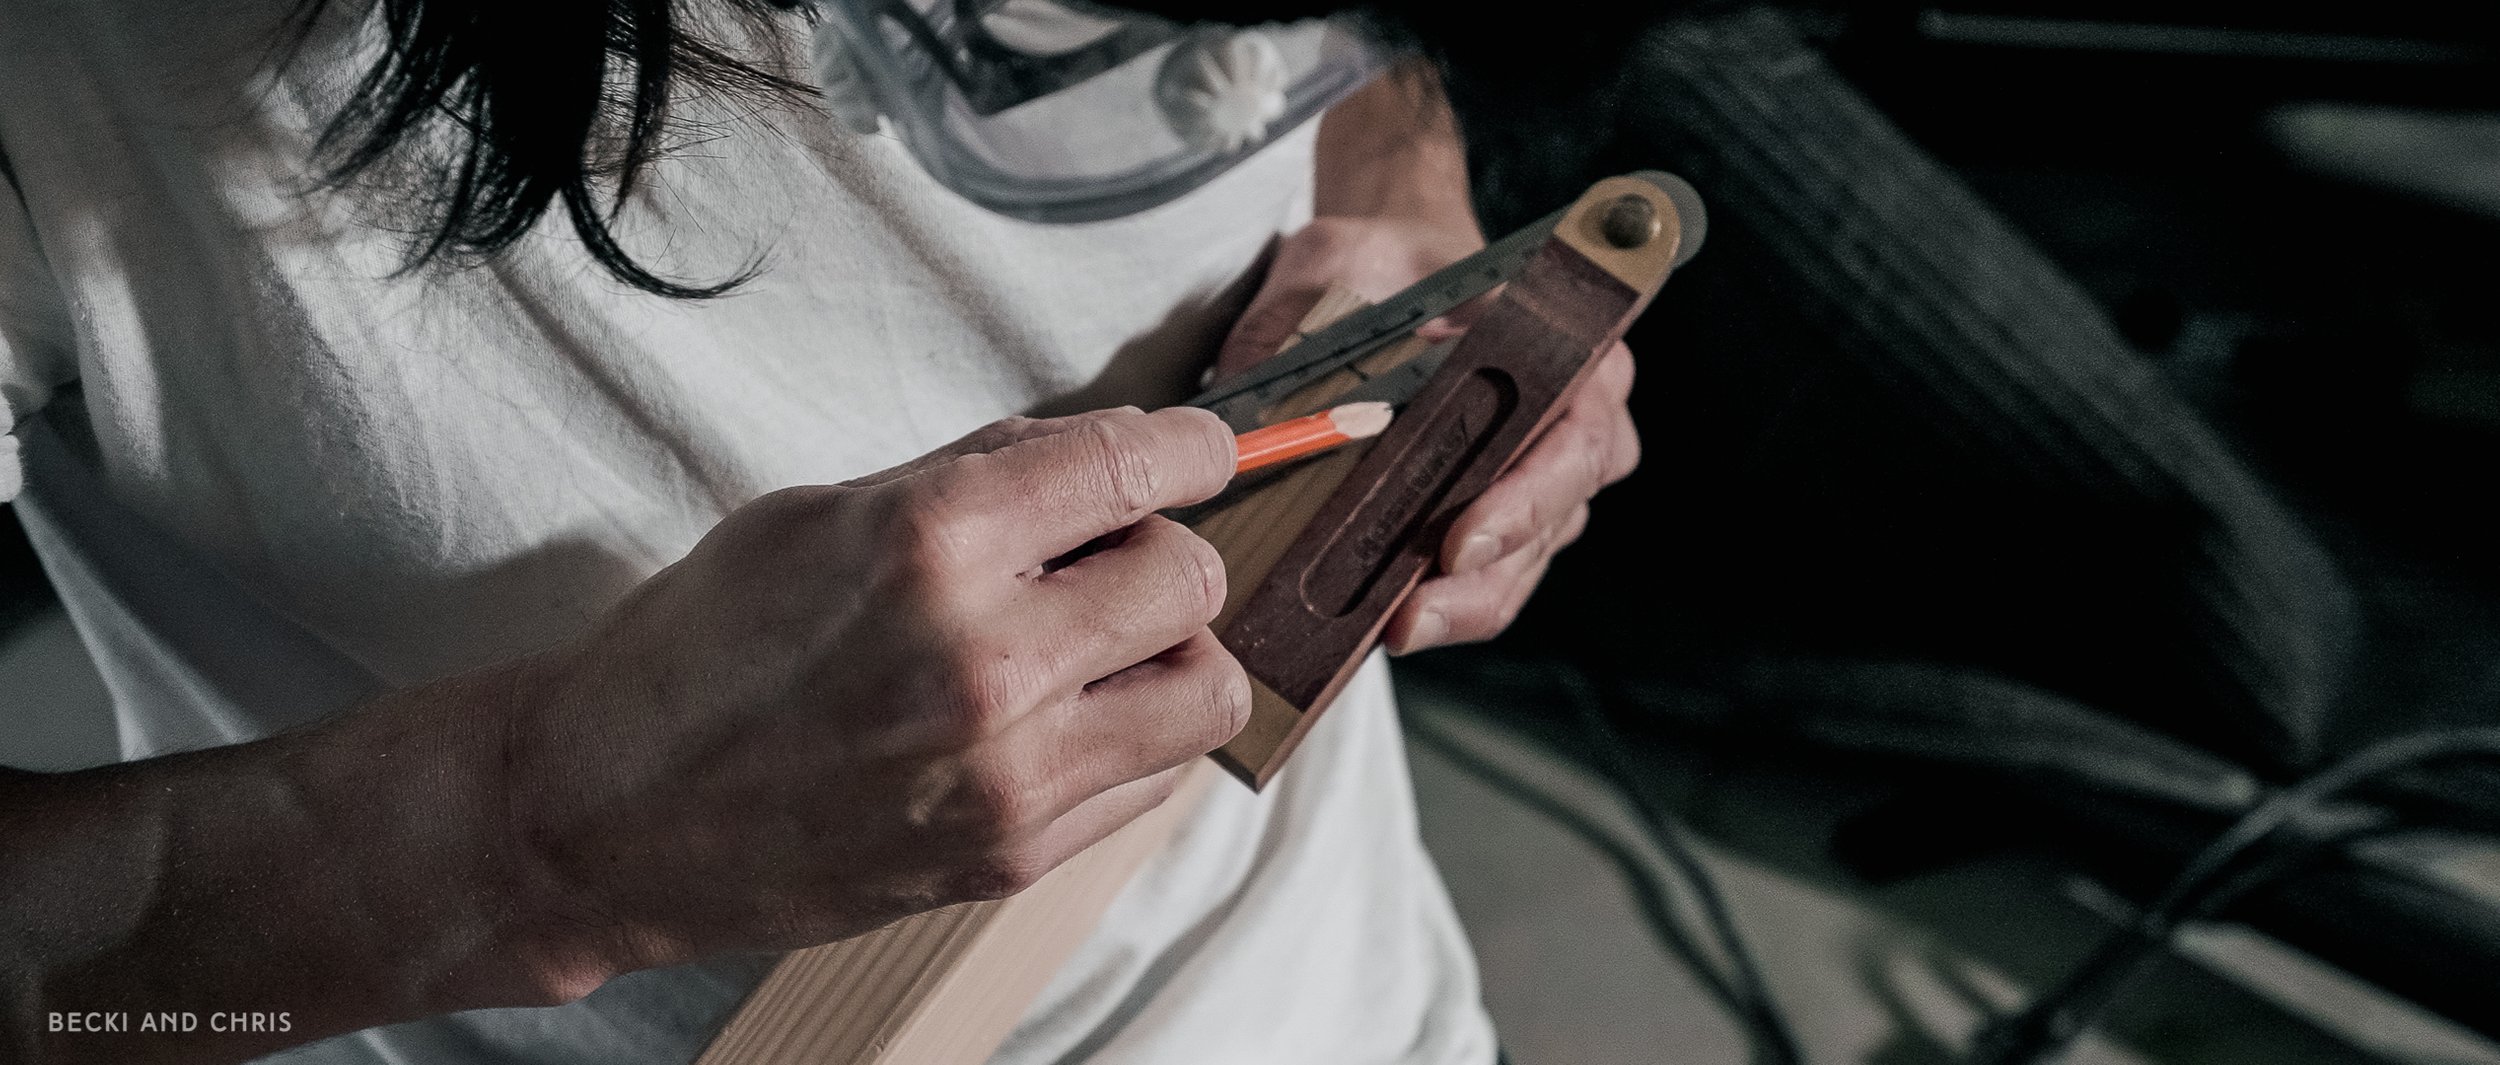
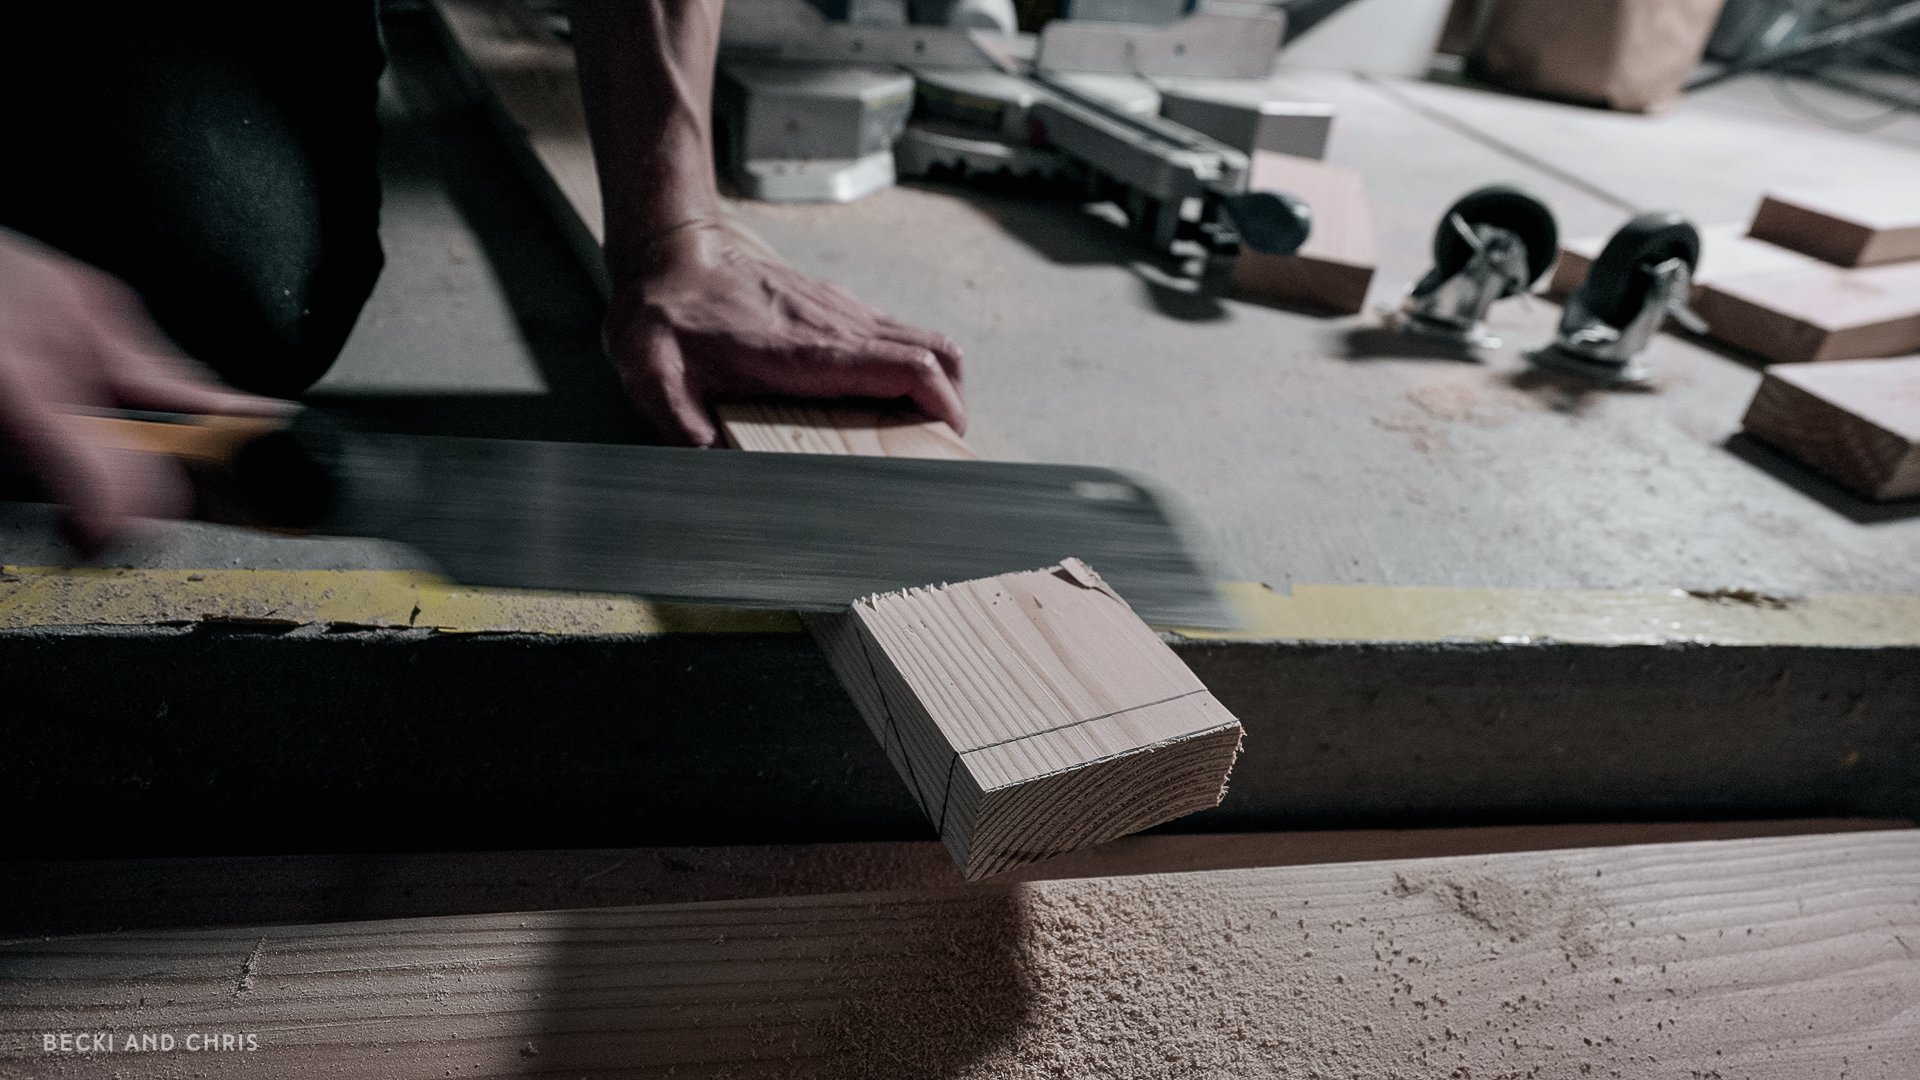
Once we had the “L” part of the triangle assembled, we dry fit the hypotenuse/diagonal piece in place, marked the miter angles at the top and bottom, and cut said miters. The top miter was too steep for our miter saw so we used a Japanese pull saw and manually cut it. This was quite labor intensive and a bit tricky, so go slow and try and be as precise as possible. It helps to mark the cut on all four sides of the wood with a speed square to make sure your cut stays on track. With the diagonal member cut, we fastened the triangle together with three countersunk screws at each joint.
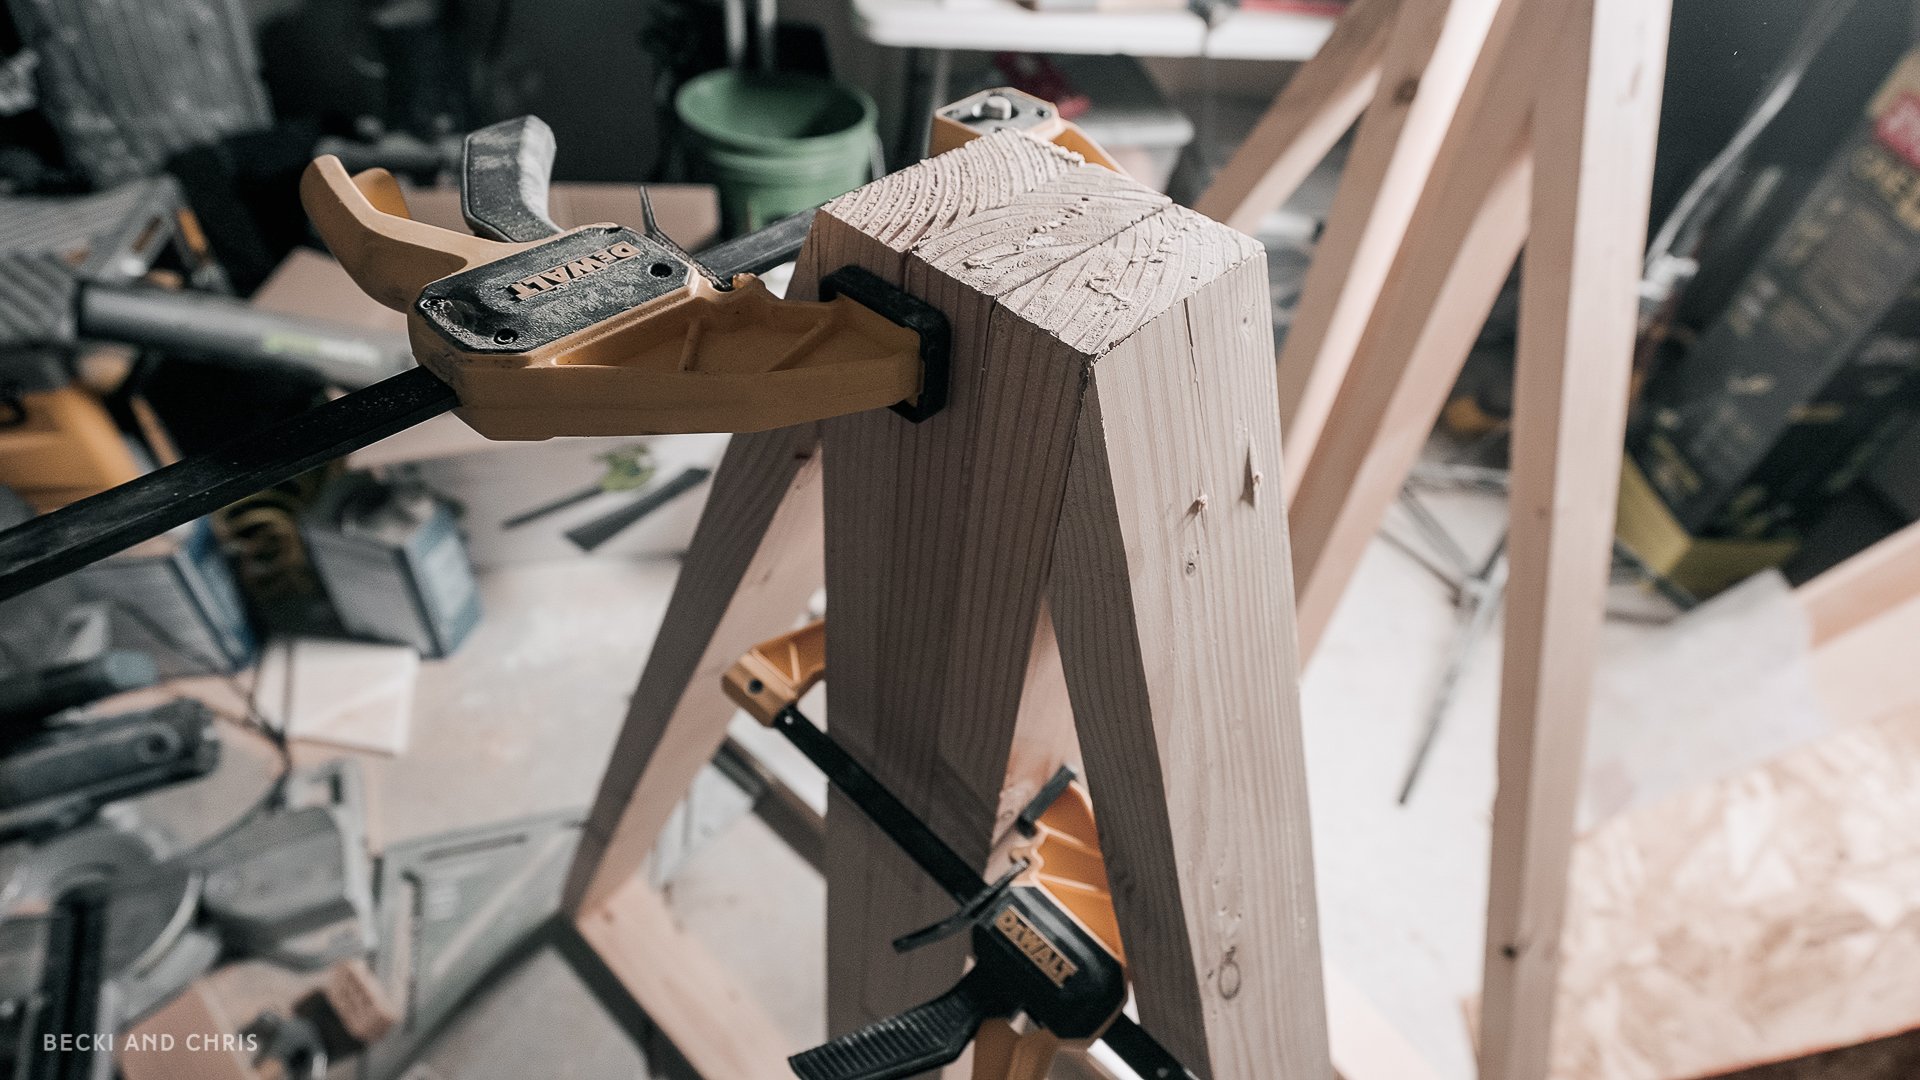
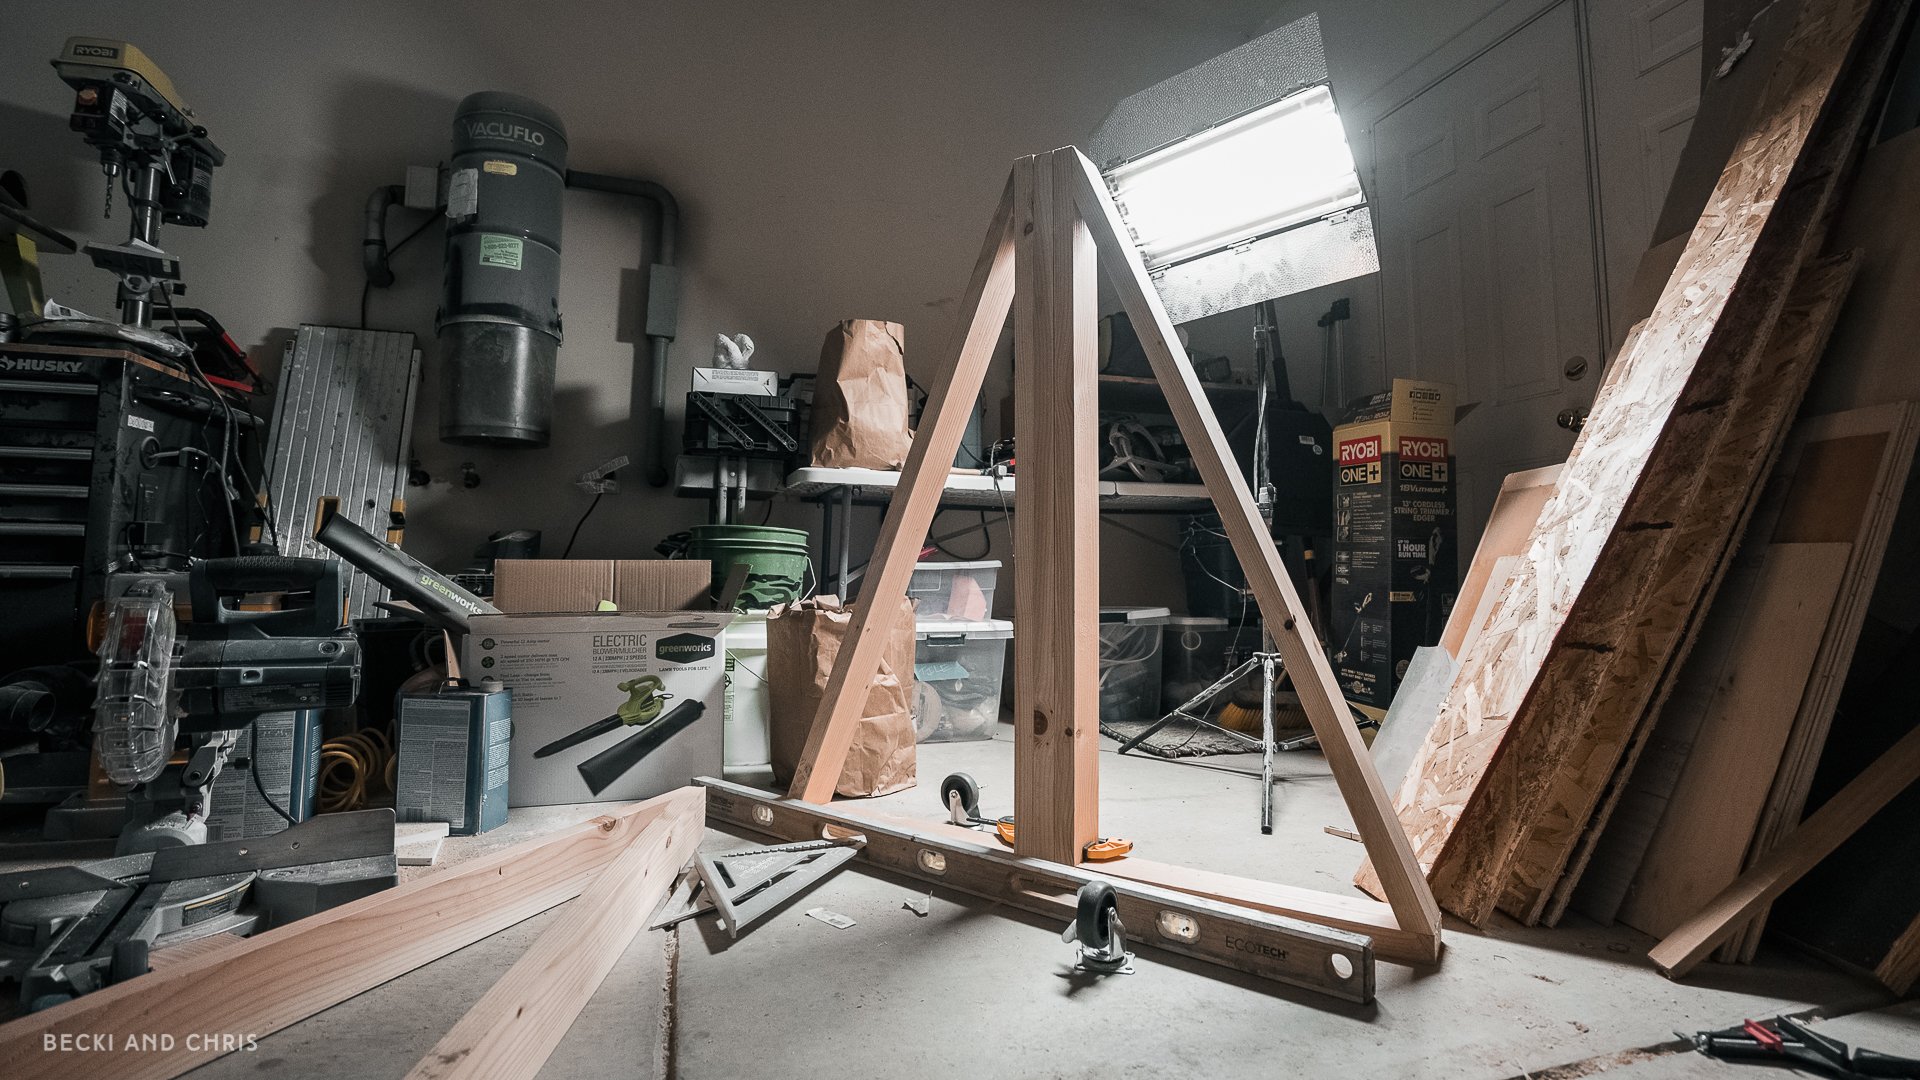
Once all four right angle triangles were built, we combined two to make one final leg. Essentially we’re taking two of the right angle triangles we made in the previous step and creating an isosceles triangle. To do this, we cut an additional vertical segment, one for each of the two legs. Two triangle frames were then attached back to back, with the extra vertical member between them to join everything. The thick center post creates a sturdy post to attach the leg to the wall framing later.
We used a belt sander to even out any over hanging edges and a random orbital sander to ease the edges and smooth out any imperfections in the wood. We weren’t too particular though since they are 2x4s, but we wanted to make sure any splinters and chunks were smoothed out.
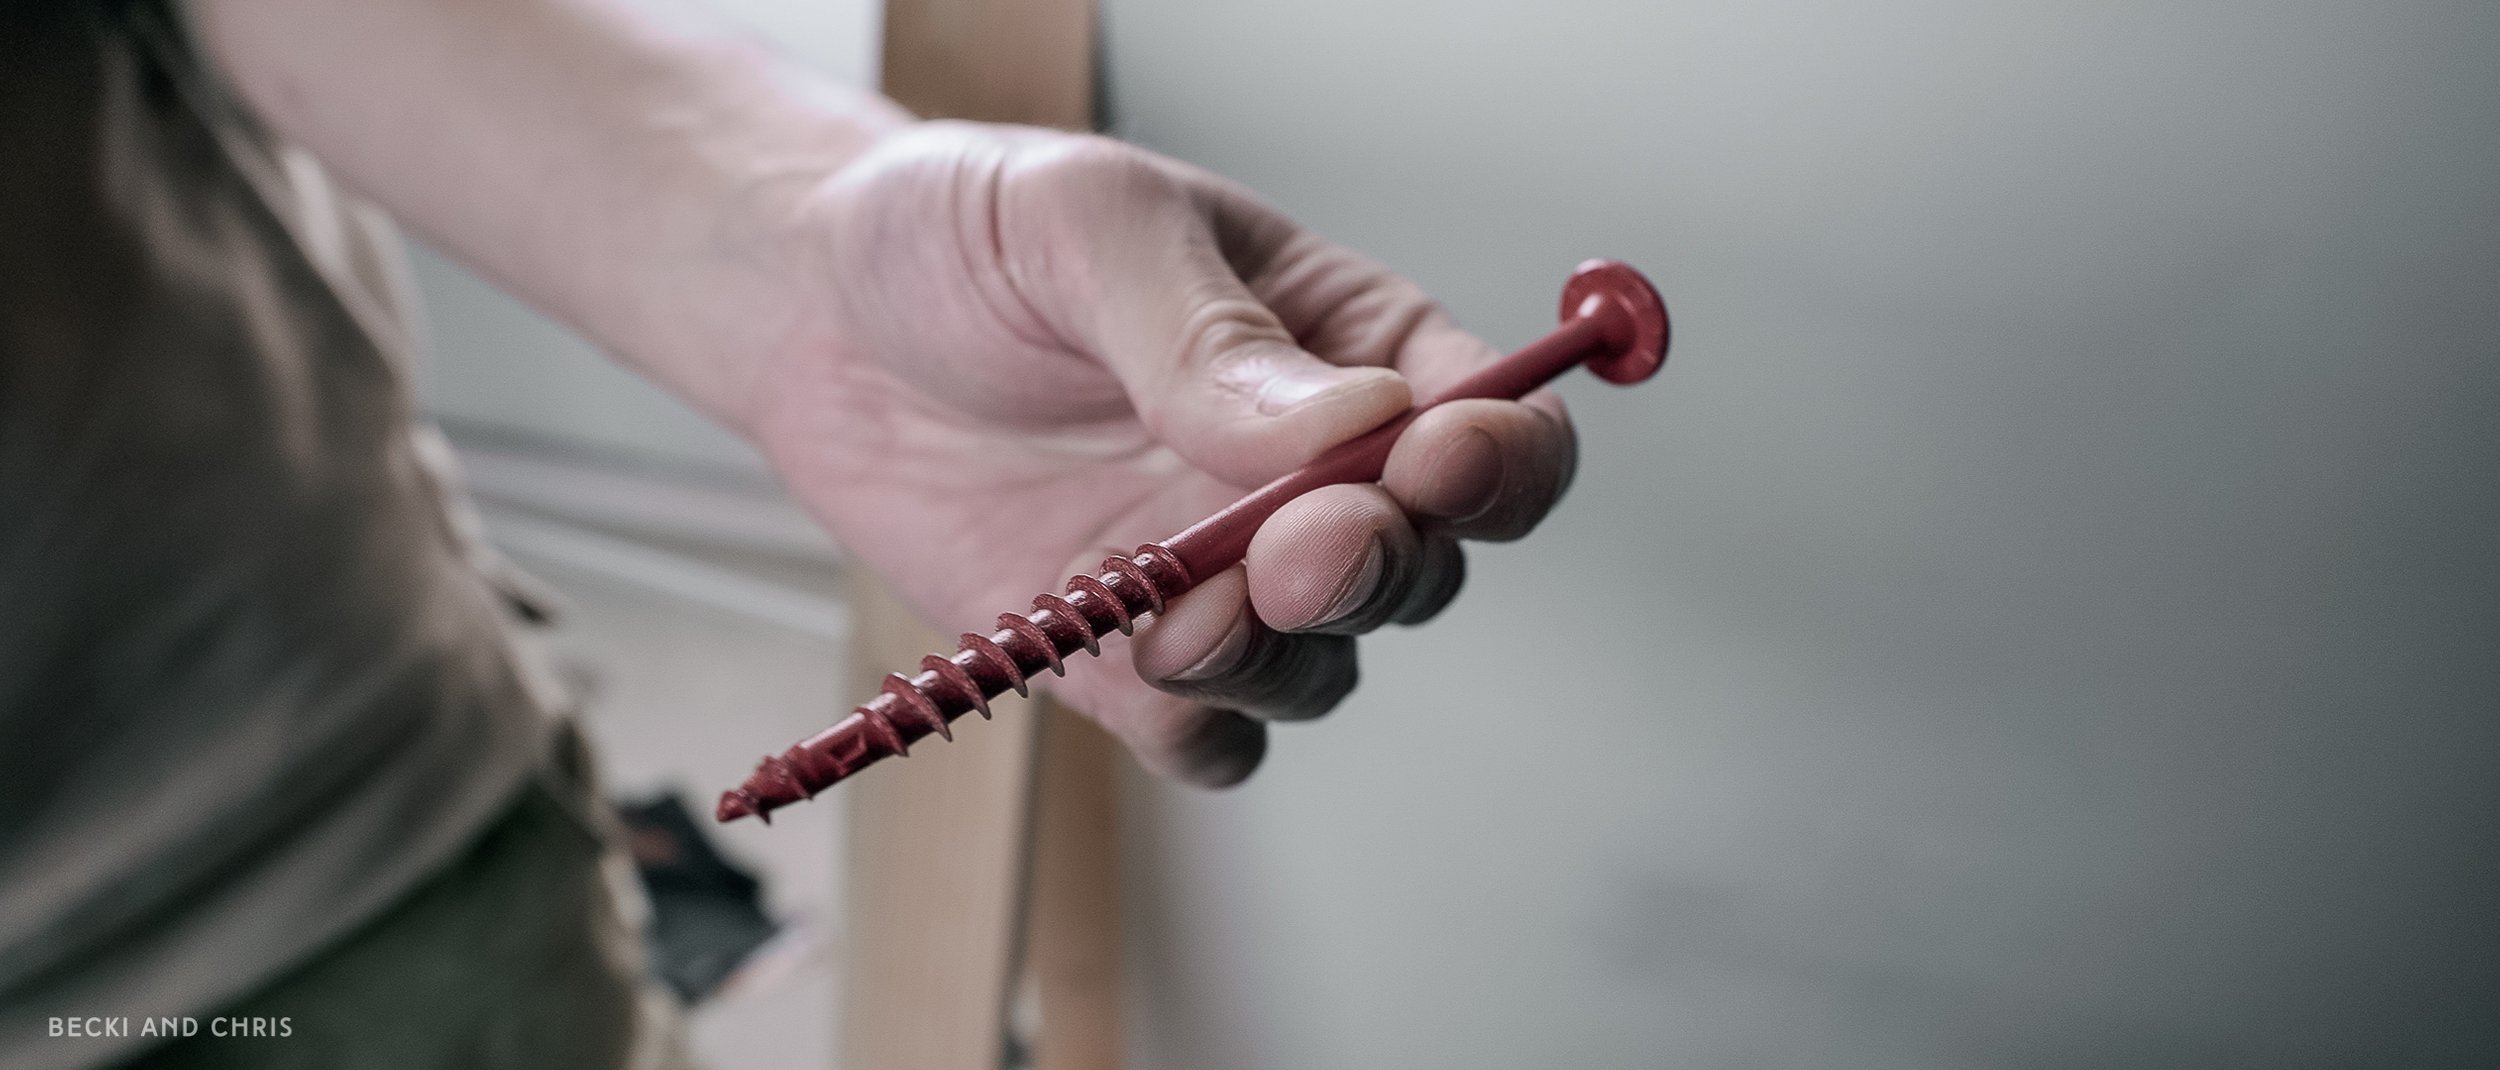
We then carefully stood the wall up on its own, using a level to make sure it was standing plumb. We placed the finished legs in place and drilled pilot holes through the vertical member of each leg and into the wall framing. We drilled four holes for each leg, sized for the structural screws we bought for fastening the legs to the wall. Generally the drill bit should be the same size as the shank of the screw minus the threads. Before doing this though, we used a Forstner bit that was just a bit bigger than the flat head of the structural screws to provide counter sink and allow the screw heads to sit flush. This is optional.

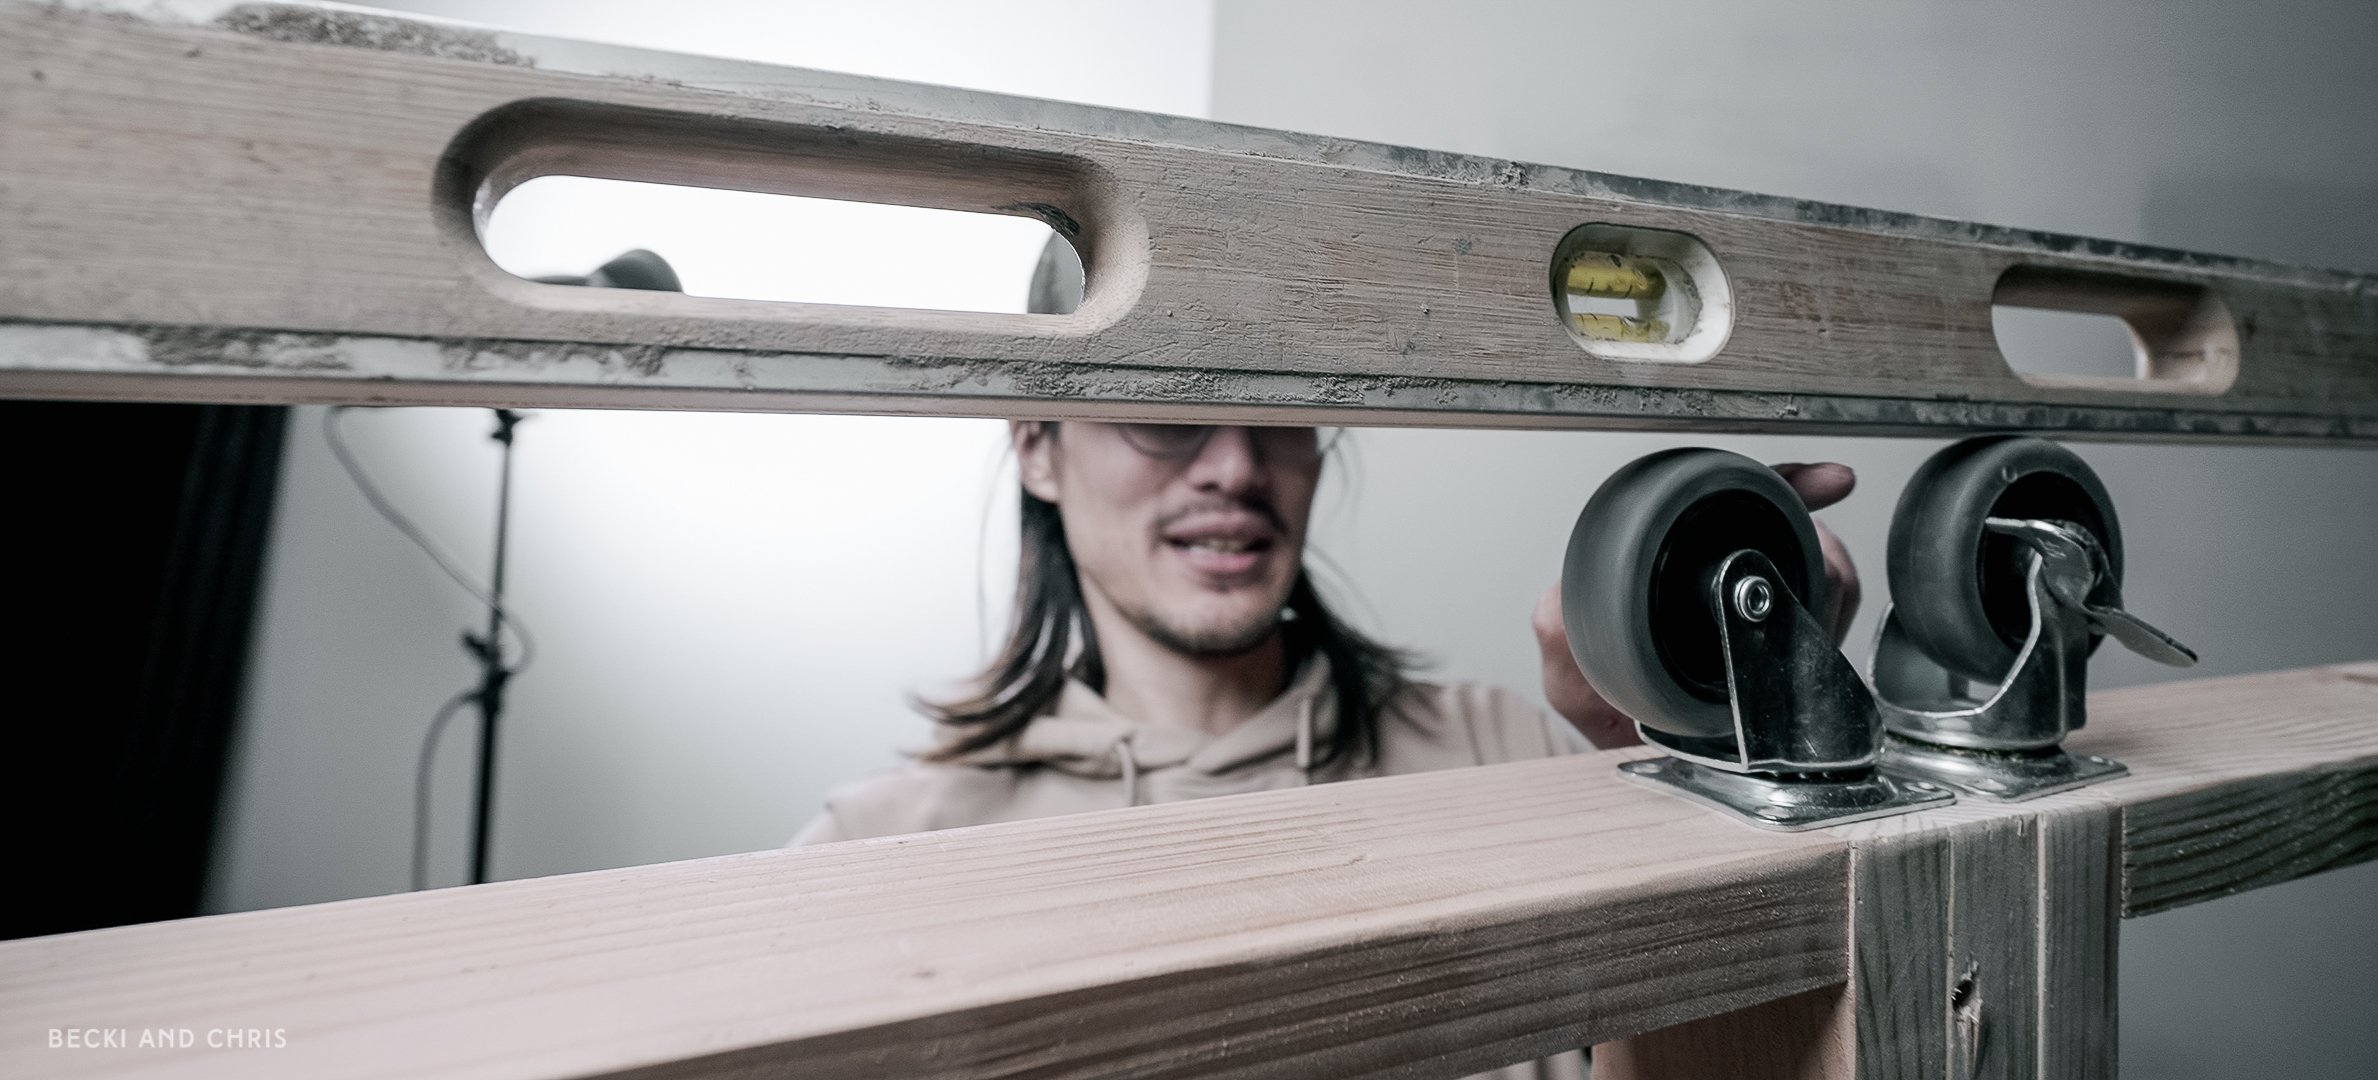
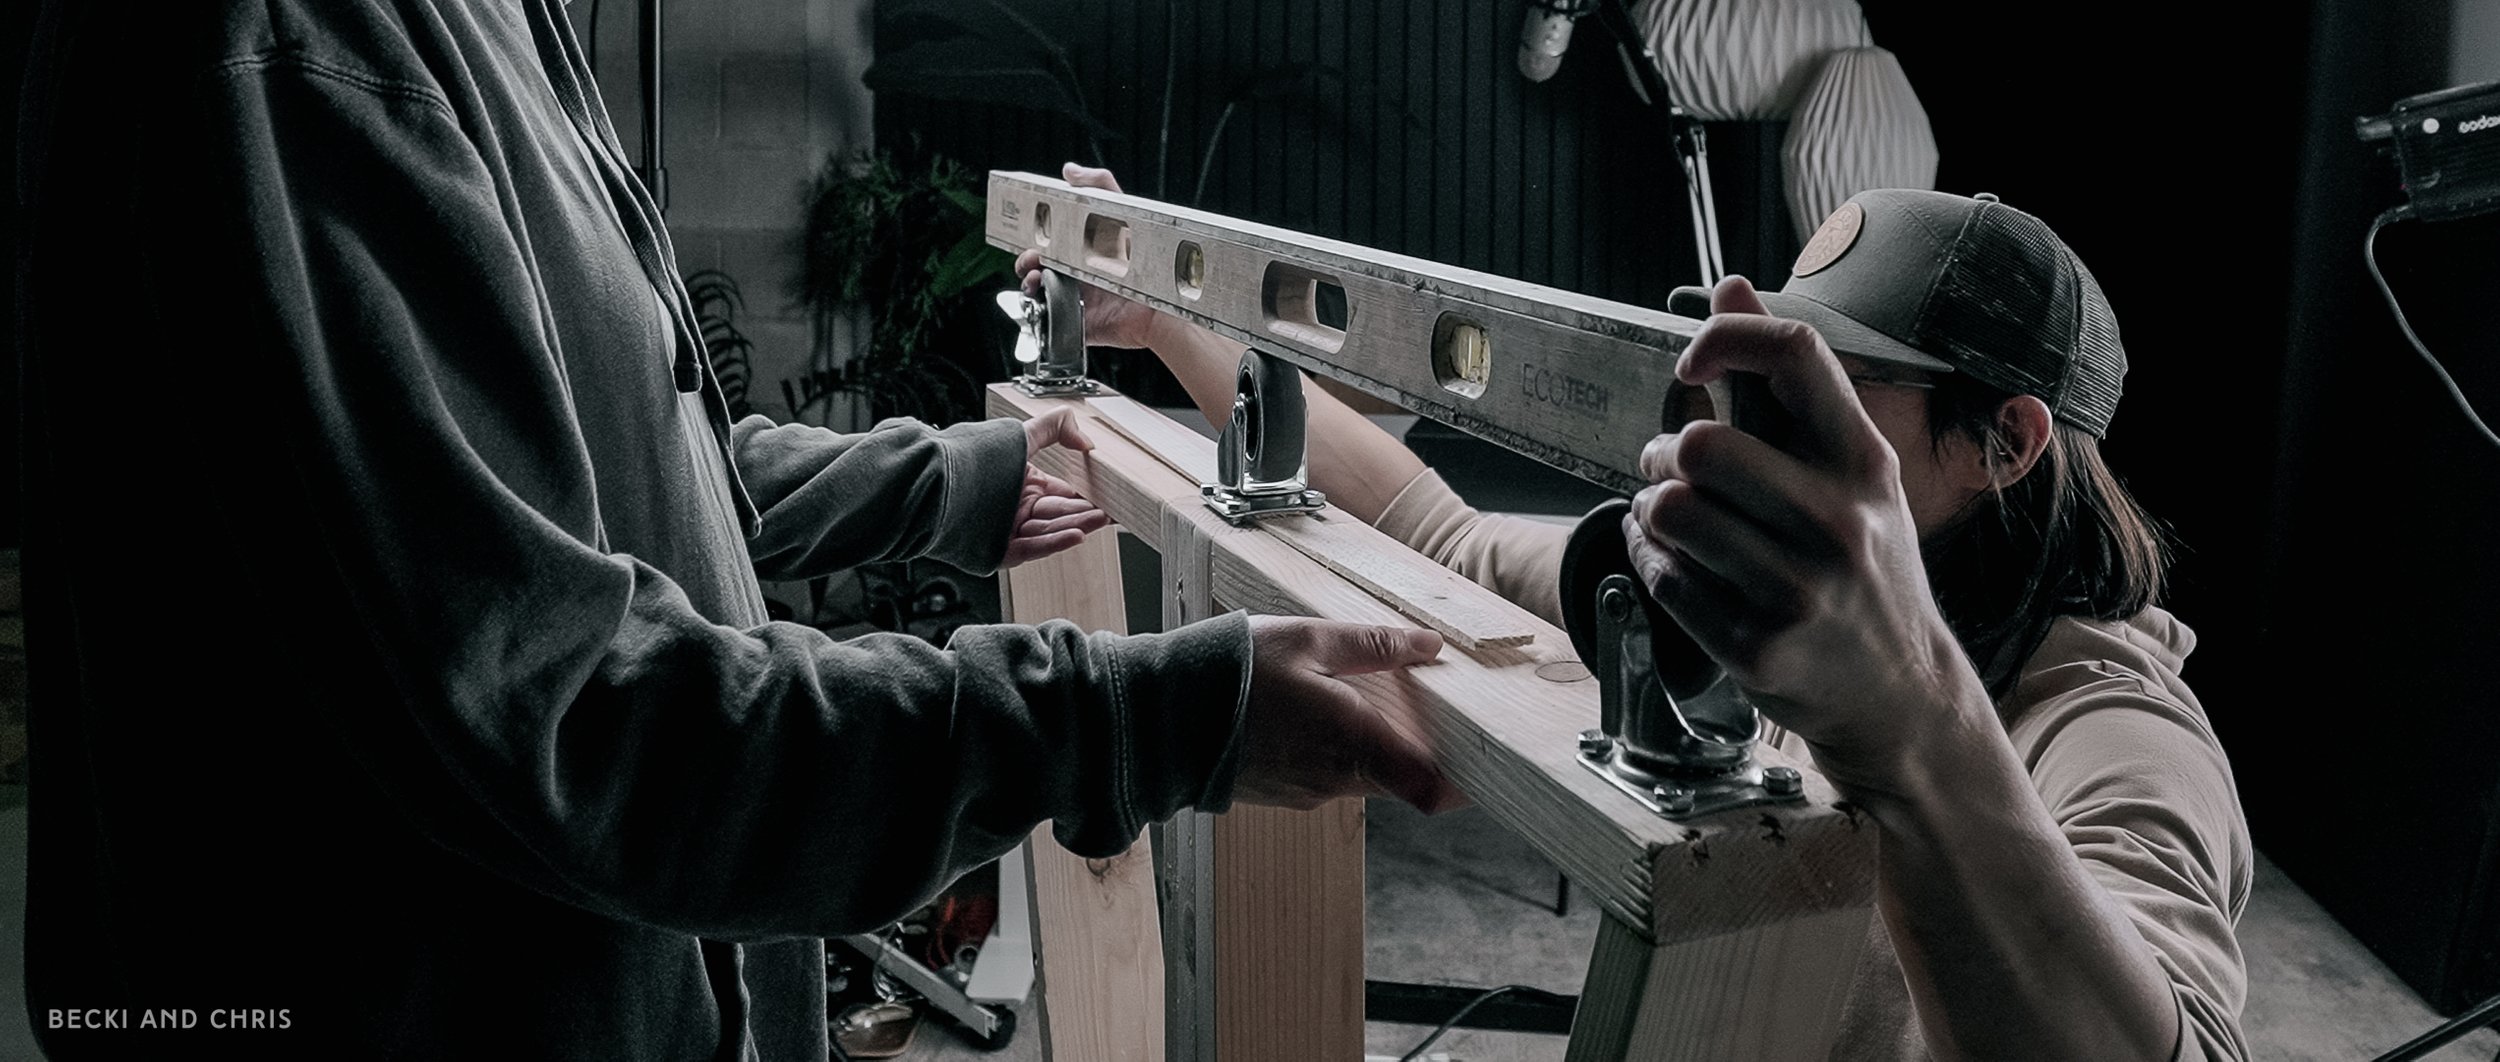
We then screwed the structural screws in to attach the legs and make sure everything worked out from an attachment stand point. Then we unscrewed the structural screws, removed the legs, flipped them over, pre drilled holes for the lag bolts, and attached the 3” castors with lag bolts. We used castors with brakes at each corner and brakeless castors in the middle of each leg for support. Note that the brakeless castors were slightly shorter than the brake version, so we had to shim the middle brakeless castor and make sure all three wheels were on the same plane using a level.

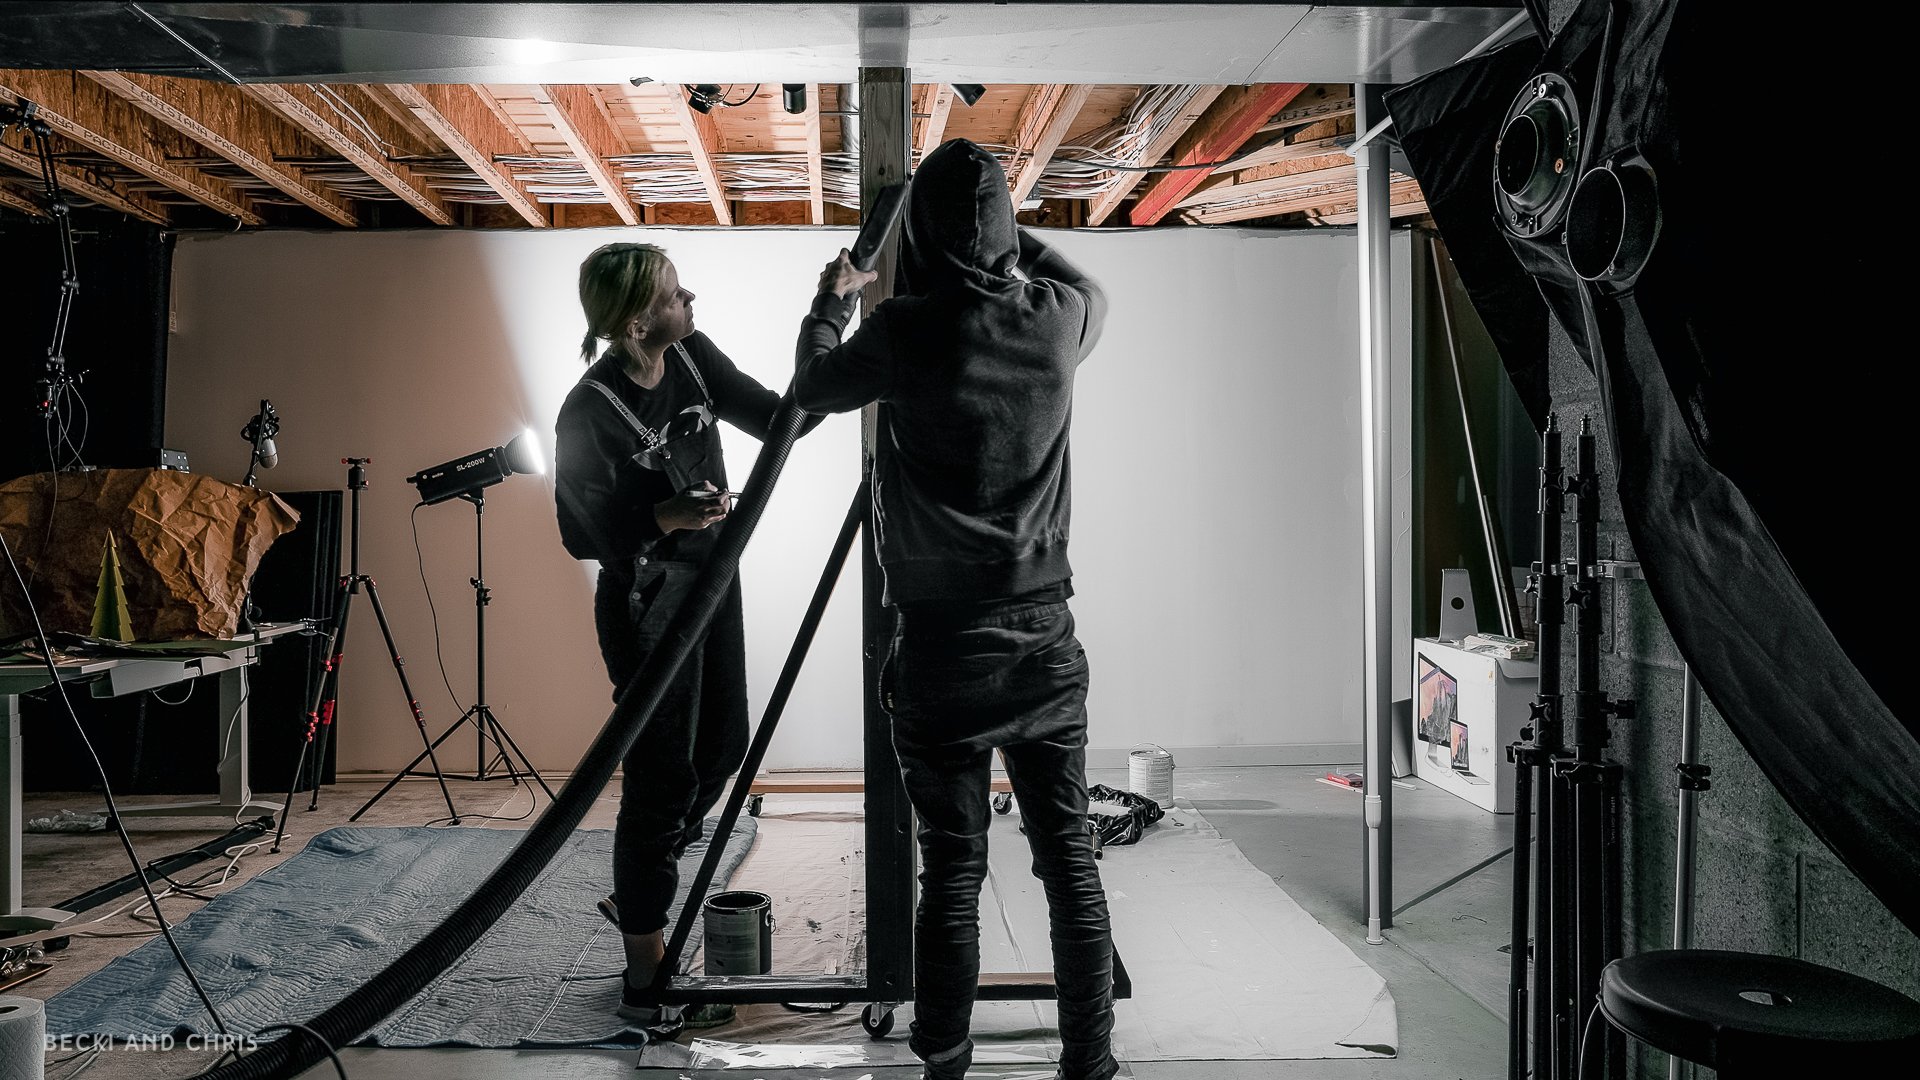
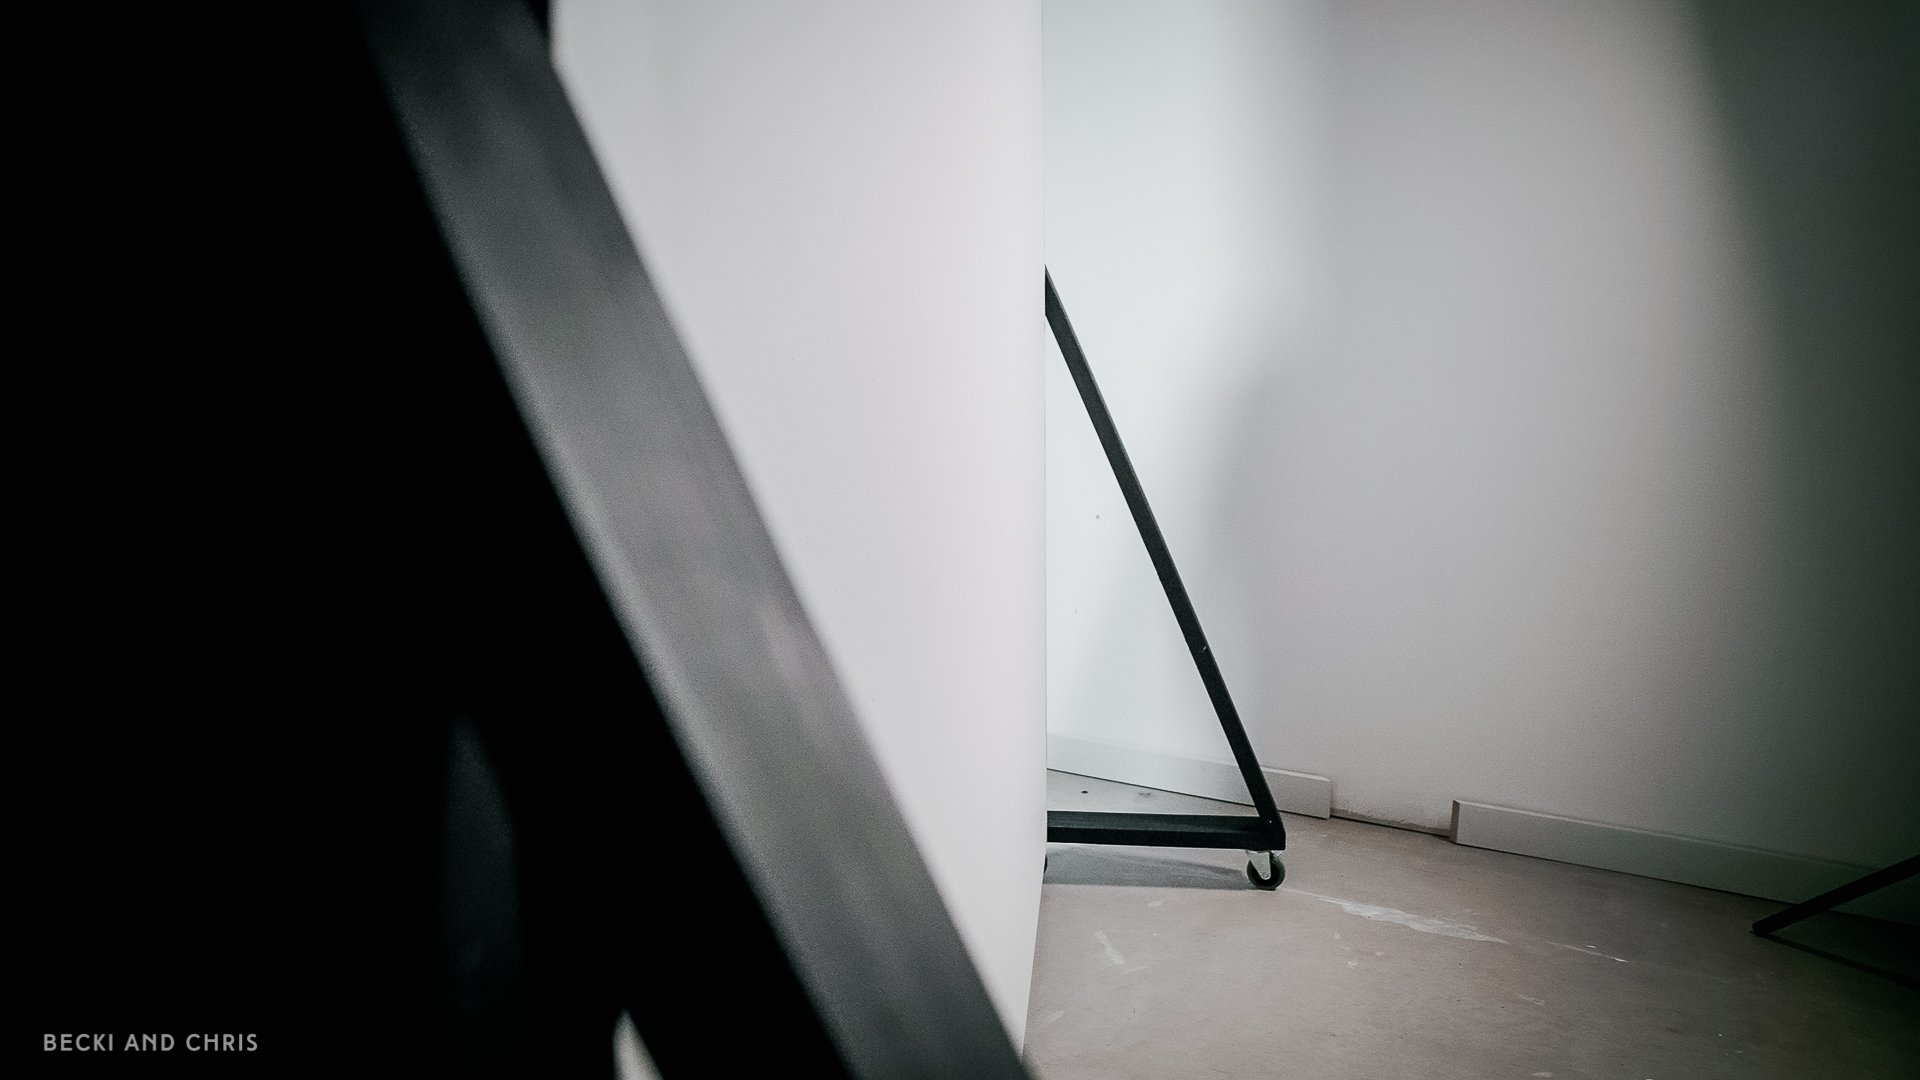
We turned the legs back over, wheel side down, and placed them back in place next to the wall. We used air wedge tools to jack one end of the wall up, reattached the leg using the pre drilled holes and structural screws from earlier, and then jacked the other side up and reattached the other leg.
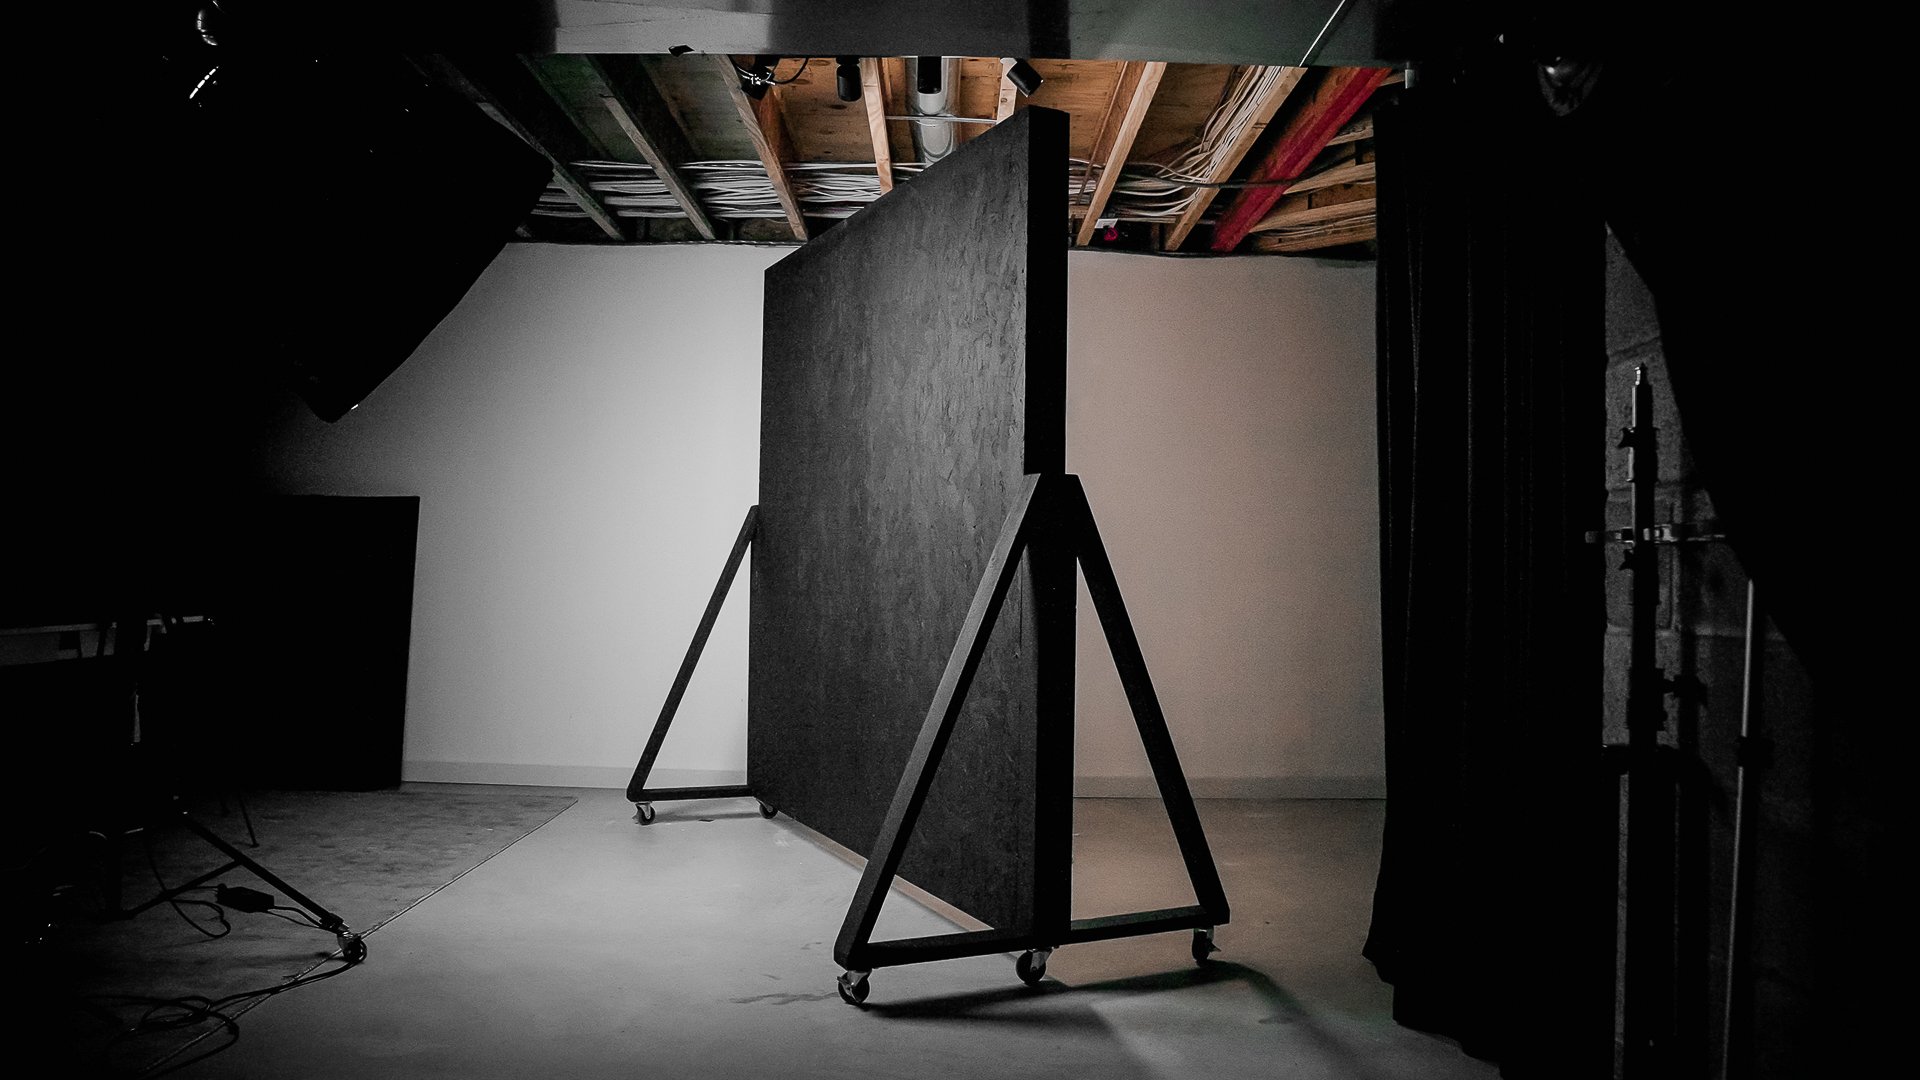
With legs attached securely, your wall should stand sturdy on its own!
We then primed the drywall side and painted the OSB matte black to match the rest of our studio.
PROJECT RATING
Skill Level?
Beginner/Intermediate.
If you have a basic understanding of tools and have the equipment required you can pull off this project in about a week (factoring multiple days for the plaster drying). Although none of the techniques are necessarily complex, they do span quite a range from basic carpentry, to drywall finishing, to painting.
Would You Do It Again?
Sure! If we need another temporary wall, this is as a great solution.
Was it Worth The Hassle?
Yes, the wall is sturdy, yet still mobile.
You can watch us build this project in the video below.
BECKI AND CHRIS
Instagram: https://www.instagram.com/beckiandchris
YouTube: https://www.youtube.com/c/beckiandchris
Twitter: https://twitter.com/beckiandchris