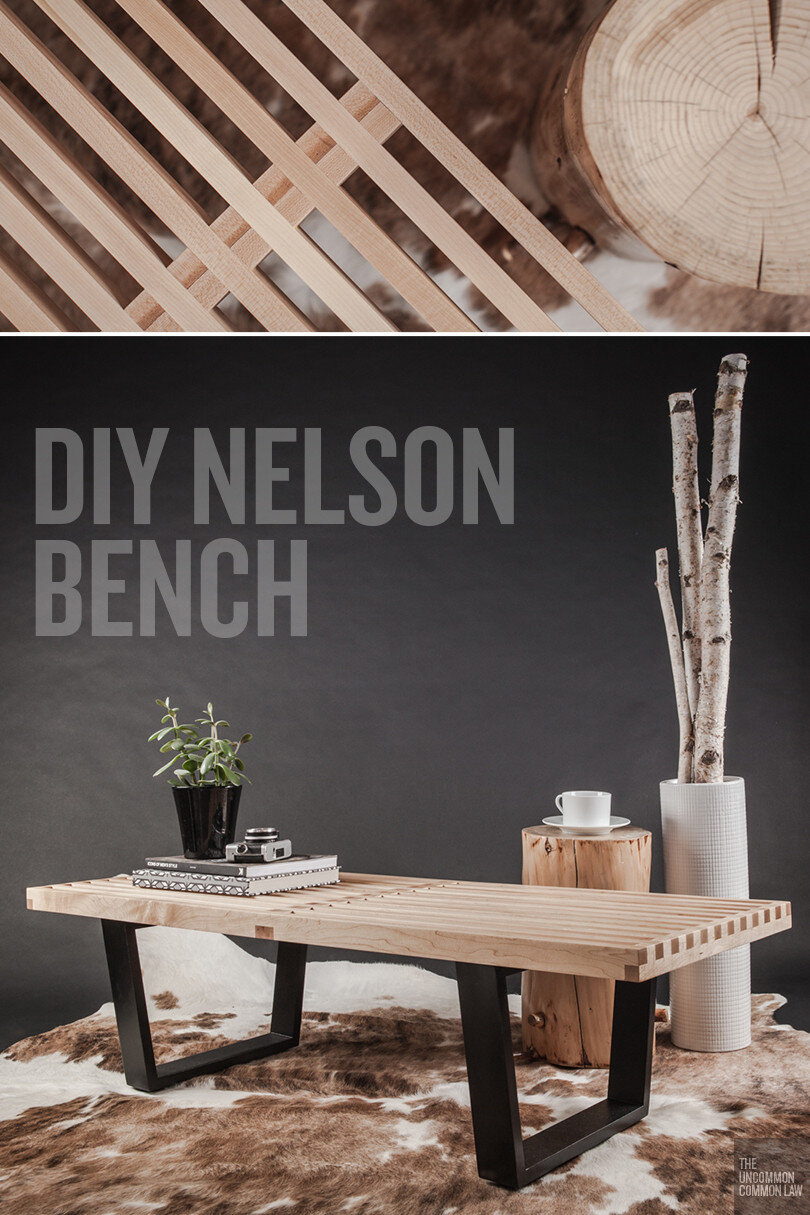
DIY Nelson Platform Bench

For those of you who missed the frenzy of East Coast Creative's Creating With the Stars competition, we were selected as one of 12 contestants to compete and won! Here's a full tutorial for our round one project!
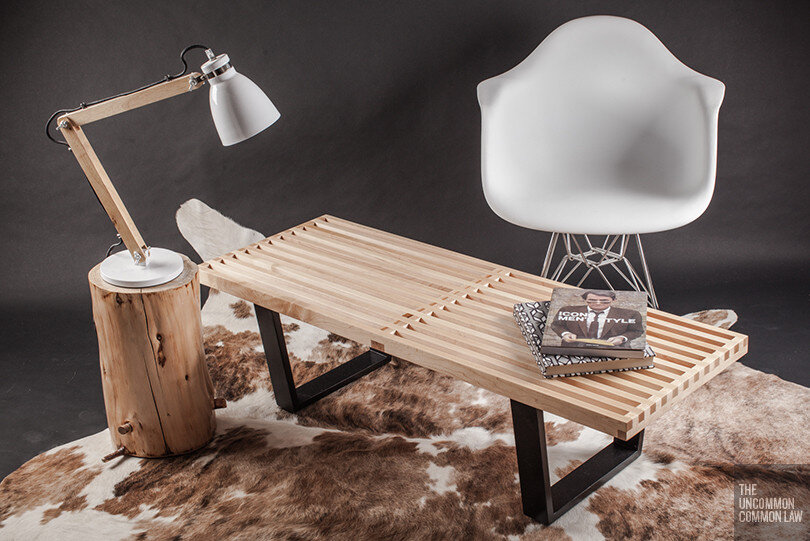
The first round's theme was create a DIY knock off of an existing product. We love the midcentury modern aesthetic, so we chose to recreate the iconic Nelson Platform Bench by furniture company Herman Miller. This is the classic midcentury modern "slat bench" (inspiring our slat wall) which has been in production since 1946! We constructed our bench from 100% Canadian maple, with a total out of pocket cost of $136.52 (only had to purchase the lumber). Not a bad savings when compared to the original price of $899 plus shipping!

Tools:
Compound mitre saw
Table saw with dado blade (or router table with 3/4" dado bit) (or fine toothed backsaw, chisel, and patience)
Air compressor and brad nailer (optional)
Belt sander (not require if your dado depth is exact)
Impact driver
Drill
Counter sink bit
Materials:
7 lengths of 1x2x8 maple lumber
2 lengths of 1x3x6 maple lumber
1 1/4" 18 g brad nails
1 3/4" wood screws
Wood glue
Minwax Polyshades in Classic Black
Hammer-in felt furniture sliders
Wood filler
Sand paper

Planning was based on the specs found on the Herman Miller website. Interestingly, they provide 3D files of all their products which allowed us to pull angles and measurements directly from SketchUp! Note the slats in the original Nelson bench are actually a non-standard 5/8" x 1 3/4" - we opted to use standard 1x2s (which actually measure 3/4" x 1 1/2") to avoid having to rip down our own lumber, saving time and money. On a four foot bench, the slightly smaller lumber doesn't alter stability.

The first step was to cut 12 four foot slats from six of the 1x2x8s. They were actually a bit shy of four feet, as we cut a bit extra off the ends to make all the pieces equal in length.

The seventh 1x2 was cut into four pieces to create the cross braces that hold the slats together. Note that even though the final length of the cross braces would be 17 1/4" (the depth of the bench), the 1x2 was cut into four roughly equal 24" pieces. The extra length on the ends was used to screw the pieces together. This allowed all the dado cuts to be made simultaneously, ensuring that all pieces were identical.
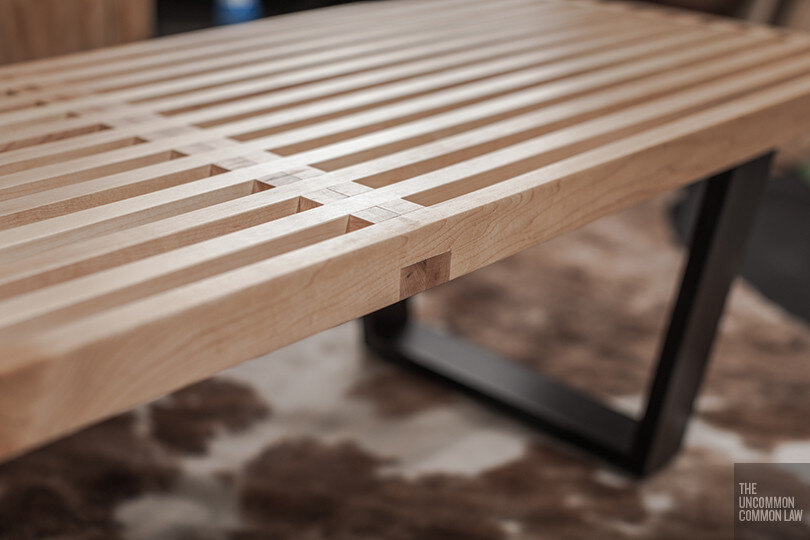
The next step, cutting the dado joints, is crucial. Really take the time to dial in the width and height of your blade to ensure a nice snug and flush fit. Your cut width should be identical to the width of the 1x2s you're using and the height should be exactly half. Test the fit with scrap 1x2s.
Three-quarter inch dados were cut through the cross braces, 3/4" deep and evenly spaced by 3/4". To ensure uniform spacing, a jig was created and clamped to the mitre gauge (which can be pushed back and forth via the mitre slot in a consistent, repeatable manner). The jig was made by taking a small cut end off a 1x2 to act as a spacer (matches the dado width of 3/4") and screwing it to a scrap piece of particle board. The spacer was positioned exactly 3/4" away from the nearest edge of the dado blade (this distance determined the size of the gap between dados).

The first dado was cut through the cross braces, and then that freshly cut dado was fit snugly over the 1x2 on the jig. Since the jig's 1x2 block was precisely mounted 3/4" away from the blade, everything automatically lined up for the second dado cut. This was repeated for a total of 12 dados, the cross brace repeatedly hopping over exactly 3/4" between every cut. The screwed together ends of the cross braces were then cut off on the mitre saw, resulting in the final desired cross brace length of ~17 1/4".

Don't have a table saw? This same technique can be used on a router table with a dado bit (I think I got my router table and router on sale as a bundled promotion for $99, and the bit should be fairly cheap depending on your source). Or you could reduce your carbon foot print and use a good old fashioned fine toothed backsaw and chisel like they did in 1955.
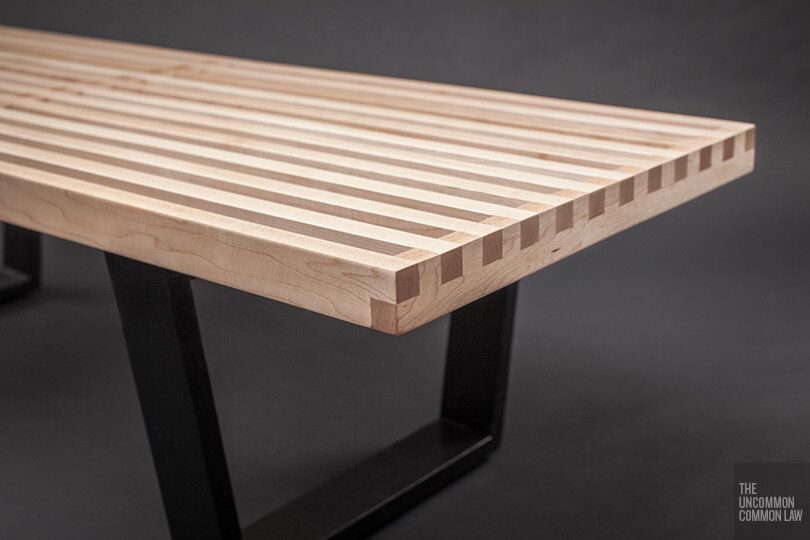
Dados in the twelve slats were cut in a similar manner, but only two cuts in the centre of each slat and one on each end were required. Cuts were made by clamping together four slats at a time. Note that the two centre dados were directly adjacent to one another, effectively making a 1 1/2" wide dado to fit the doubled up centre cross brace.

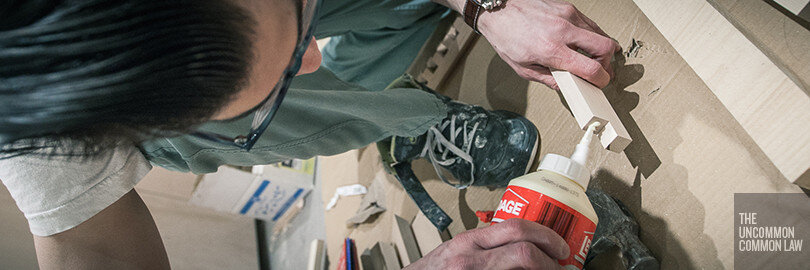
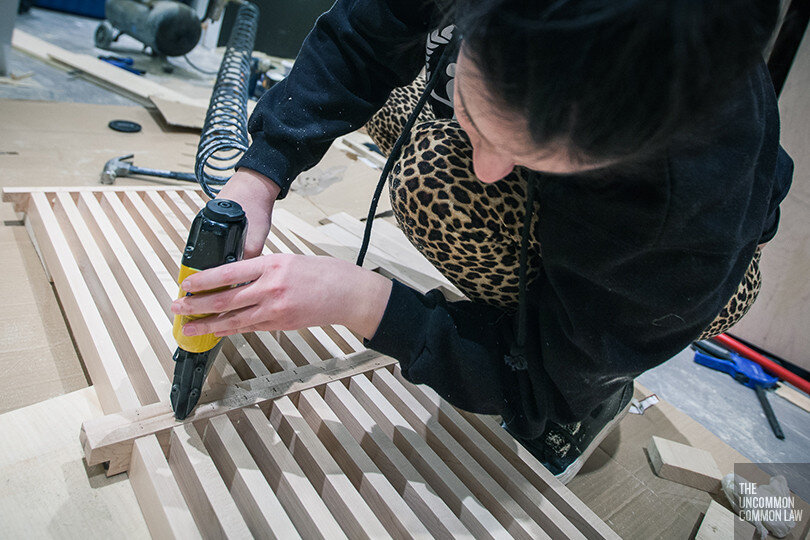
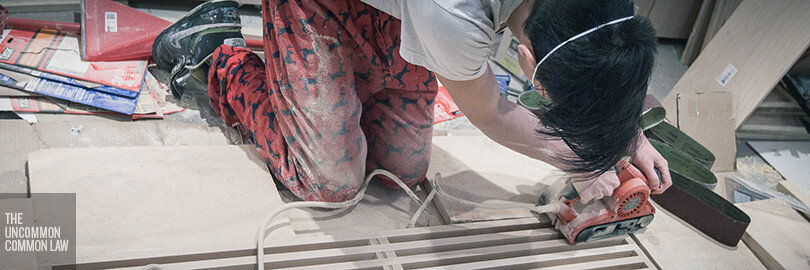
Once the pieces were all cut (and tested by dry fitting them together), the joints were glued and brad nailed from underneath. Nail holes were filled with wood filler. Alternatively, clamps could be used instead of brad nails to keep the joints held tight together while the glue dries. Once dry, the joints were sanded flush with a belt sander. The sharp edges were eased by hand sanding with 80 grit sand paper and the whole bench was then hand sanded through multiple grits, up to 220.
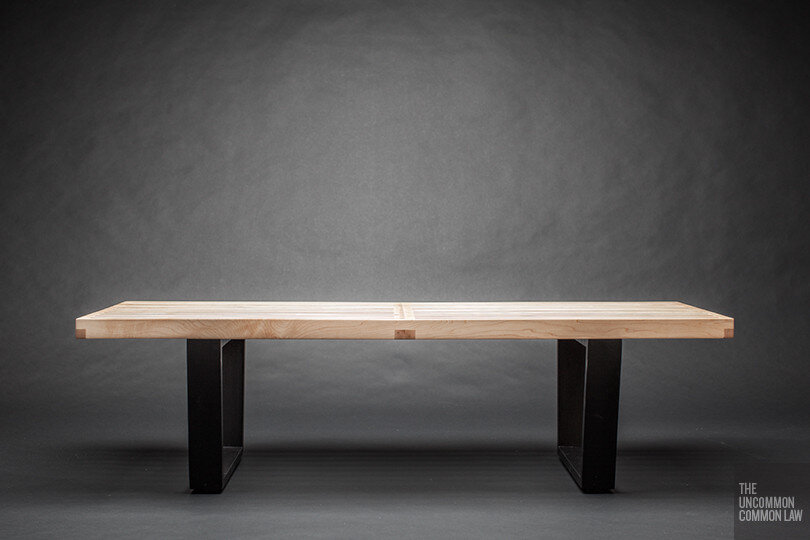
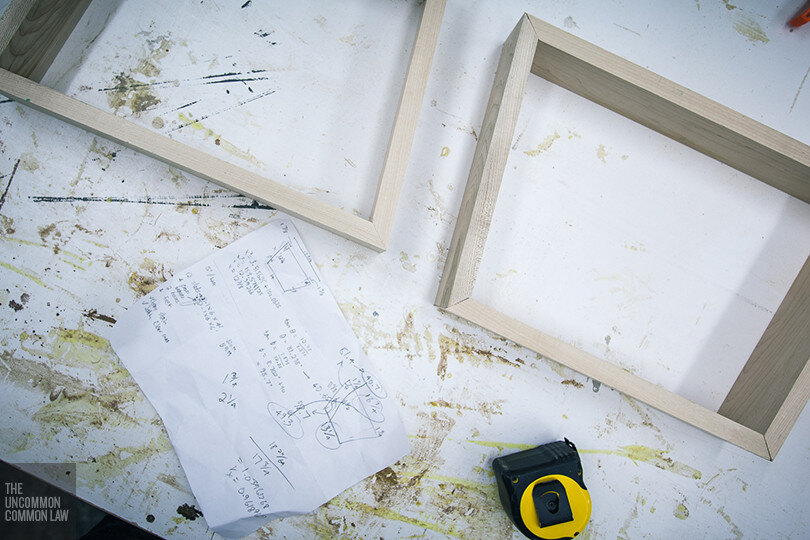
The legs of the bench consist of two trapezoidal rings made from maple 1x3s. Since the bench top was scaled down slightly, we proportionally scaled down the dimensions of the legs. Angles were measured in Sketchup and confirmed by good old fashioned math. The angles we used were 98.6 and 81.4 degrees and the outer perimeter measurements of the trapezoid were as follows: top brace 16 3/4", bottom brace 13 1/4", both sides 12 1/8" (see diagram below).
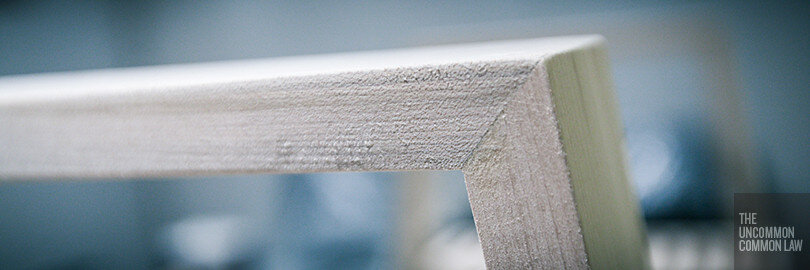
We mitered the joints because we're anal (angles for the end of each piece therefore would be half of 98.6 or 81.4 degrees), but you don't necessarily have to. All cuts were made on a compound mitre saw and the pieces were glued and screwed together (screwed from the top and bottom to ensure holes would be hidden). Countersunk pilot holes were drilled first to prevent wood splitting. The screw holes were concealed with wood filler and, once dry, the legs were sanded like the bench top.
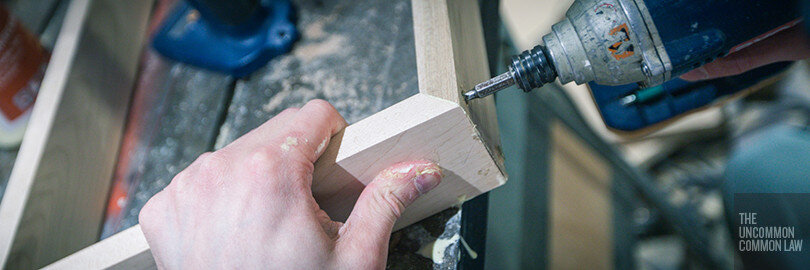
Before moving on to the final wood finishing, we screwed the legs to the bench (again, pre-drilling pilot holes to prevent splitting). We were also extremely careful to drill square with the slats, as the last thing we wanted was a drill bit popping out the side of the bench. We had to use our "close quarters" right angle drill to fit into the opening of the bases. A screw was placed in each slat. Before staining, the legs were removed; the purpose of mounting them first was to simply get all the holes pre drilled because its easier to fix any potential mistakes on raw wood than a finished wood product.

As an aside, anytime you are working with wood stain, please please please don't just jump in and try it on your project right away. Do a stain test on scrap wood. It will save you hours of swearing/re-sanding and if you try various products and techniques, you might be surprised which actually turns out looking the best.
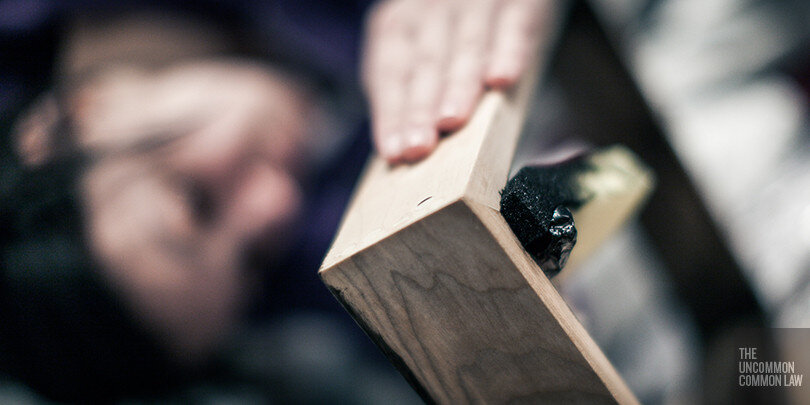
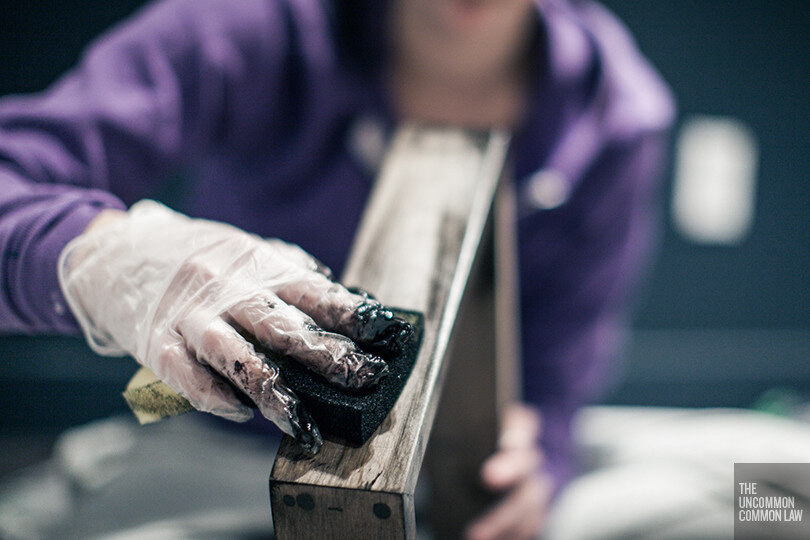
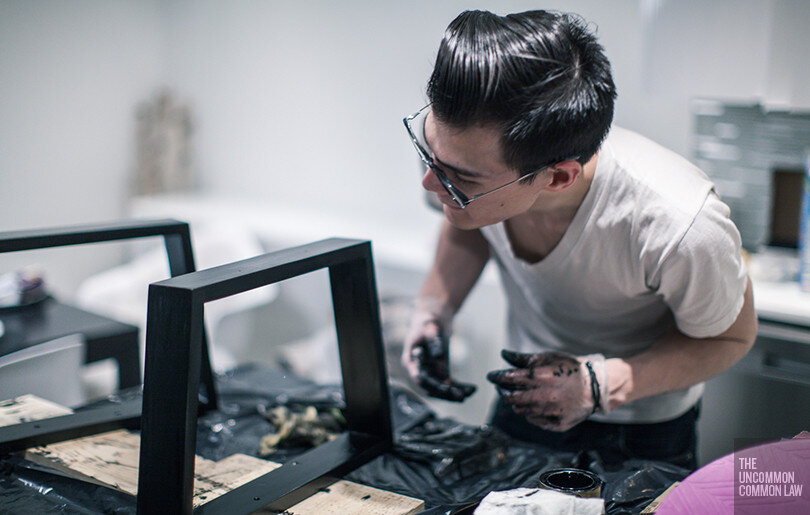
The Herman Miller site says the wood legs are ebonized, which essentially is a fancy way of saying stained black. We used Minwax Polyshades in Classic Black. Im usually weary of these all-in-one stain/clear coat products, but I found it covers a lot more even (more like a gel stain) and is a lot more opaque than a standard ebony stain we tried during our tests. Plus we had already used it on a project a while back with no issues. We applied a single coat of pre-stain wood conditioner first, waited 15 minutes and then applied the first coat of the black stain. Two additional coats were applied, waiting for the legs to completely dry (>8 hours) and lightly sanding with 220 grit paper between coats. The final finish wasn't great (likely because its a combined all-in-one product) so we sprayed on a few light coats of satin Varathane to finish it off (see below). Note that these are all oil based products, not to be mixed with water based products.
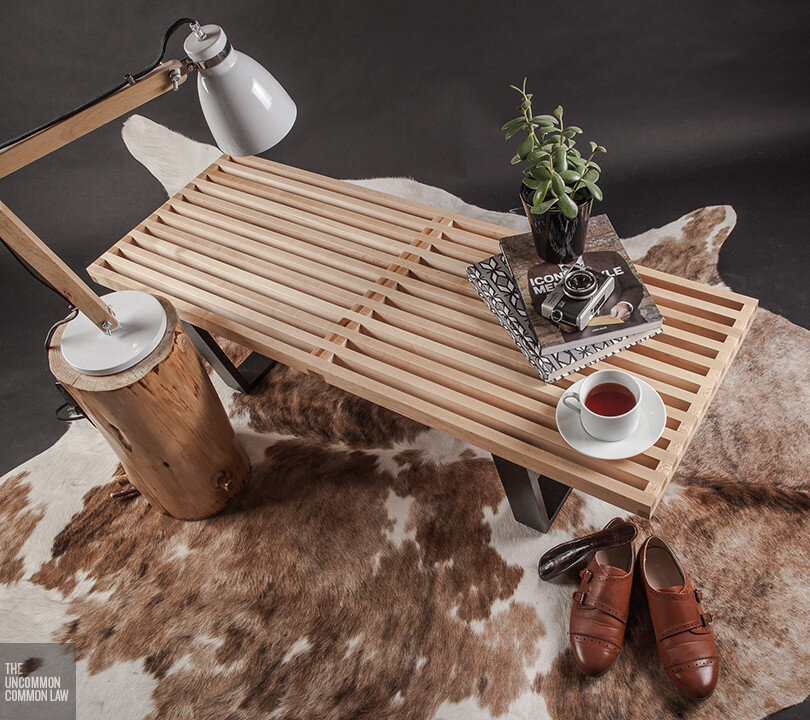
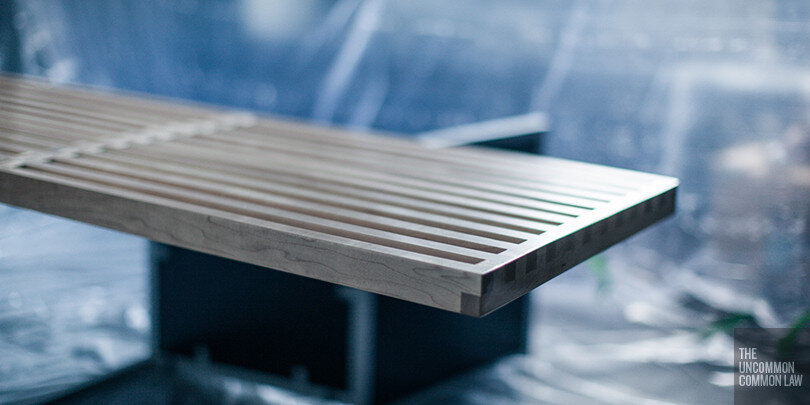
The bench top was left natural maple and finished with an oil based satin clear coat. In our opinion, one of the best kept secrets in woodworking is aerosol varnish. If you don't own an HVLP gun/compressor or if your project is too small to justify the set up/clean up time of your HVLP gun (i.e. us being lazy), these cans are great. Perfect spray on finish with minimal setup/cleanup. You will need to still prep your work area though. Grab some plastic drop sheets and painters' tape, find the most dust and clutter free room in the house and setup your spray booth/kill room. When spraying your project, multiple thin coats is the secret.


We hammered in four felt-bottomed furniture sliders as the final step and our project was done!
Behold, the DIY knockoff Nelson Platform Bench: