
DIY Acoustic Sound Panels

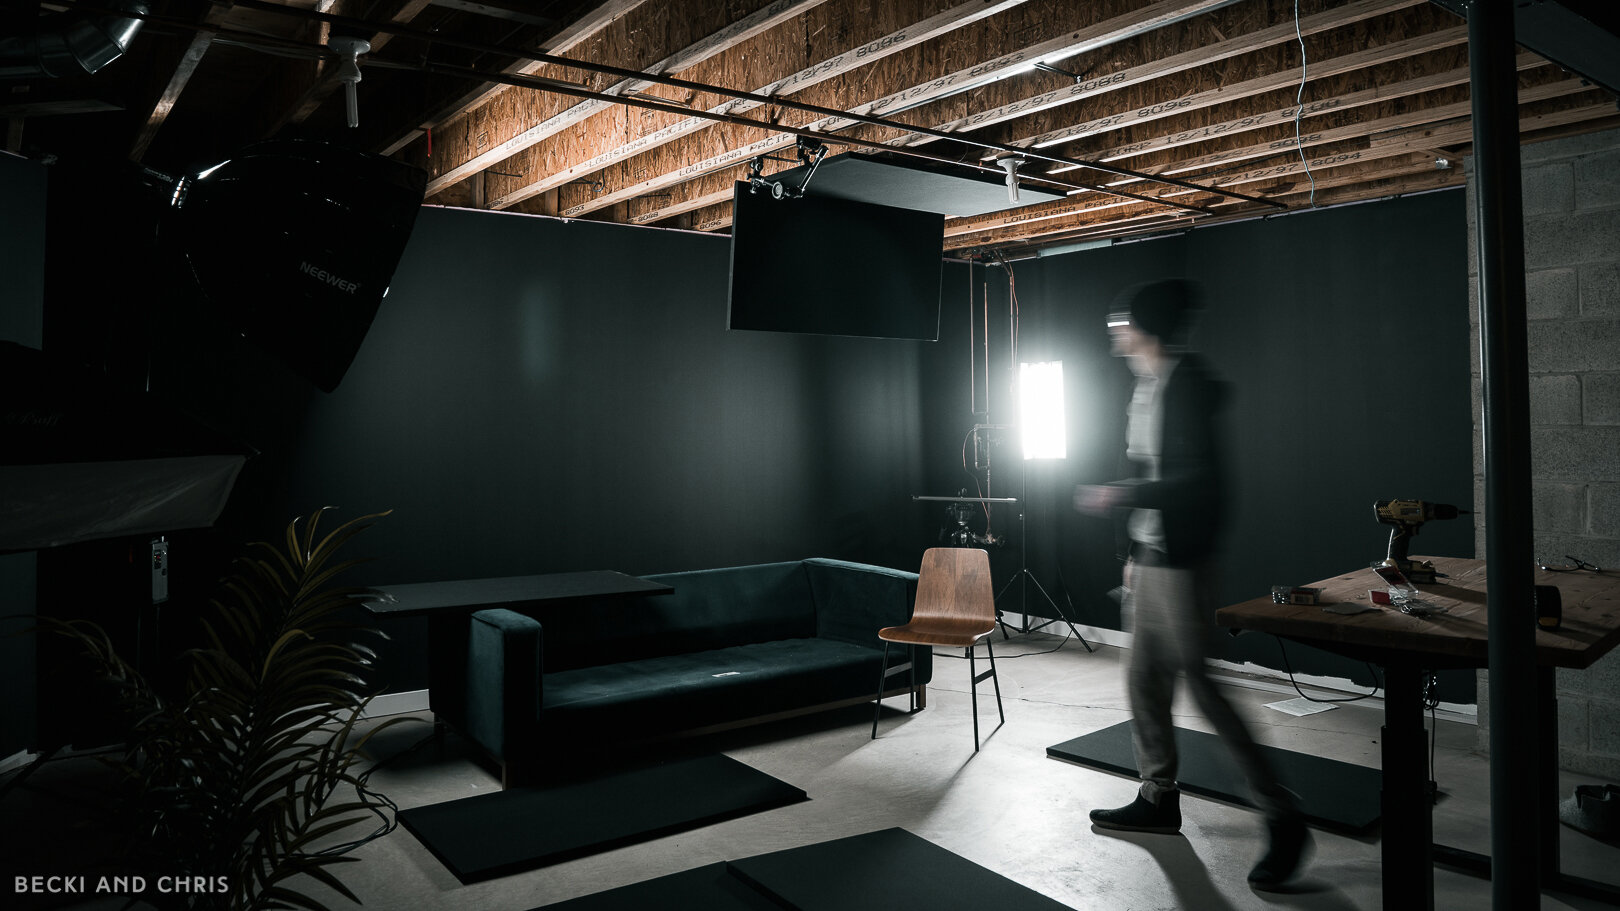
If you follow our YouTube channel you know we have been busy building out our new basement studio. The last time we created a home studio we weren’t doing video; this time around we’re focusing on a filming space that doubles as a podcasting area which means we need SOUND PANELS! And we need a lot of them.
Since we are too cheap to buy professional sound panels, we decided to make our own. In this post we’re sharing the tools and materials we used, along with the steps required to build your own sound panels. I will note that we are not experts in sound. While we did a ton of research in order to build these things, there could be more effective ways to treat your room.
For our panels we decided to go with 1” thick black panels because we preferred the look of thin panels over the thicker ones. You can use thicker insulation to make thicker panels, just adjust the measurements accordingly.
The list below was for 12 feet by four feet black sound panels.
MATERIALS
Fiberglass 4'x2' panels 1" Thick
1 x 3 x 8 Pine - 13 Boards
9 Yards of 60” wide Black Speaker Fabric
Black Landscape Fabric
2” Crown Staples
1/4” Crown Staples
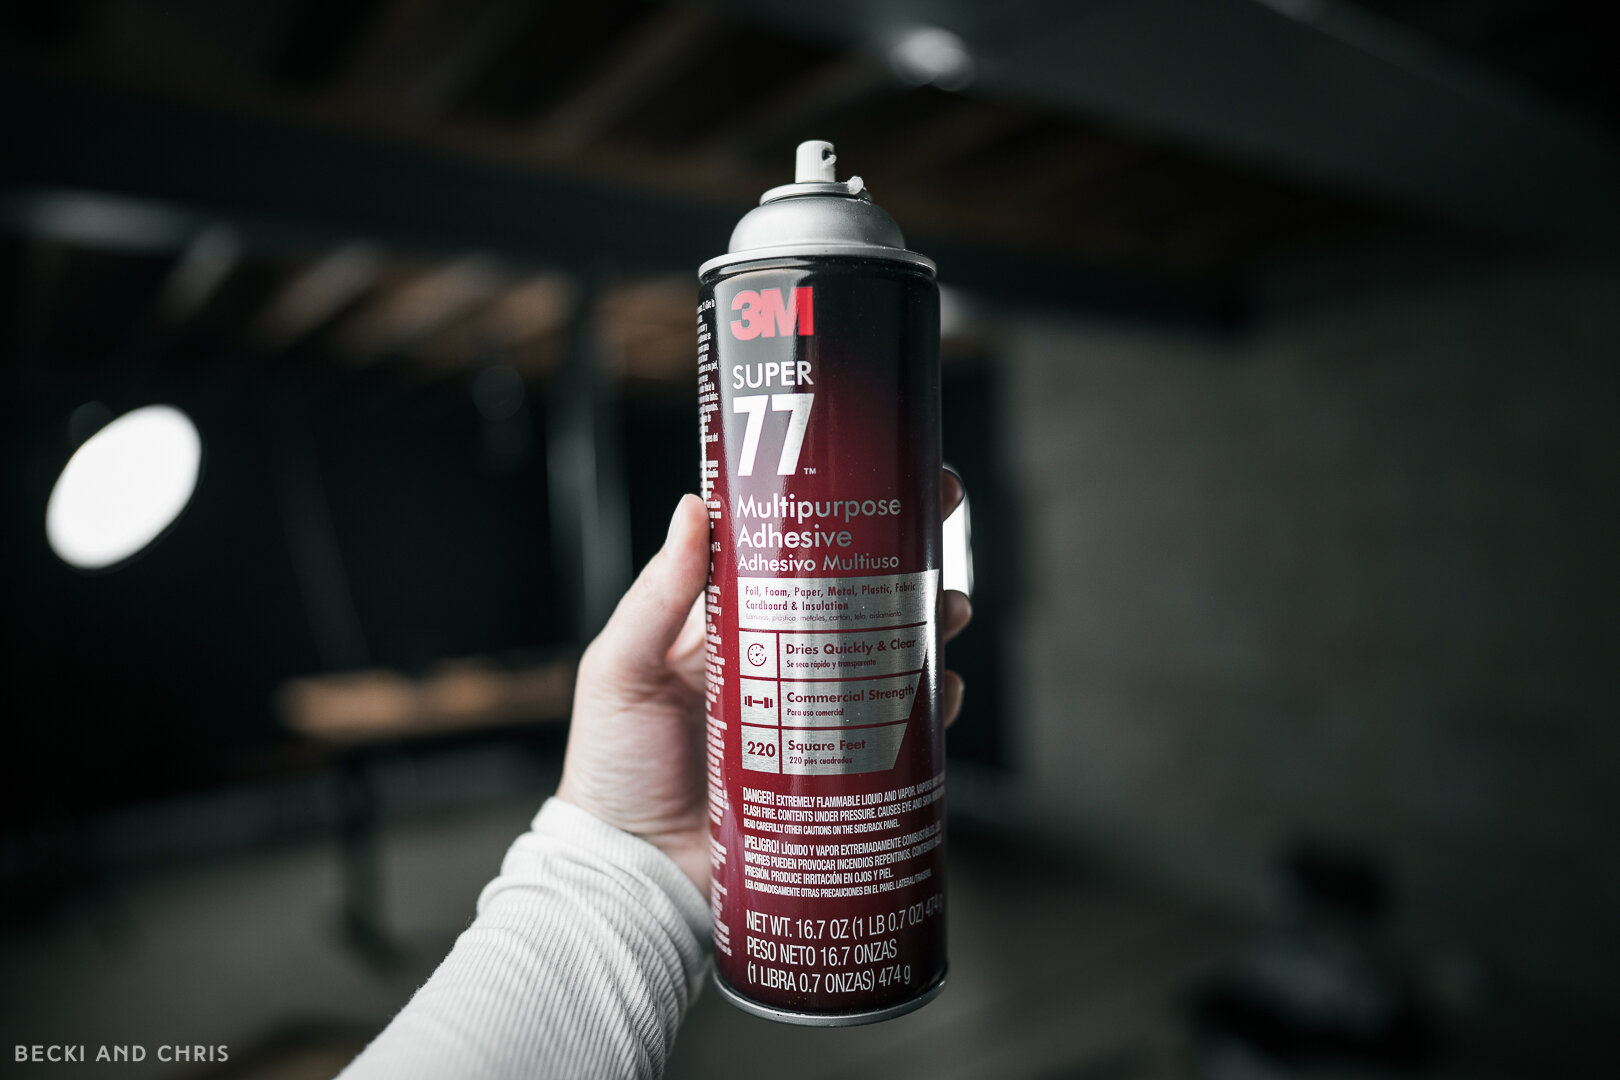
Supper 77 Spray Adhesive (optional)
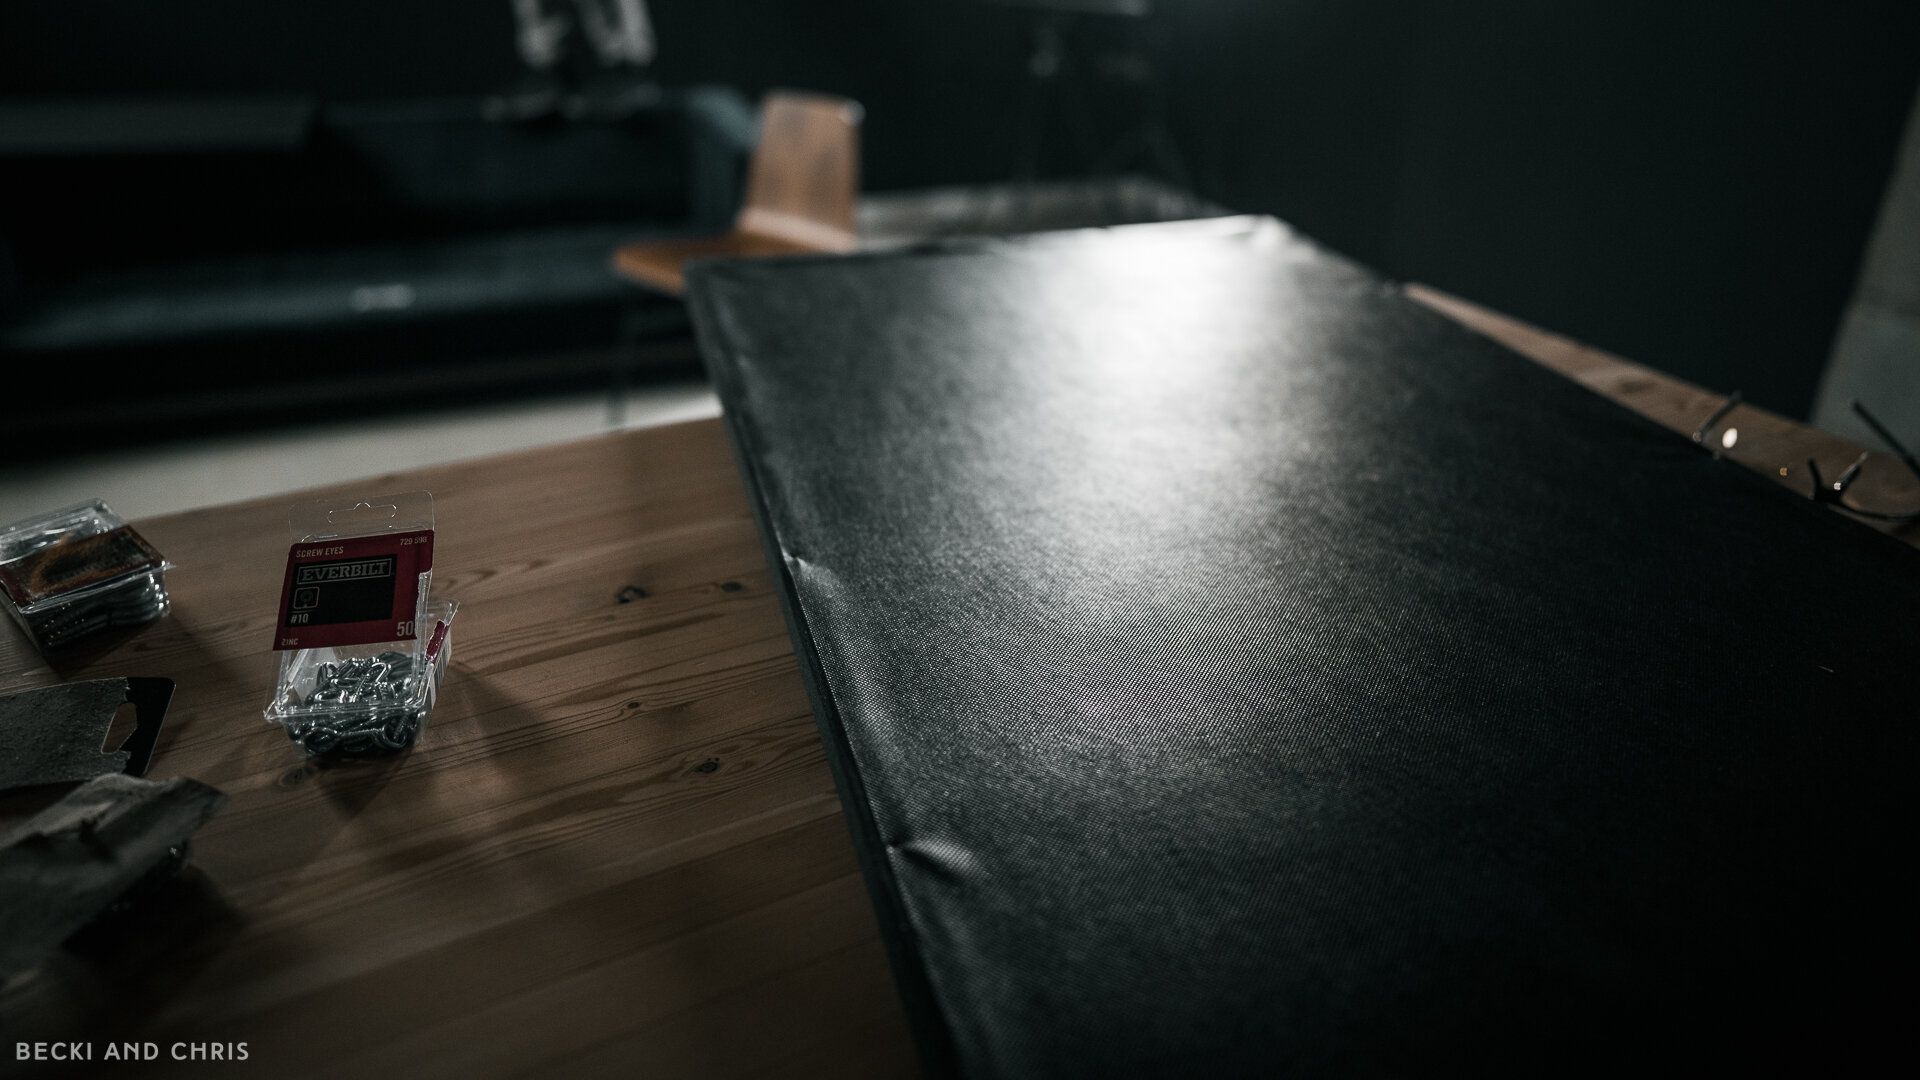
#10 Screw Eyes pack of 50
Cup Hooks pack of 50
TOOLS
Level
Drill
Drill bit set
Driver
Table Saw
Cross Cut Sled (or chop saw)
Corner Clamps
Wood Glue
Crown Stapler
Utility Blade
Scissors
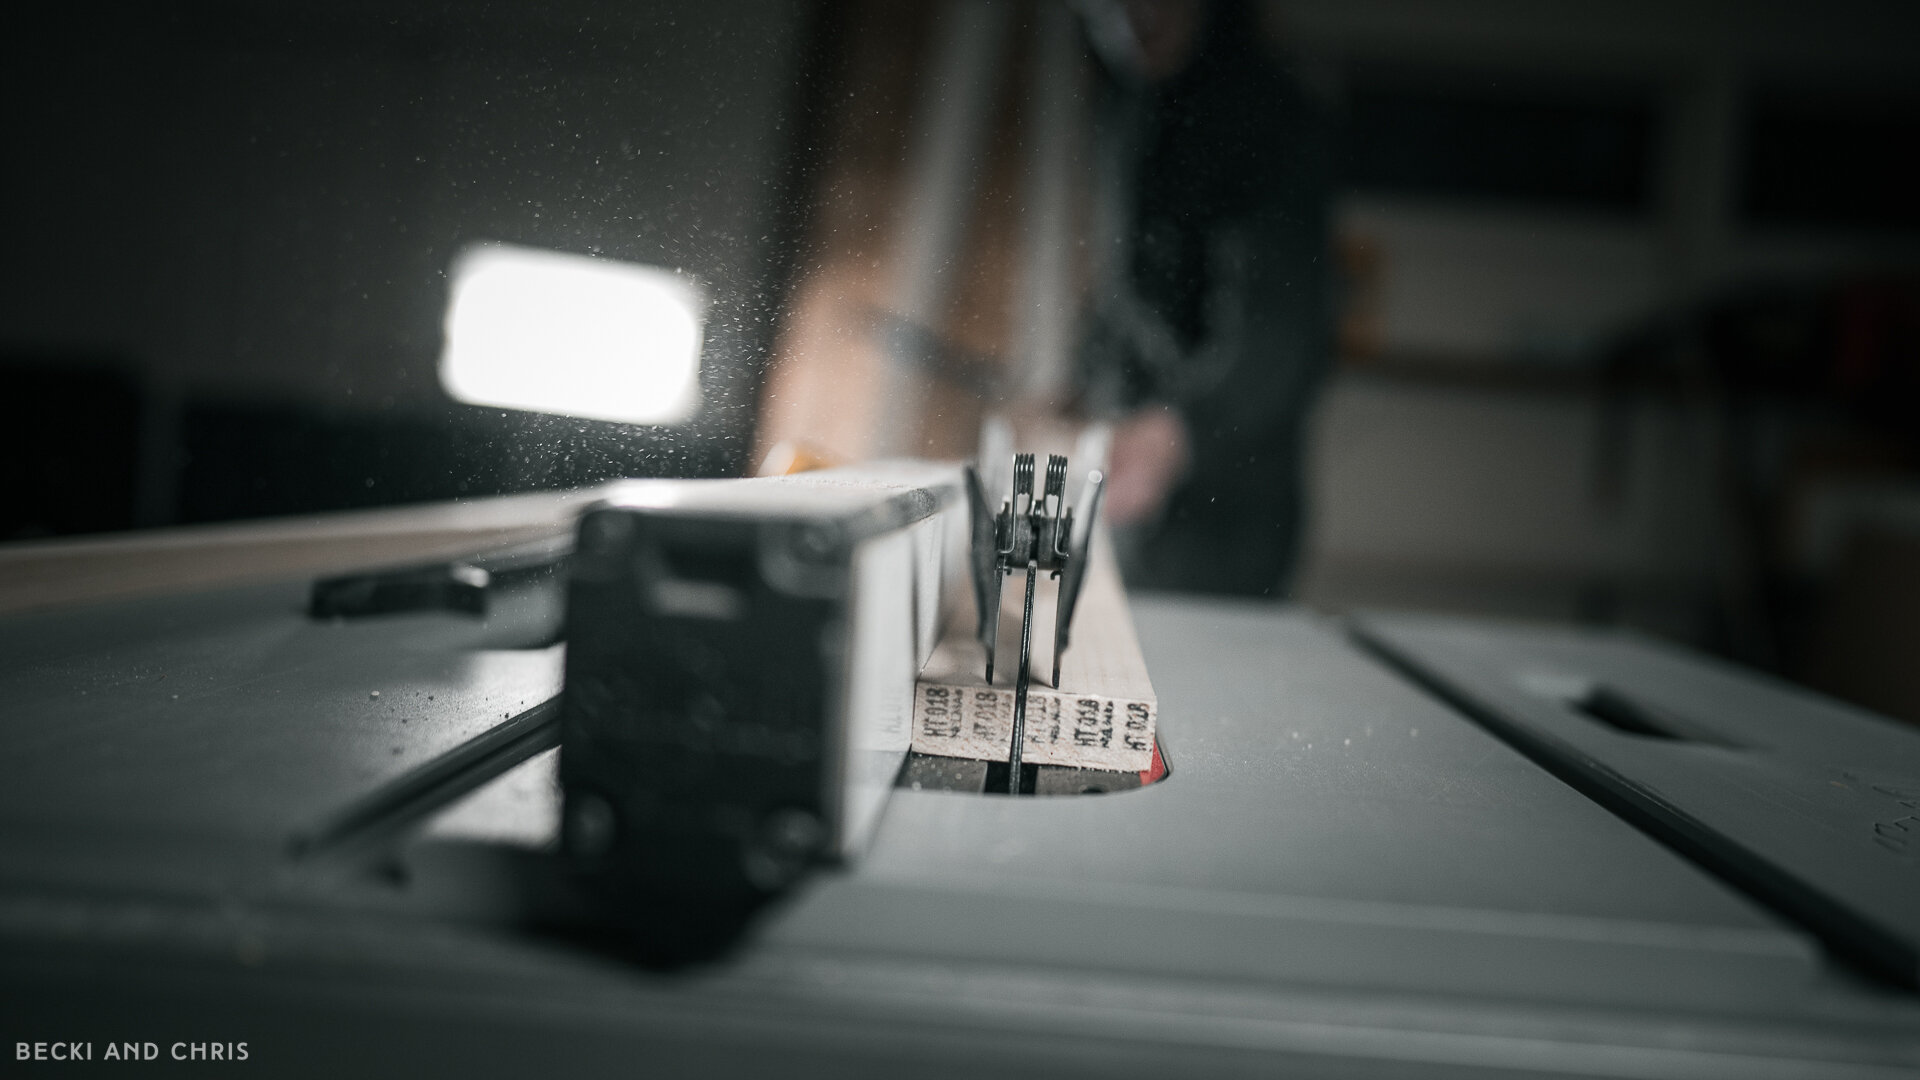
STEP 01
CUT
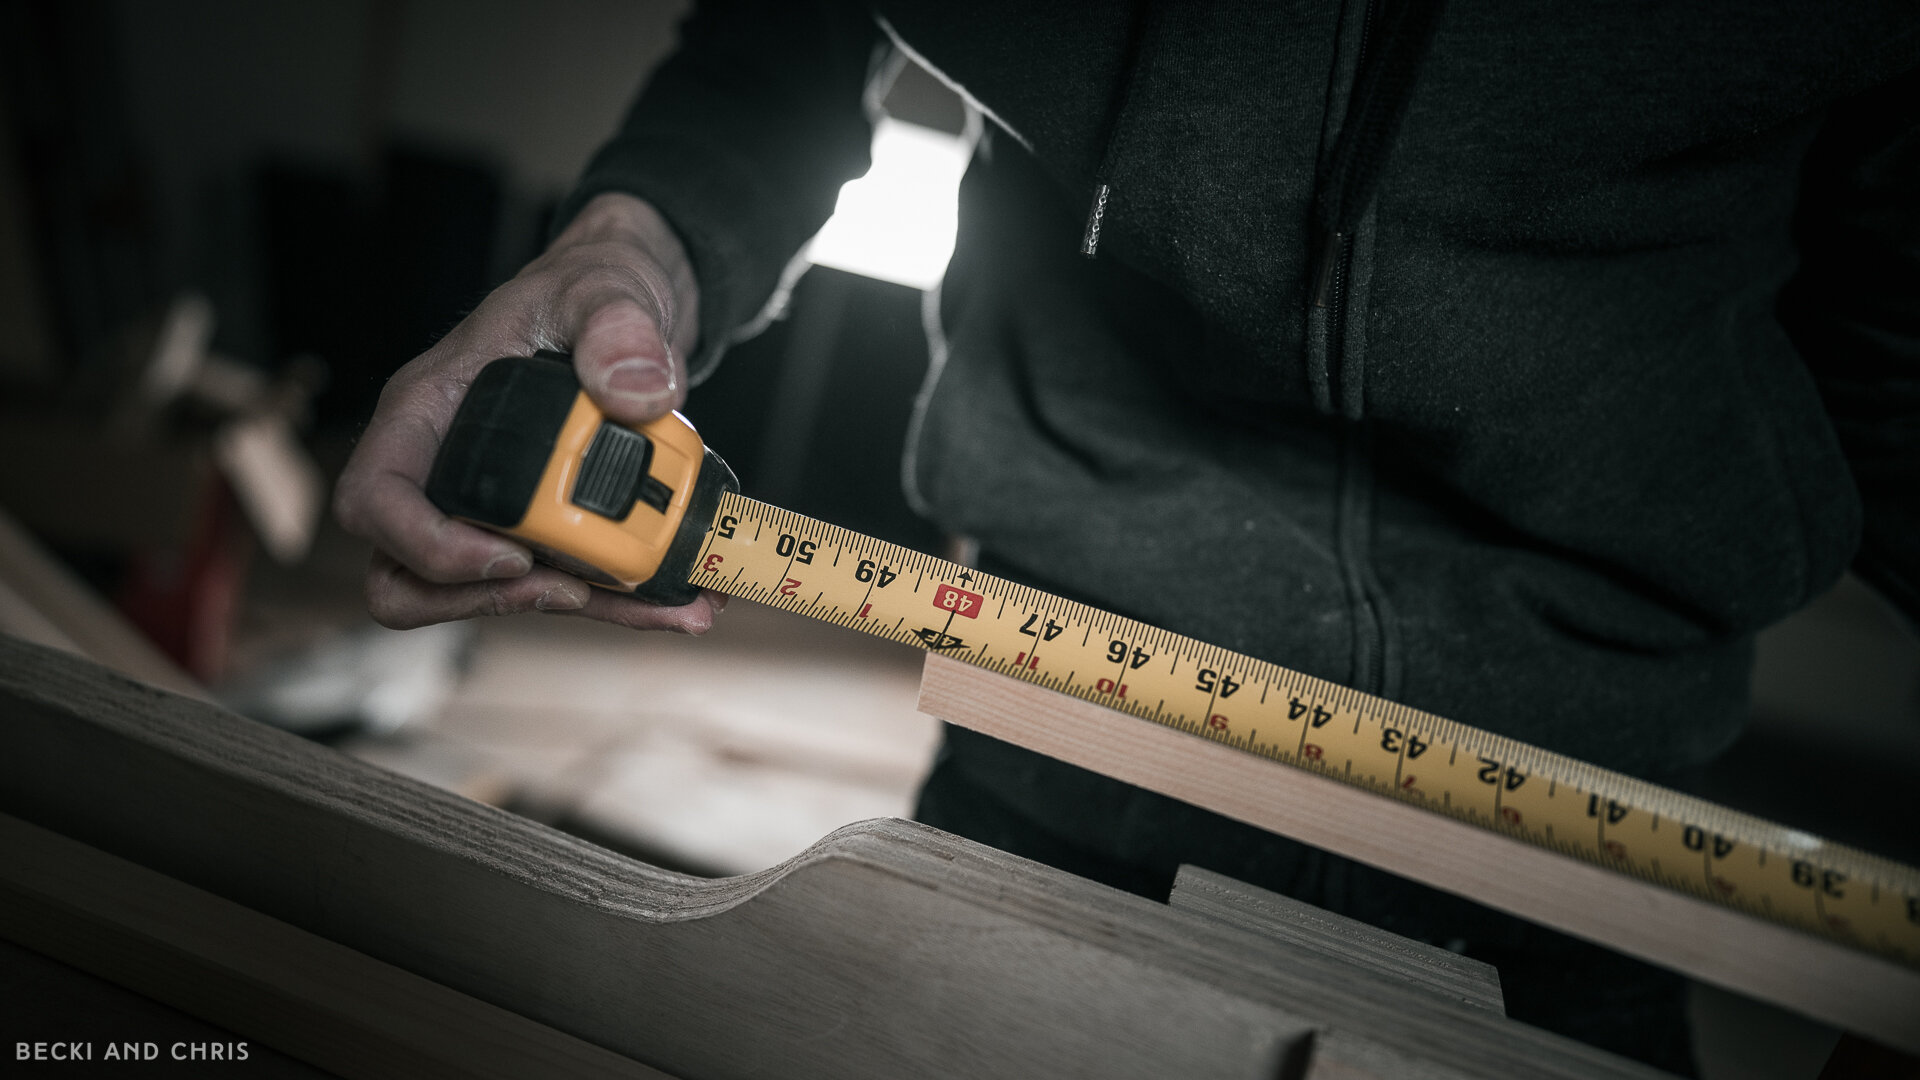
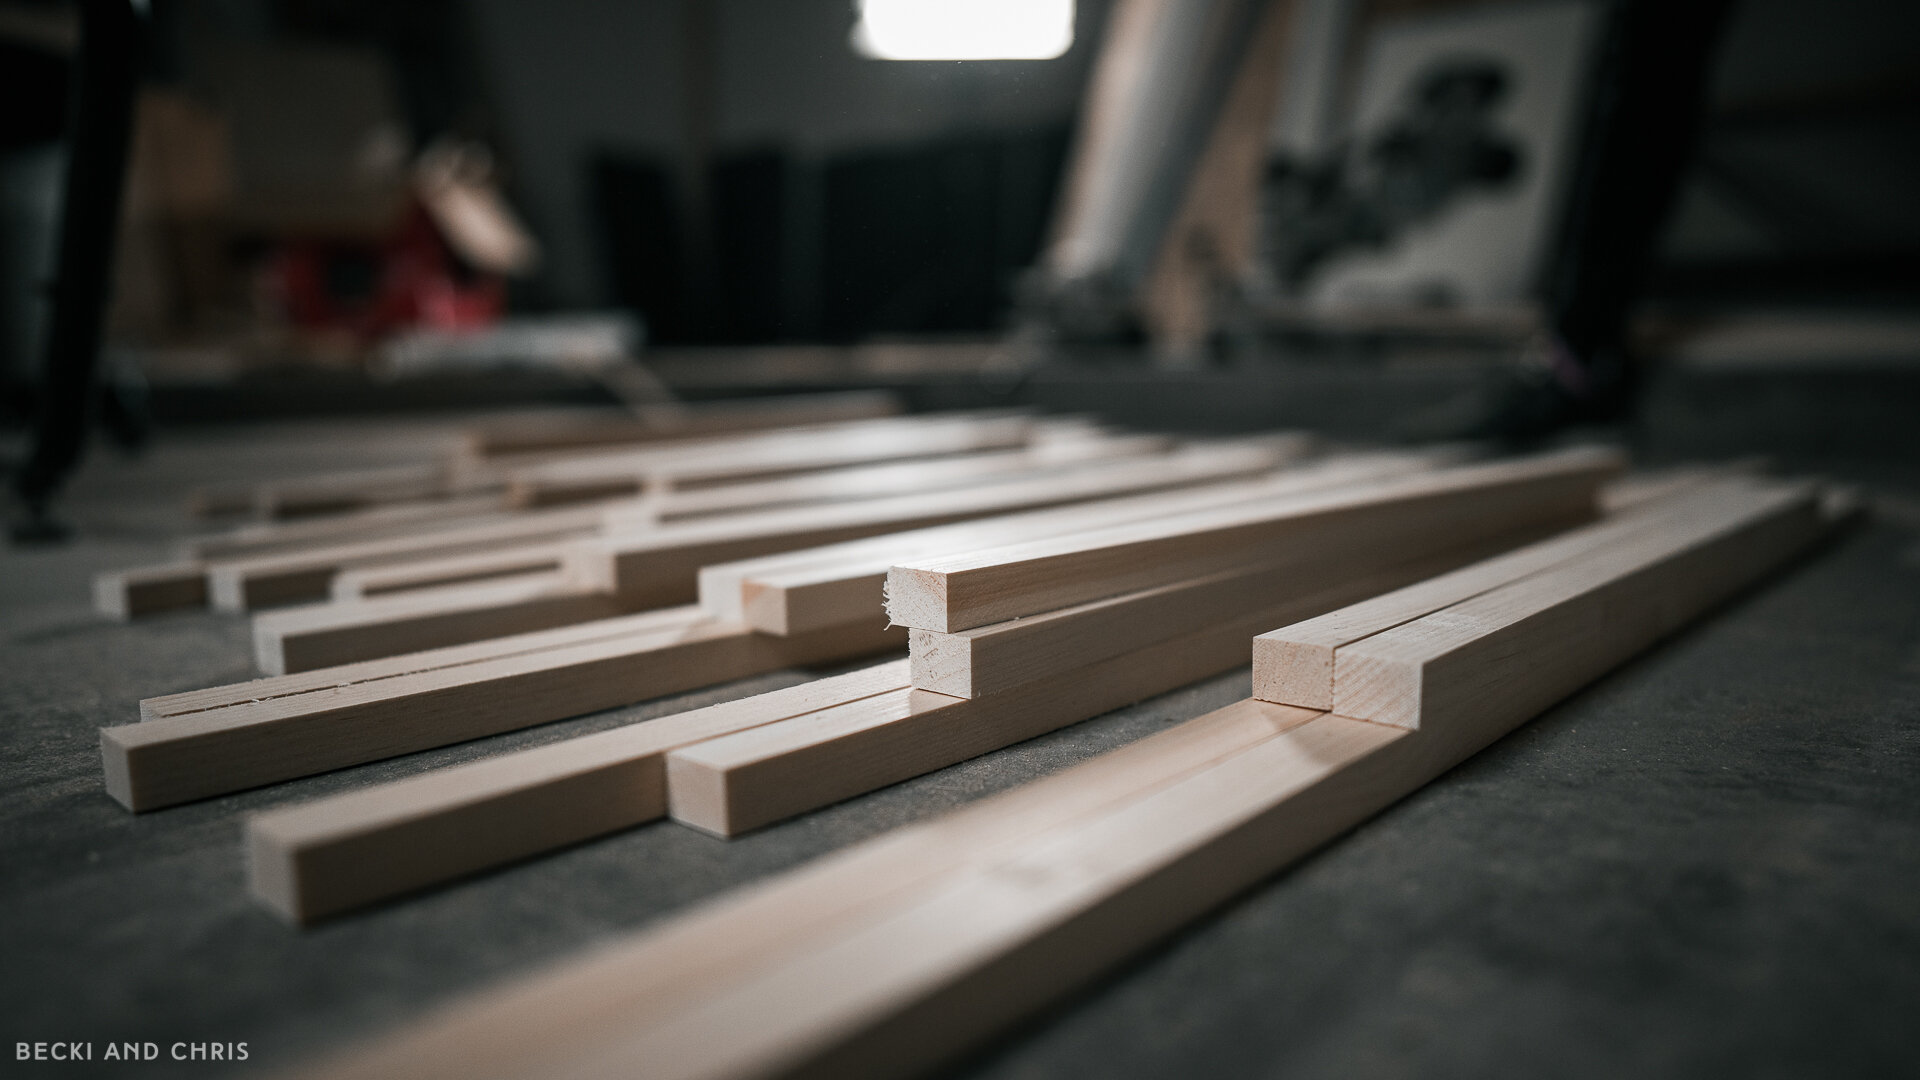
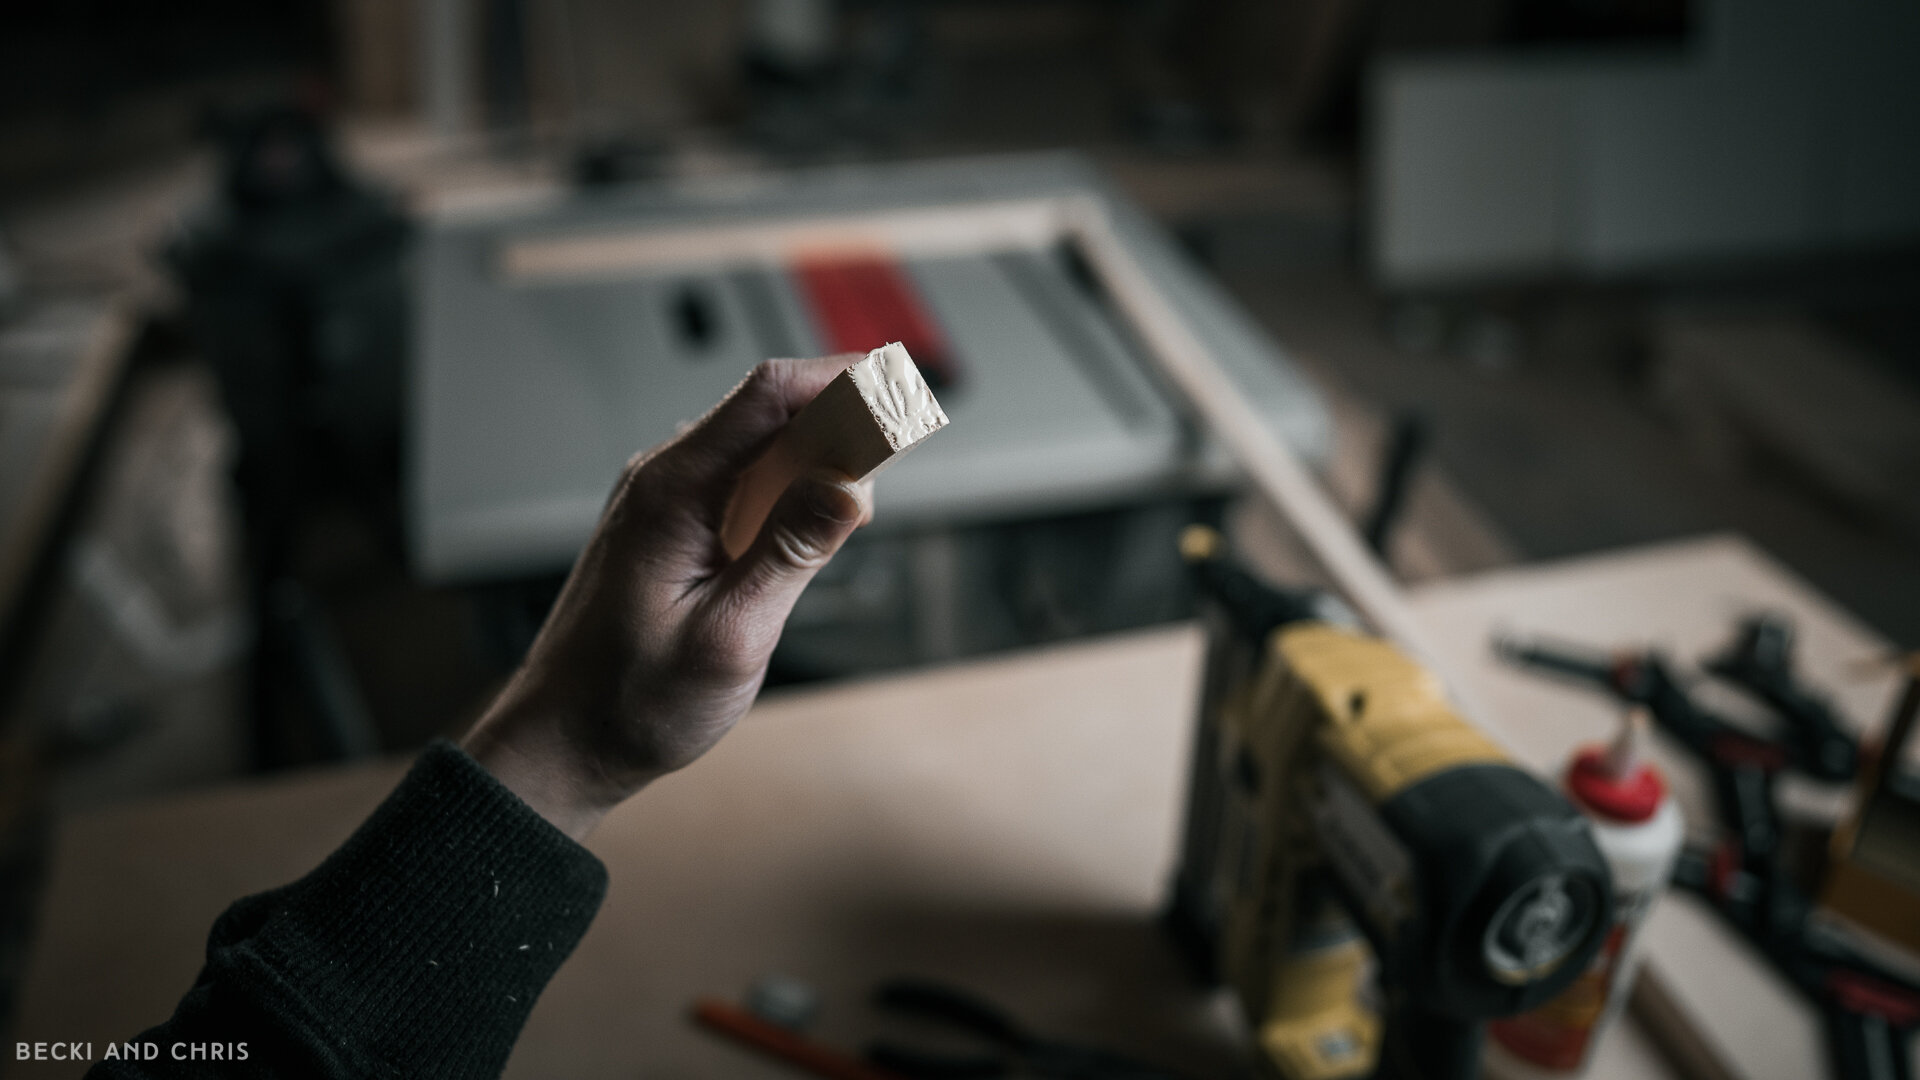
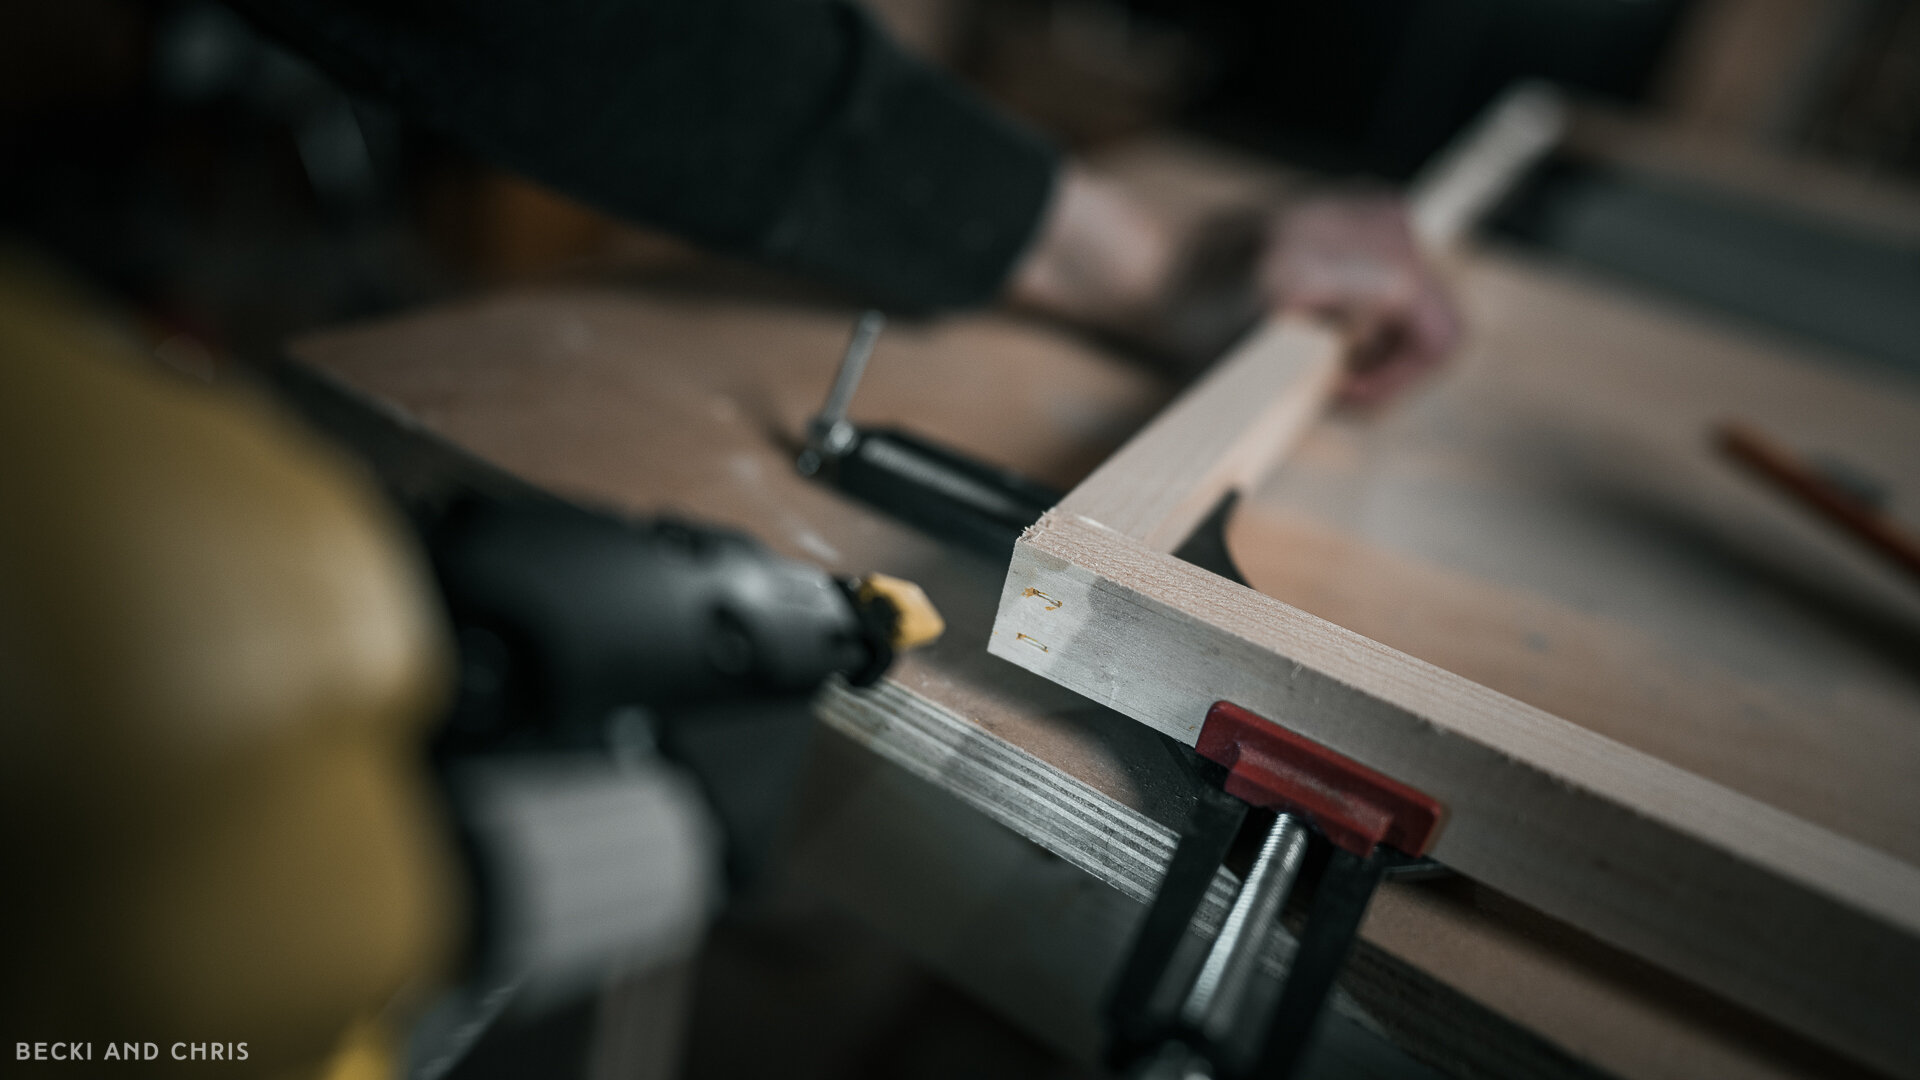
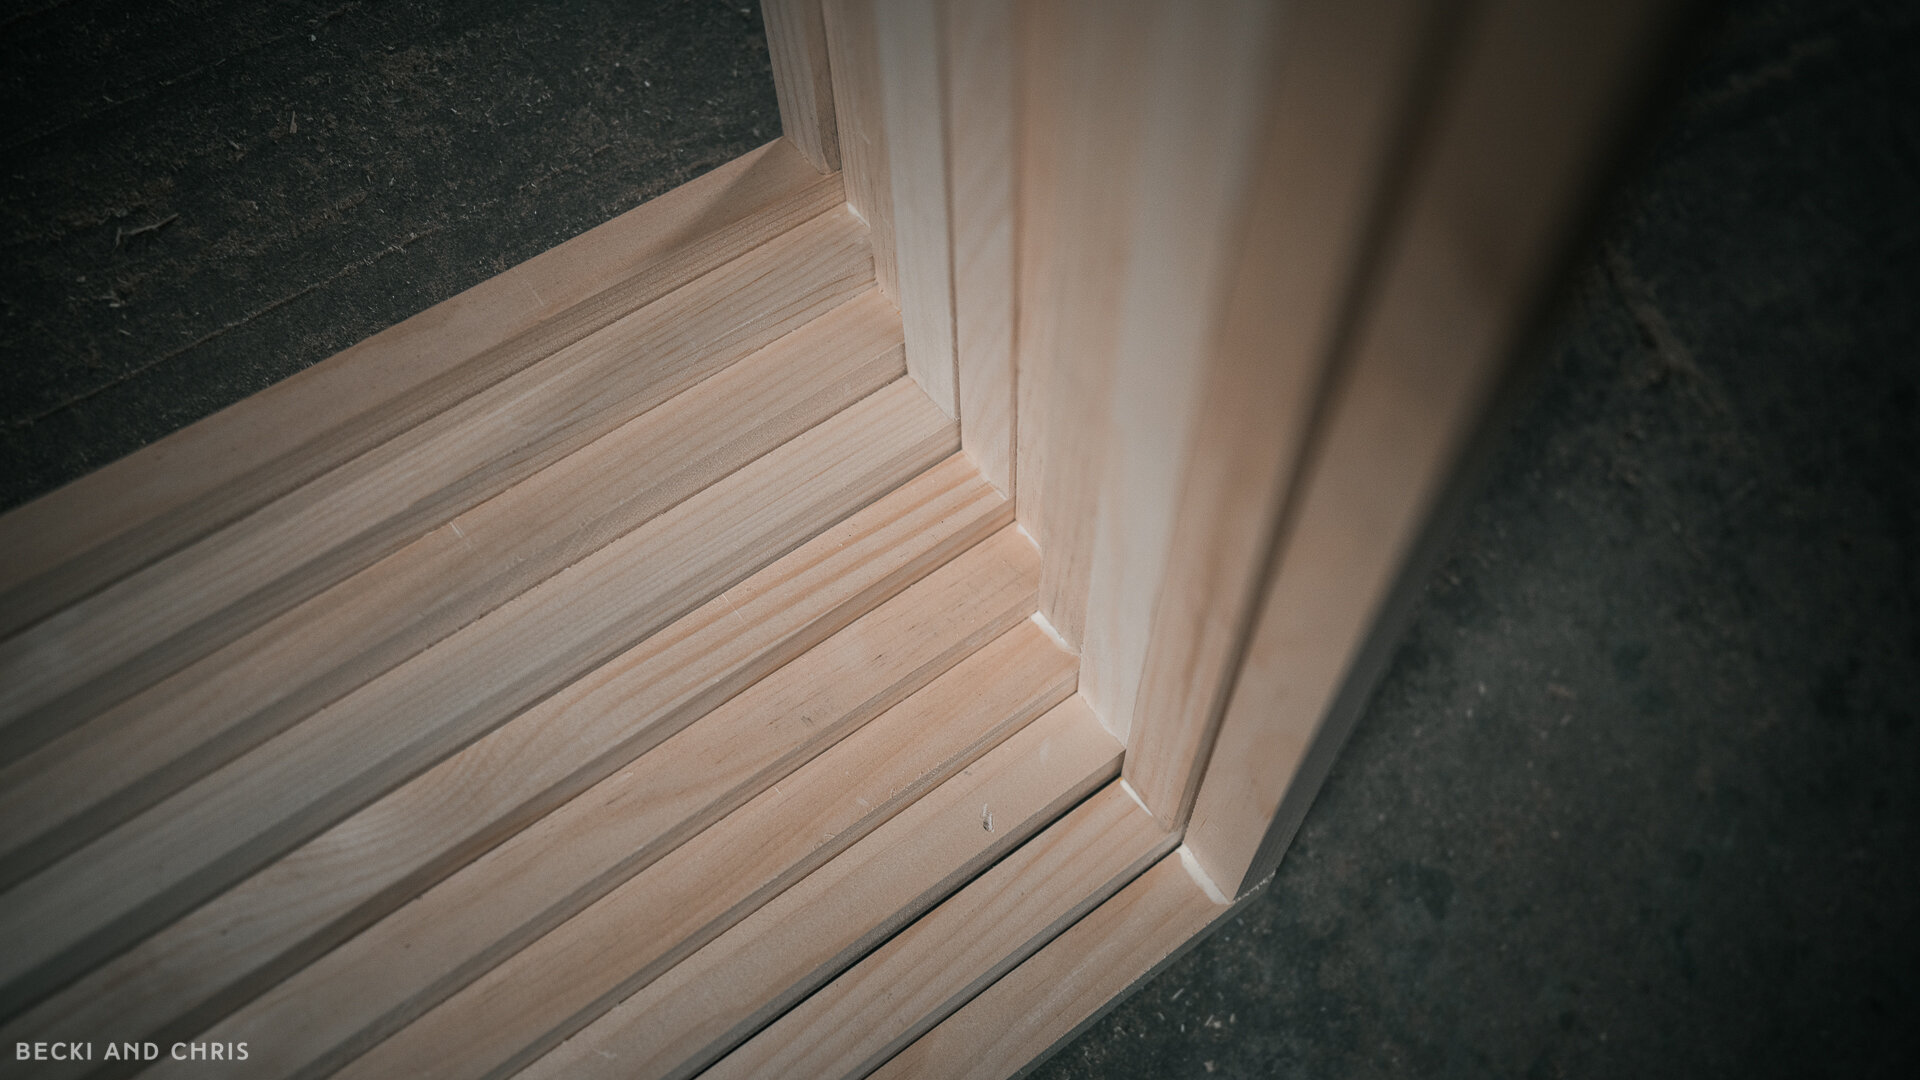
Since we decided to make a ton of panels and we needed the frames to be a true 1” deep to accommodate for our Owens Corning insulation, we used 1x3x8’s and ripped them down to exactly 1'“ wide. The insulation measured 2’ x 4’ so the inside dimensions of the frames had to match. We got two 8’ lengths out of each board. Each panel is made up of two 4’ length boards (sides), and two 25.5” length boards (top and bottom) with the inner dimension being 2’ x 4’.


STEP 02
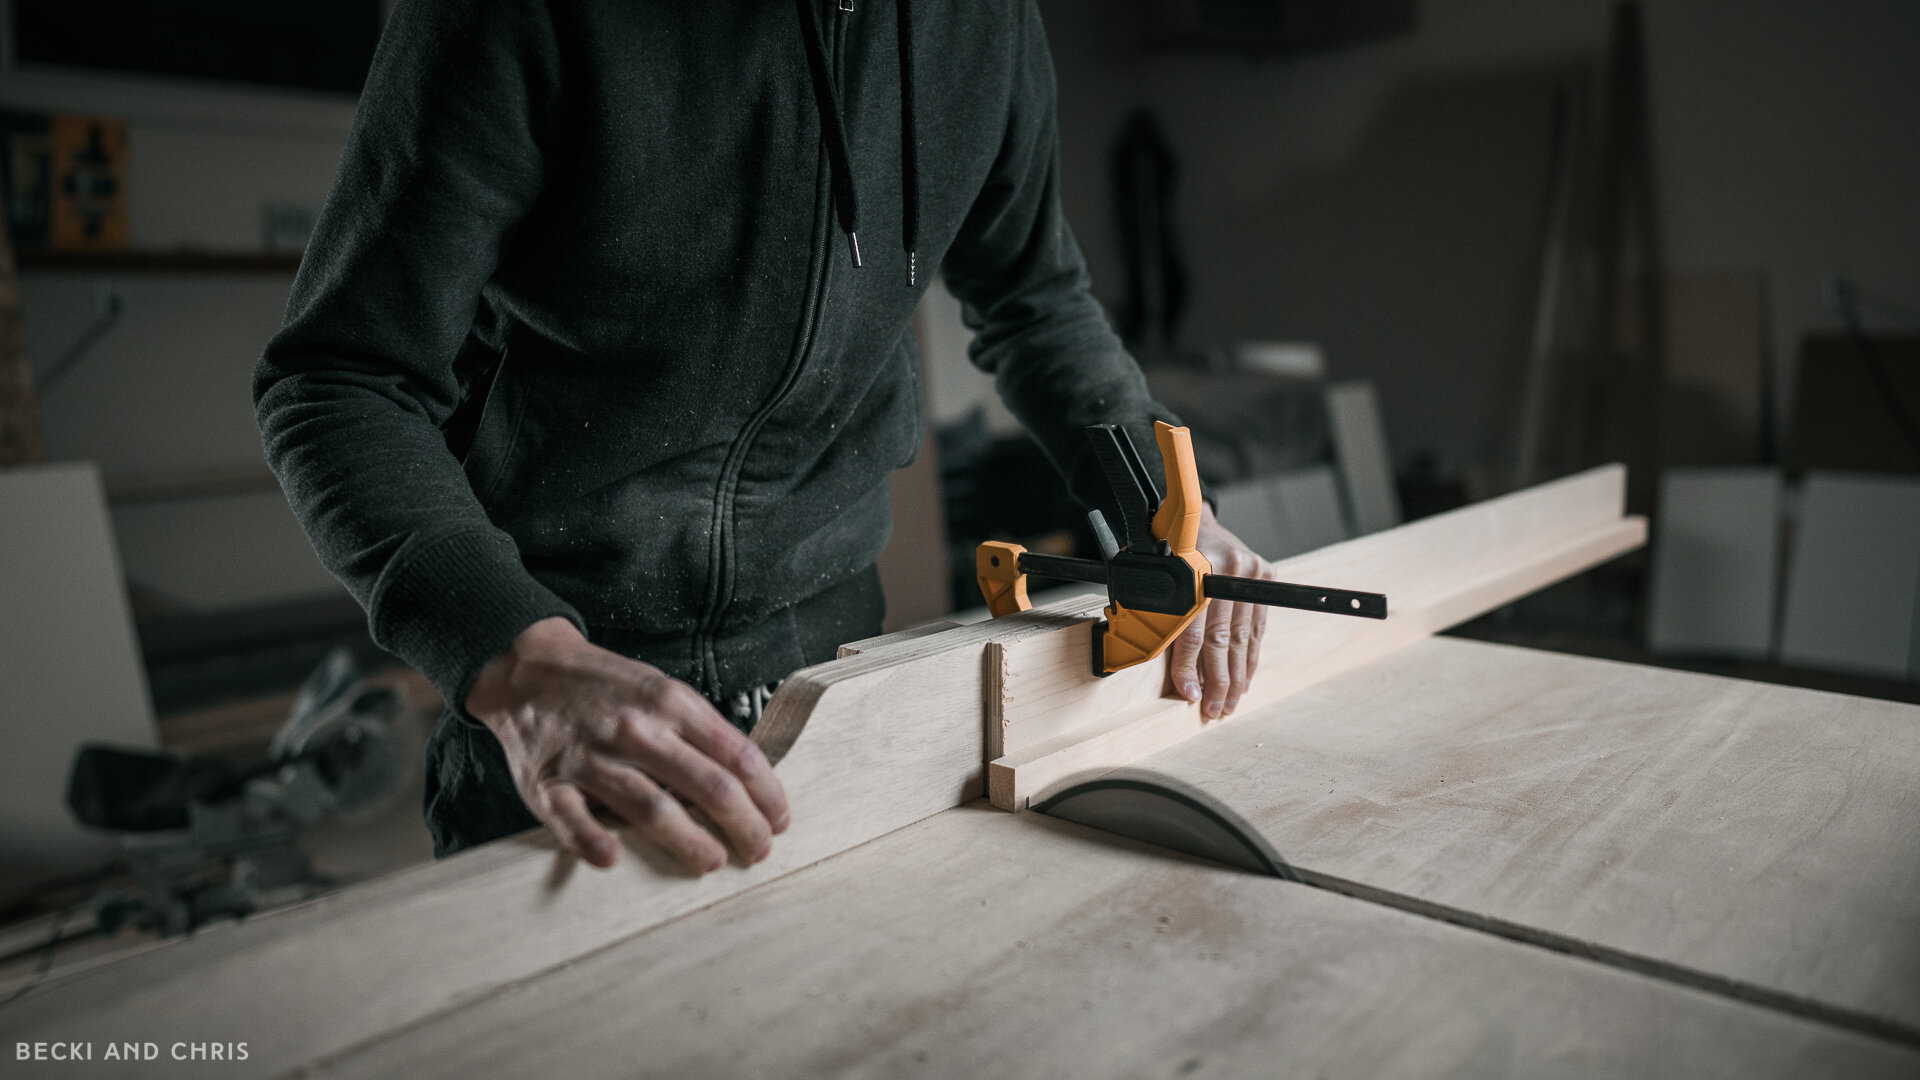
ATTACH
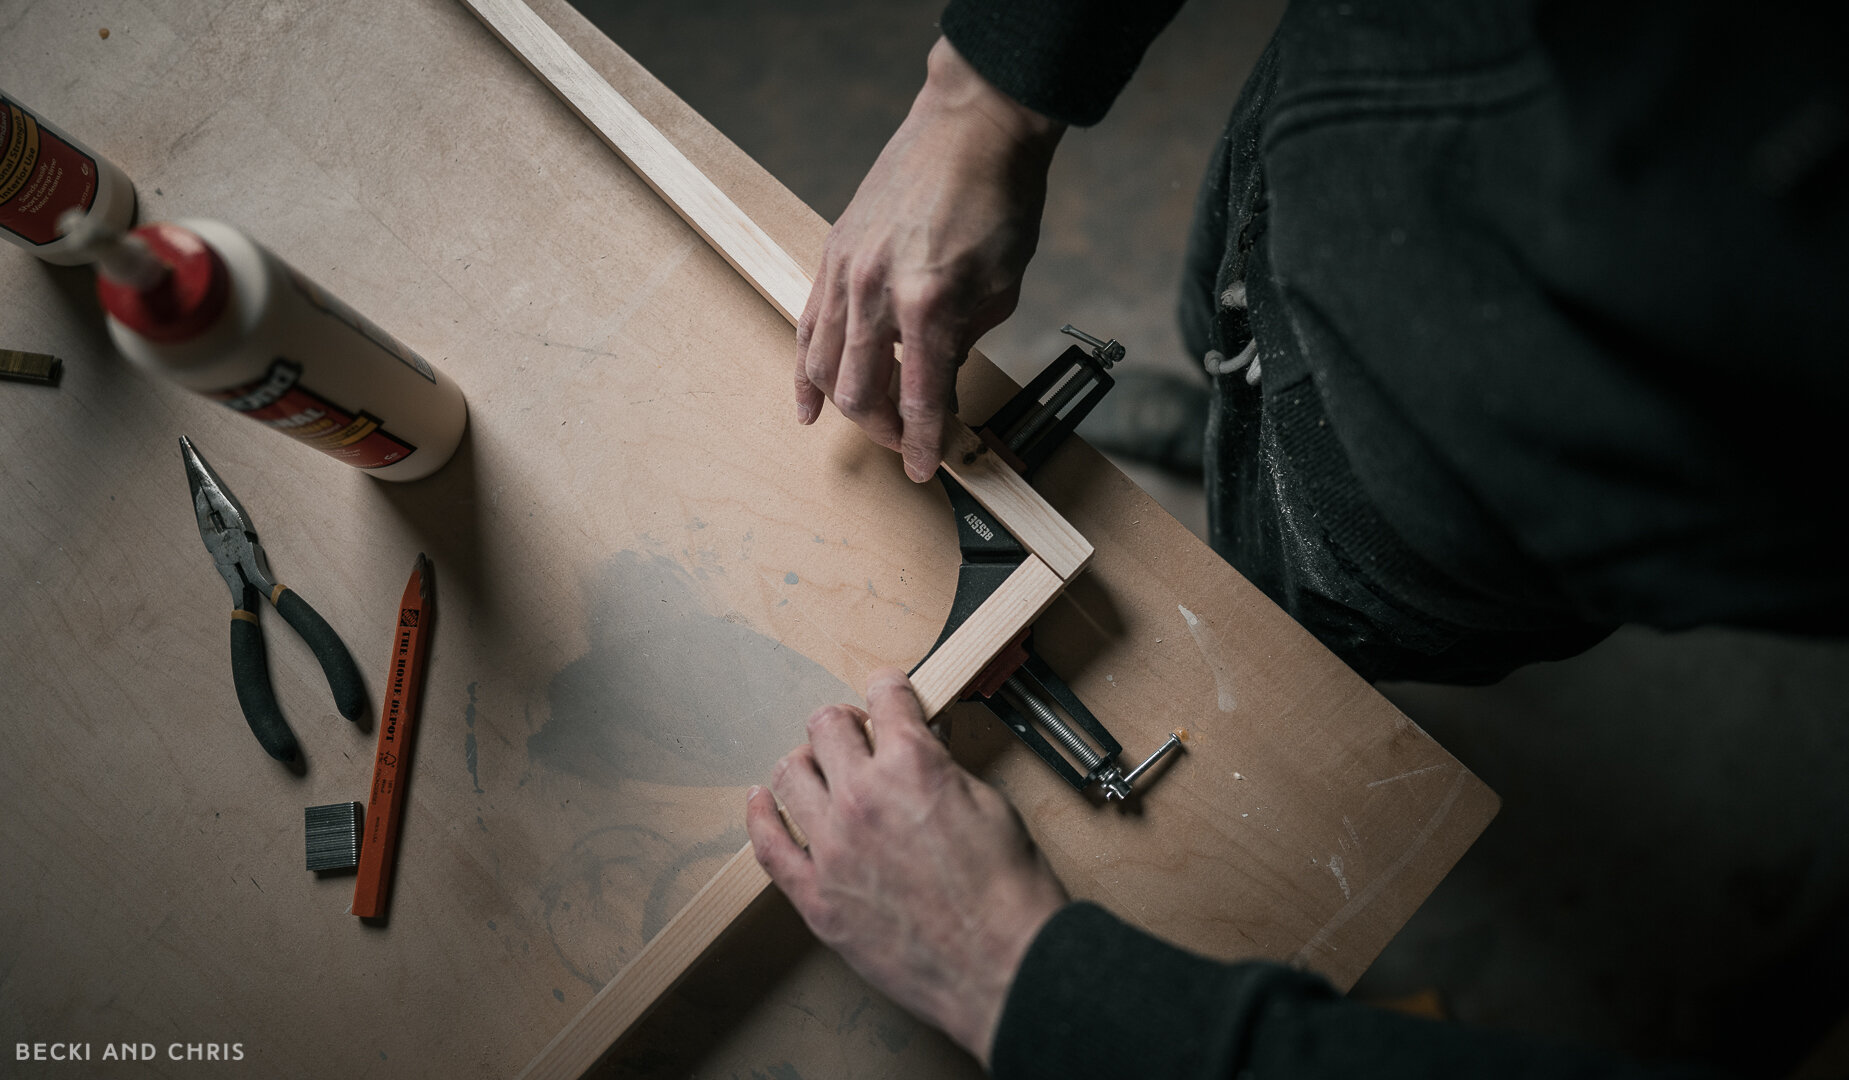
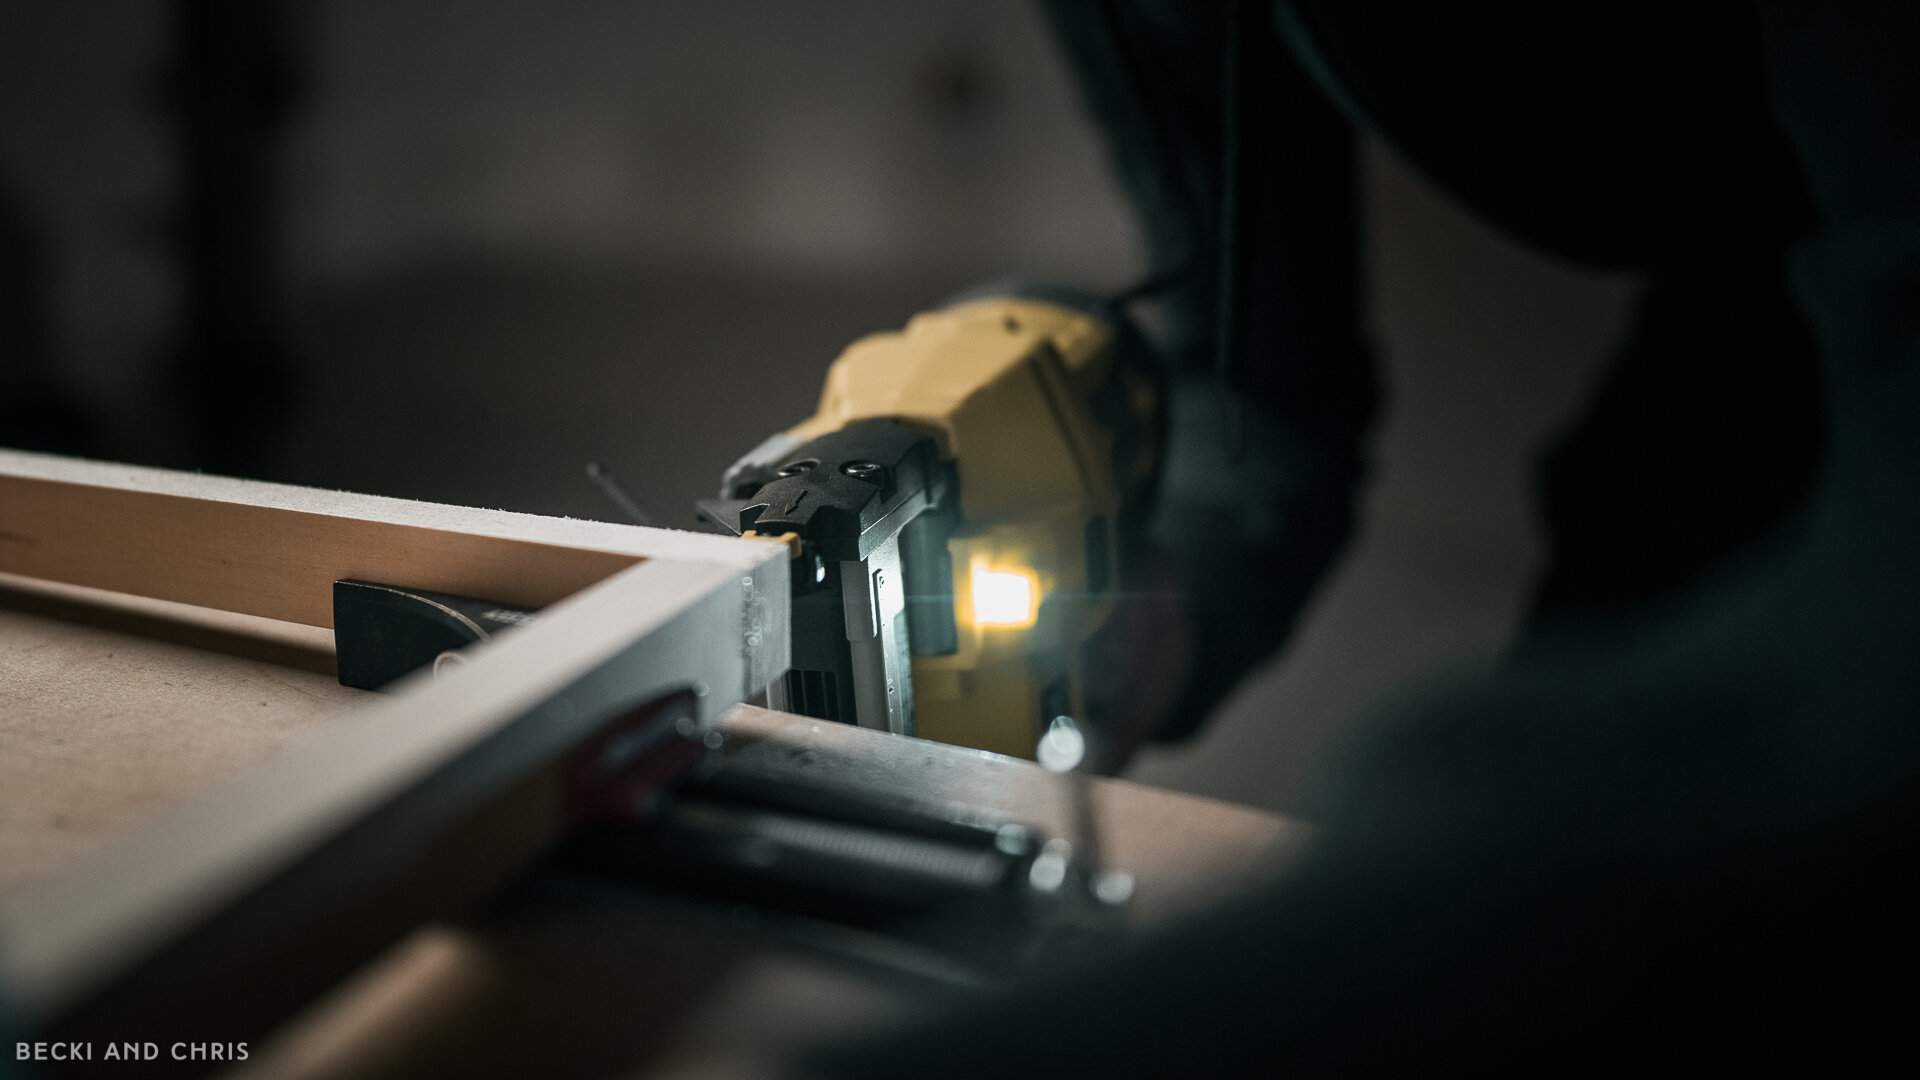
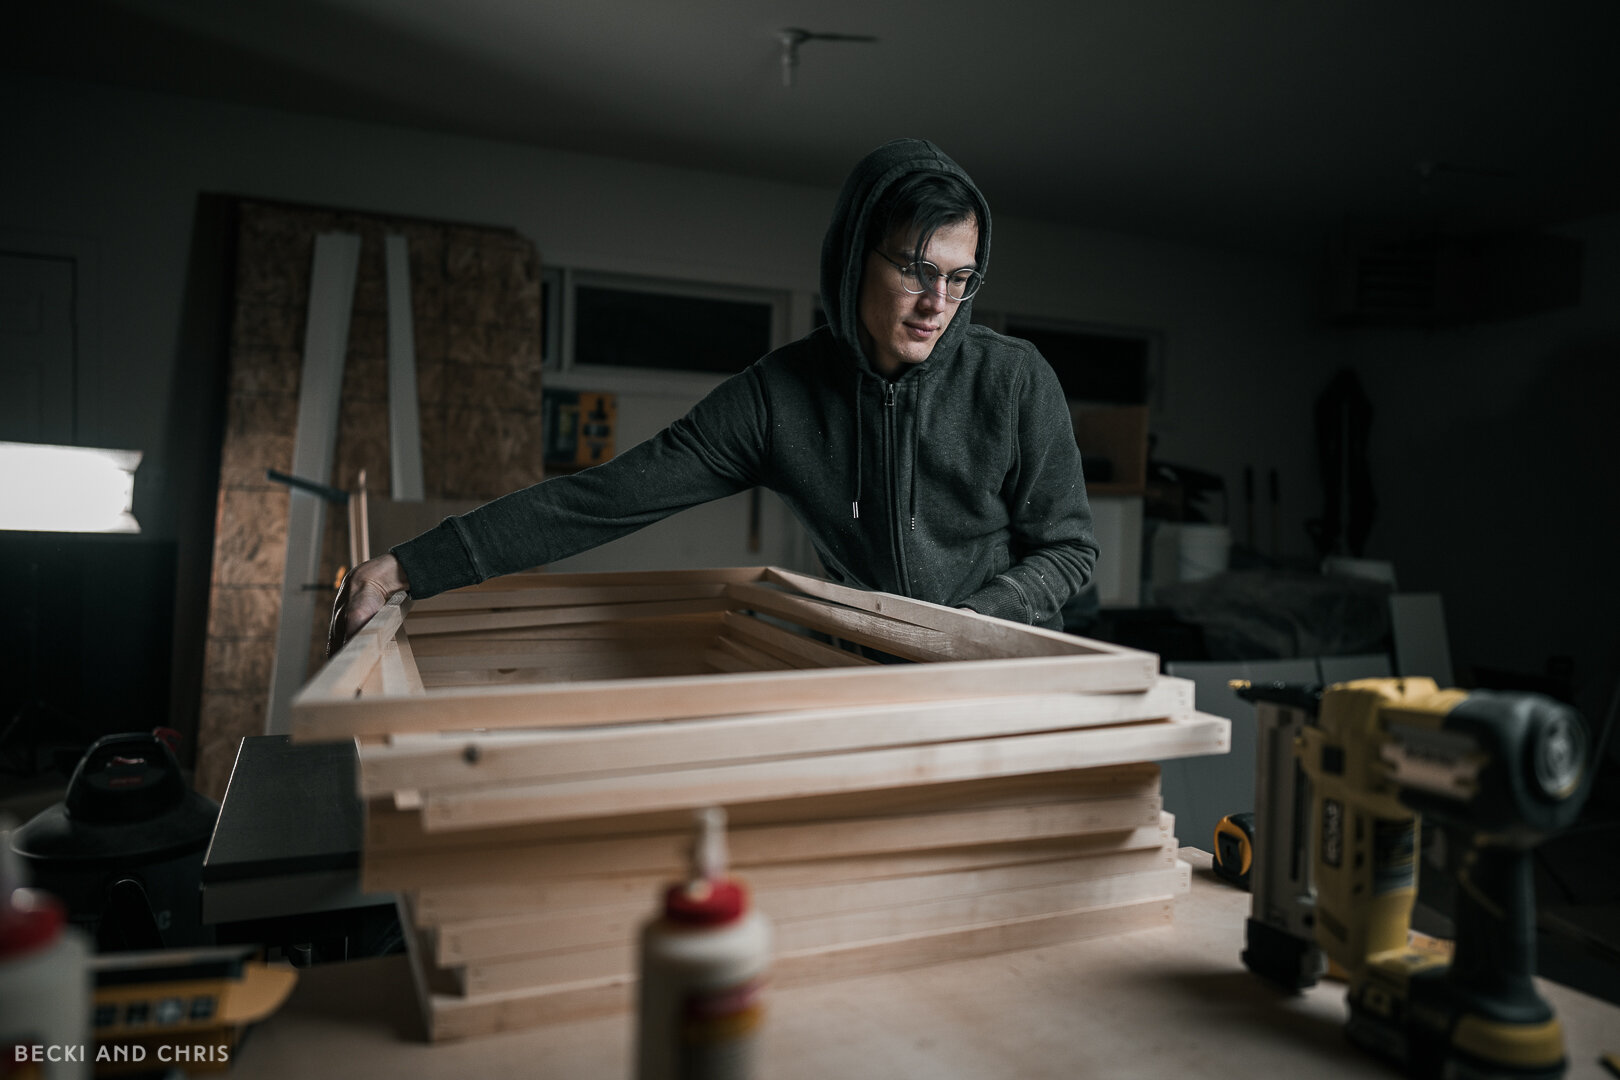
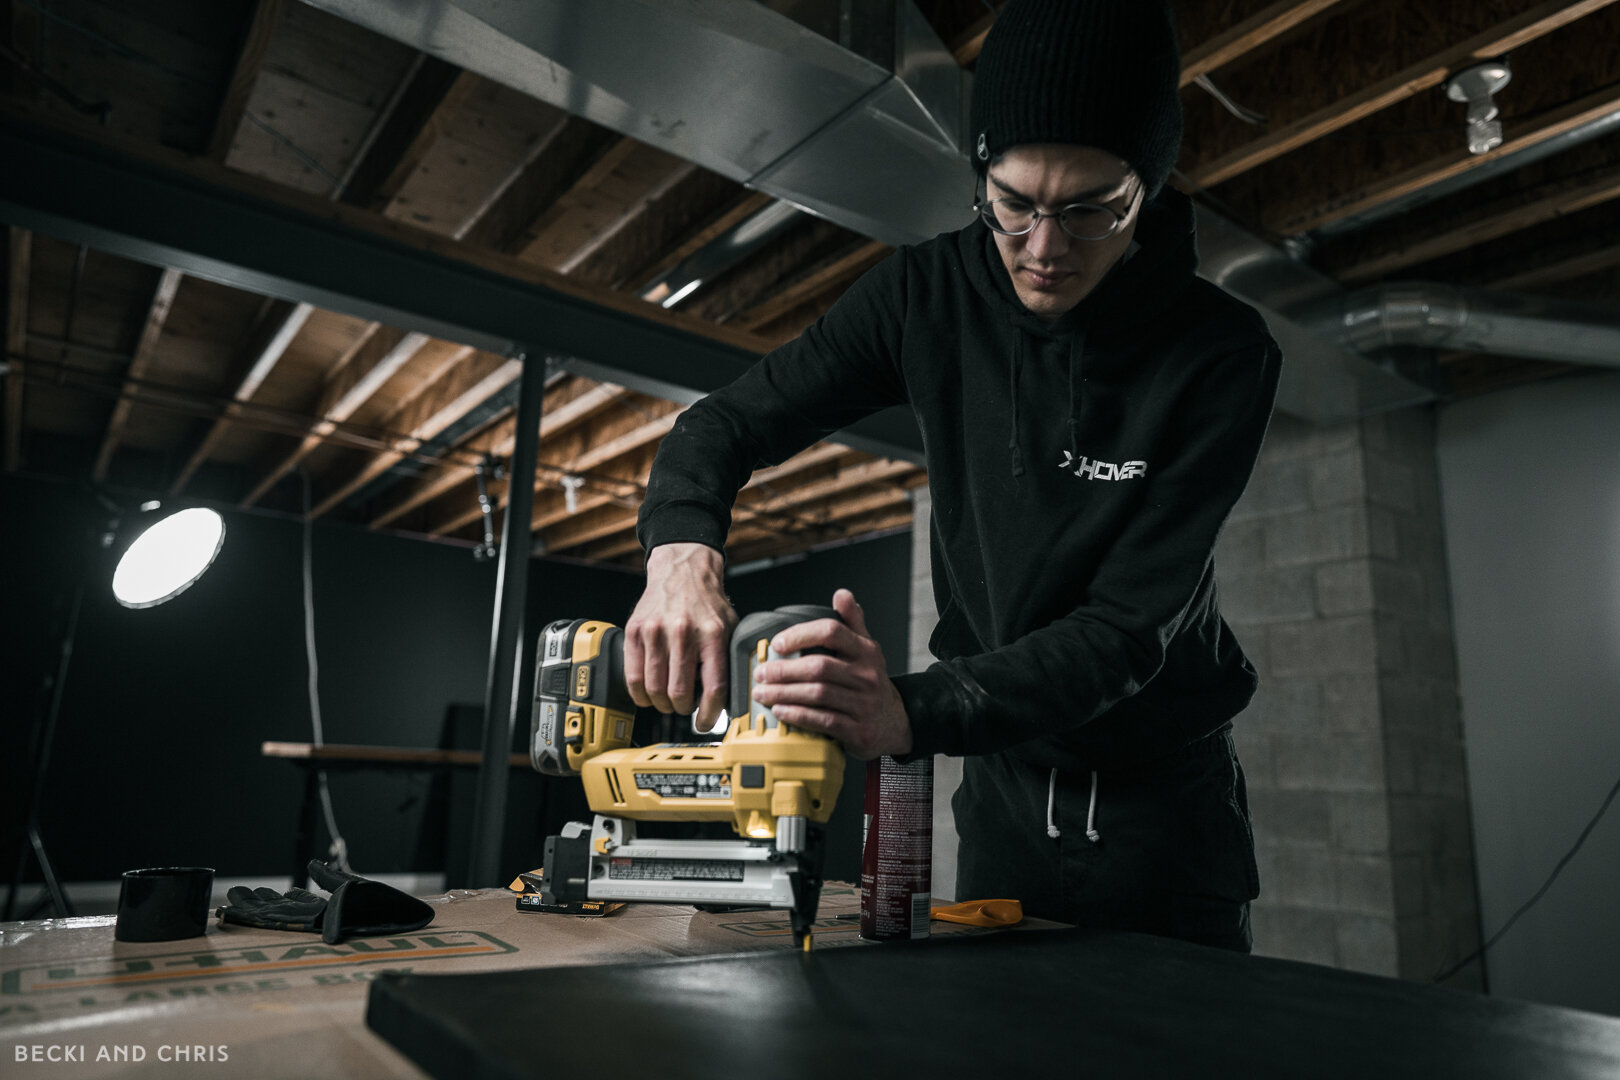
We used corner clamps to hold the pieces of wood together while we assembled the frames. We tossed a bit of glue on the end of the 4’ pieces of wood, then butt it up to the 25 1/2” piece making sure everything was nice and square. We then tightened the clamps and fired two crown staples into each end. Pocket holes or mitred joints are other options.
Oh HELL YES!
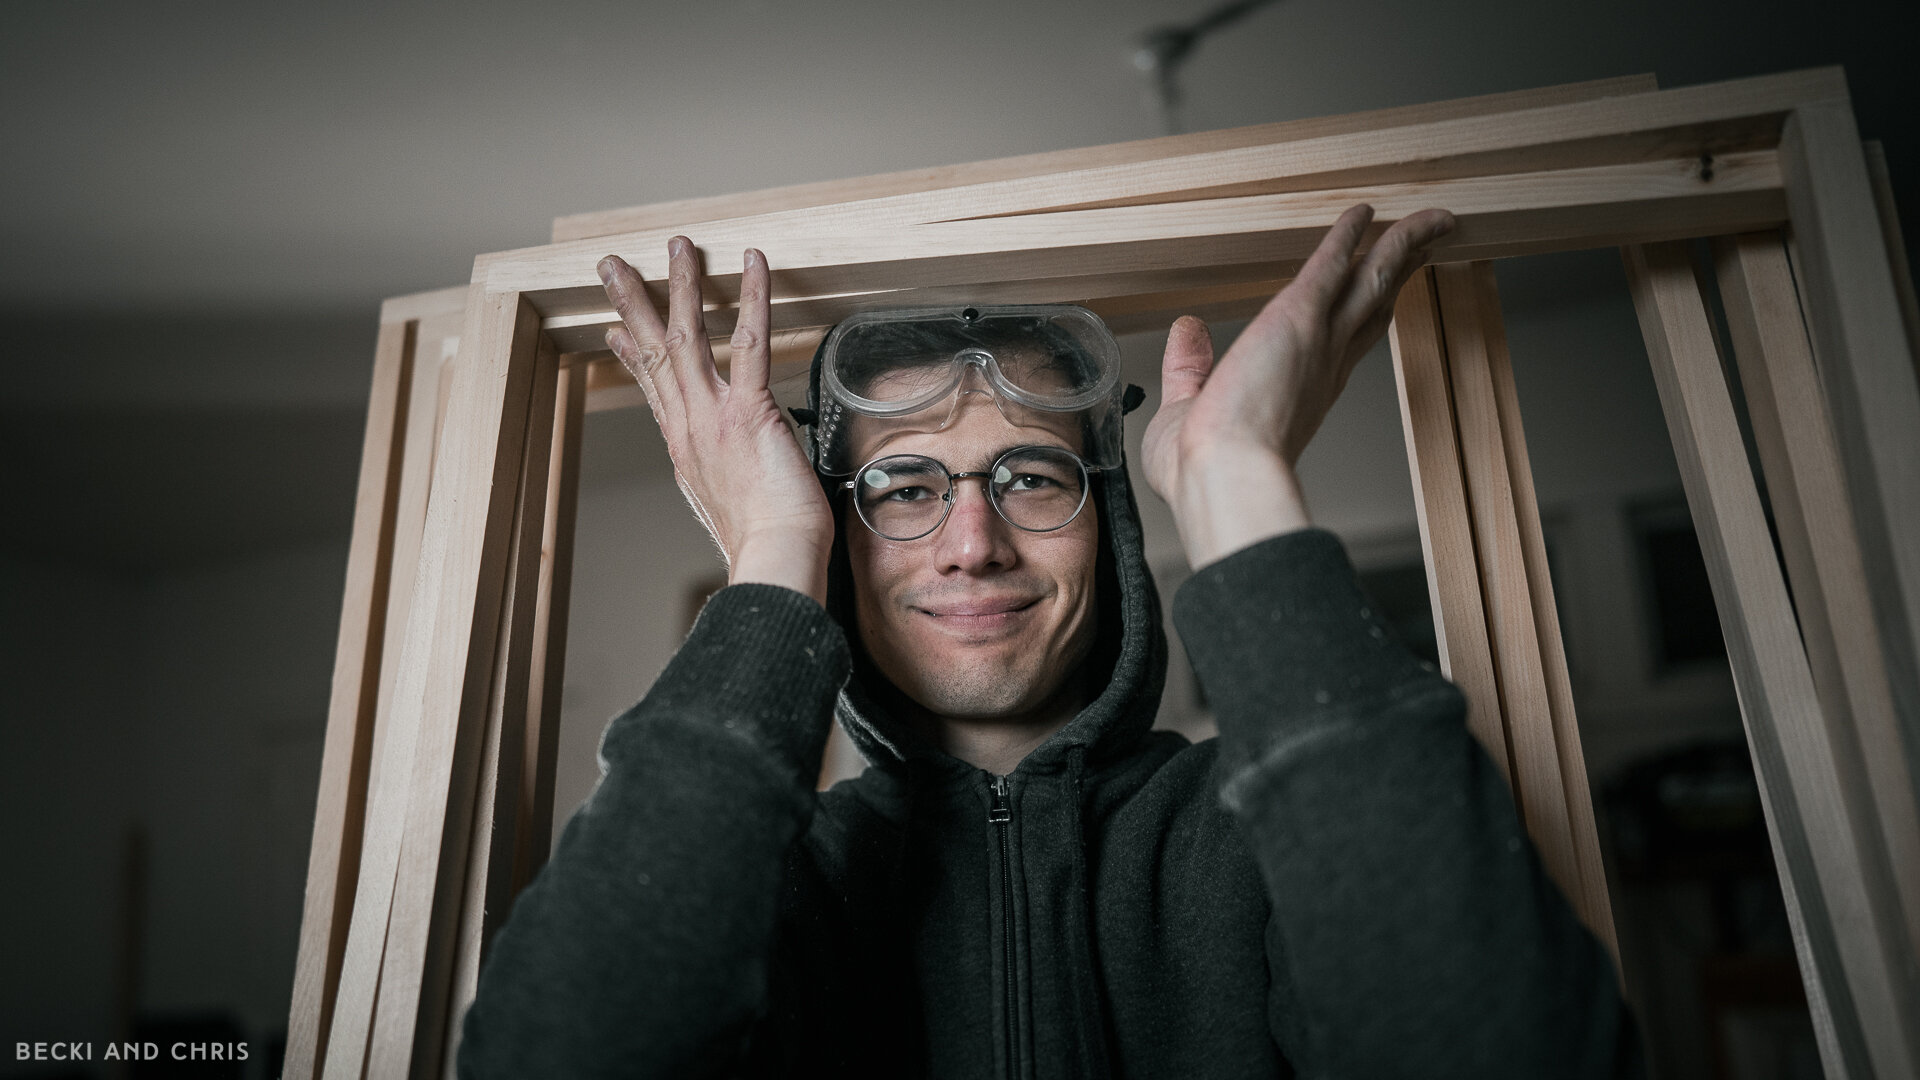
Now we got 12 frames ready to become deadly ol’ sound panels for the studio. Making 12 of these frames took about 2 hours.

Step 03
WRAP
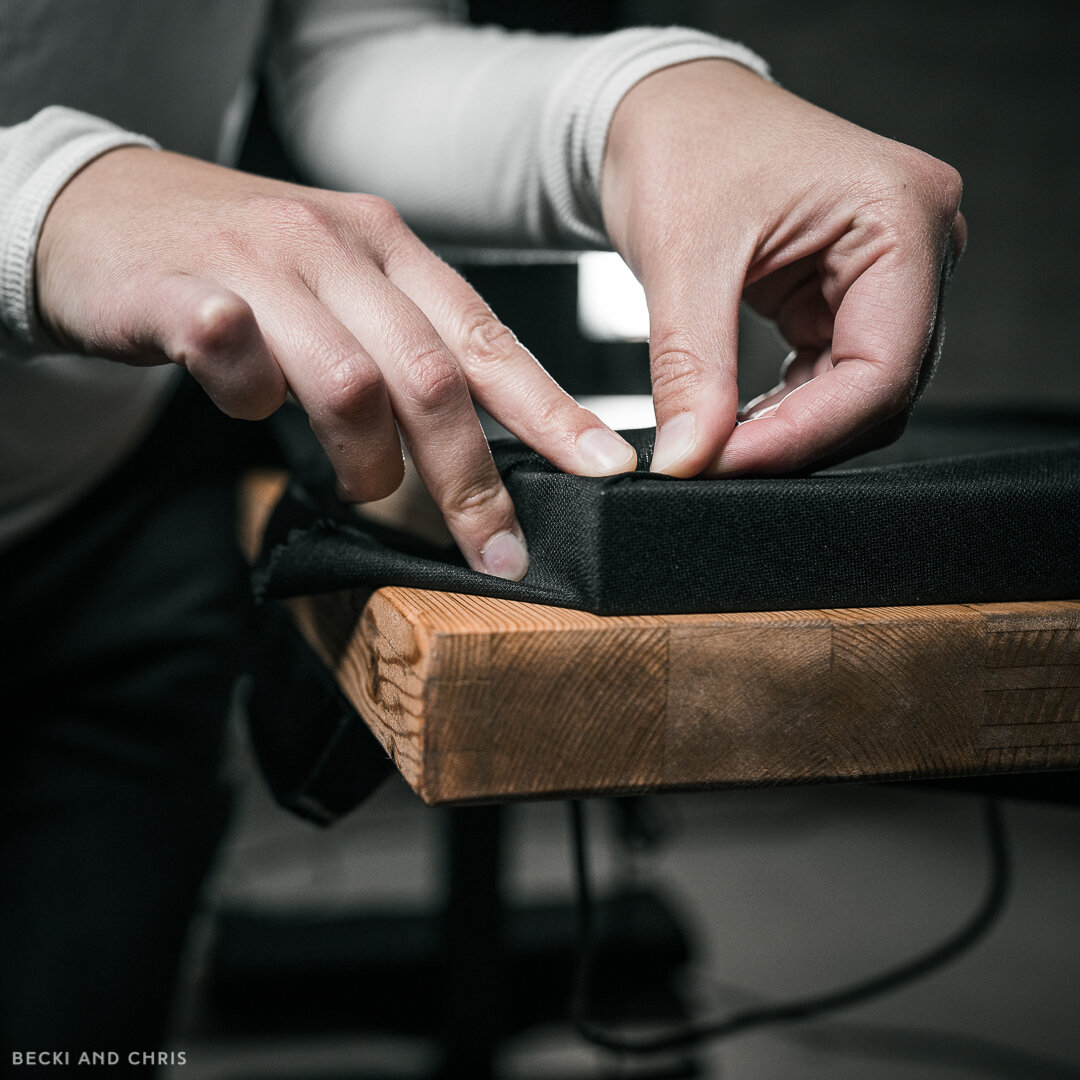
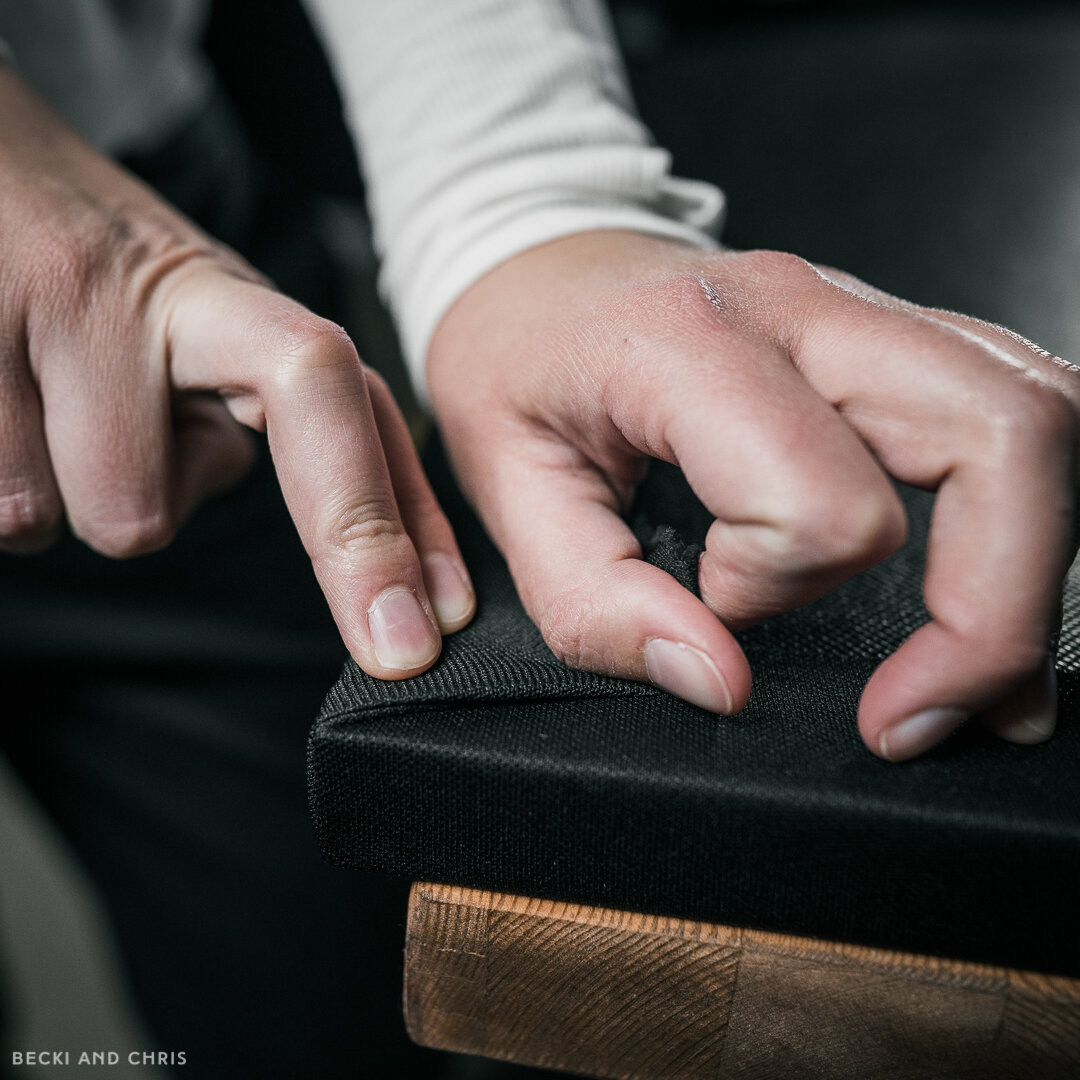
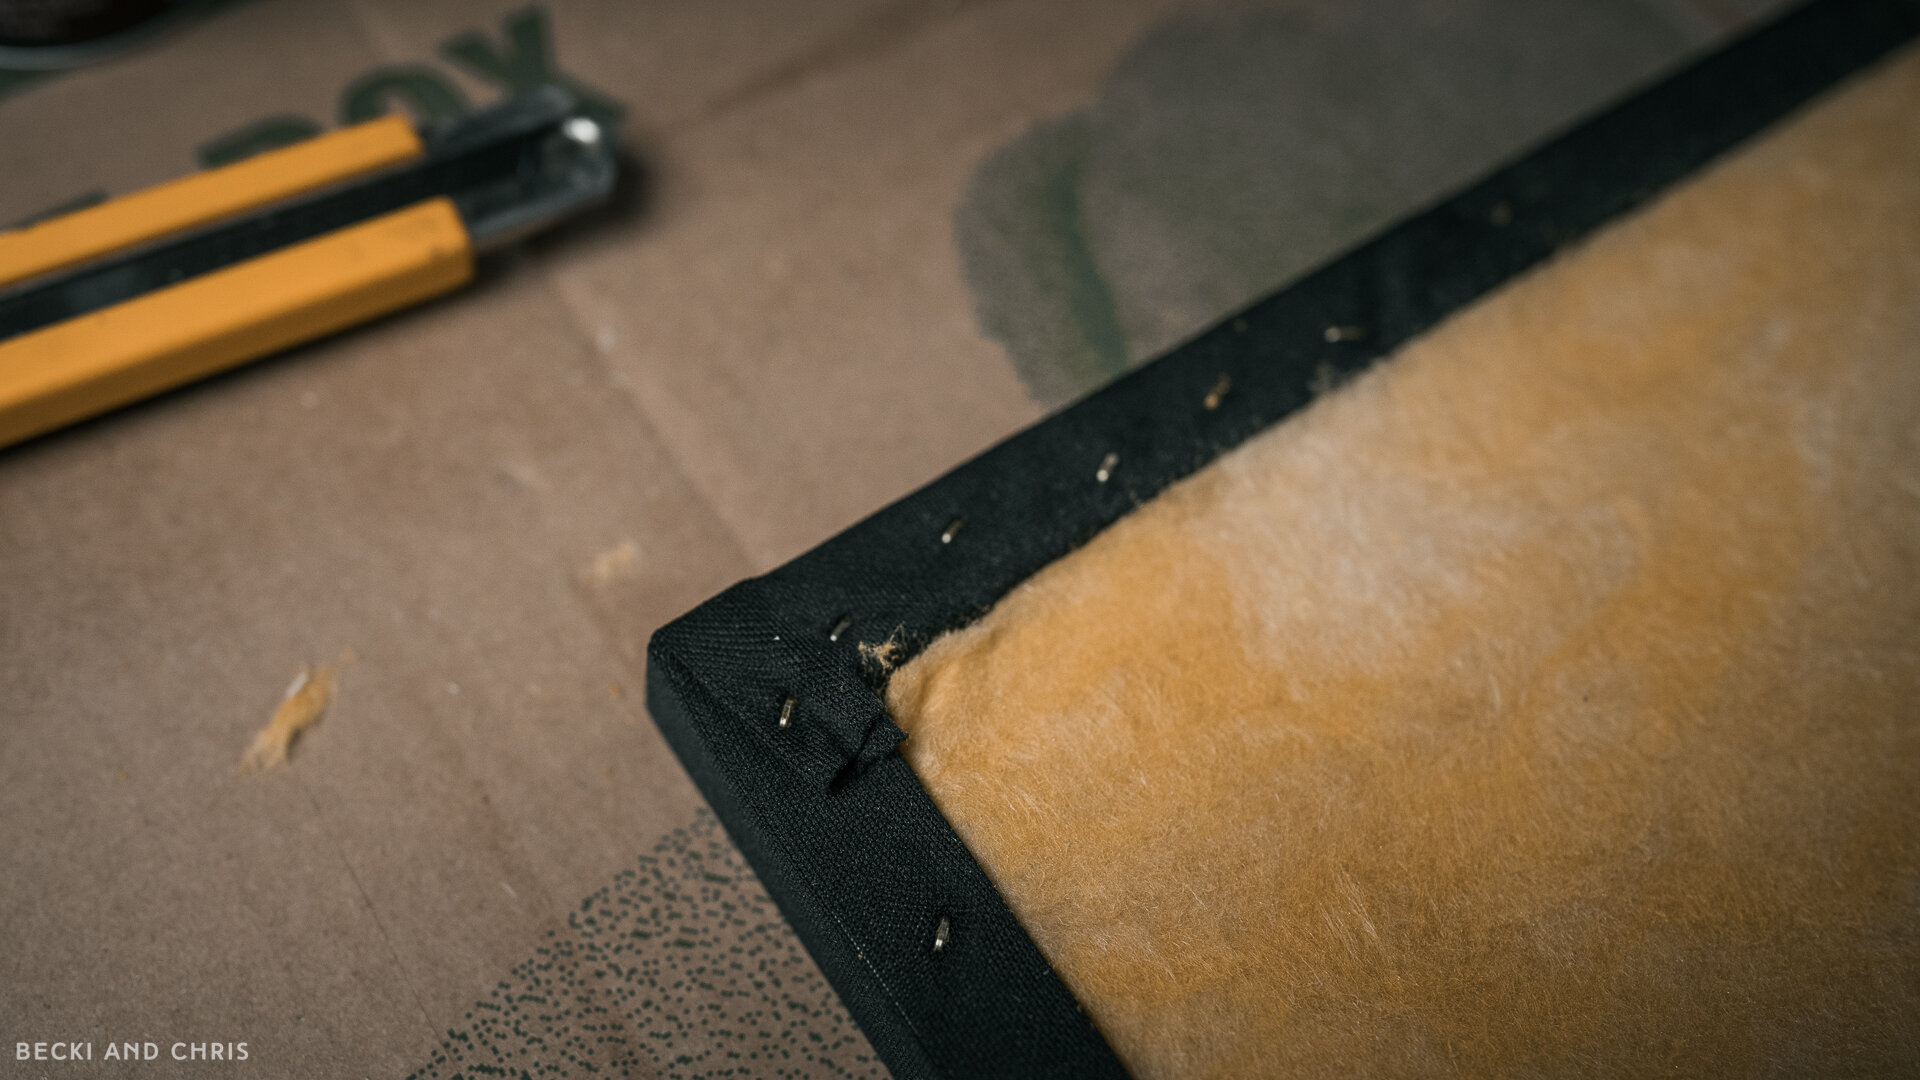
Now that you have your frames done it’s time to wrap that shit like a canvas. This was actually the most difficult and time consuming step. You want to make sure there are no wrinkles on the front of the panels and that your fabric is tight. This is the key to having professional looking panels. The fabric has a slight stretch which makes it a little more challenging.
Lay your fabric down on a flat surface and place your frame onto the fabric leaving about 3” of extra fabric around each side. Starting on the middle bottom of the frame, pull the fabric around the side of the frame over onto the back, and put a few staples in the center. Move to the middle top of the frame and repeat the process making sure the fabric is taught (you will see a wrinkle or line in the fabric like in the photo below. That is correct!) fire another stable in the center.

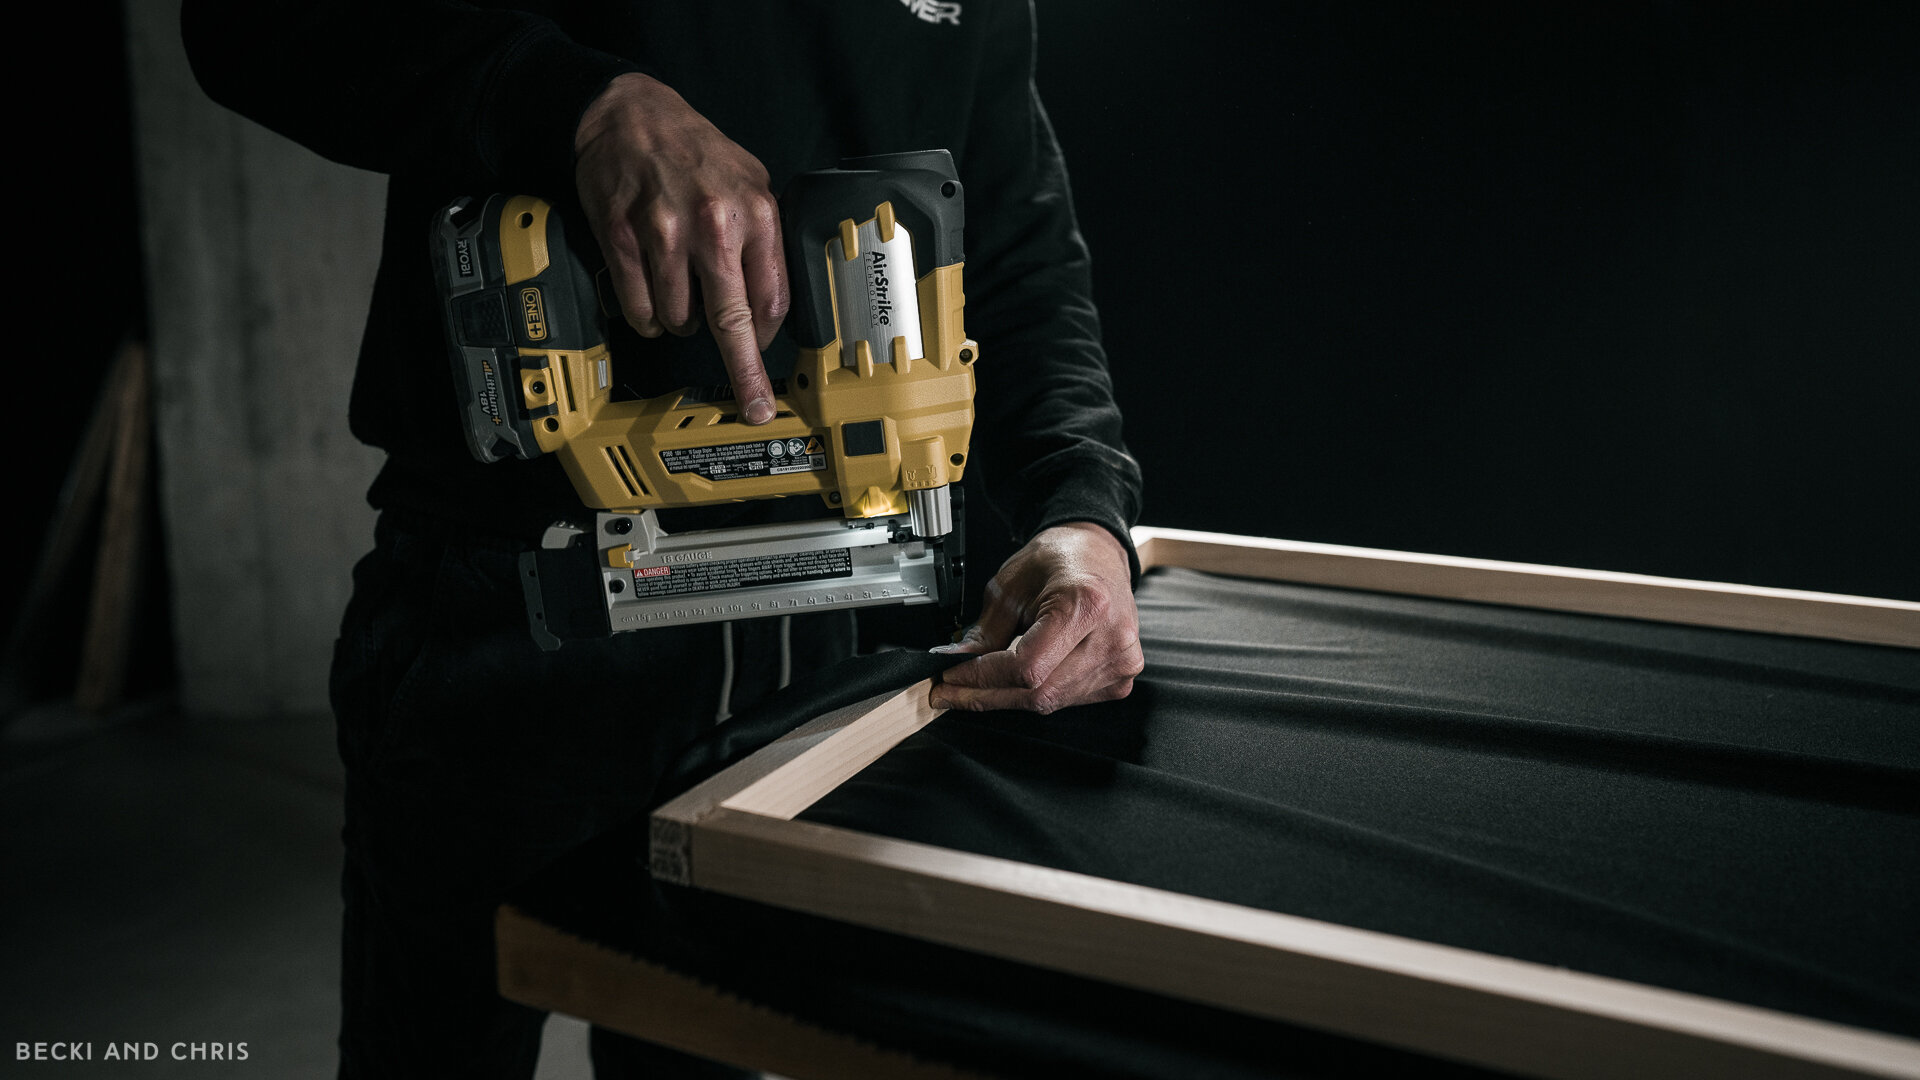
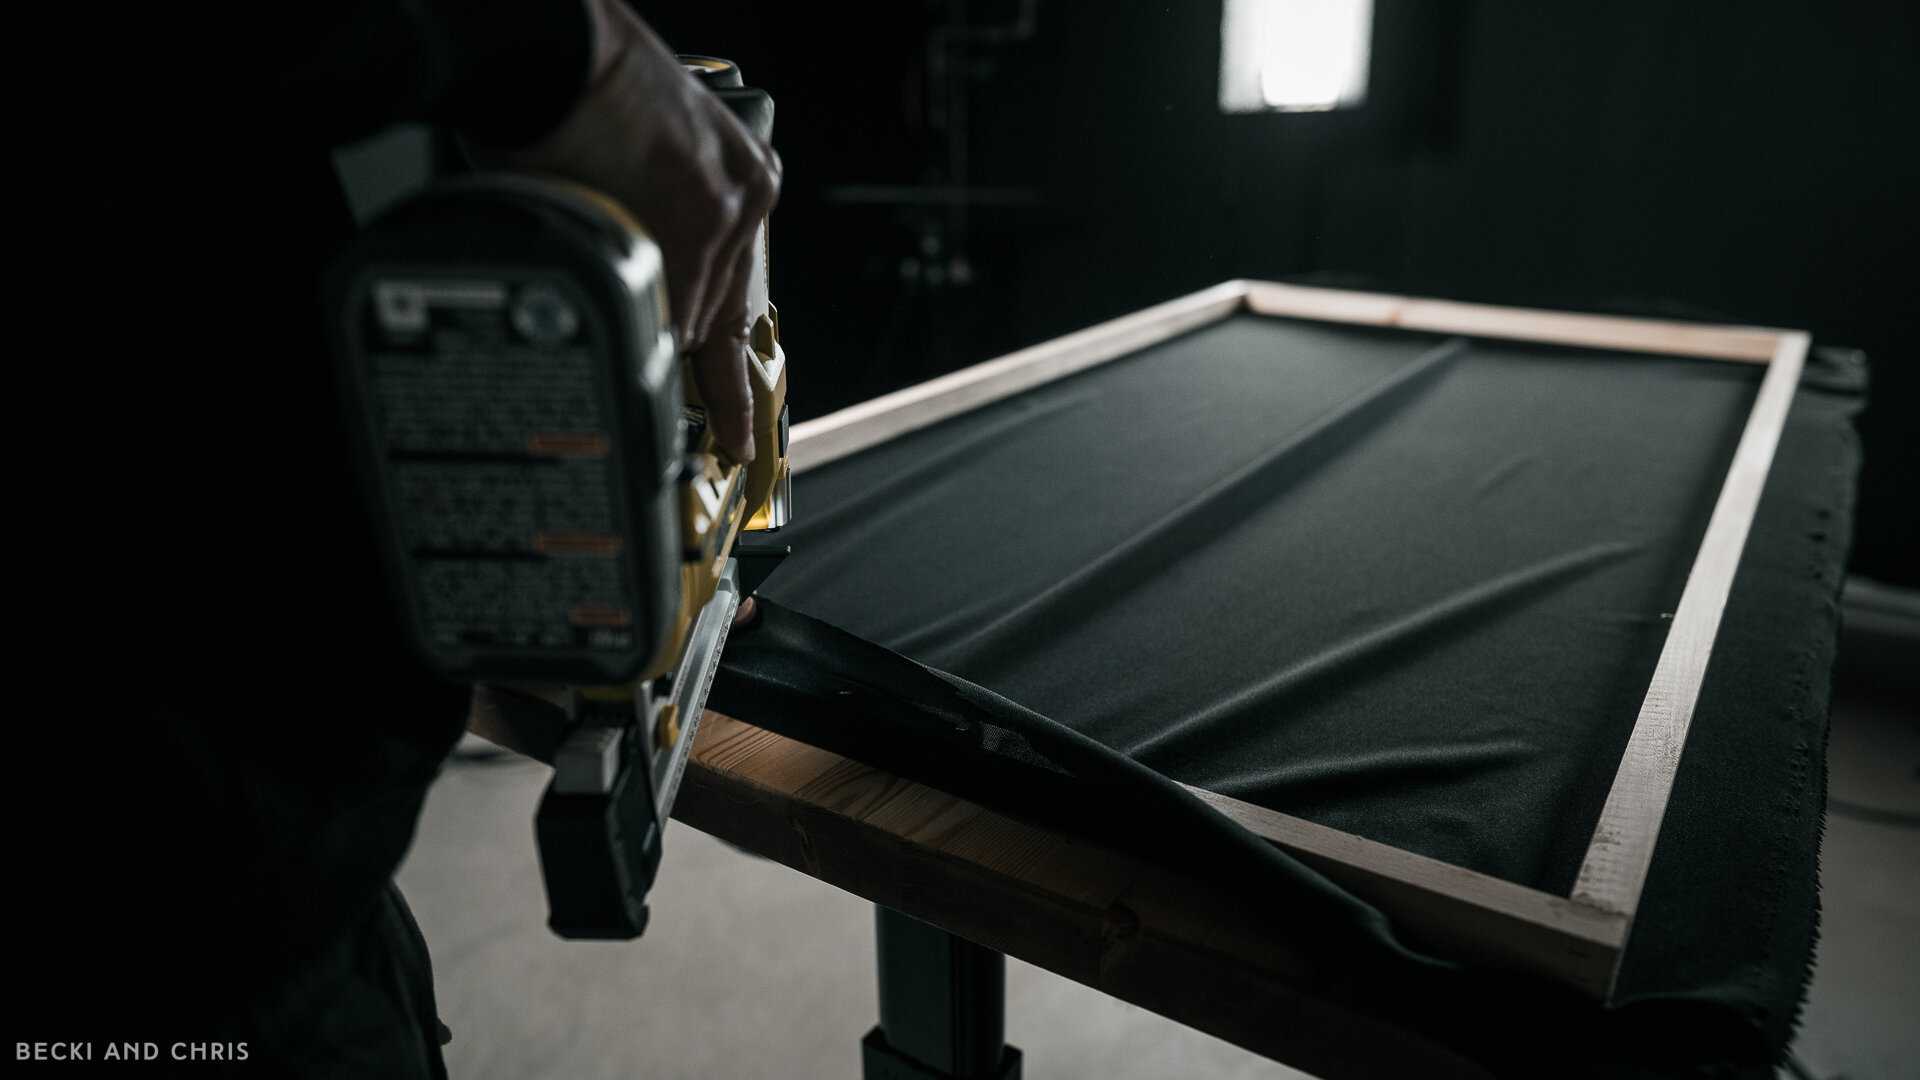
Moving onto the sides, pull the fabric and put three staples in each side about one inch apart. Work your way around the frame in the pattern bottom - top - left - right - repeat, putting in a couple staples at a time making sure the fabric is pulled tight. Always work across from yourself to evenly tension the fabric. Repeat this until your staples have covered the back of the frame a few inches apart. If that sounds confusing, check out this part of our video for clarification.

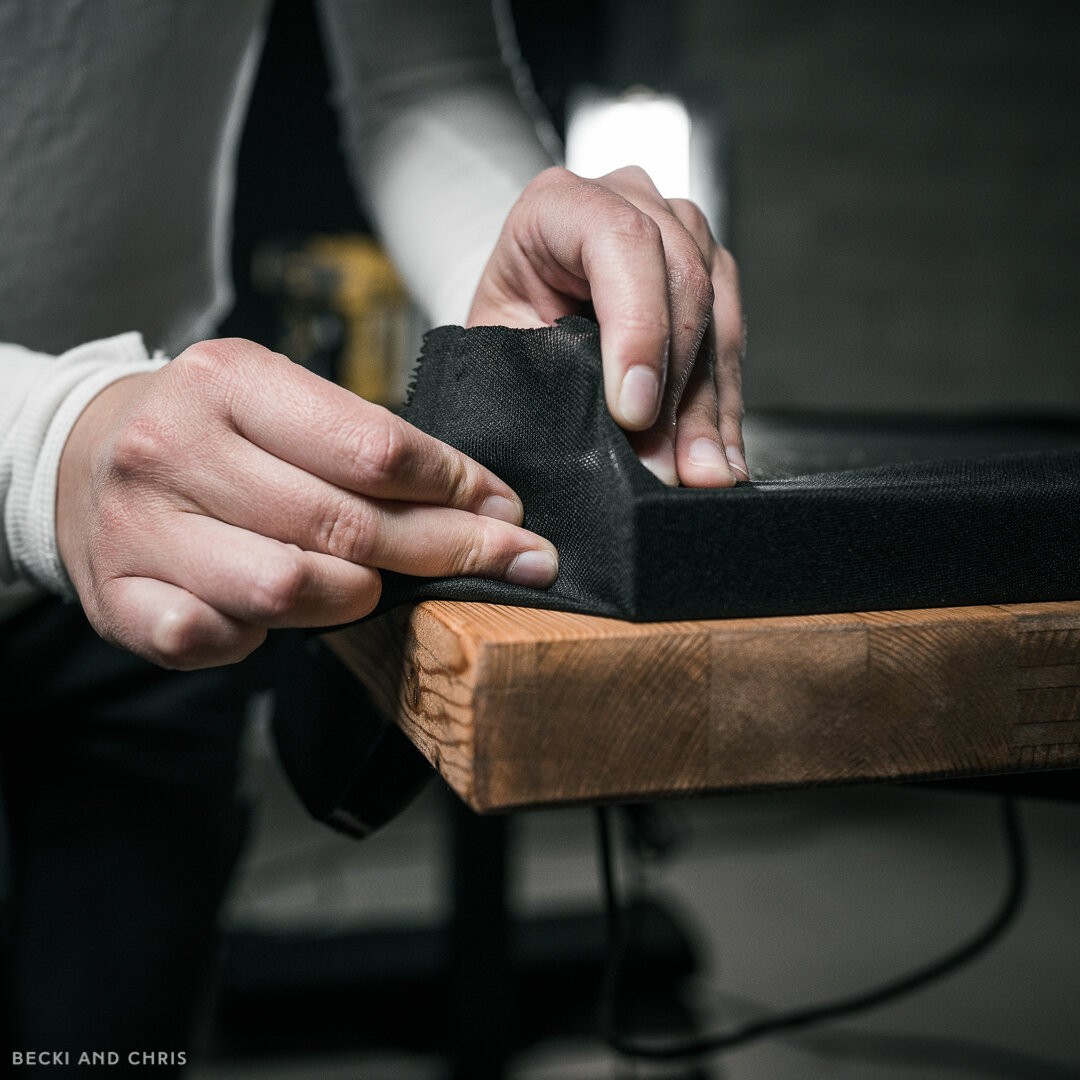
Now on to the corners; these are a massive pain in the ass. Instead of trying to explain this with words, peep the photos to see the process. It’s basically like making your bed with hospital corners. If it’s still confusing watch this part of our sound panel video. Fold it, tuck it, stretch it, then fire a staple in the back to hold the fabric in place.


Step 04
INSERT
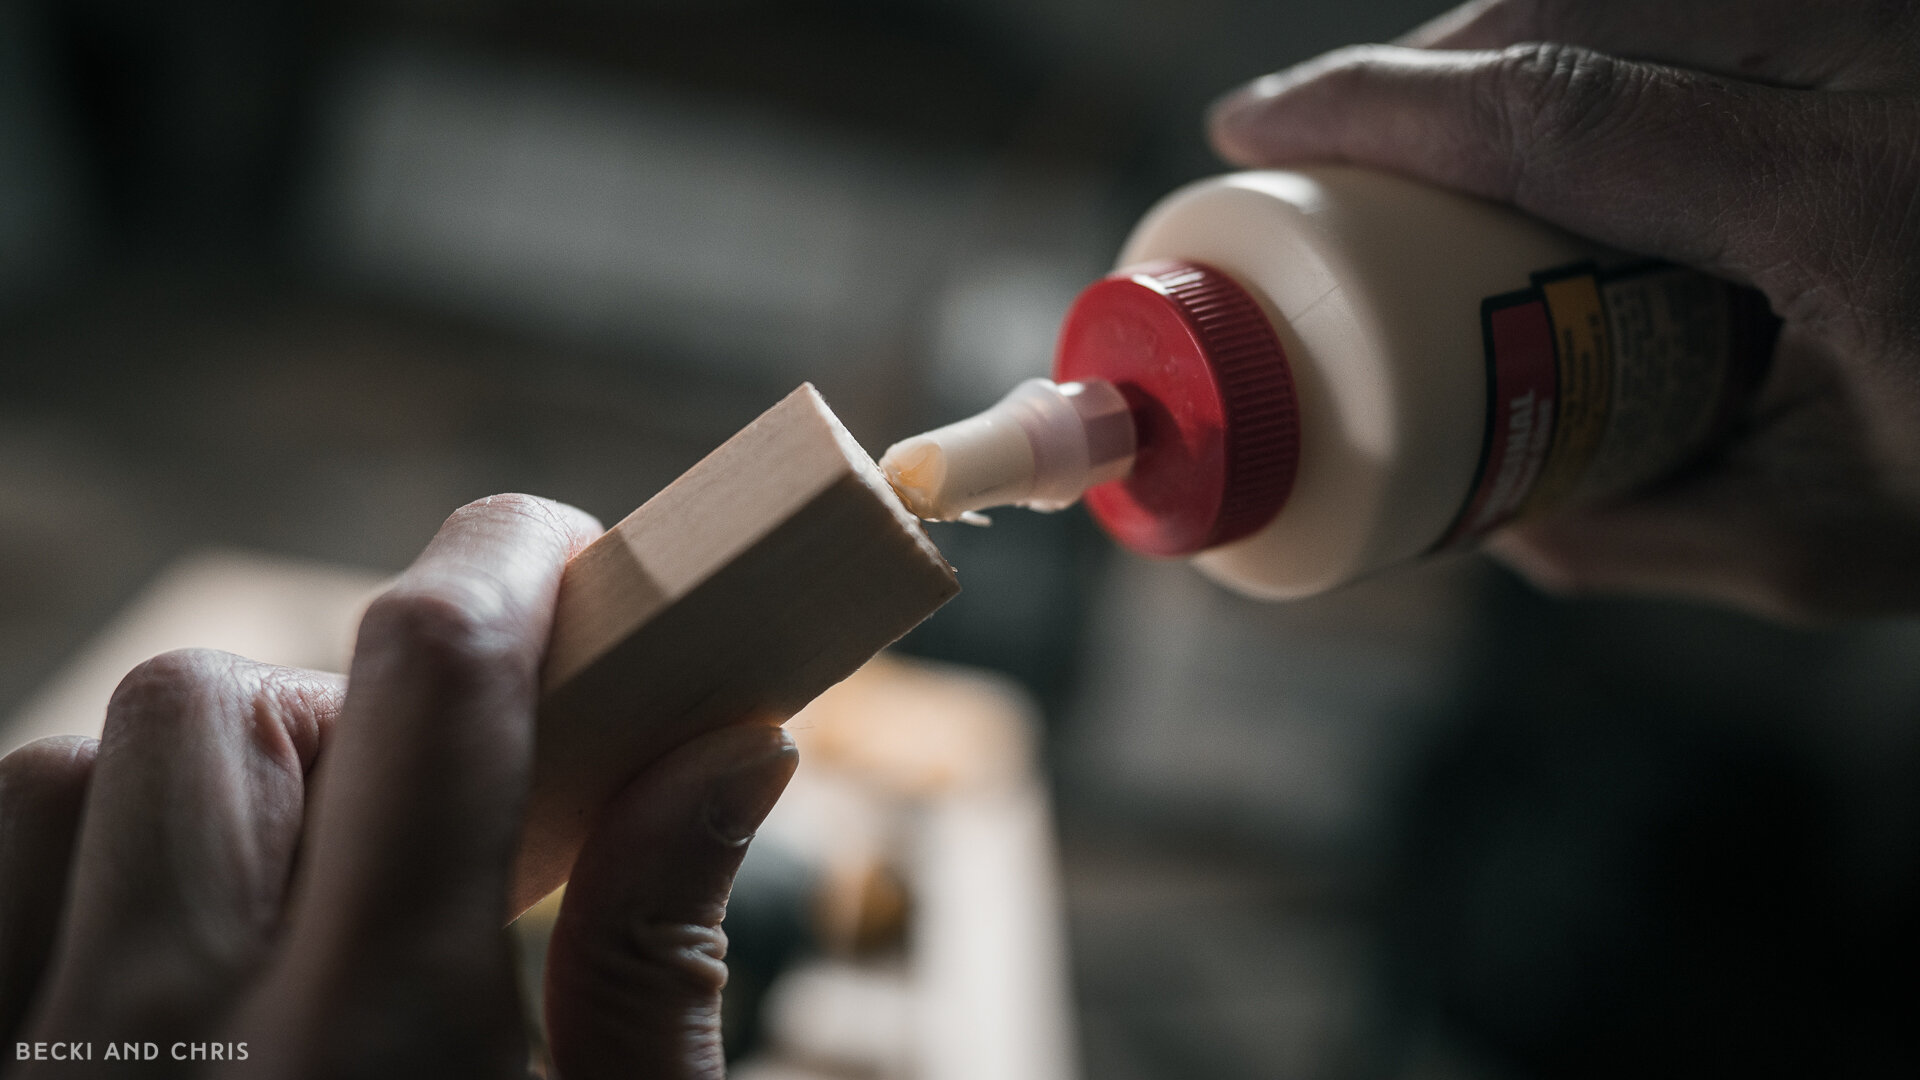
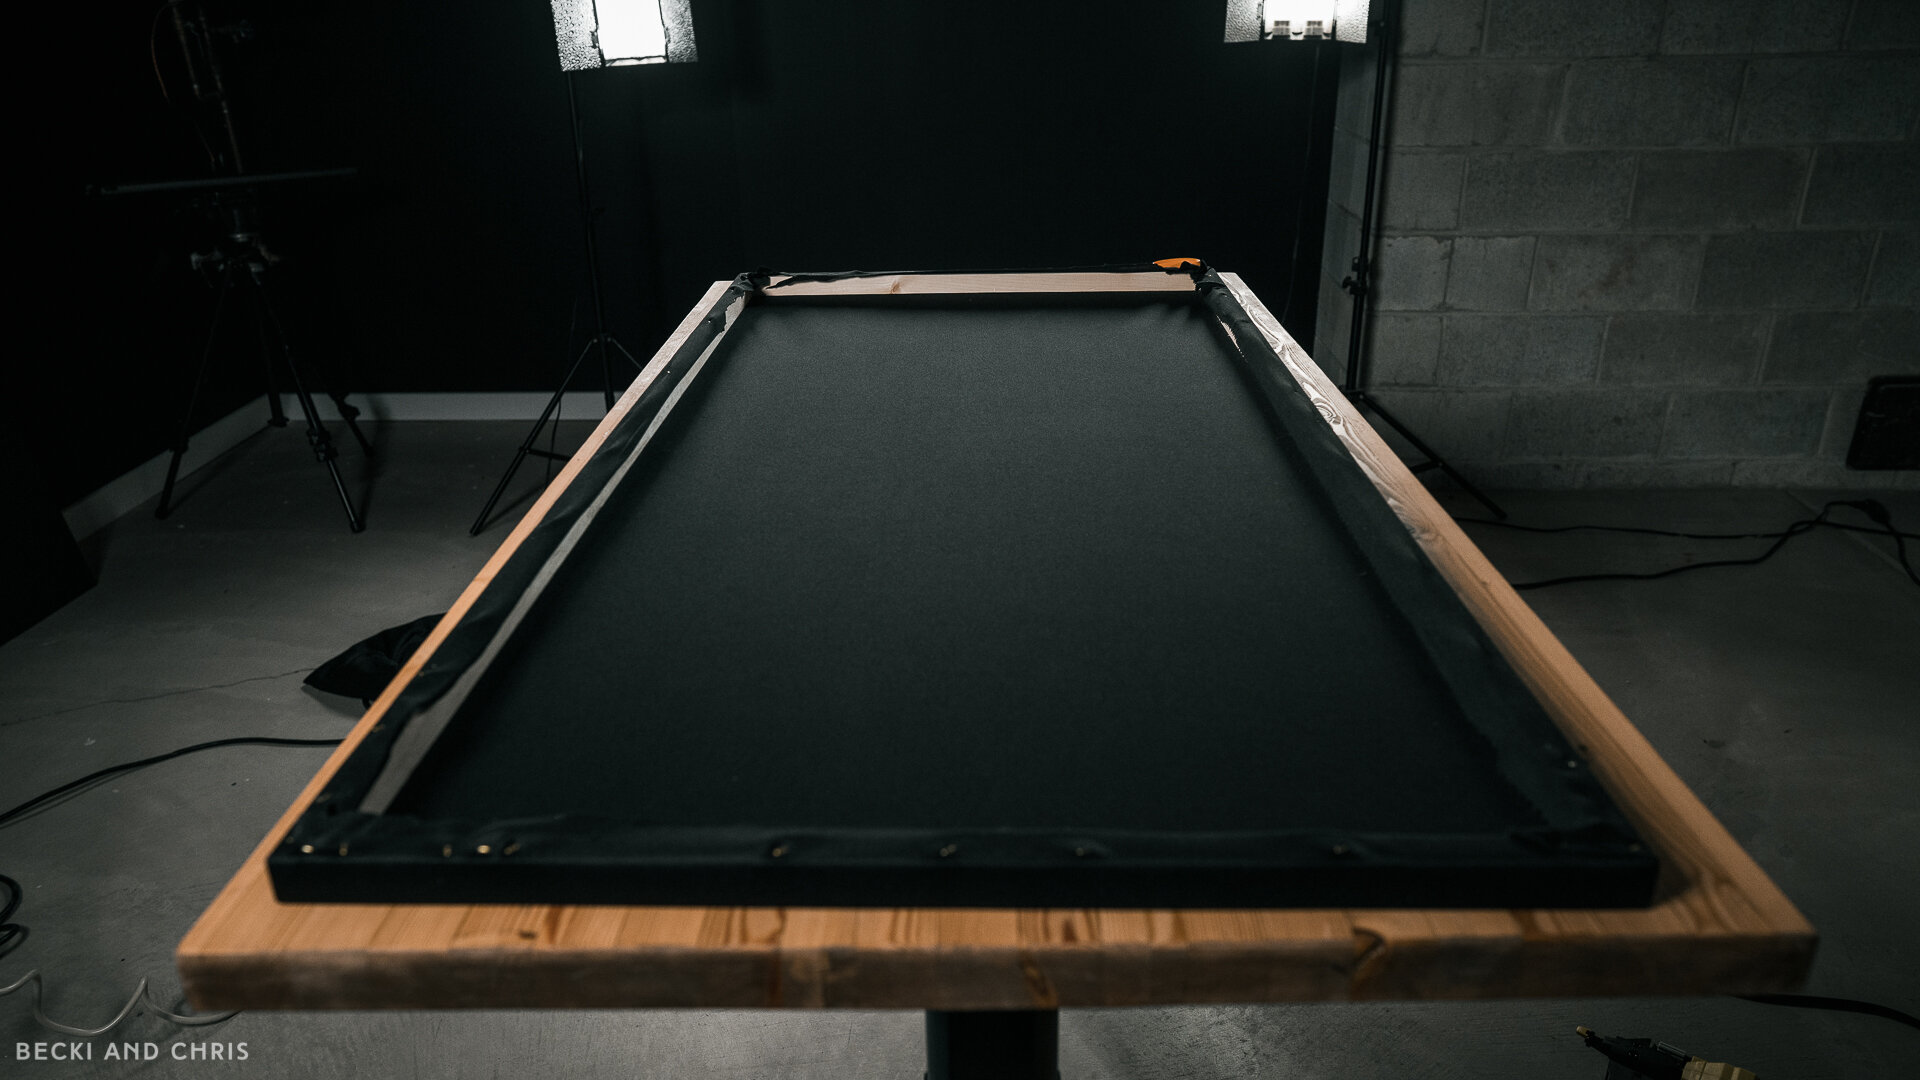
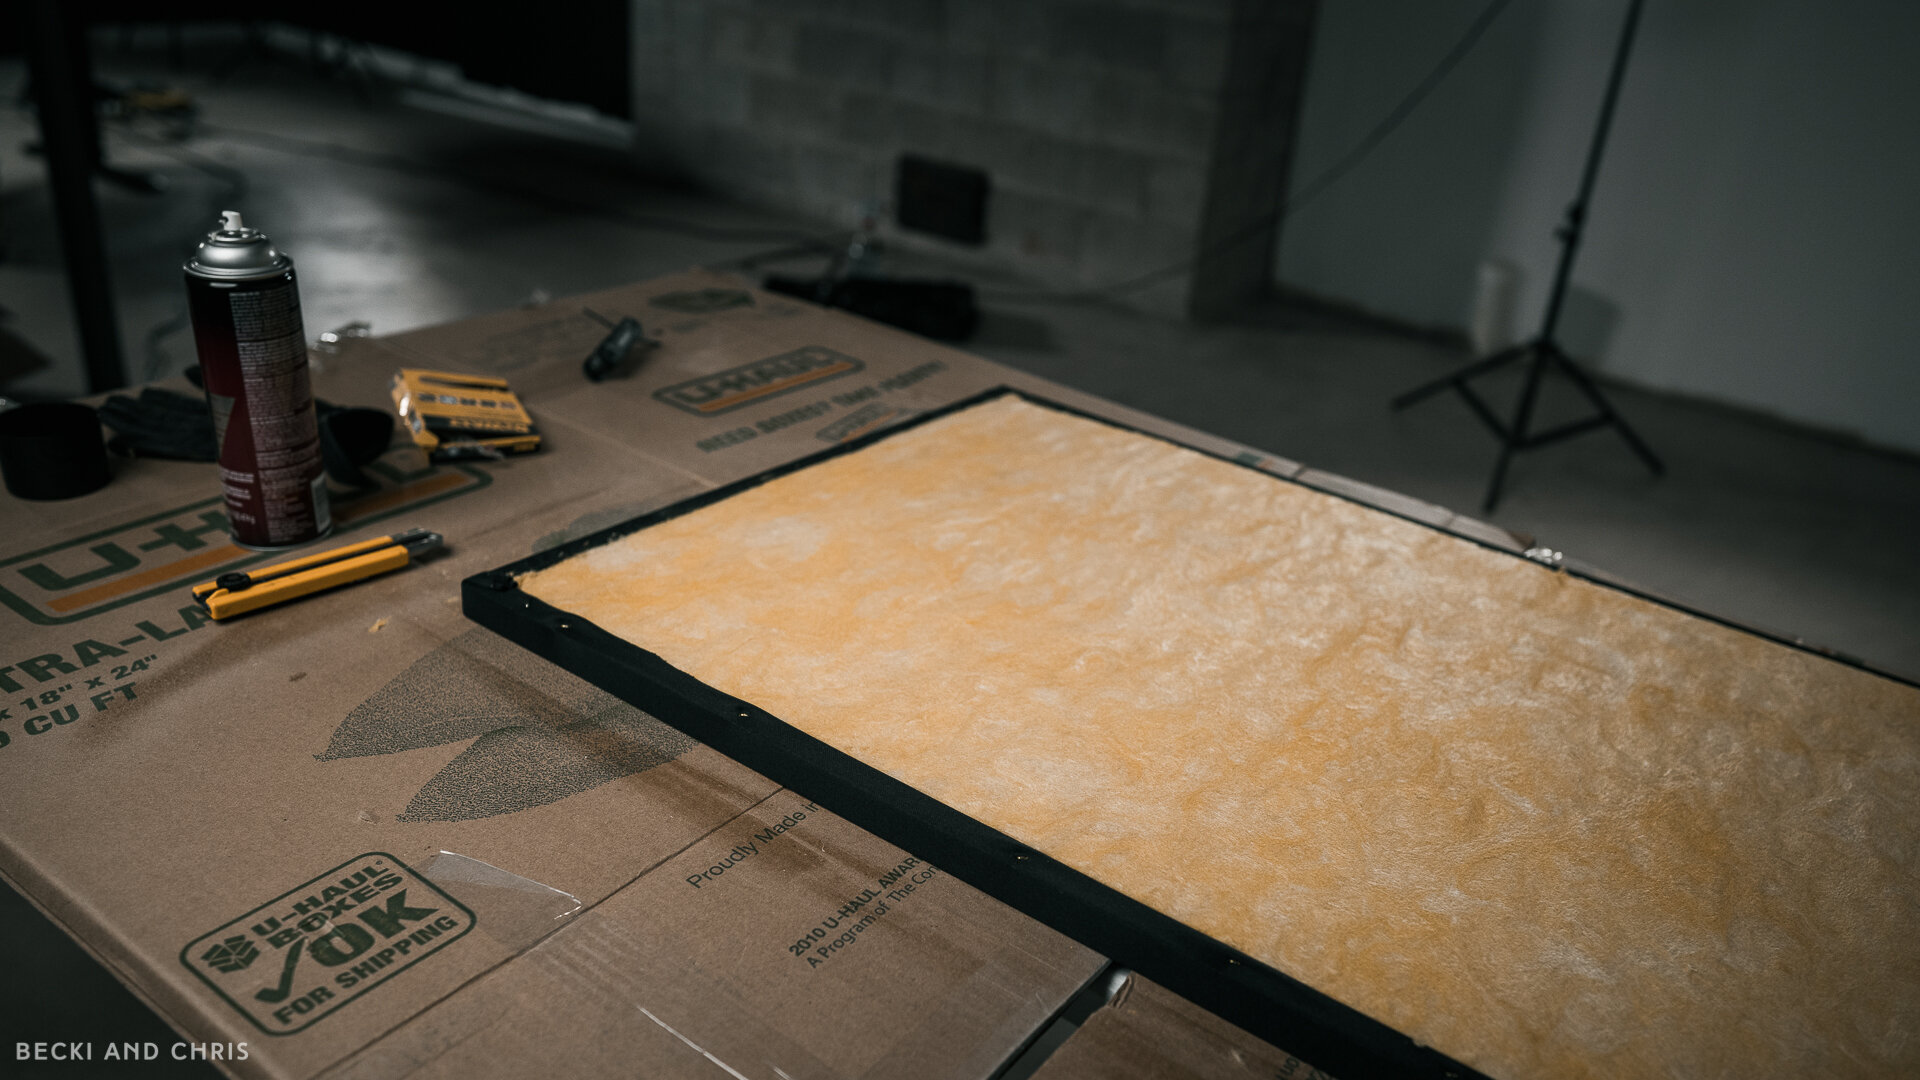
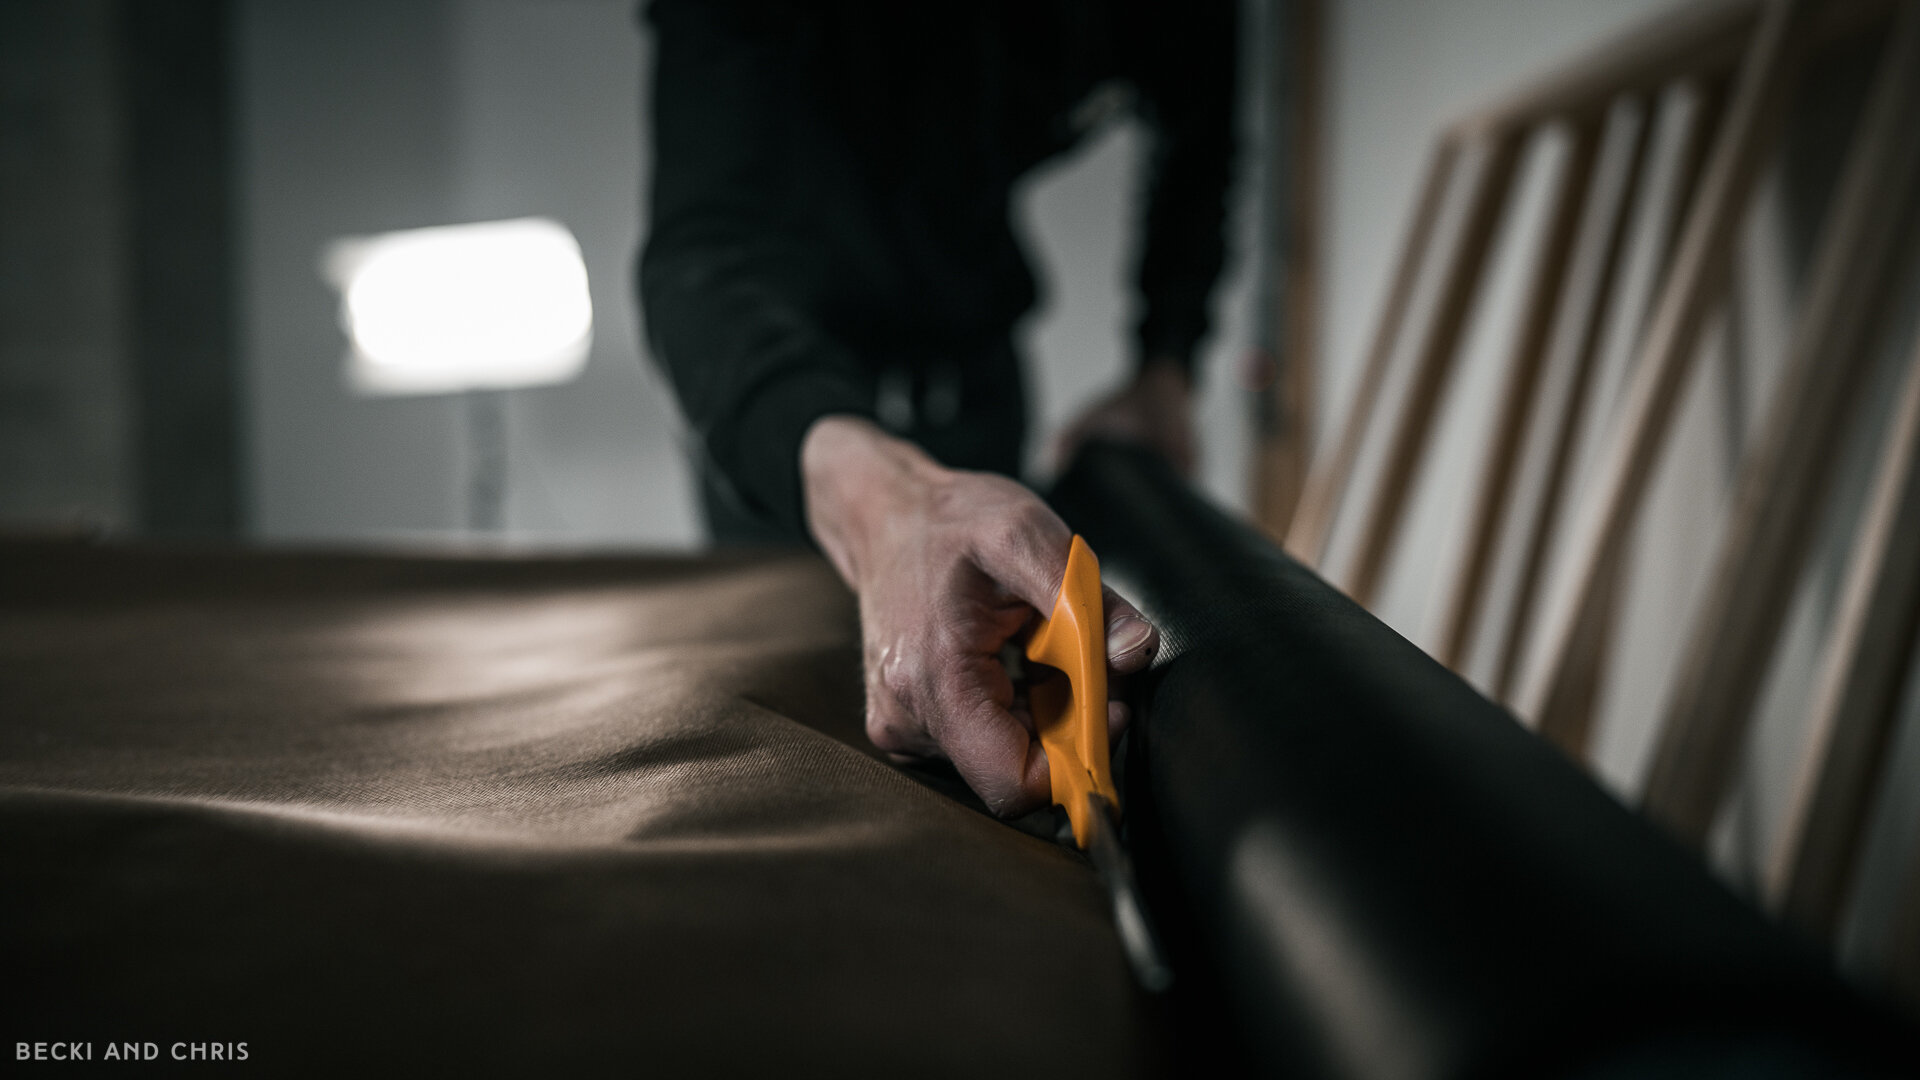
Next we flipped over the frame, lightly sprayed some Super77 on the inside of the frame and fabric, and dropped the insulation into the frame making sure everything fit snug. Take care when placing the insulation so you do not squish the fibreglass. Also, wear gloves. That shit is itchy!
STEP 05
THE BACK
Once all your frames are put together it’s time to fasten the landscape fabric to the back of the panel (a tip we picked up from our friend Gerald Undone’s video).
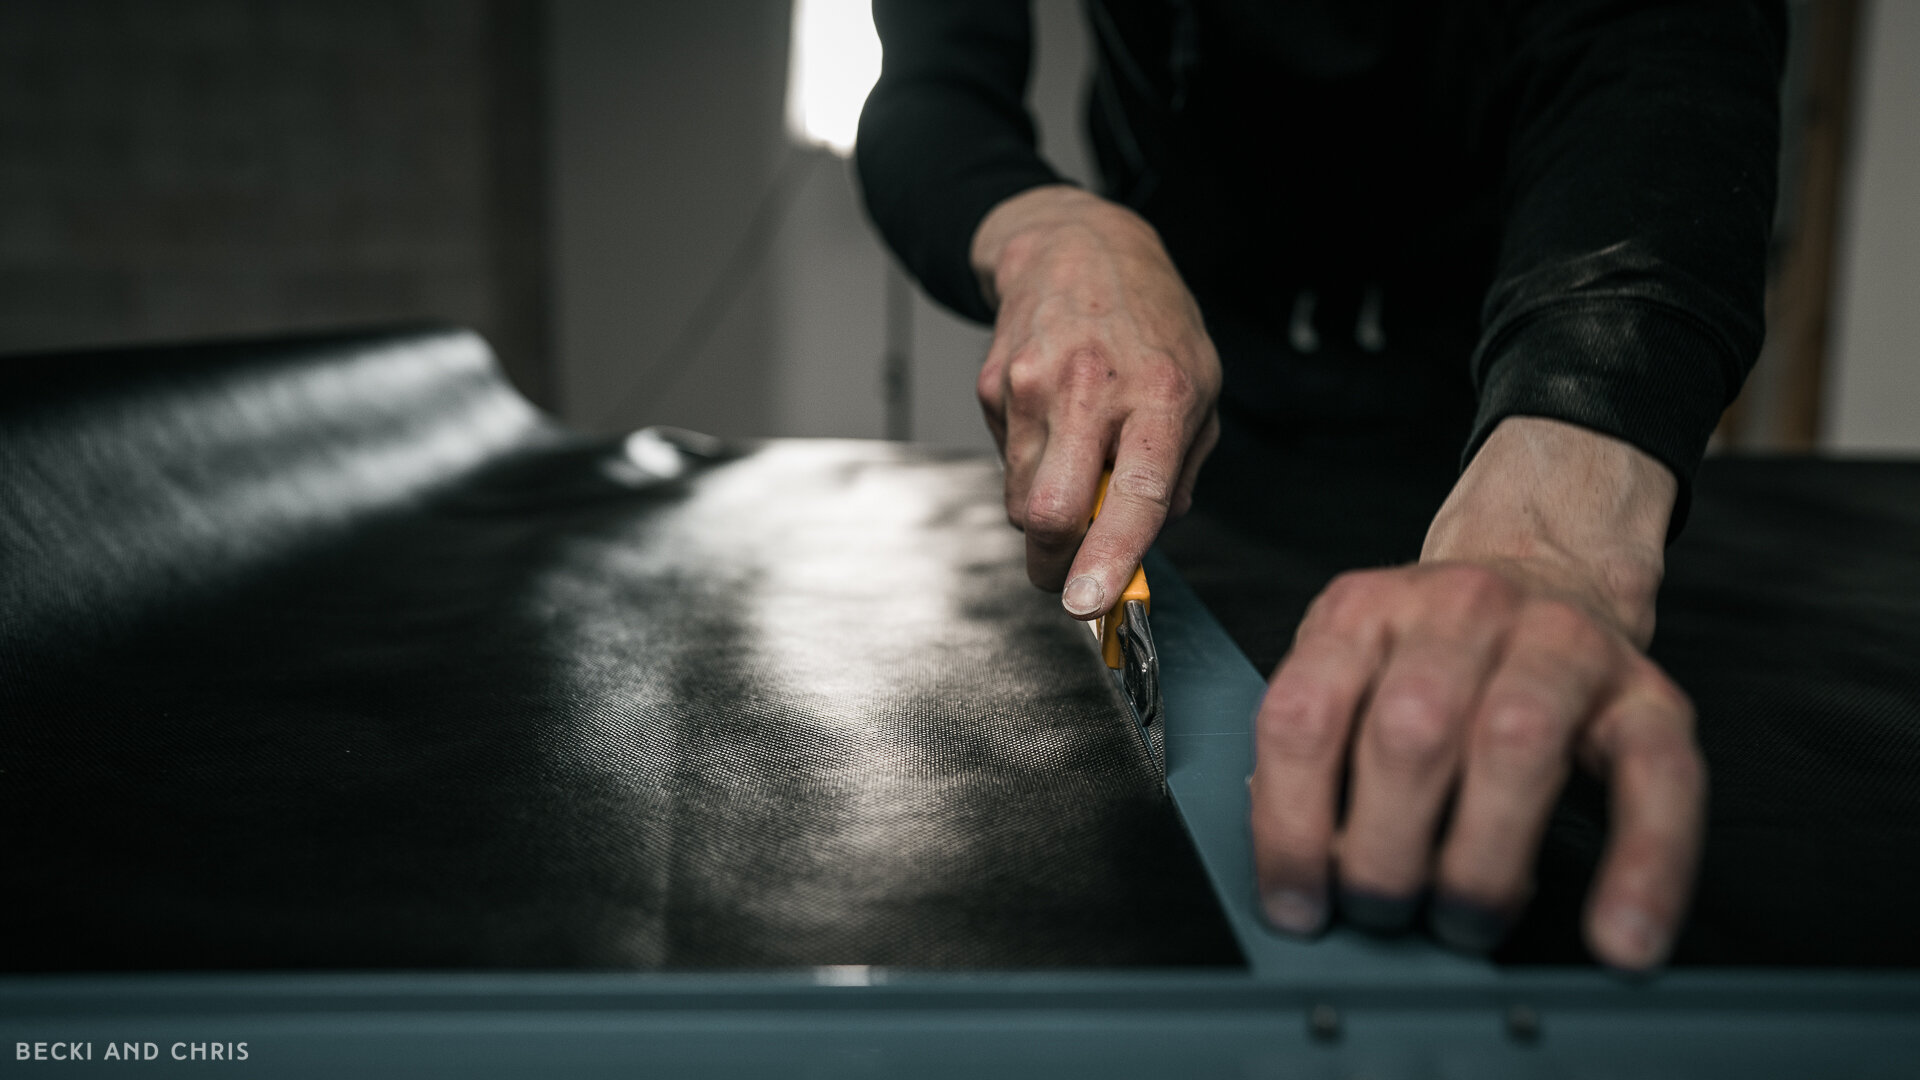
We cut the landscape fabric to be about 1/4” smaller on each side of the frame. We used Super77 spray adhesive to lightly stick the fabric to the back of the panel being careful to make sure the fabric was tight across the back. We then tacked it in place with 1/4” crown staples. Spray adhesive alone will not hold the fabric in place, you need to fasten it with staples.
Step 06
HANG
YASS we did it! Ok up next you need to hang those panels. The process is different depending on if they are going on a ceiling or a wall.
Ceiling
We initially installed cup hooks on the back of the panel and screw eyes to attach to the ceiling, but we found it was slightly easier to use the hooks on the ceiling and screw eyes on the panels. We found it easier to hang one long side of the panel first, then swing the panel up and mark the ceiling for the next set of hooks.
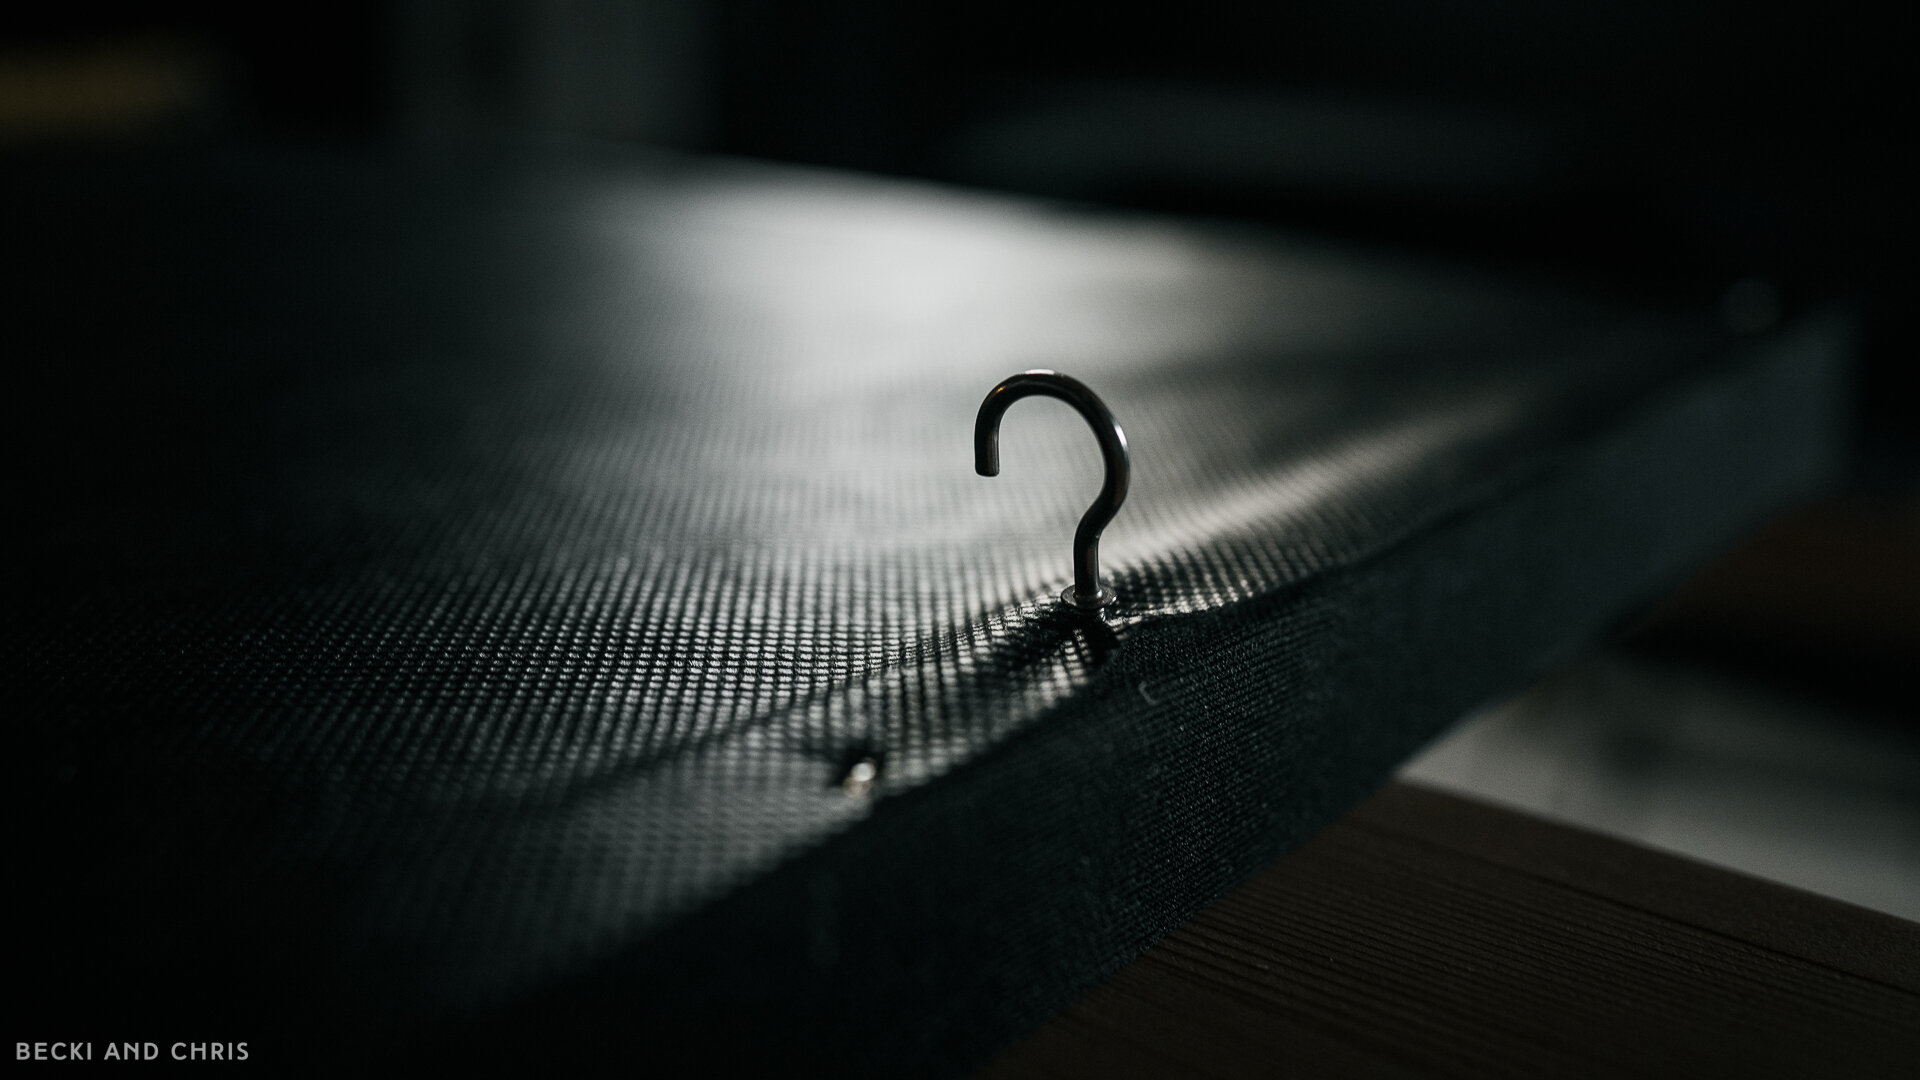

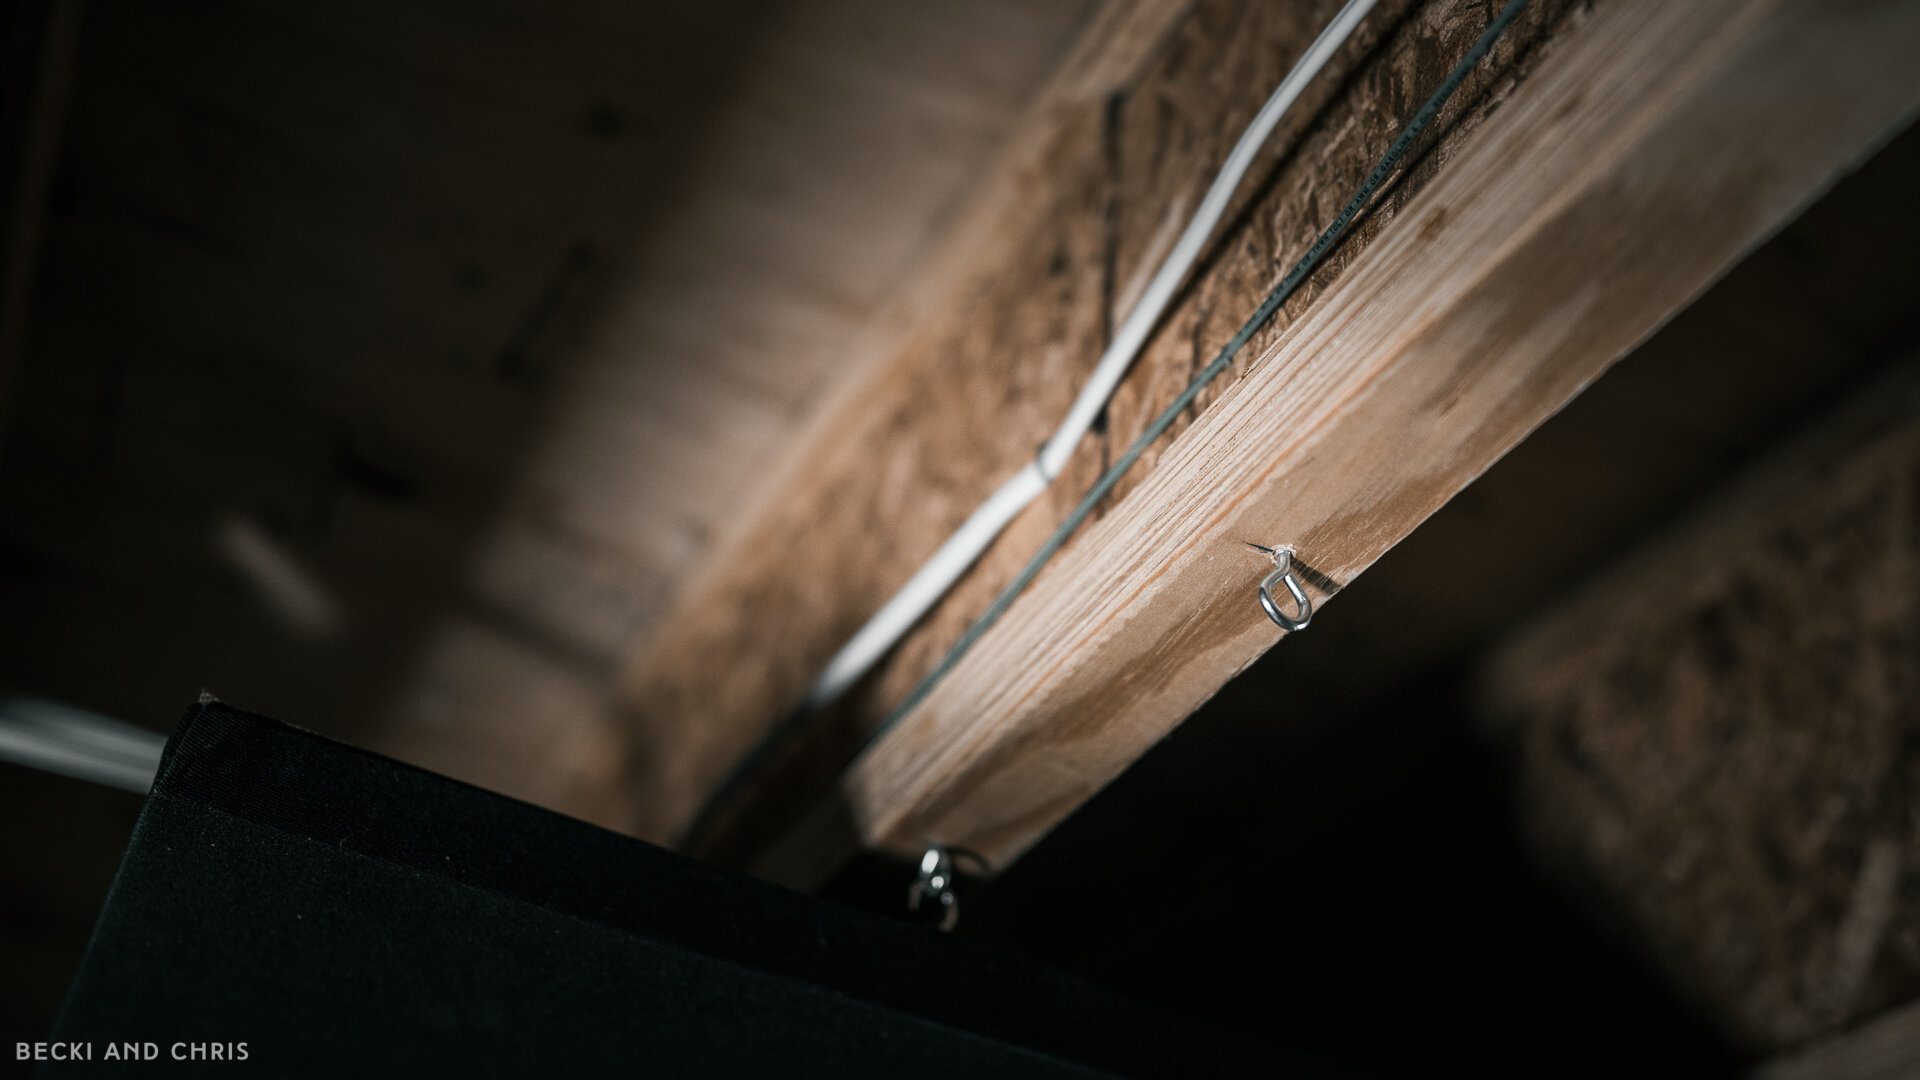
If your ceiling isn’t open you will need a stud finder to find the joists/strapping under the drywall or use drywall anchors. We strategically placed our hooks on the panel where they would fall on a joist.
Wall
If you are hanging these on a wall, you probably want a bit of an air gap between the panel and the wall for extra absorption. Sources are a bit all over the place on this one; some suggest thicker panels and no air gap while others say air gap. We will be placing ours about 1” off the wall because we don’t want to eat up space. We haven’t hung these yet but we plan on using Z brackets used for hanging photos. We will update this post with our process once we have them installed.
Step 07
RECORD
Once you are all done and installed it’s time to record some audio and see how it sounds! You can see a full before and after with mic test in this video: