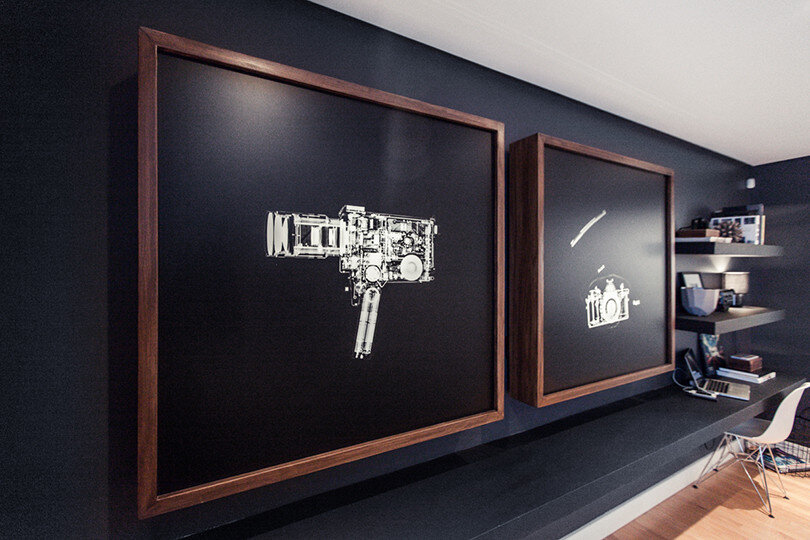
The Living Room: X-Ray Lightboxes
We always try to inject a bit of our own lives and personality into the house. A prime example is the art for the living room. With the back wall spanning over 15 feet, we wanted something unique that really made a statement. Inspired by our own professions (radiology resident and photographer), we decided to create our own radiographs (i.e. "x-rays") of old cameras.
I personally believe that the wide-spread adoption of 4x6 and 8x10 prints has single-handedly killed big art. Which is unfortunate because we love big prints/paintings which you seem to rarely see anymore. With that said, the idea for the living room back wall started out as simply huge framed prints. Then we remembered that we had a few rolls of transparency film left over from when we owned a screen printing studio. The fact that we could print our own films opened up the option of creating a backlit display for the images. We initially thought about sourcing old school view boxes. You know, those obsolete, albeit visually pleasing, things you still see used on every medical drama (whose writers must be oblivious to the fact that radiology has gone digital). We ultimately decided to create our own custom back-lit wooden boxes so we could incorporate the same dark walnut tones that we used on the other side of the room with the slat wall. Consider this project an homage to the classic radiology view box.
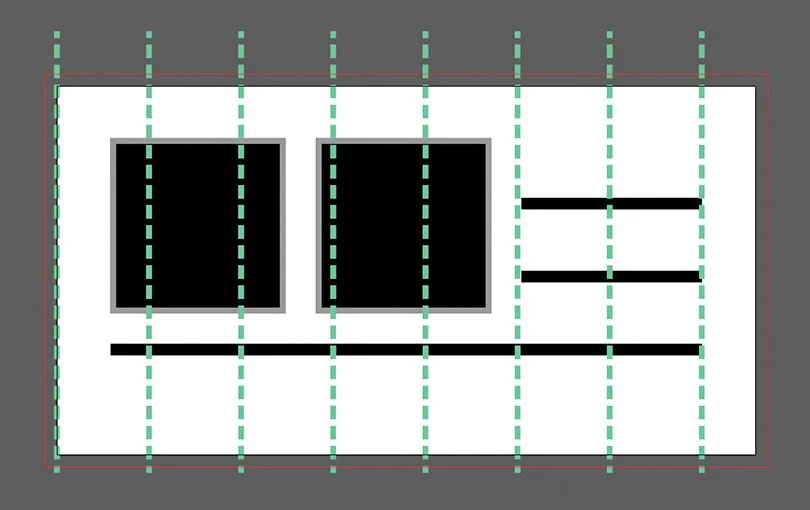
Planning started with drafting a scale mock-up of the back wall, including demarcation of stud locations, to plan mounting and wire fishing. We used Adobe Illustrator for this, only because we're familiar with this program. Many other programs (including the more analog "pencil and paper" option) would suffice. As an aside, we knew we wanted floating shelves but the cheap $20 ones from Home Depot just weren't cutting it. And by not cutting it we mean sagging off the wall with the weight of one book. We decided on building two custom 12" deep floating shelves for the right hand side of the wall and a huge 16" deep shelf that would span almost the entire length of the back wall. This would double as a built-in floating desk/work area. After nailing down the details on the shelves, we determined size and placement of the light boxes. The three floating shelves/desk were then built, installed and painted (we'll make a separate post on how to build your own custom floating shelves later).

Construction of the light boxes started with cutting two square pieces of white laminated MDF to act as back boards. Knowing the prints would be big 44" squares, we made the back boards slightly bigger at 44 1/4". The next step was building a frame to fit around the perimeter of the back boards. I started with 1x8" poplar boards, ripped a strip off one end with a table saw and glued it back onto the original board, side by side, to create the appearance of a double wide edge and an over hanging lip. This would form a frame around the face of the box.

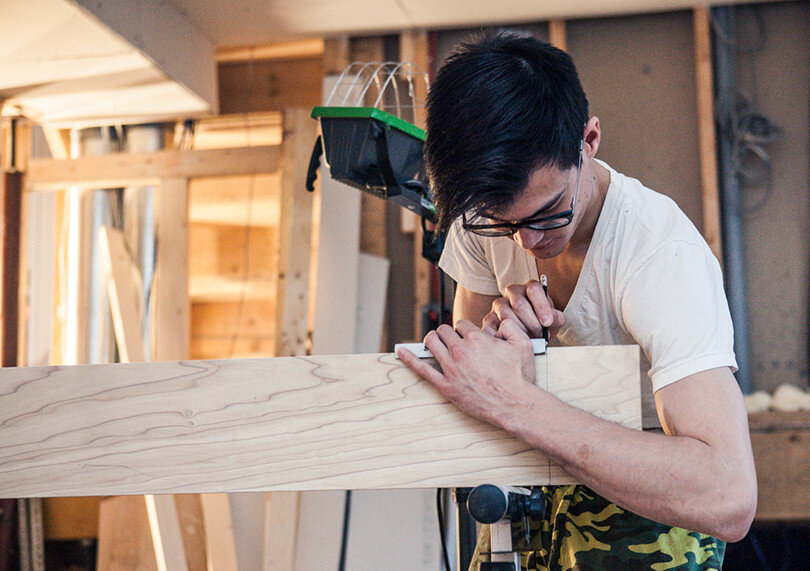
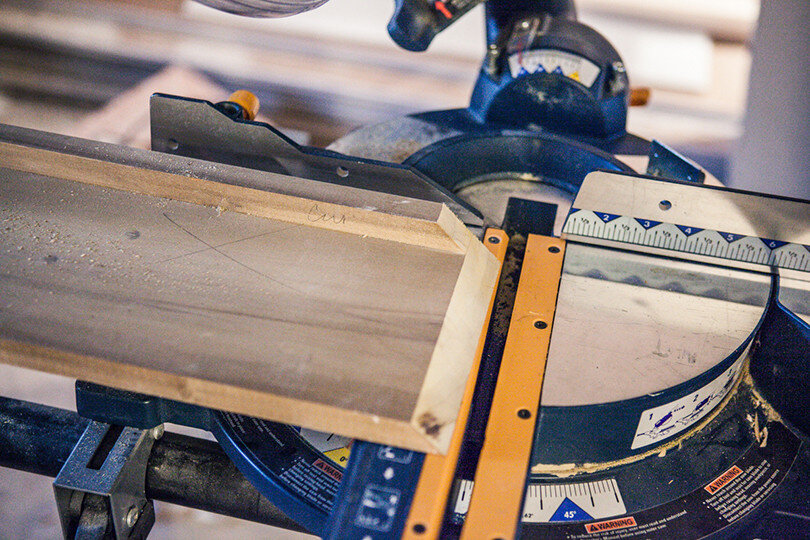
I then miter cut eight side pieces and glued them together to form two 44" square frames. The MDF back boards were used as a template. The square frames were then attached to the back boards with metal corner brackets. As shown below, I wore my awesome camouflage pyjama pants during most of this project.
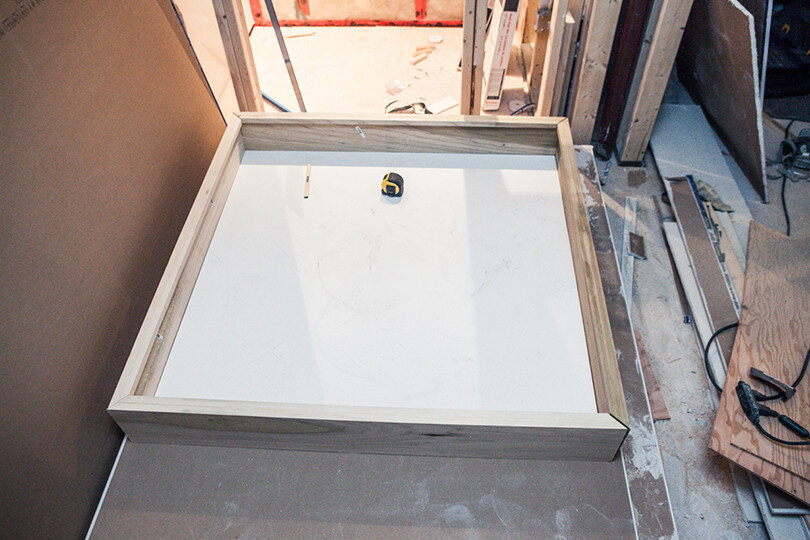
A groove was created inside the face of each box (to hold a sheet of translucent plexi glass) by glueing 1x2" poplar strips just behind the overhanging lip on the box face. A slot was routed out on the top side of each box to allow for the plexiglass to slide in.

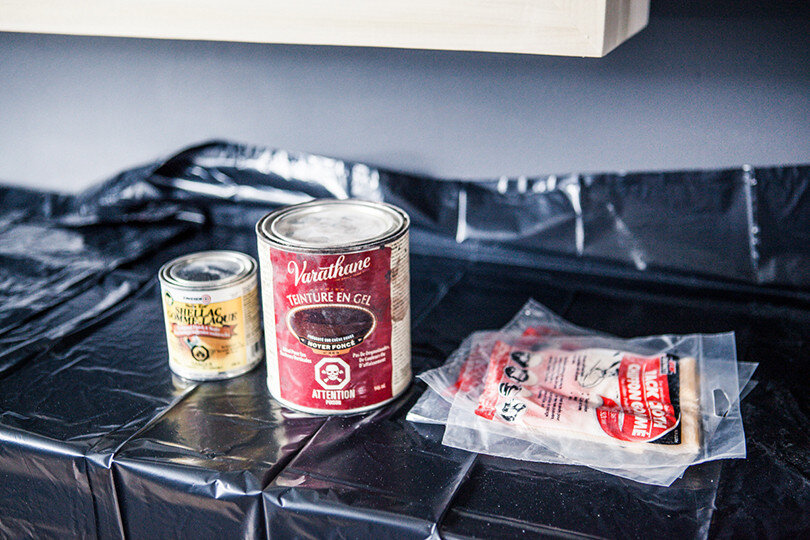
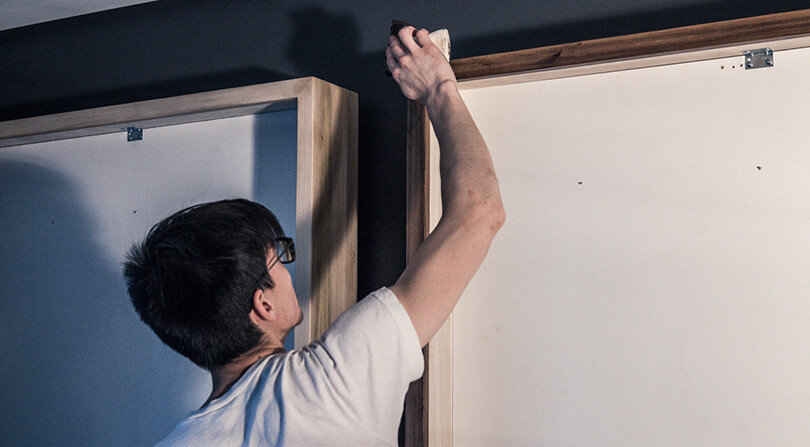
After the boxes were glued together, I used a belt sander to level any imperfections on the faces and miter joints. The boxes were hand sanded through three grits of sand paper and the wood was prepped, stained and clear coated as per the process outlined in the slat wall post. They match the slat wall perfectly!
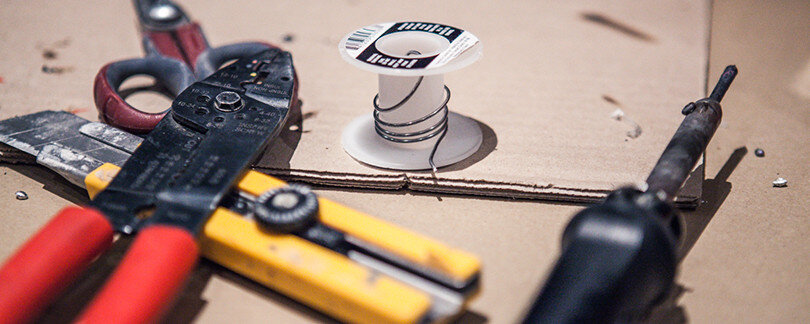
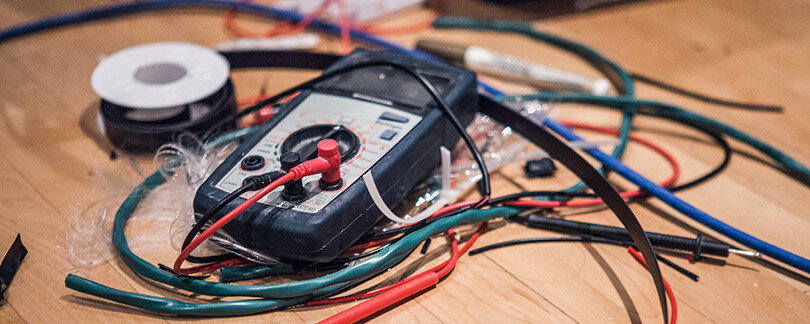
Normally, fluorescent tubes are used as view box light sources, however, I wanted the ability to easily dim the lights so we opted for LEDs since we already had LED strips and triac dimmable LED drivers on hand. Lots of soldering later, the LEDs were wired up. Low voltage wires from the boxes were fished through the wall and connected to LED drivers mounted on the under surface of the floating desk/shelf. The drivers plug into an Insteon Lamp Linc adapter, allowing the light boxes to be turned on and off as well as dimmed via our home automation system (stay tuned for a post on this soon).


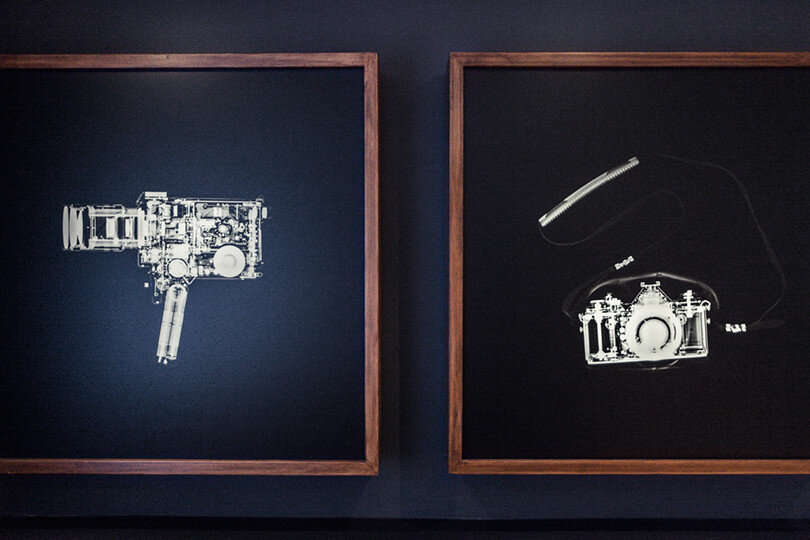
We have a ton of old cameras around the house, so I created some radiographs of them as part of a radiology physics educational session. This was super fun as I got to manually adjust the various settings to optimize contrast and exposure. Working with X-ray equipment is very similar to working in the studio with flashes! Initially, we printed the images on our wide format printer and mounted them on two 44" translucent white plexiglass sheets we got from our friends at Signs Now. These were then slid into place through the slots on top of the boxes.
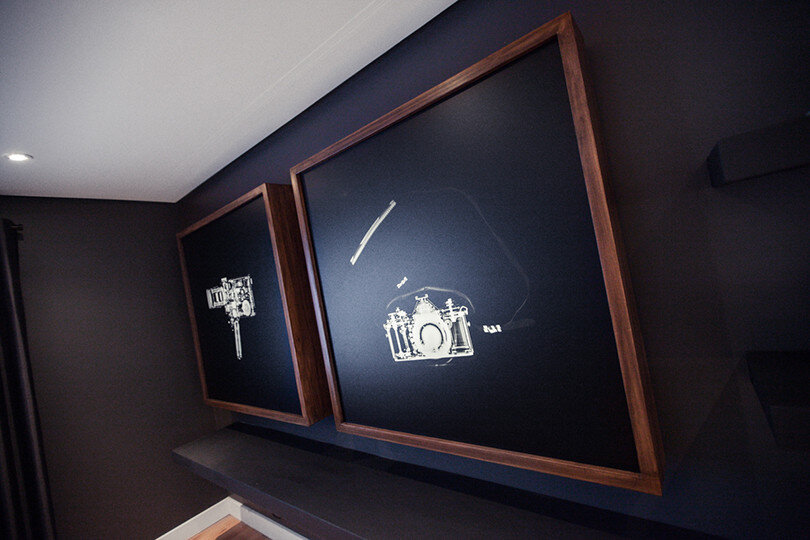
The problem we encountered however was that we had no way to mount the transparencies to the pelxiglass boards without them wrinkling. We ended going back to Signs Now and had them print the images for us and laminate it directly to the plexiglass. The boxes were mounted to the wall by making interlocking wooden "J" shaped brackets, one mounted on the back of each box and the others mounted into studs on the wall. These allow the boxes to be slid left or right for easy placement as well as be quickly removed by simply lifting the box up. They also hold the boxes slightly off the wall for a nice floating effect.

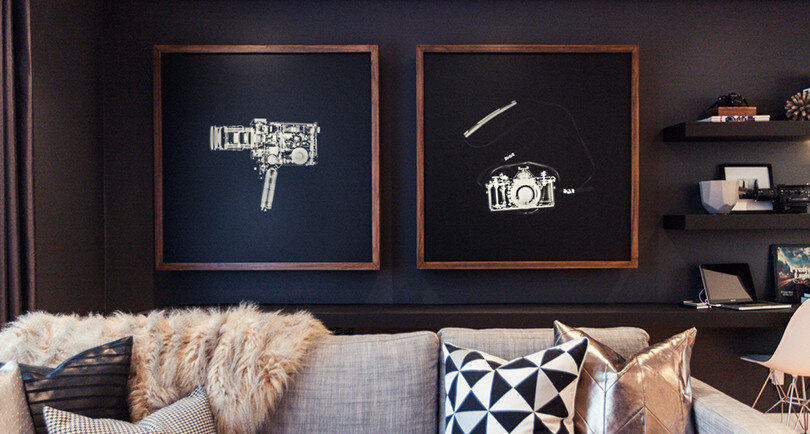
Overall we're extremely happy with the end result! Full before and after of the living room coming soon!