
Ikea Godmorgon Vanity Hack - Custom Wood Doors
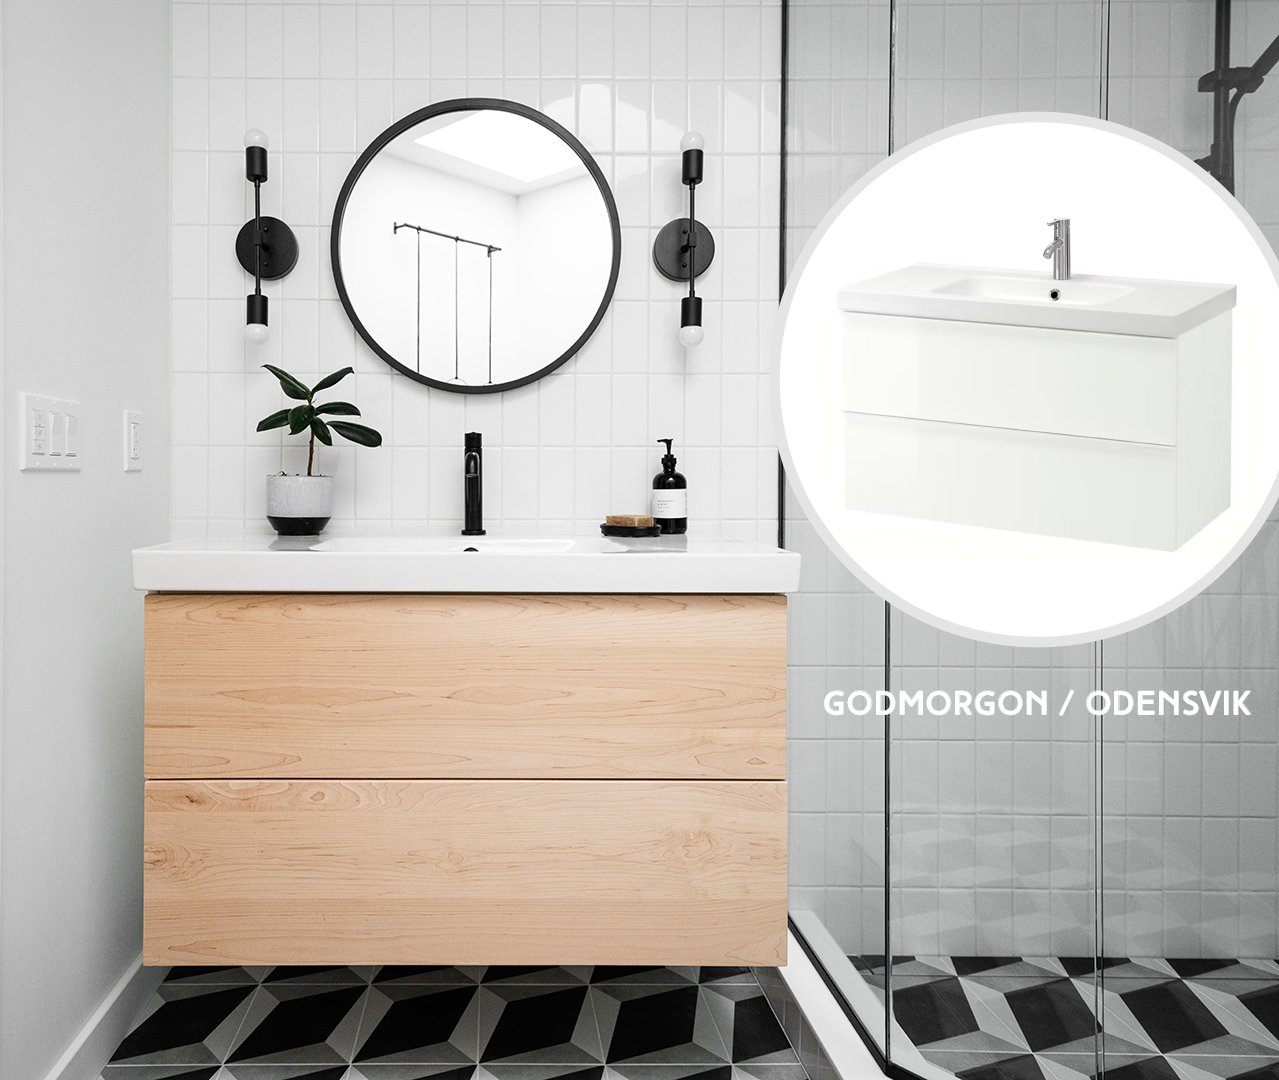
Step by step, oh baby! Gonna hack you Ikeaaaa cabinet. Well that’s a stretch LOL. We recently renovated our guest bathroom and decided to go with an IKEA Godmorgon vanity for its affordable price tag and nice clean look. Unfortunately, they discontinued the oak front doors, so we bought the high gloss white with the intention of swapping the drawer fronts out with wood. Definitely one of those “easier said than done” projects.
We had some left over solid wood doors from some old built-ins we took out of the living room, so this update was essentially free for us minus our time. We could have NOT gone through the hassle of doing this and kept the white, but with glossy white wall tiles, white ceiling, trim, and baseboard, AND black and white tile, we wanted to introduce some wood to warm up the space, hence this project.
This step by step tutorial outlines how to do this project yourself MINUS the mess ups we had, and at the end we share if this was worth it and if we would do it again. If you want to watch the entire process on hacking this vanity, screw ups, troubleshooting and all, you can do so below!
Tools and Materials
Drill Press
Krieg Pocket Hole Jig
Sand Paper (50-120 grit)
Screw Driver
Impact Driver
Drill
Dimond Ground Carbide Drill Bits
Pencil
Ikea Vanity
Wood of choice
Belt Sander (or planer)
Random Orbital Sander
Table Saw
Stain or Clear coat (we used matte poly)
Hot Glue Gun
Combo Square
STEP 01
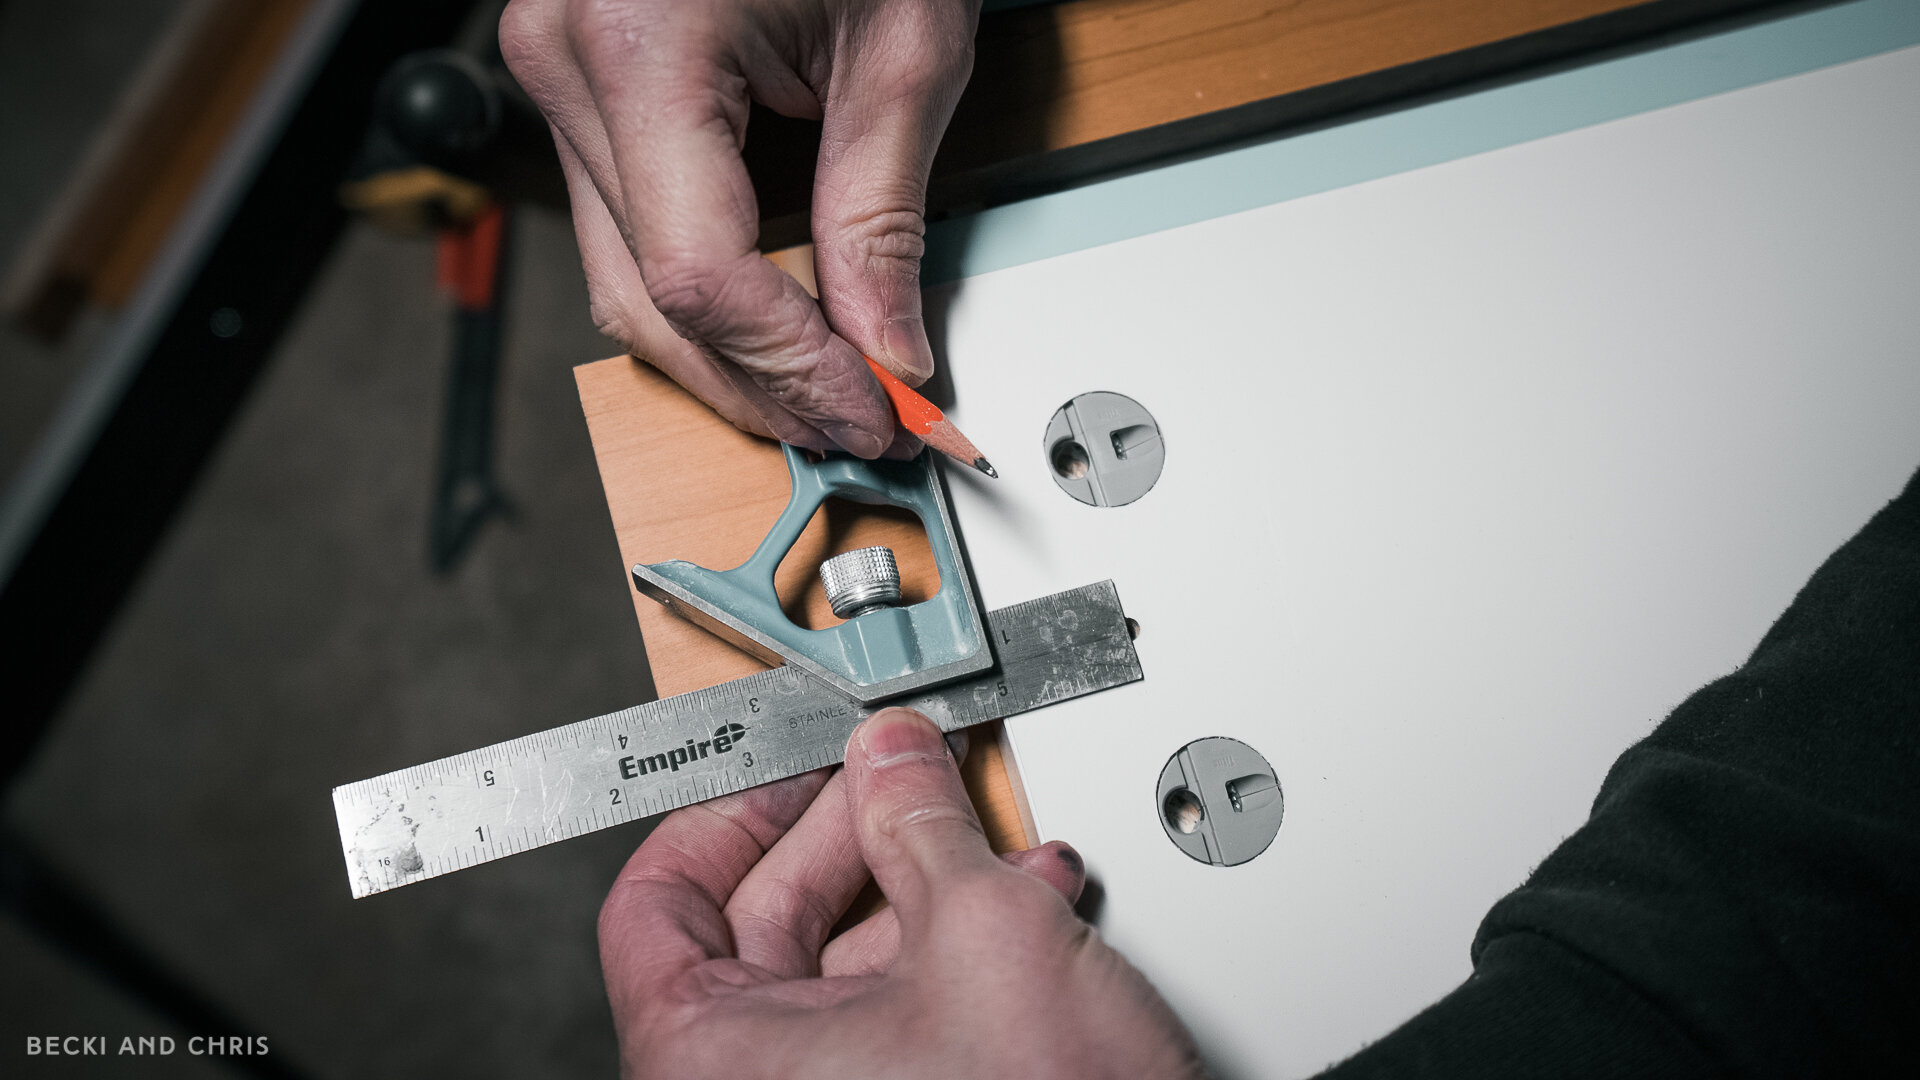
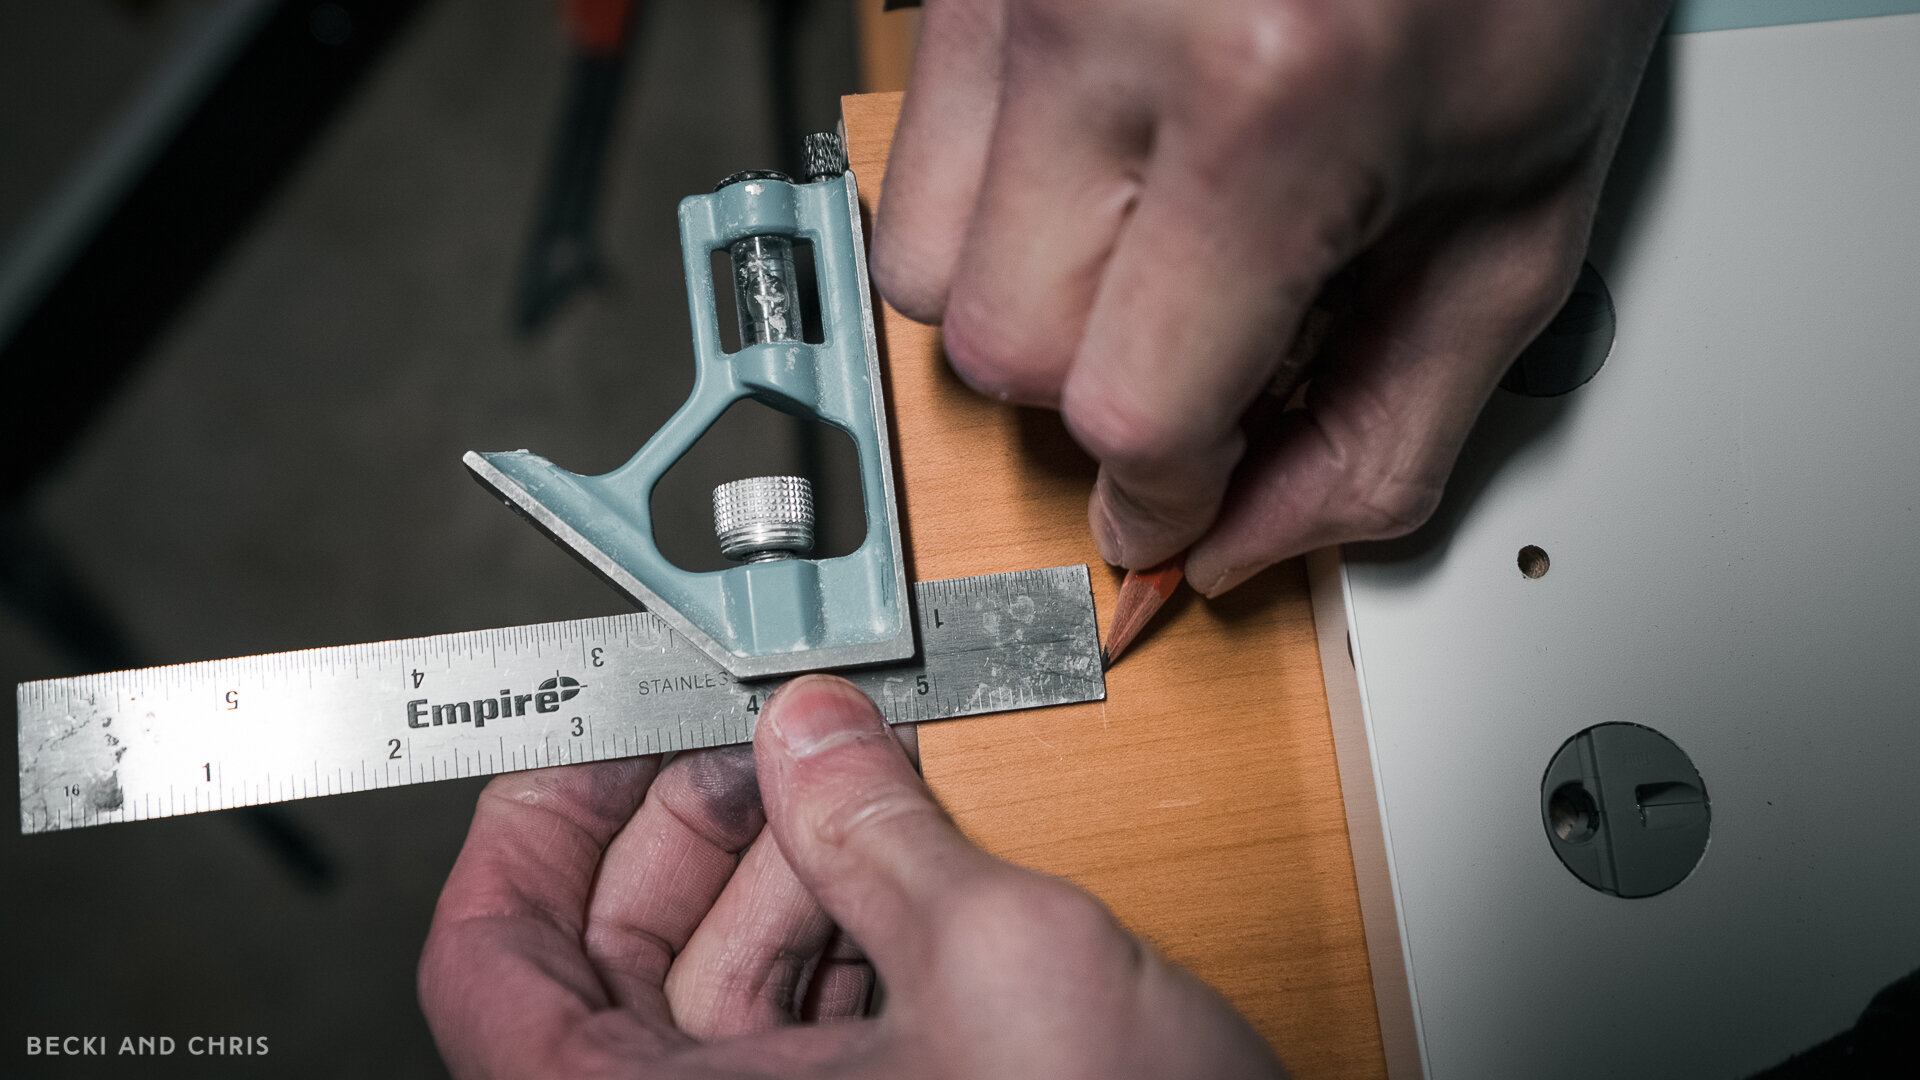
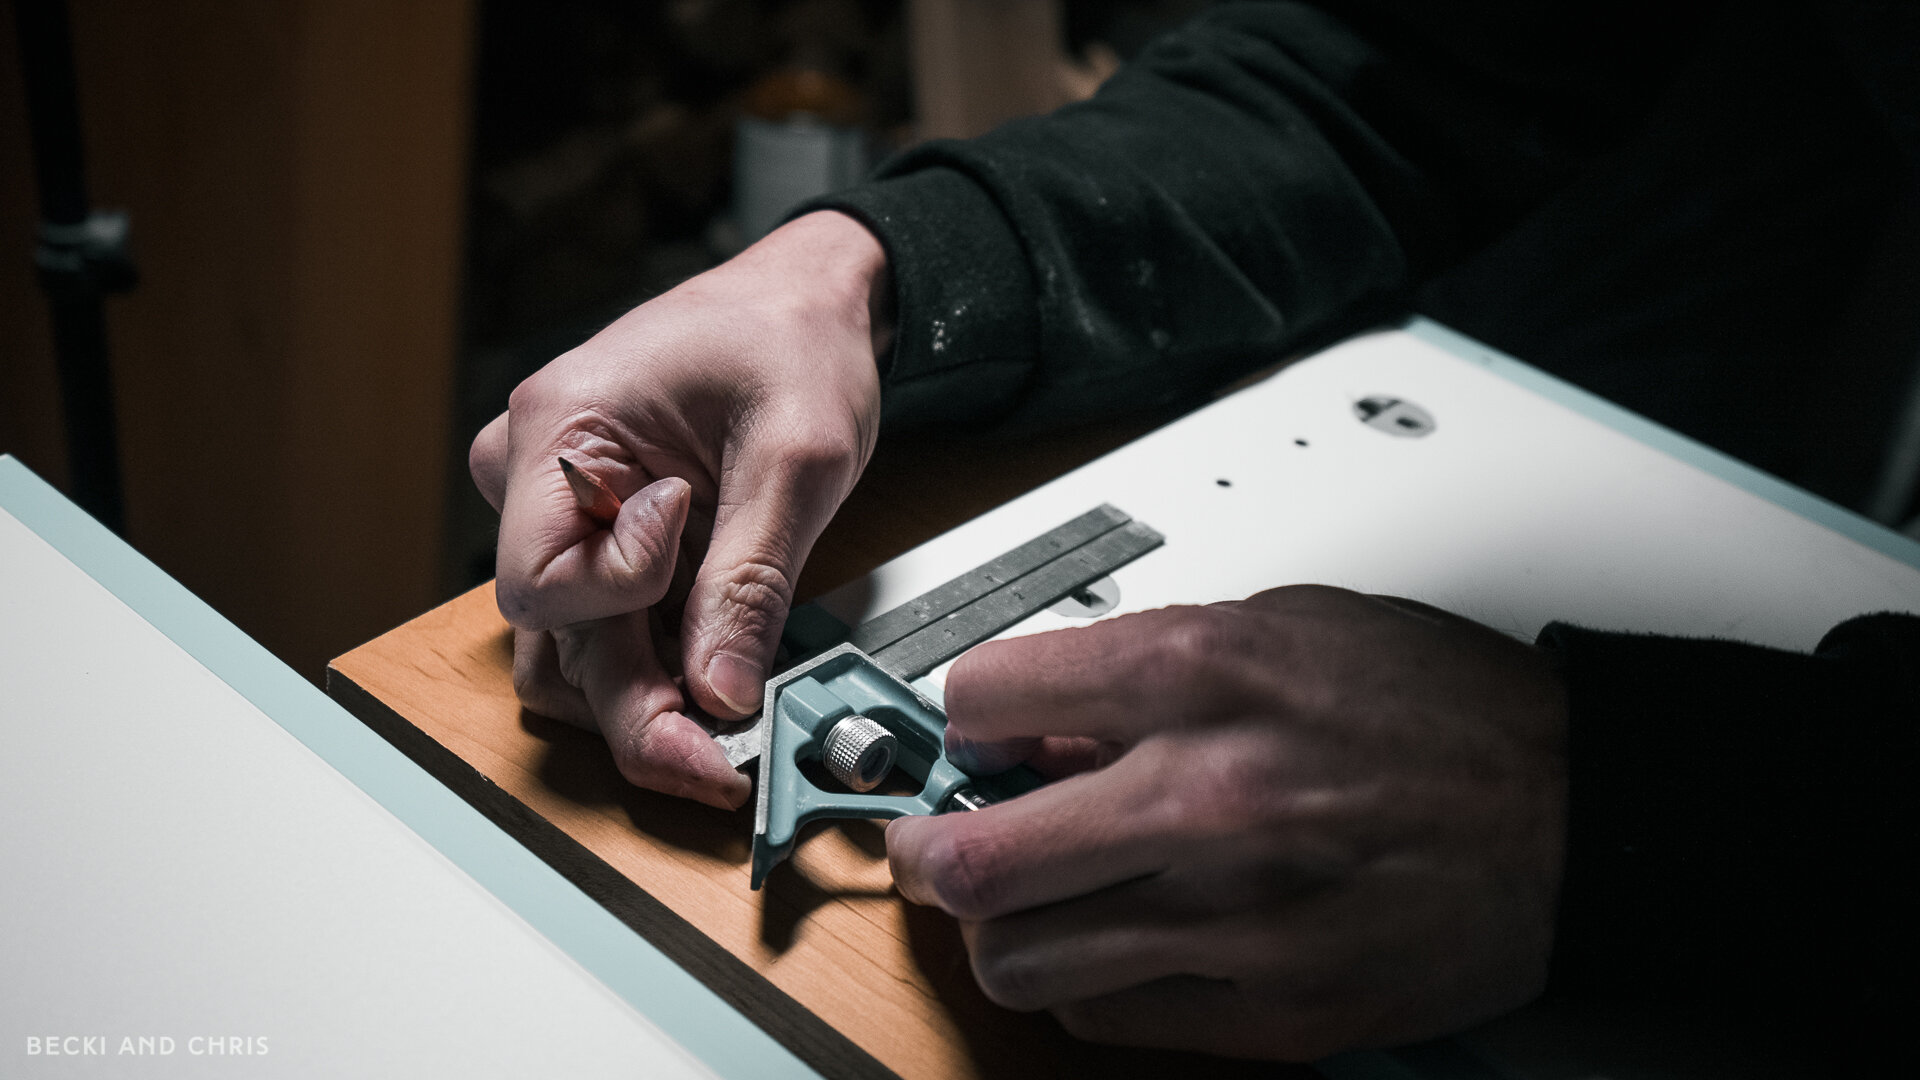
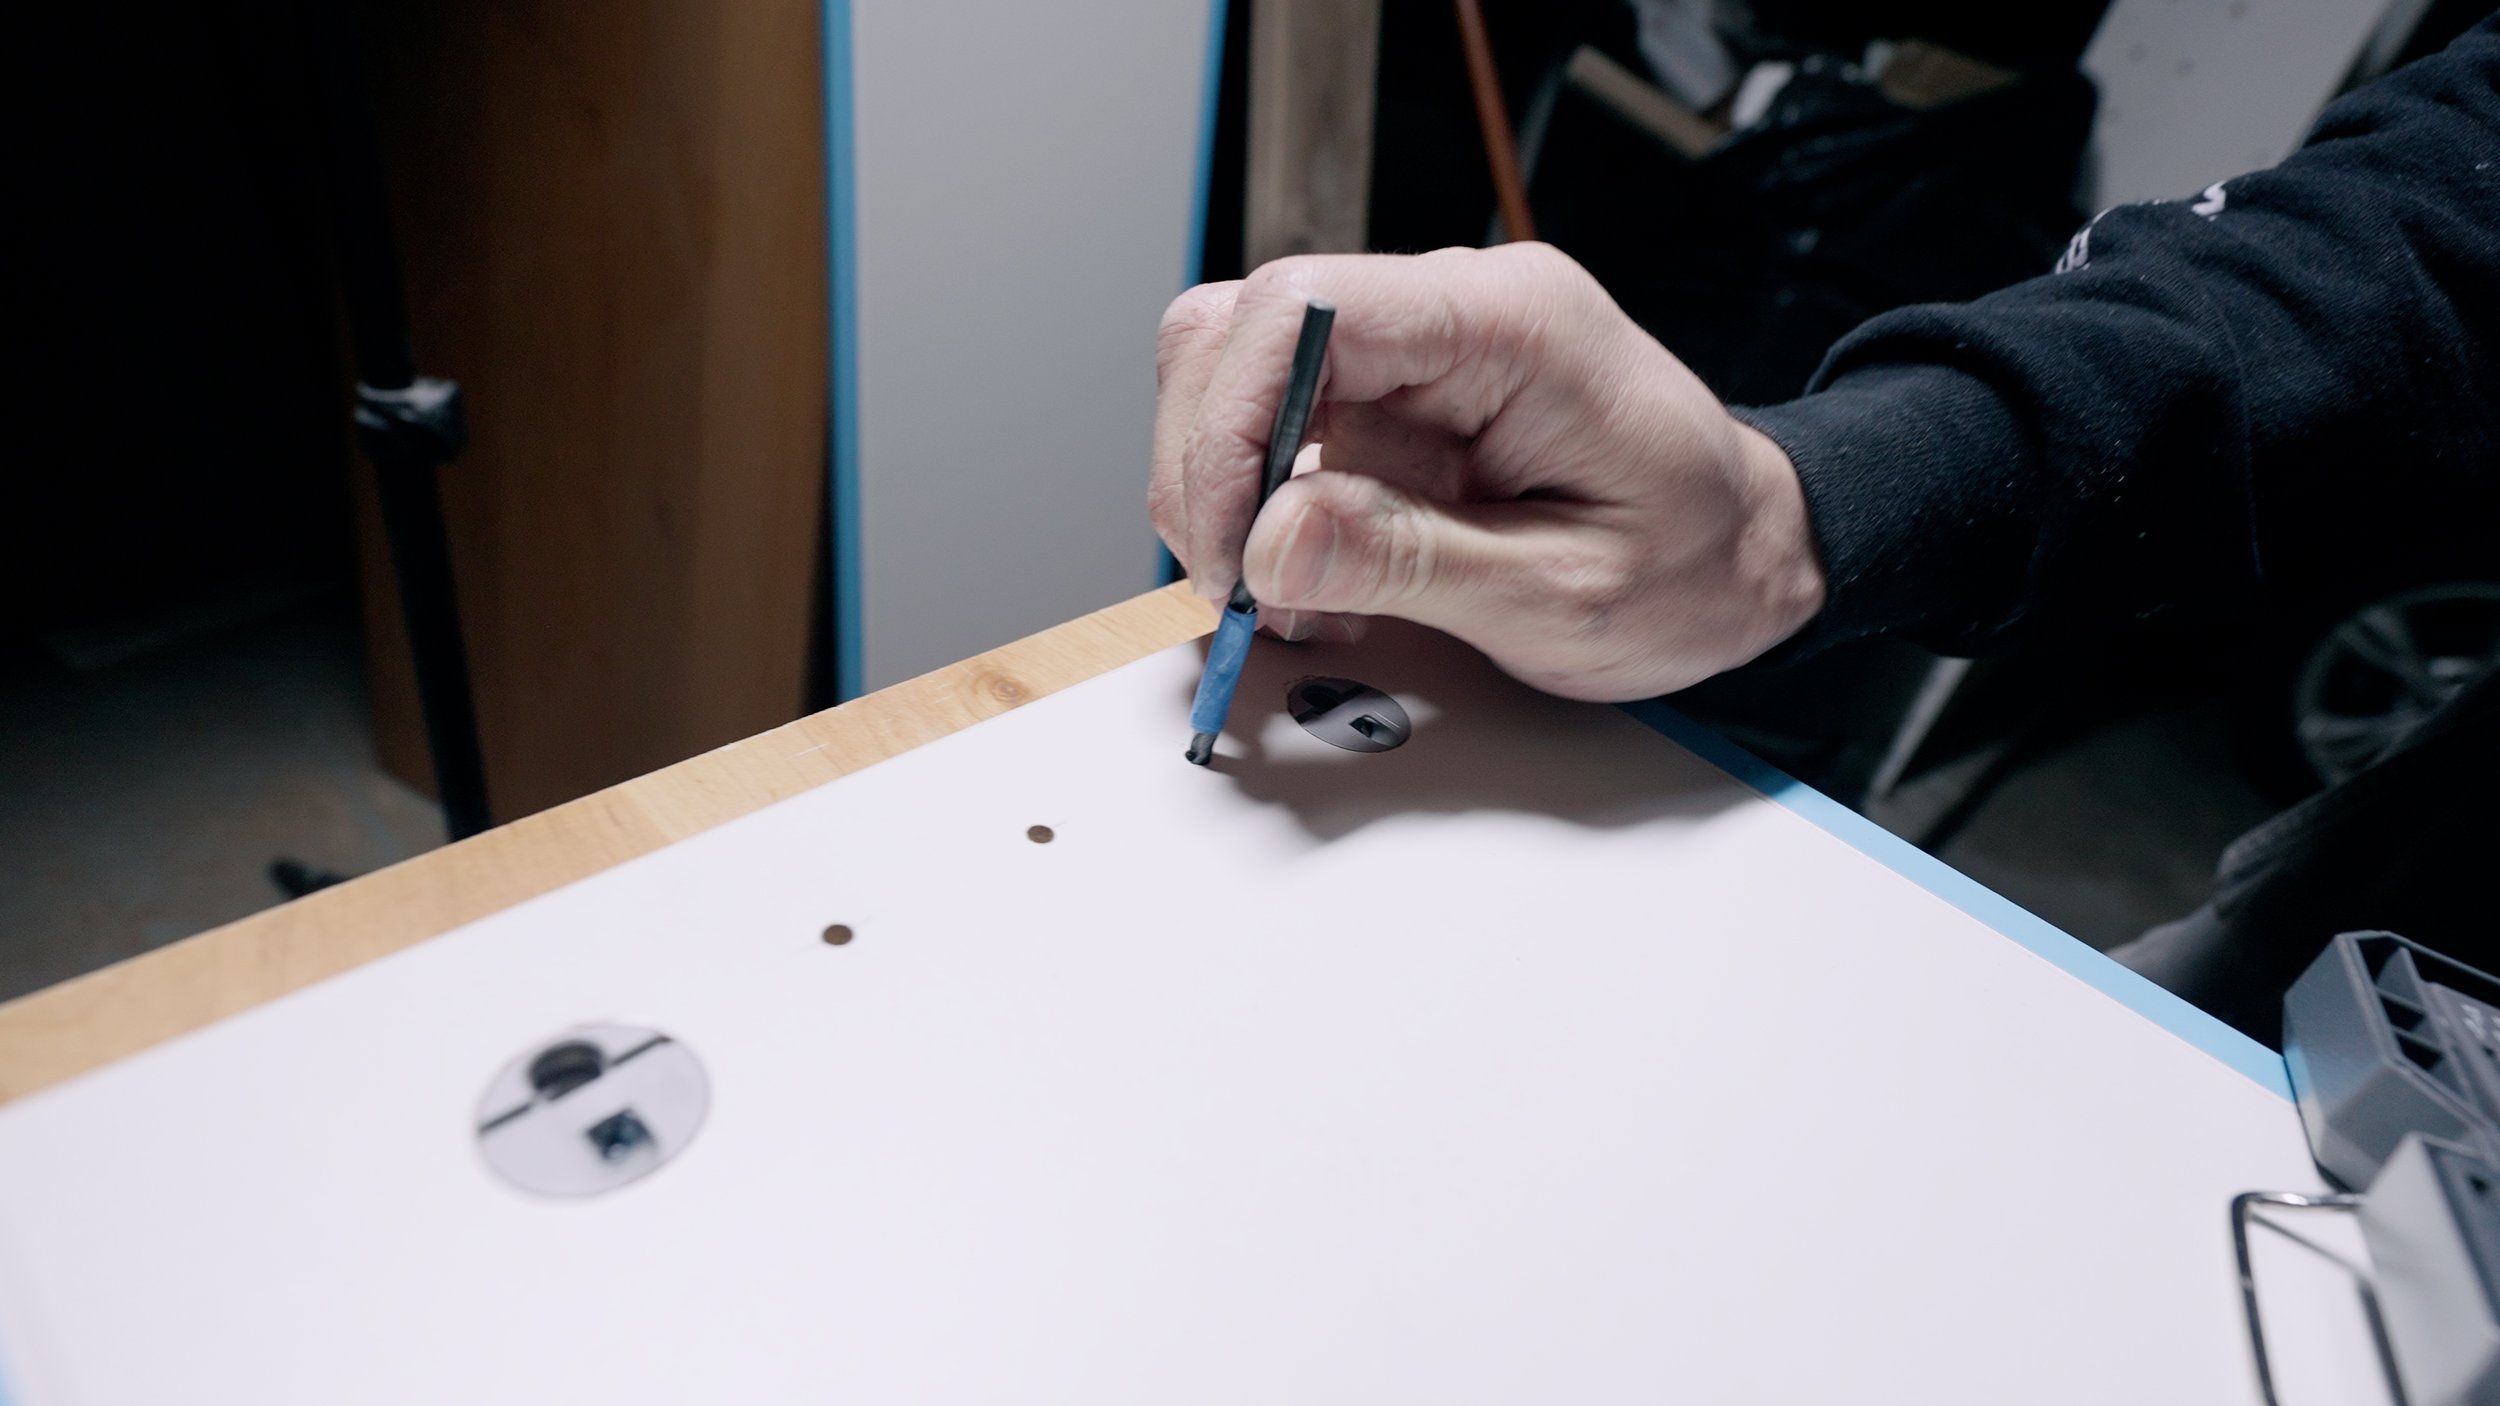
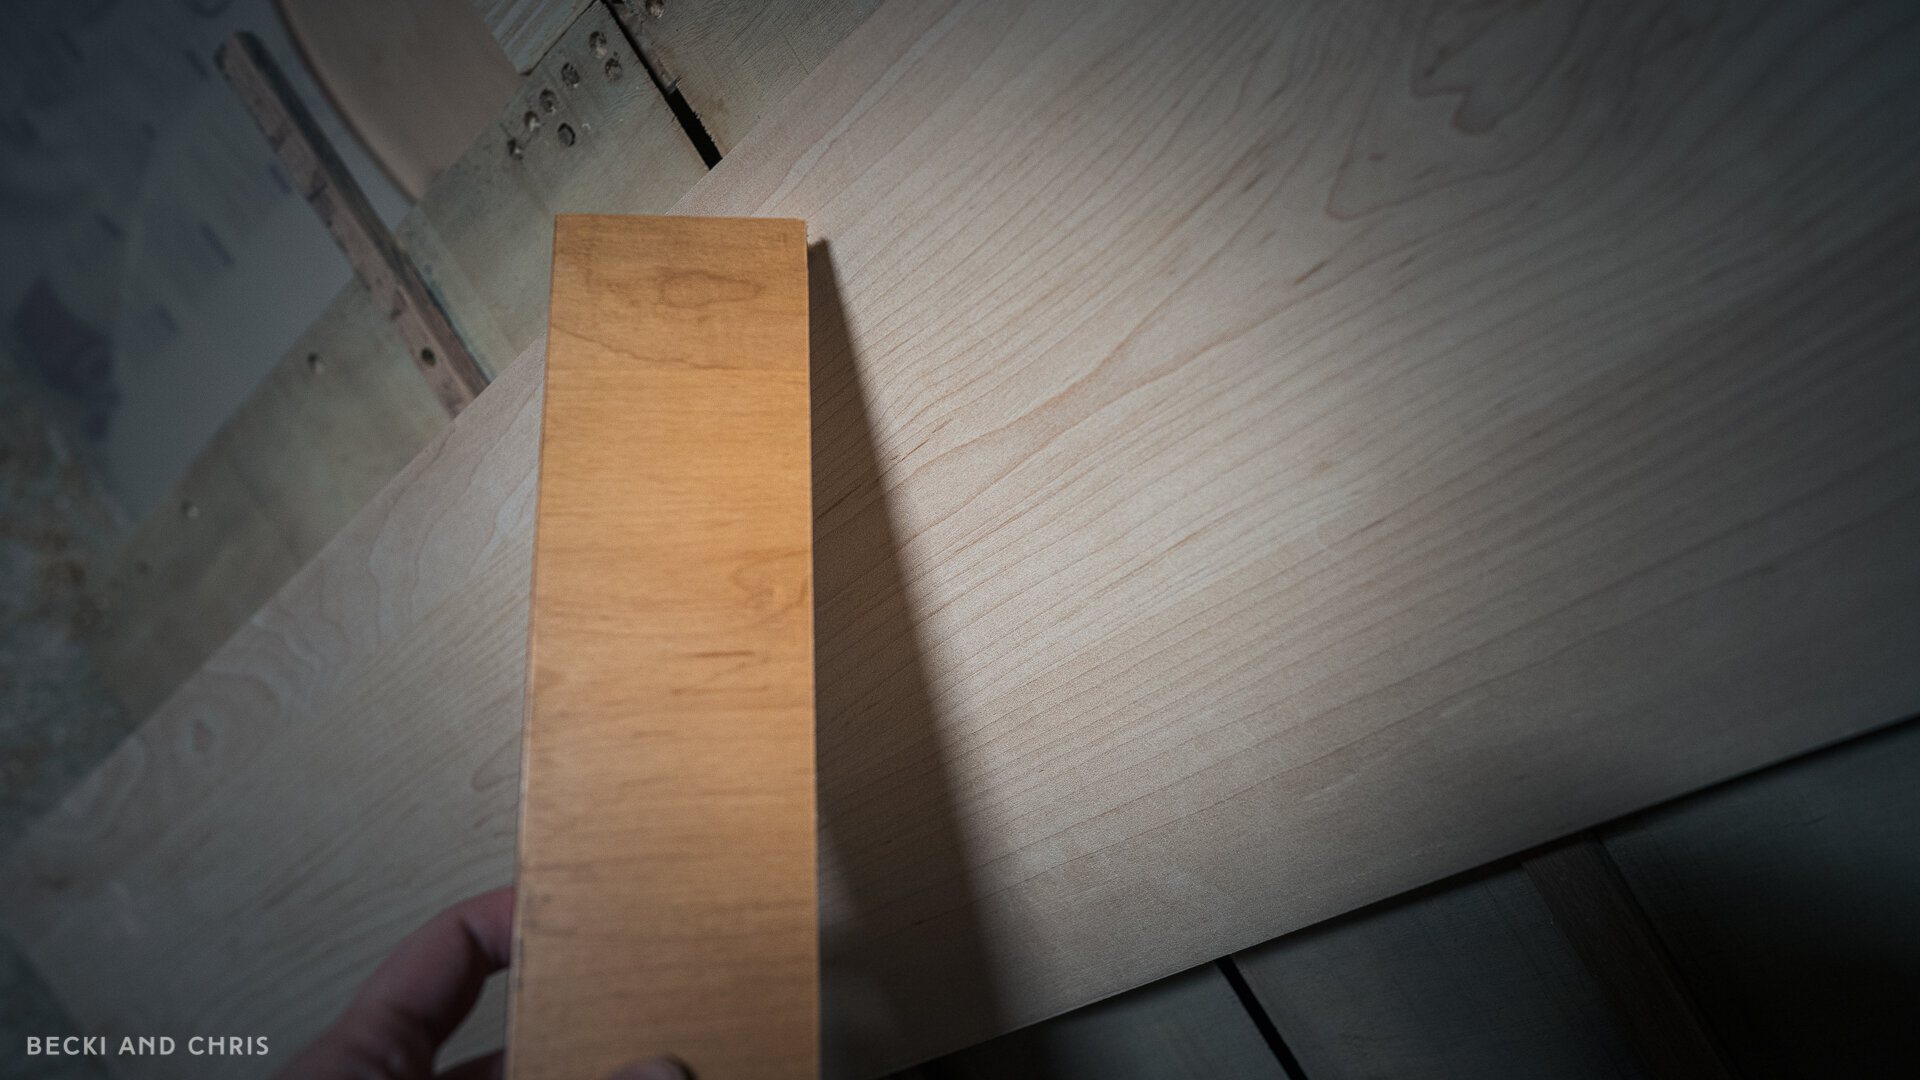
Cut and Transfer
Cut your wood to the exact size as the doors that came with the cabinet being careful to measure each individual door.
Transfer any markings from the old doors onto the new doors. We did this using a combination square.
STEP 02
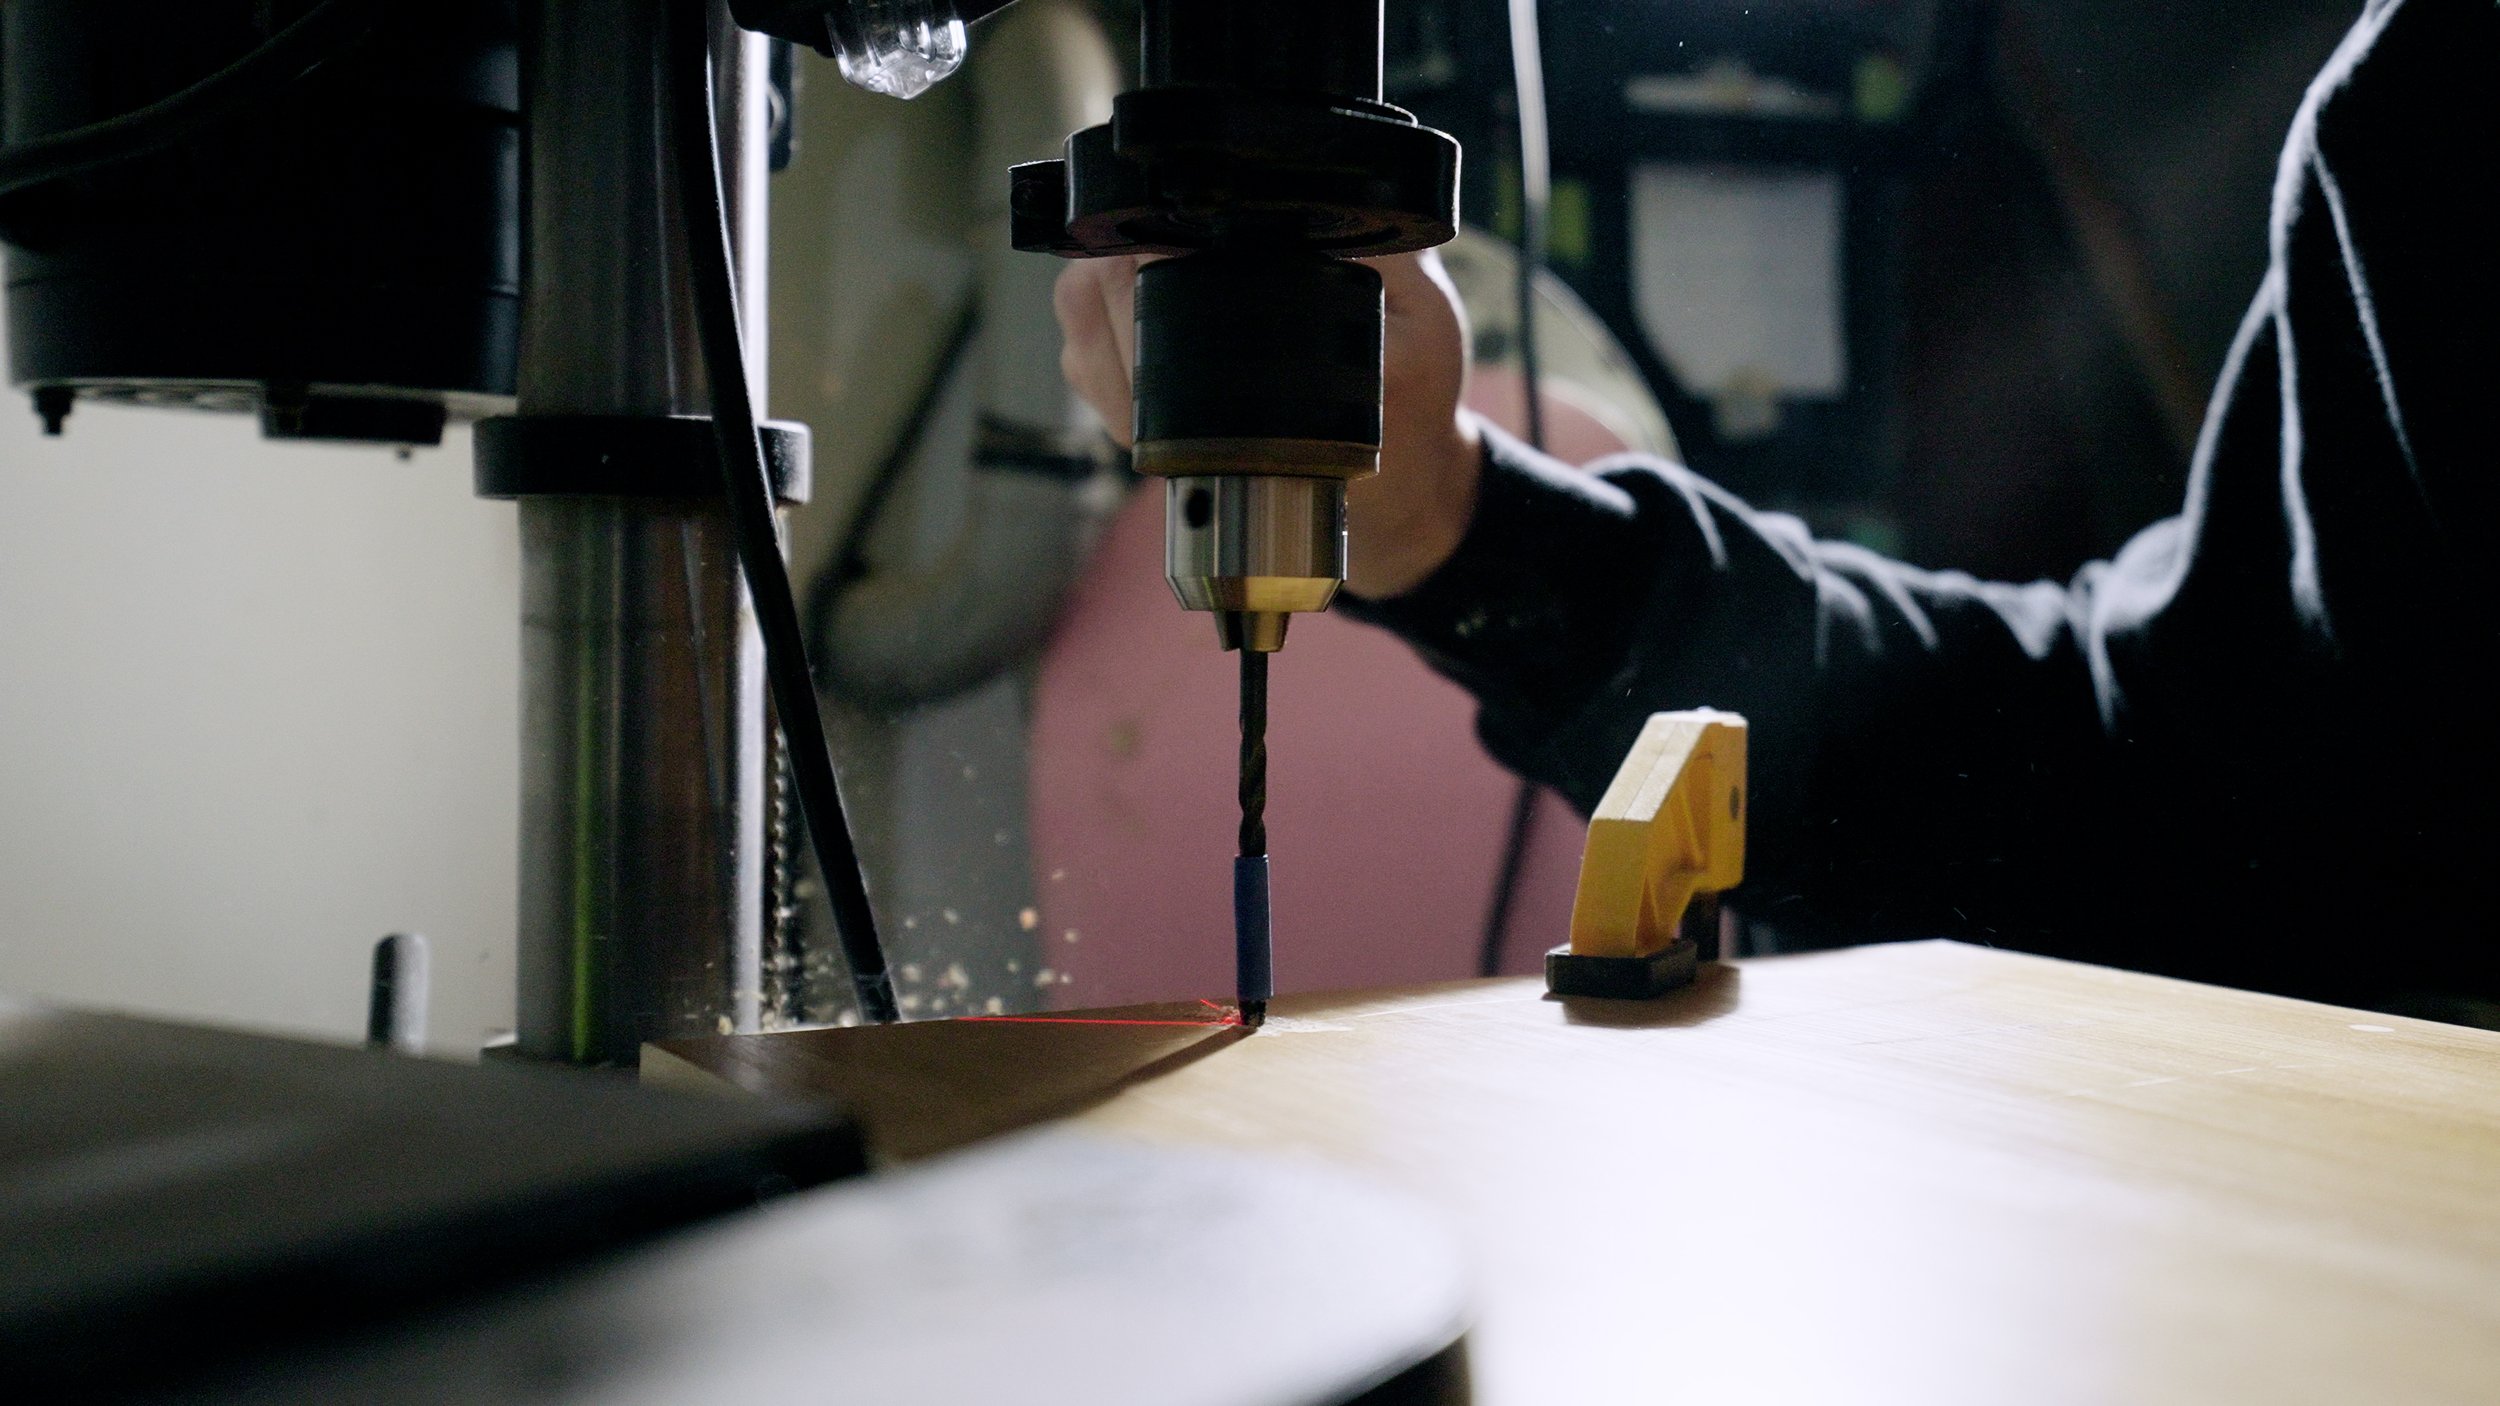
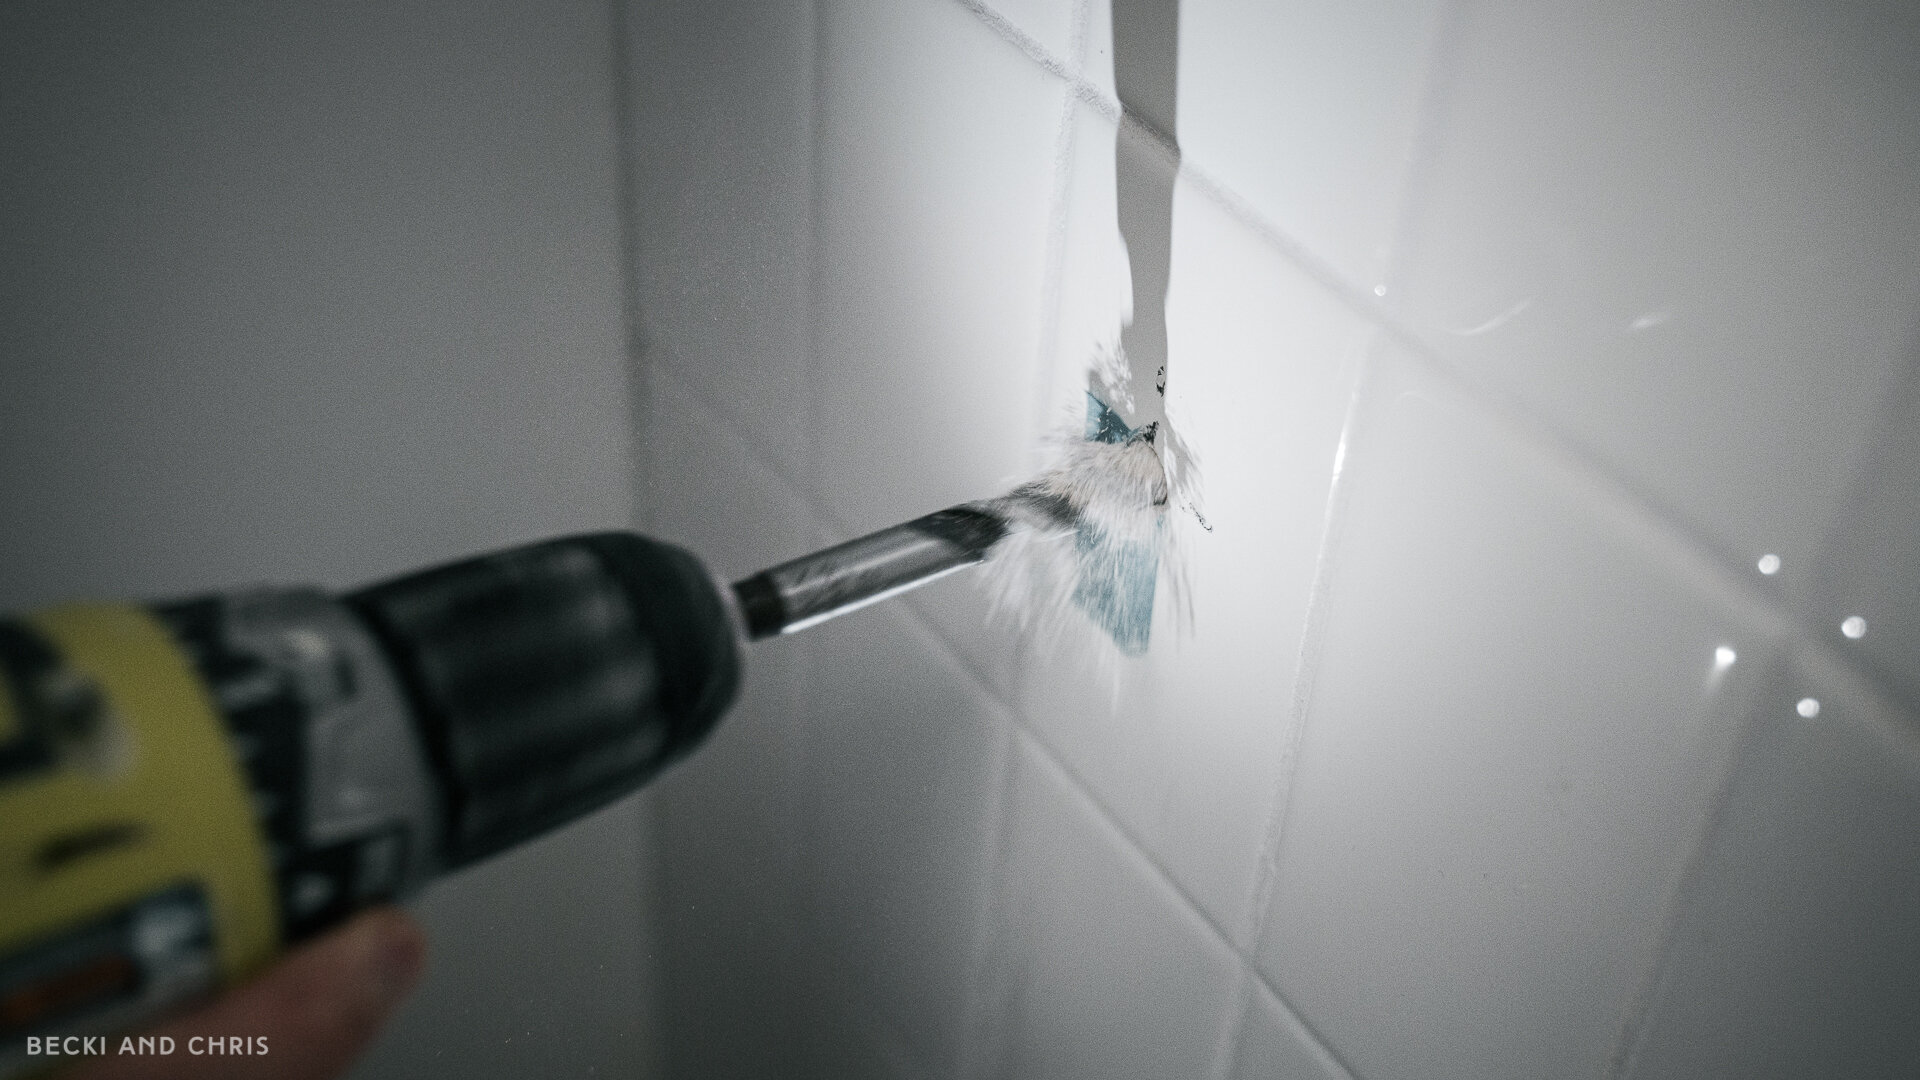
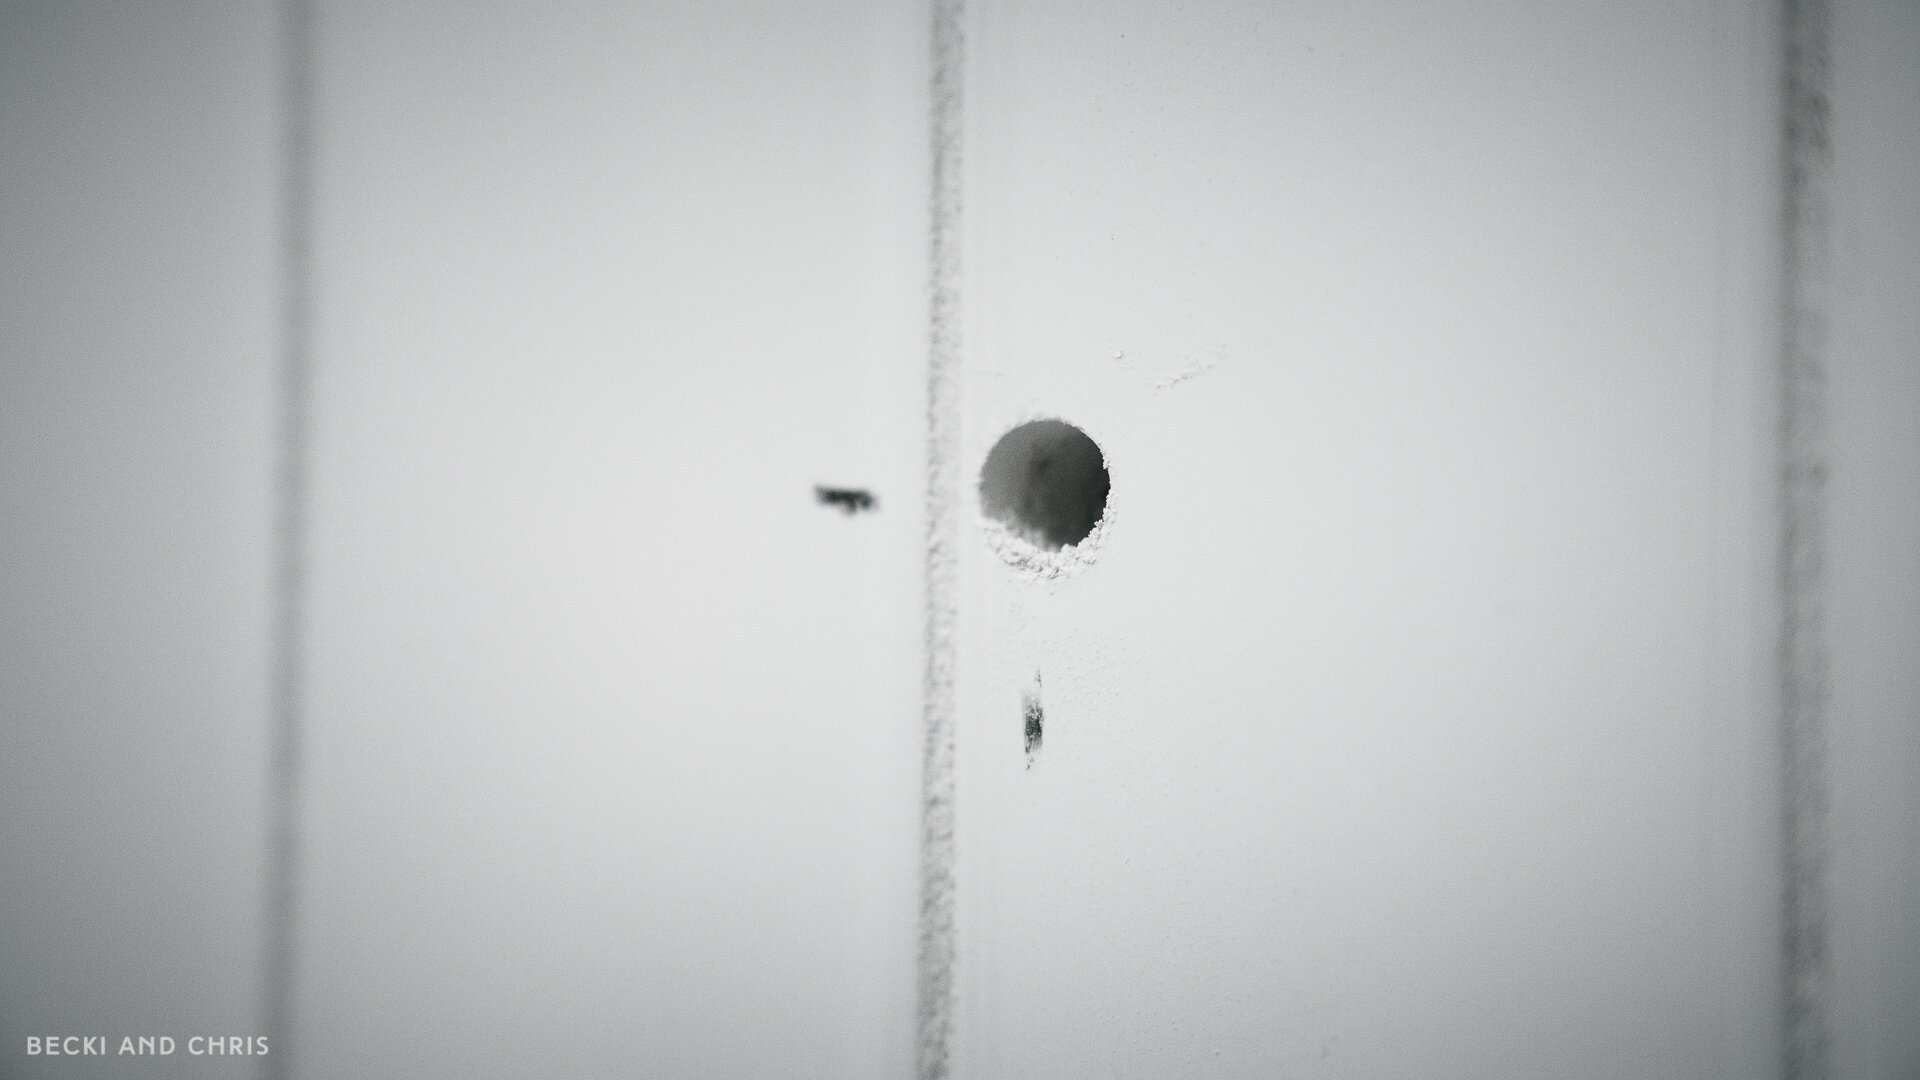
Drill
We used a drill press to drill the holes for the wooden pegs. We marked the depth of the holes on the drill by putting some painters tape around the drill bit, that way we knew how deep to go with the holes without drilling through the door front.
STEP 03
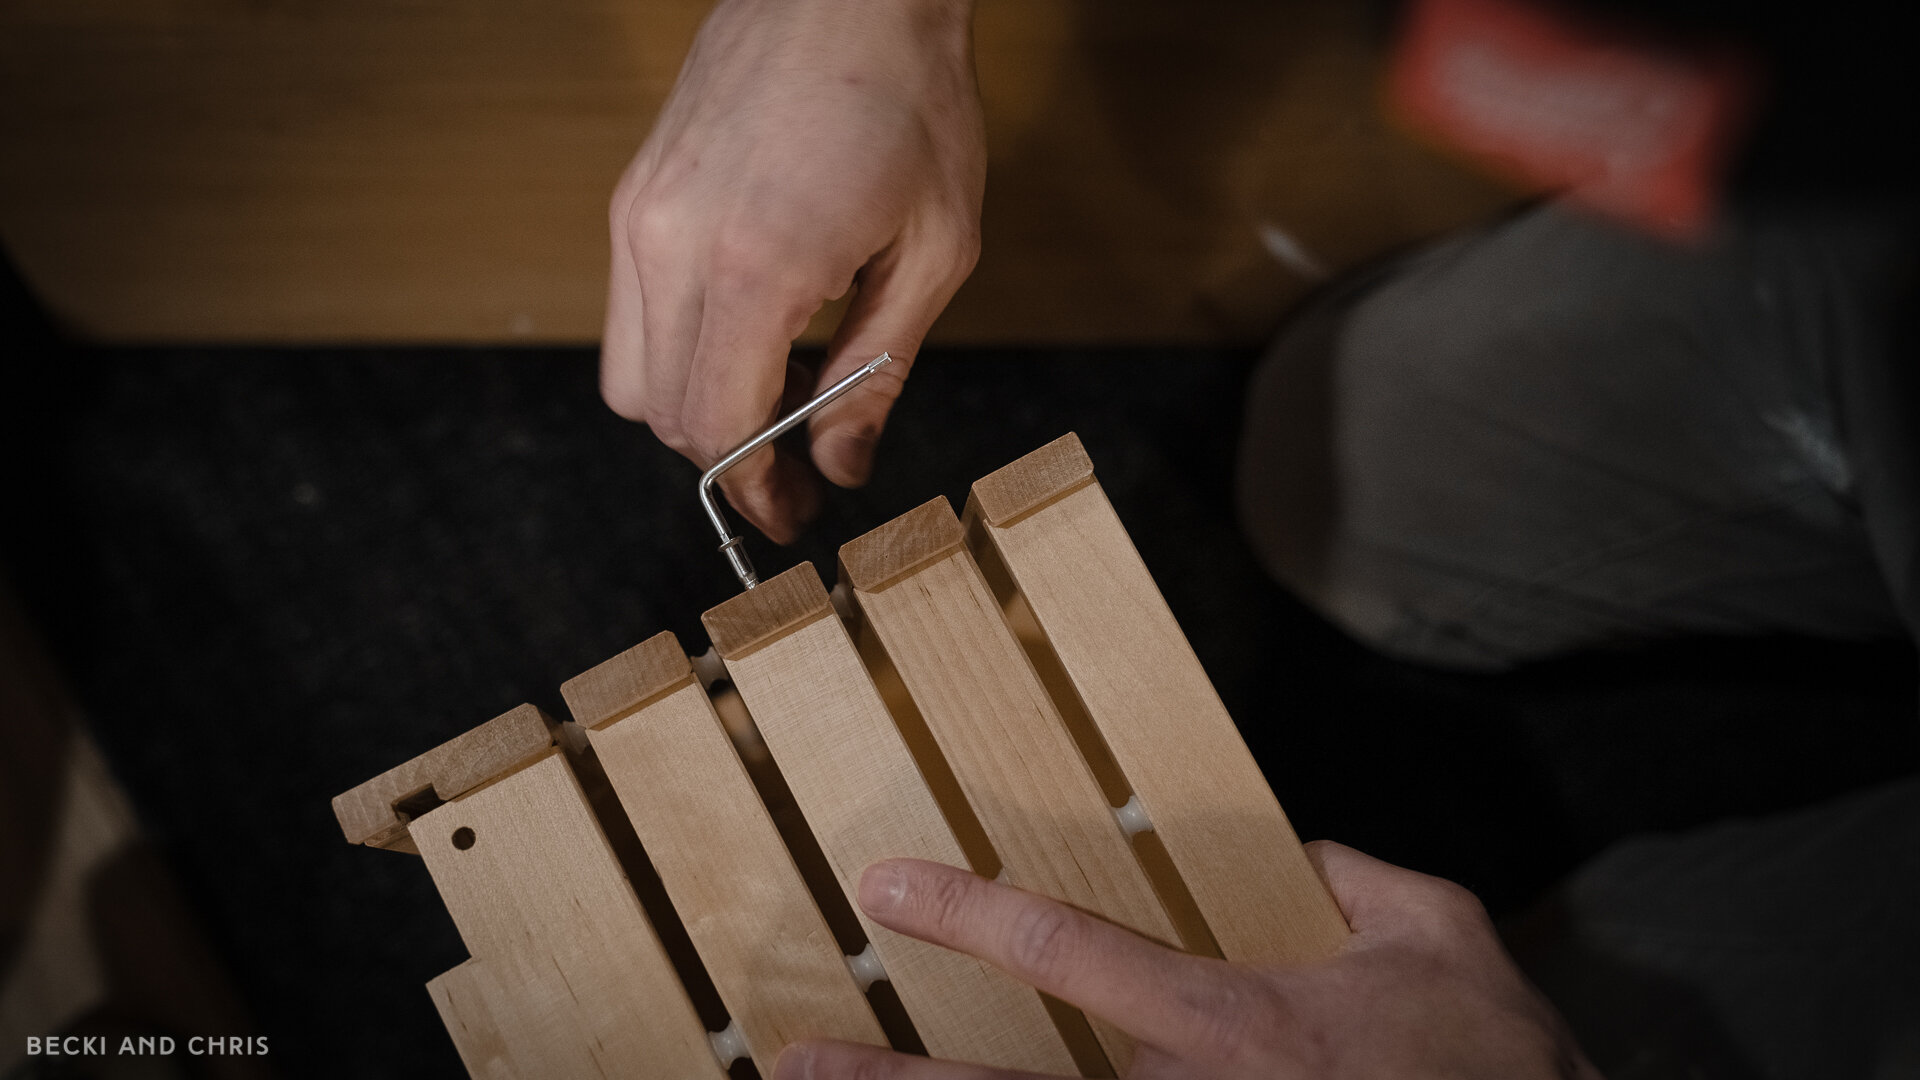
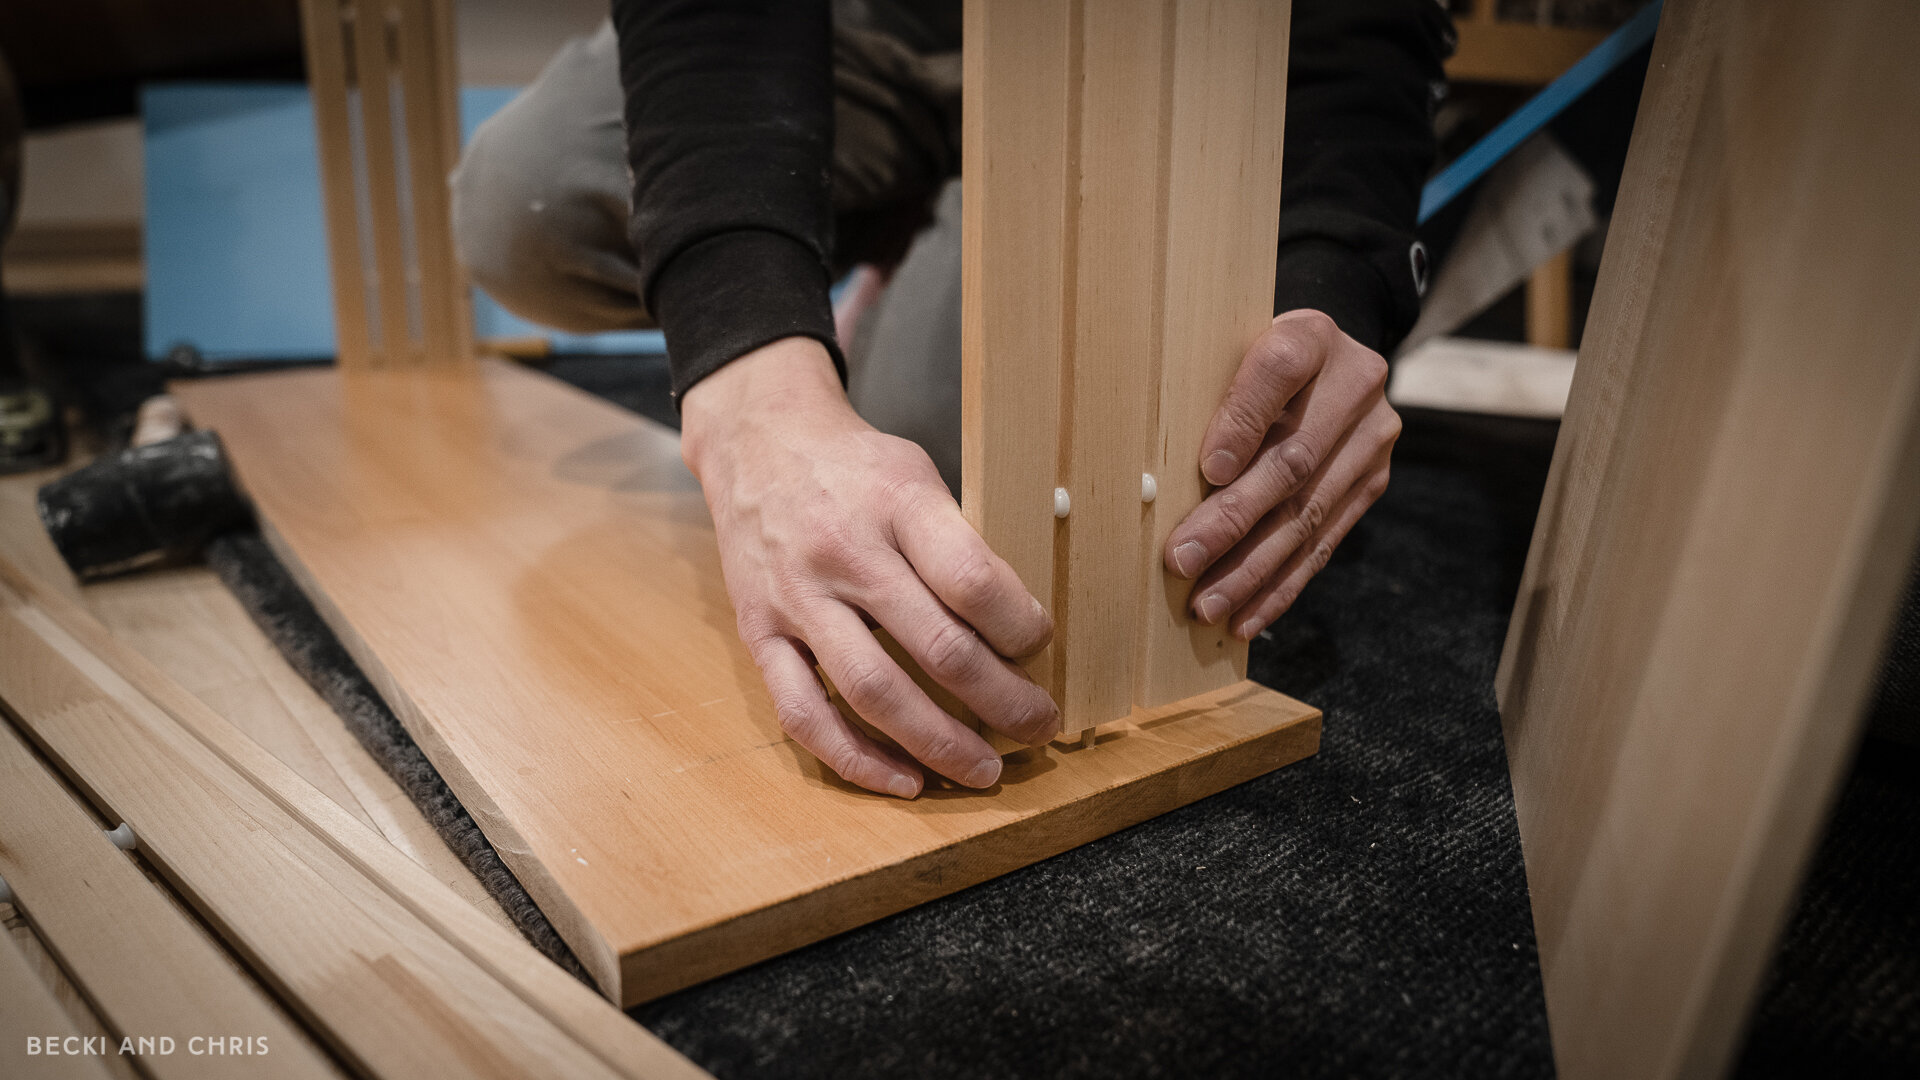
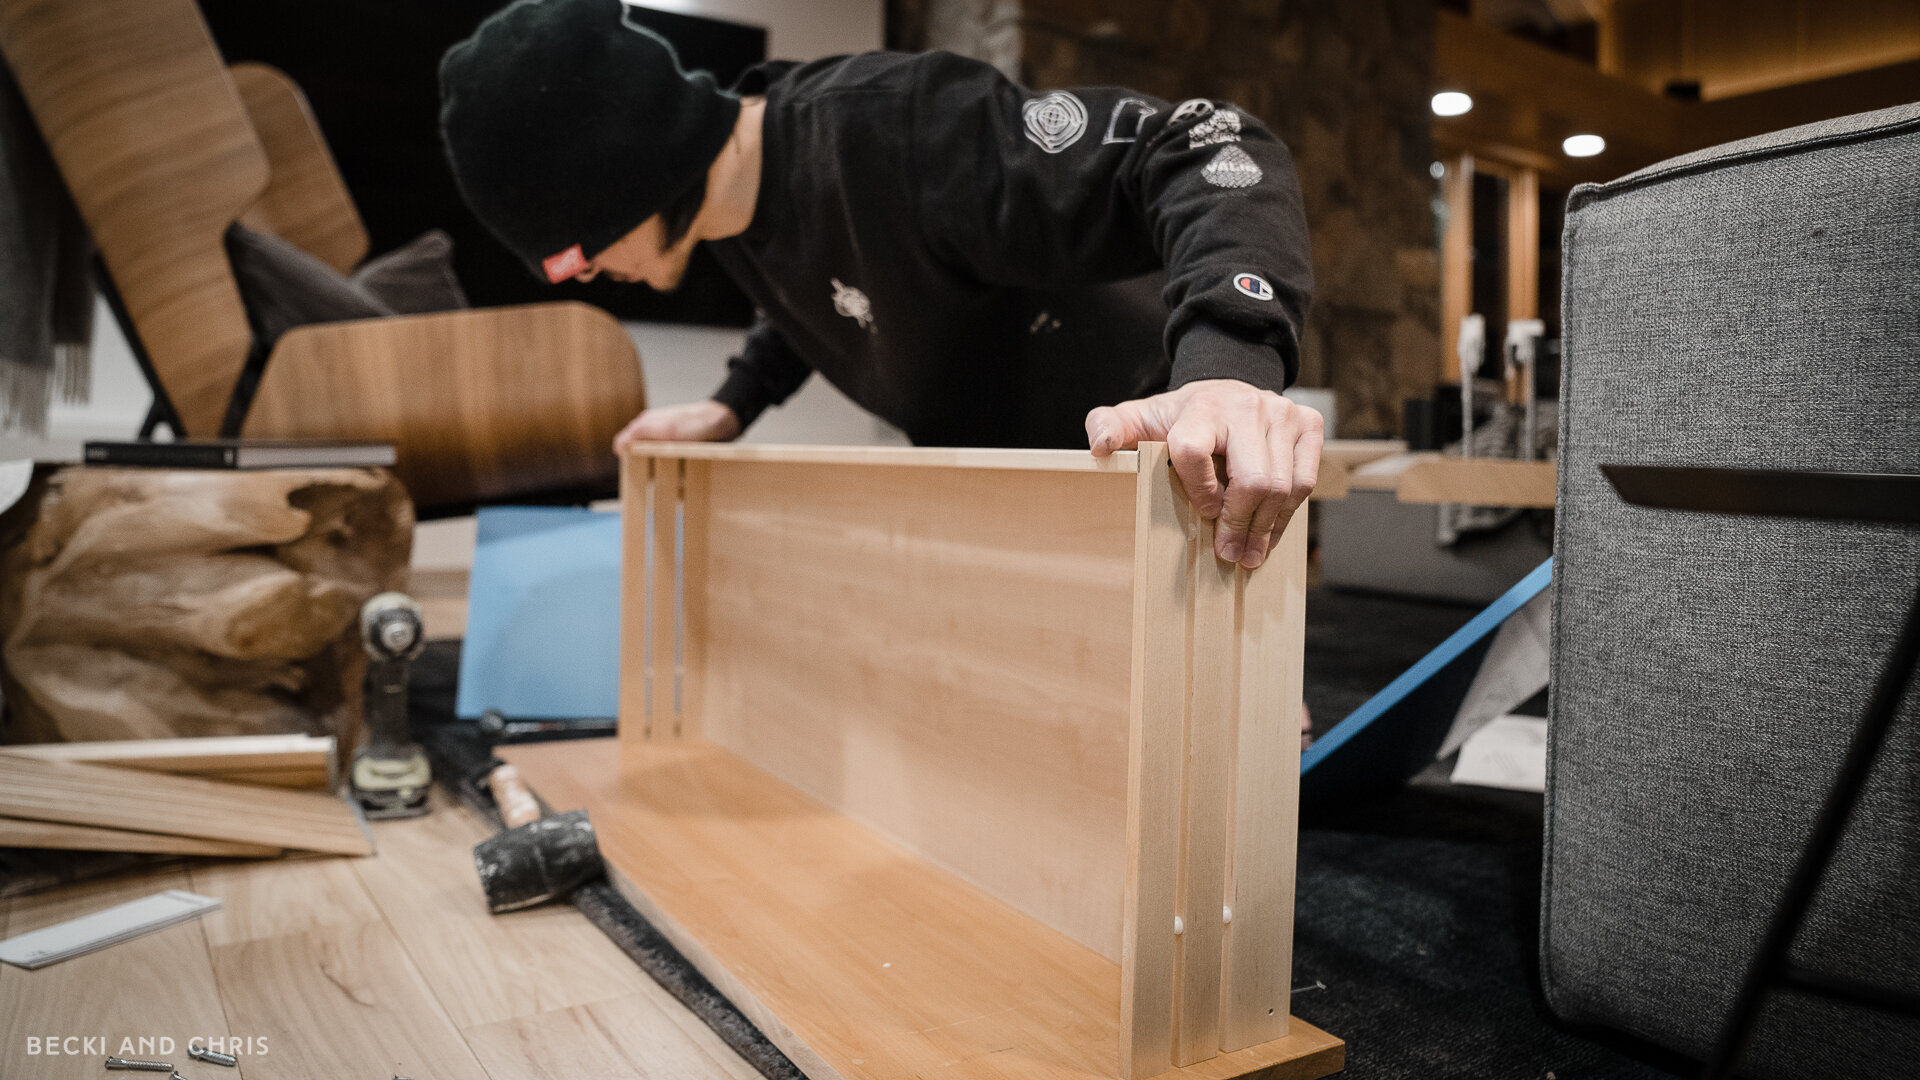
Build
Build the drawers according to the instructions that came with the cabinet and use the wooden pegs to hold your new doors in place. We dry fit the drawer fronts before screwing them together which we will explain in the next step.
STEP 04
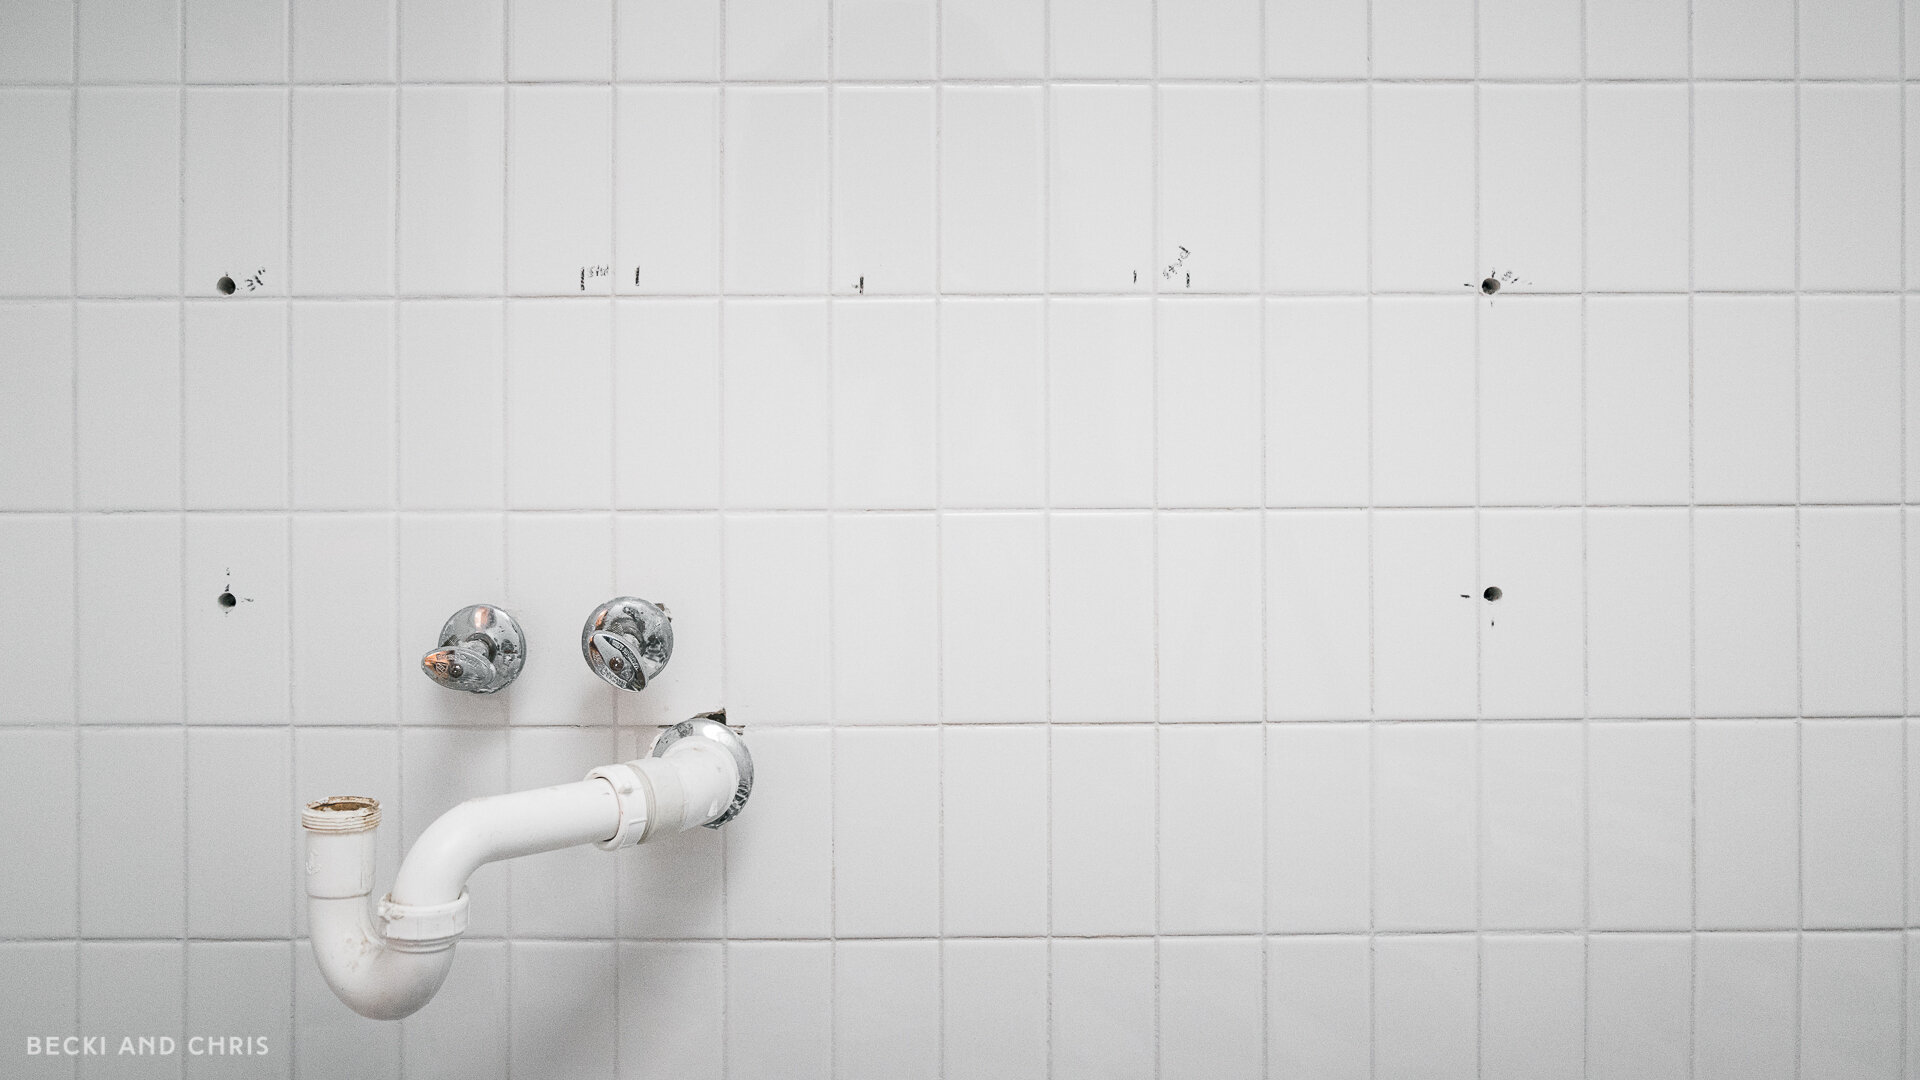
Install and Fit
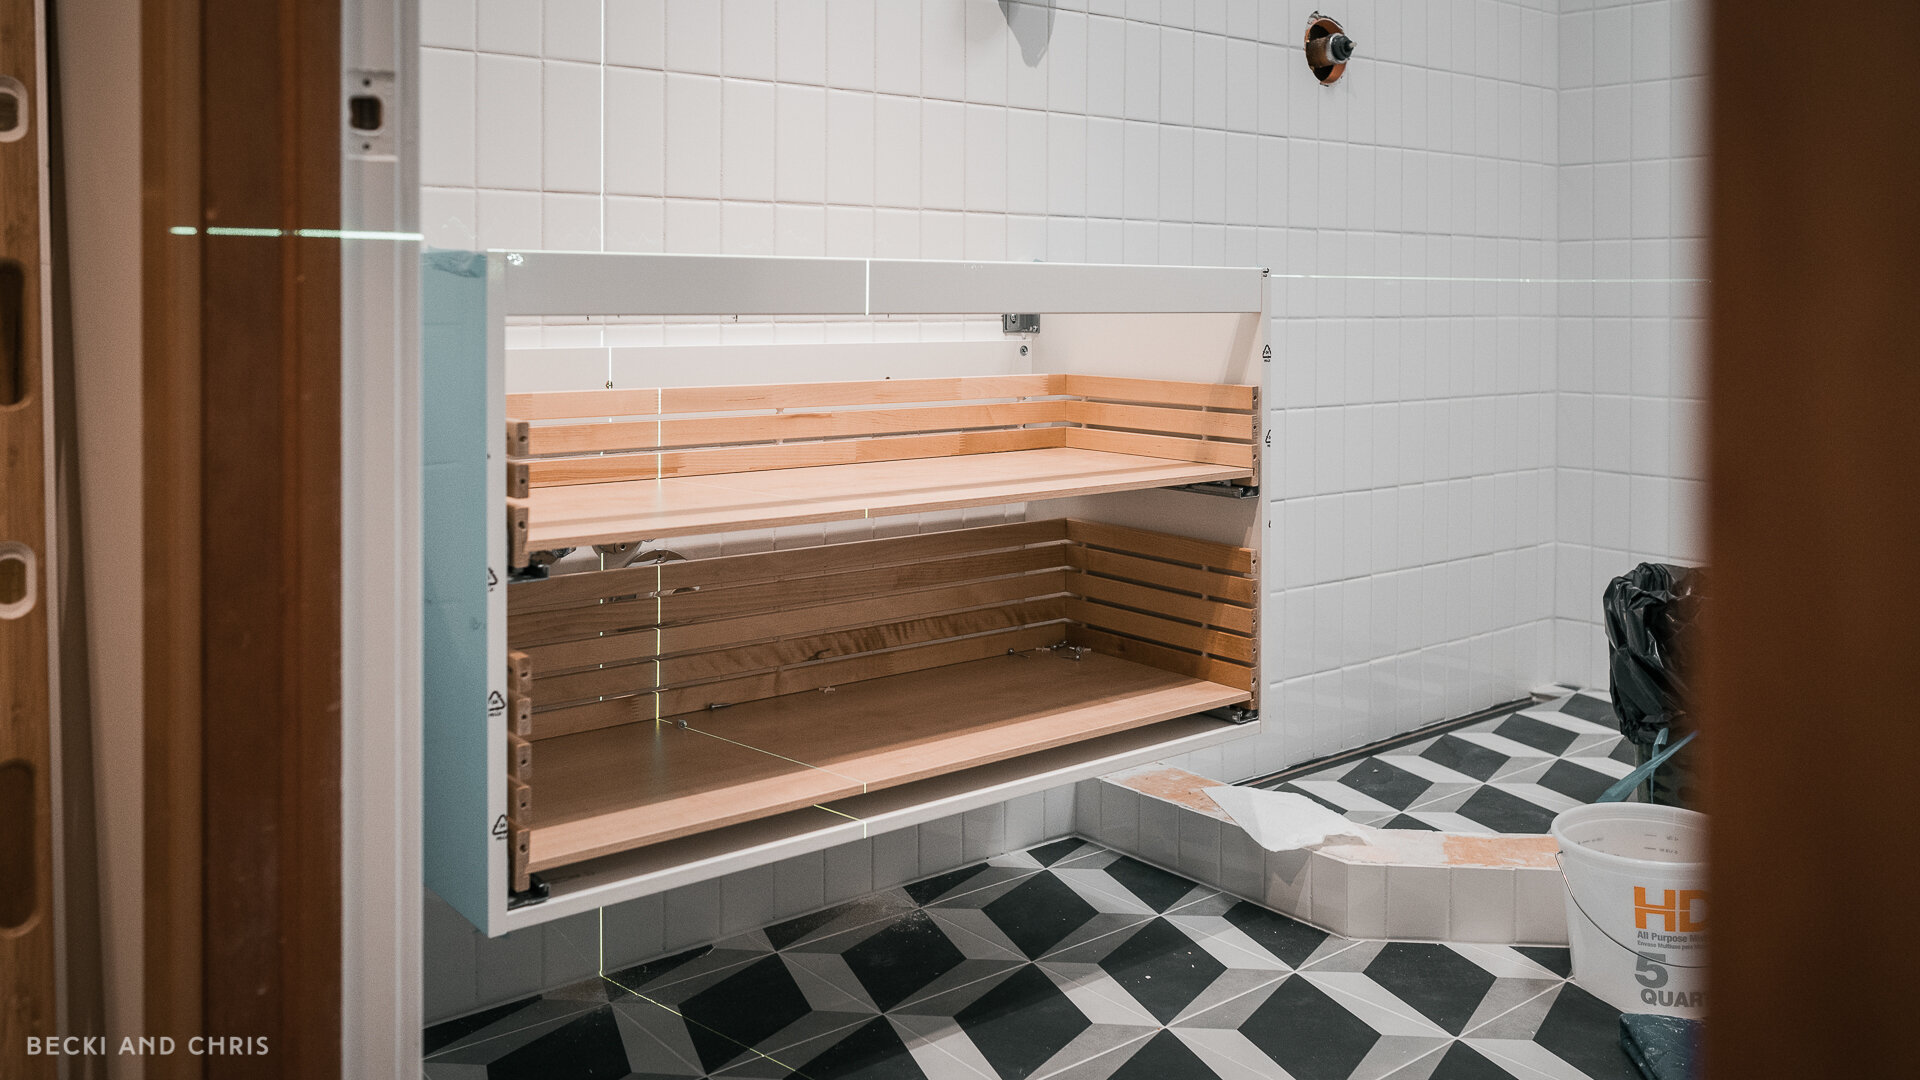
Assemble the vanity base and install it on your wall make sure everything is squared up and level. We installed according to directions, and used a tile drill bit and toggles to hang the vanity. Once it was level and at the height we wanted, we attached the back bar into the studs for extra strength.
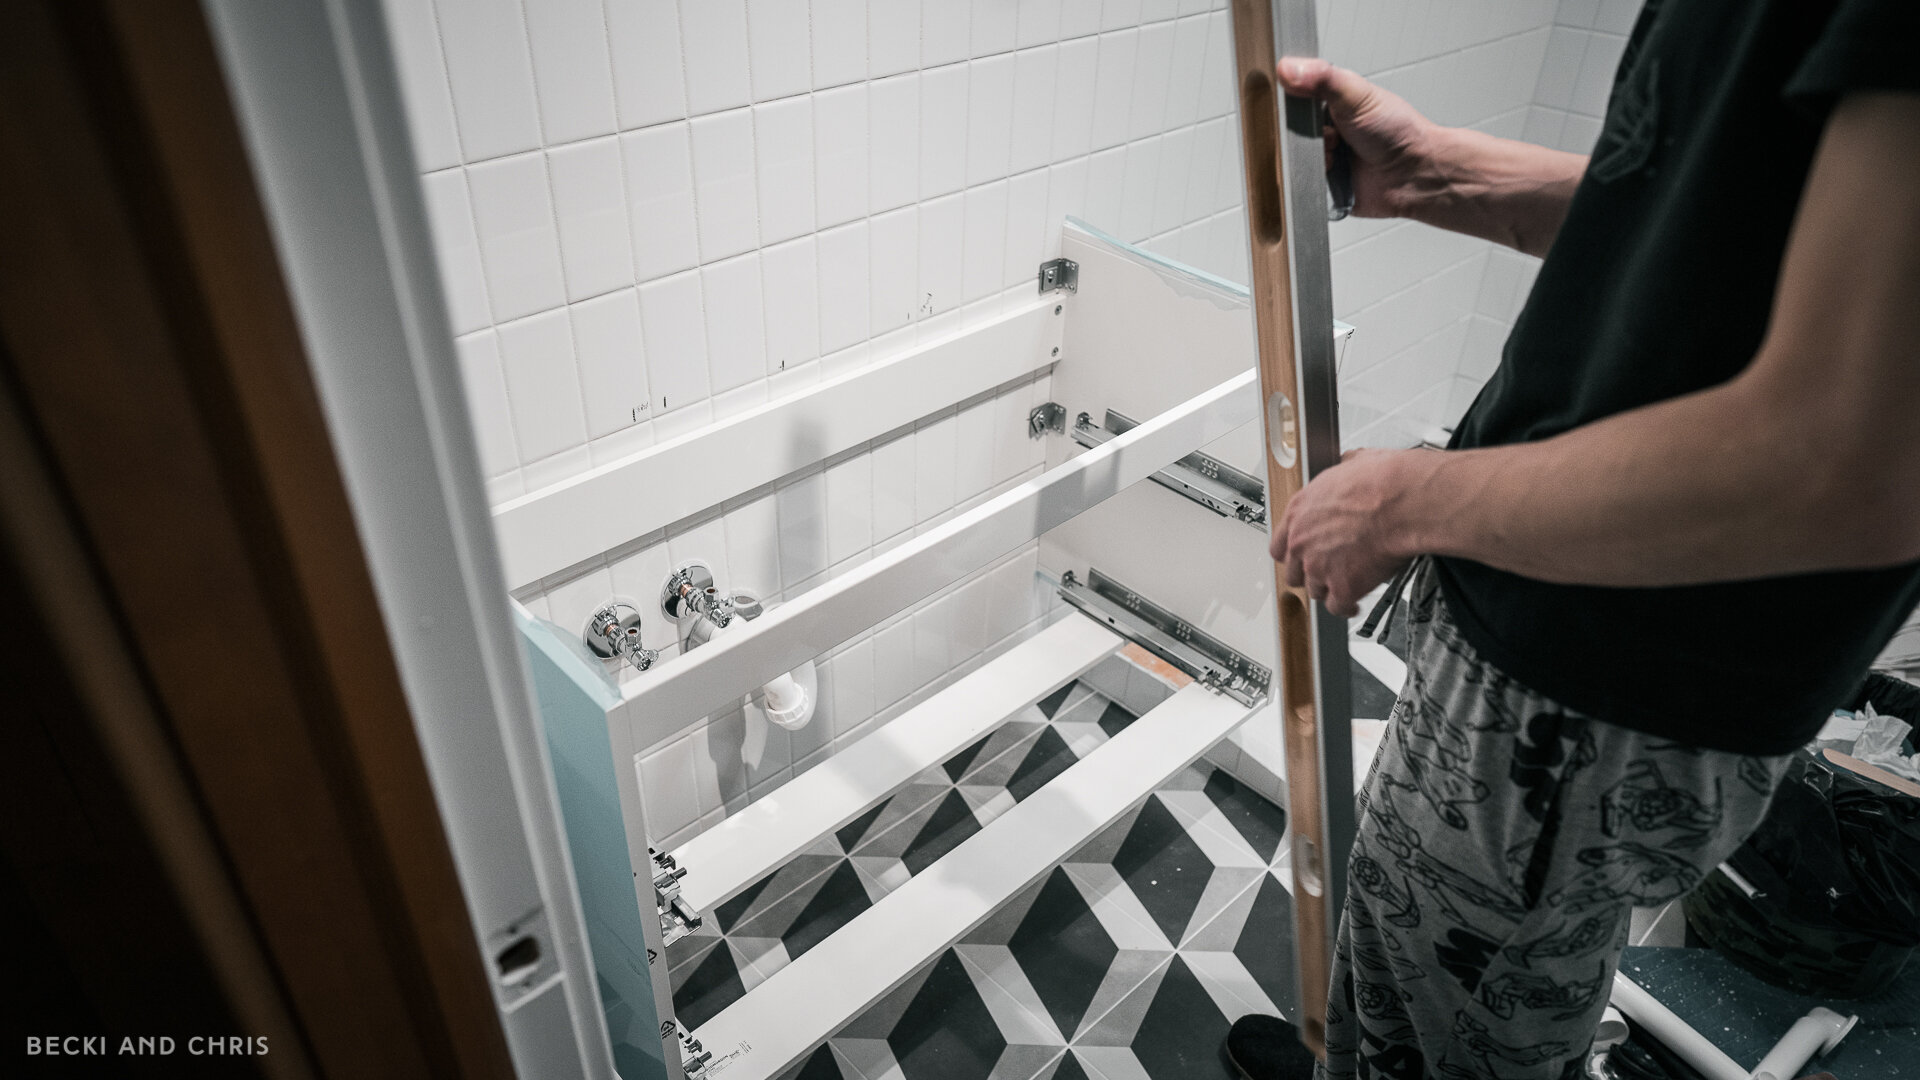
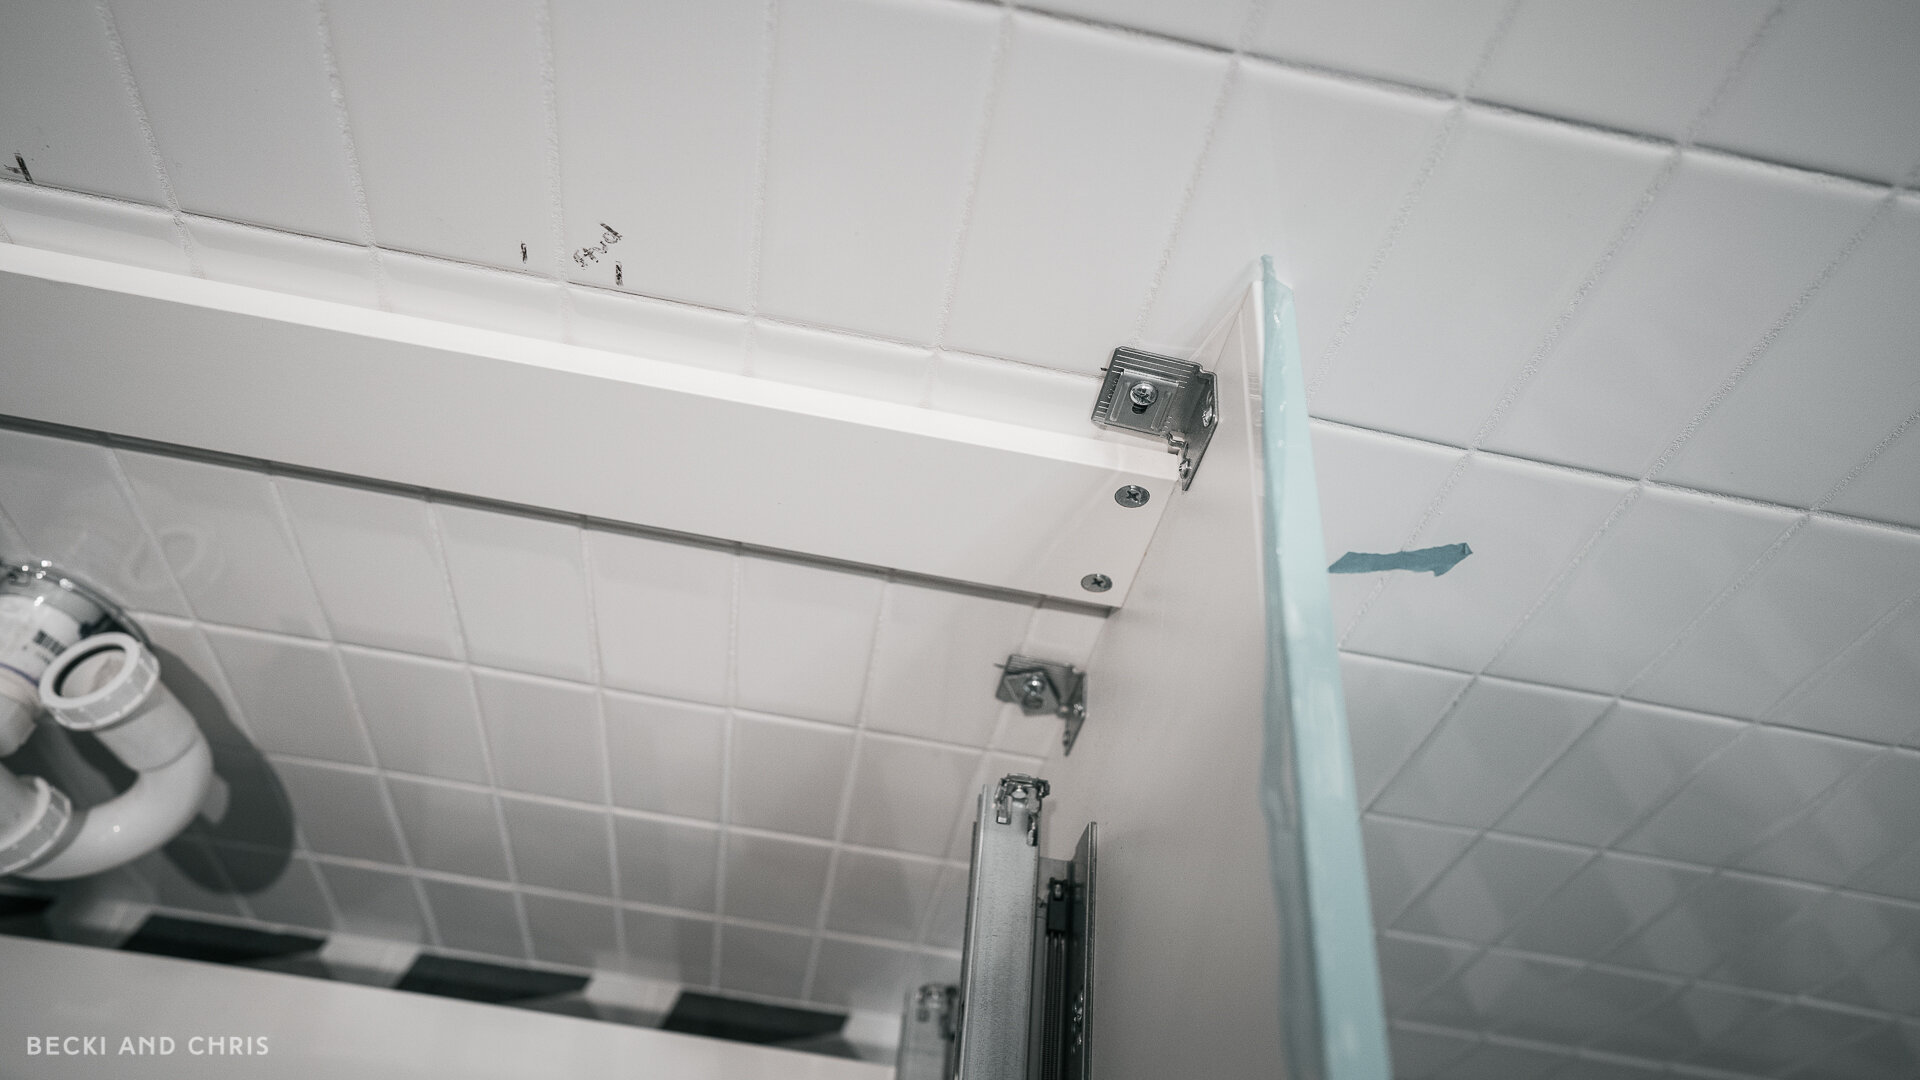
Install the drawers and dry fit everything to make sure your measurements are correct. We originally tried to do this before the vanity was attached to the wall, but because the cabinet is so flimsy, it was impossible to see if everything fit tight.
STEP 05
Refinishing/Finishing
Once you know your doors fit, carefully take them off the drawers for refinishing/finishing. We used left over doors we took out of our living room, and repurposed them for this project. Depending on the material you choose, this next step might be different. Here’s how we refinished our doors:
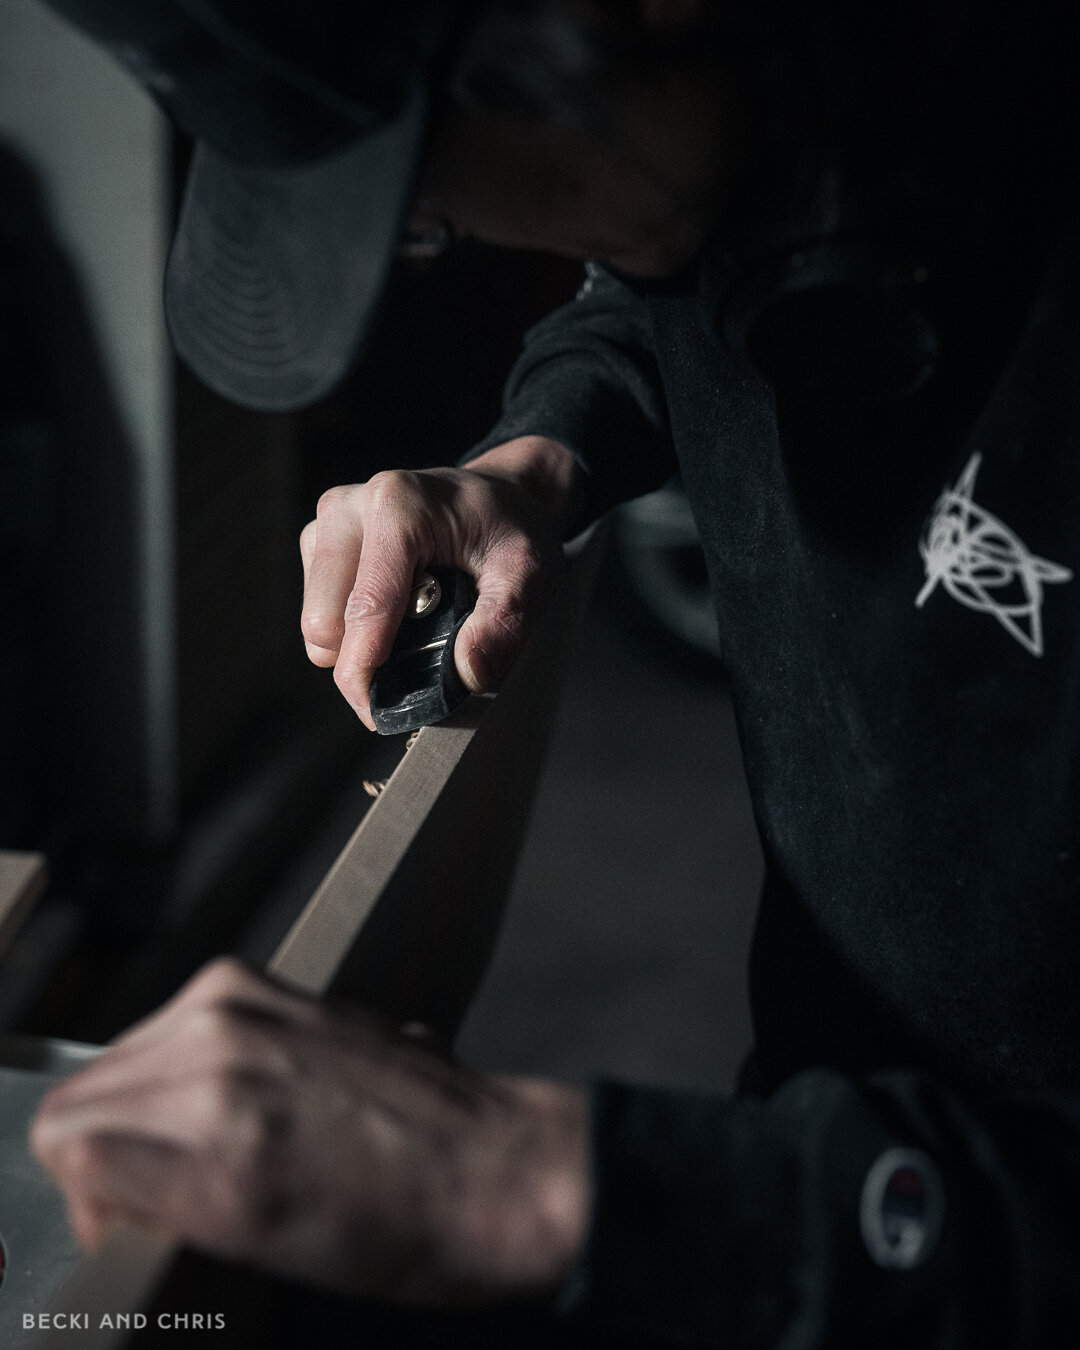
Door refinishing
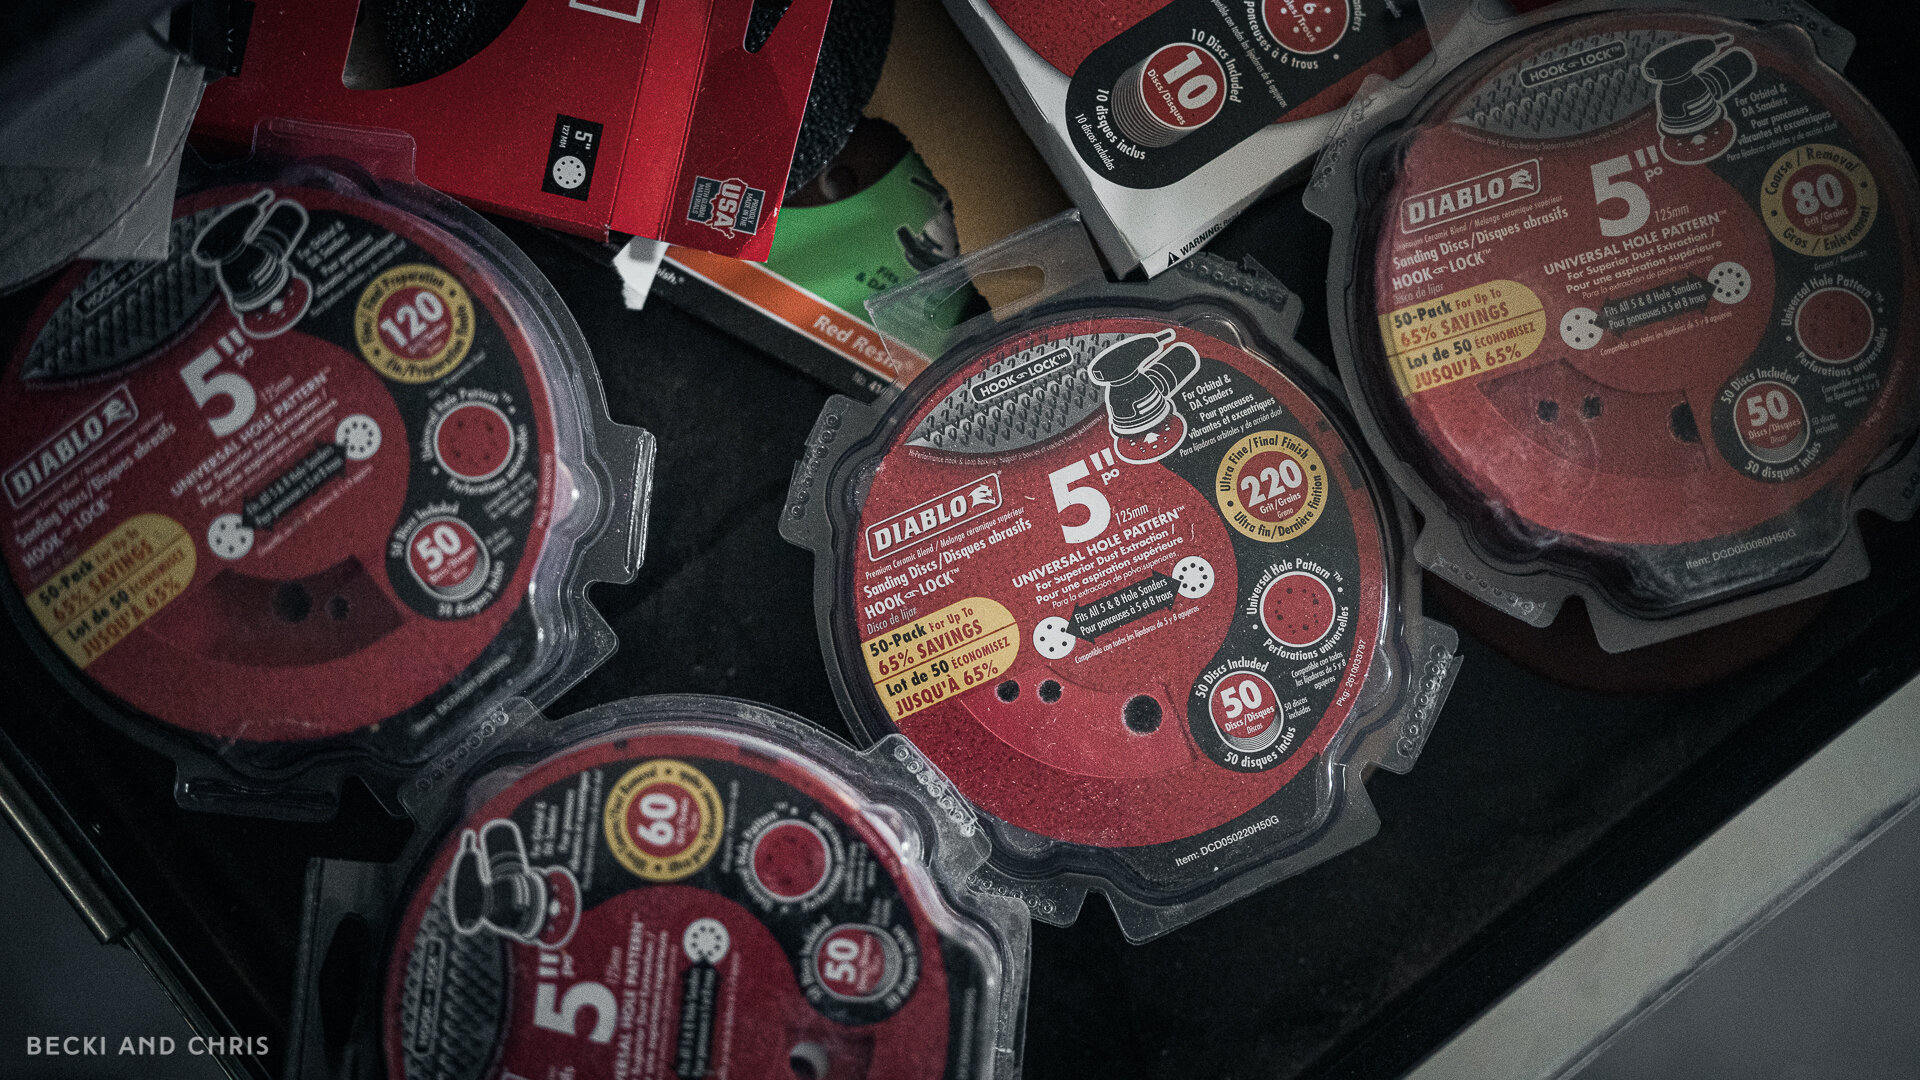
We used a belt sander with 80 grit to sand off the oil based finished on the doors. This step is easier and quicker if you have a planer.
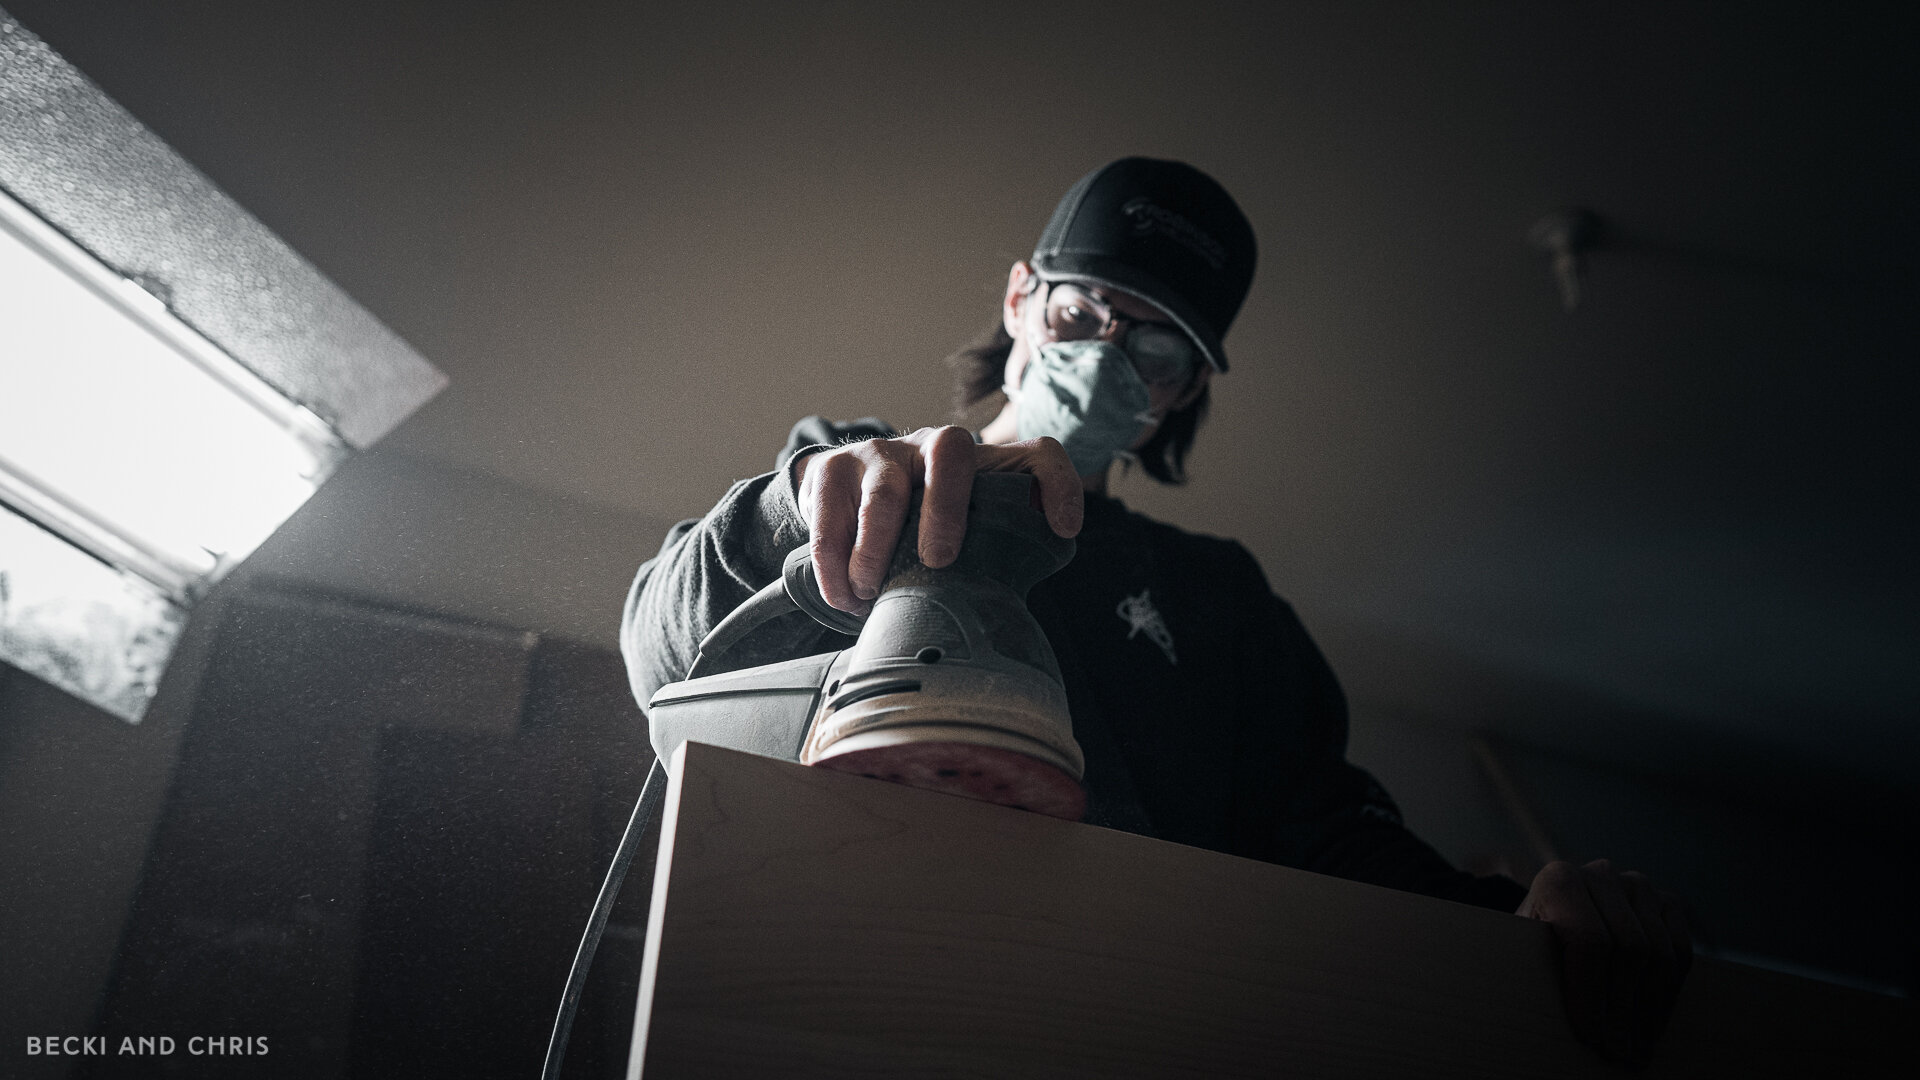
Once the finish was off we used a random orbital sander with a 50 girt to get out some deep scratches left by belt sander. Then using 80/120 grit sand paper and worked our way up through each grit until the doors were smooth.
We took off the sharp edge of the doors with a hand planer.
We coated all sides of the doors with a Ultimate Flat Polyacrylic finish for a natural looking wood. We did three coats perside. Sanding by hand using 220 after the first coat to knock down the raised grain.
We let everything cure up for 24h before installing the doors.

STEP 06
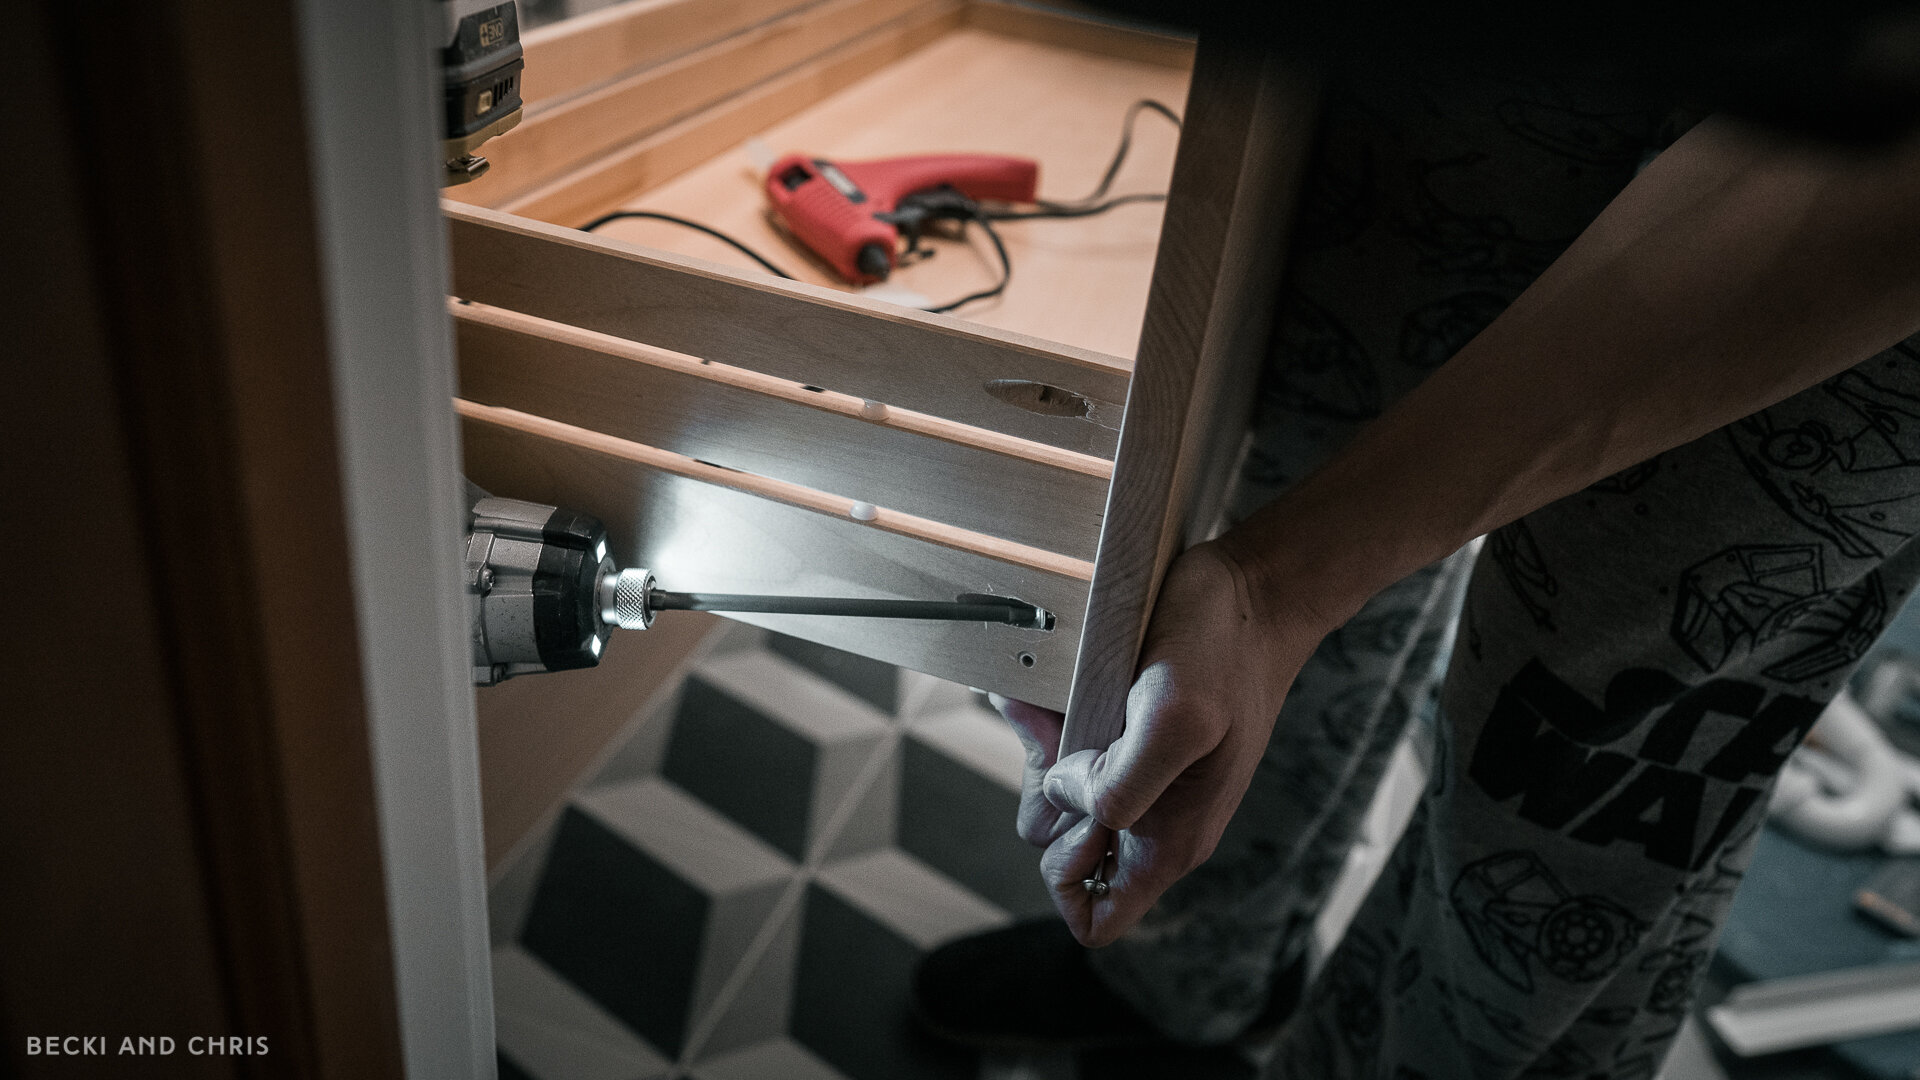
Install Drawers
This step was a bit tricky. Remember when we used the drill press to transfer holes? Those holes were for small wooden dowels that came with the Ikea vanity. We carefully hammered in the wooden dowels provided to hold the drawer fronts in place. We installed the bottom drawer first. We used pocket holes to attach the drawers to the new door fronts. We recommend using the Kreig Pocket Hole Jig as it makes things super easy and accurate. We did two on each side of each drawer.

The top drawer was even trickier, we found the easiest way to install these and make sure everything was straight and even was as follows:
Ditch the wood pegs
Use the drawer hardware that came with the vanity as a spacer, close the bottom drawer and place the hardware on top. We used two tile spacers taped to the top of the handle to make sure we had an even gap.
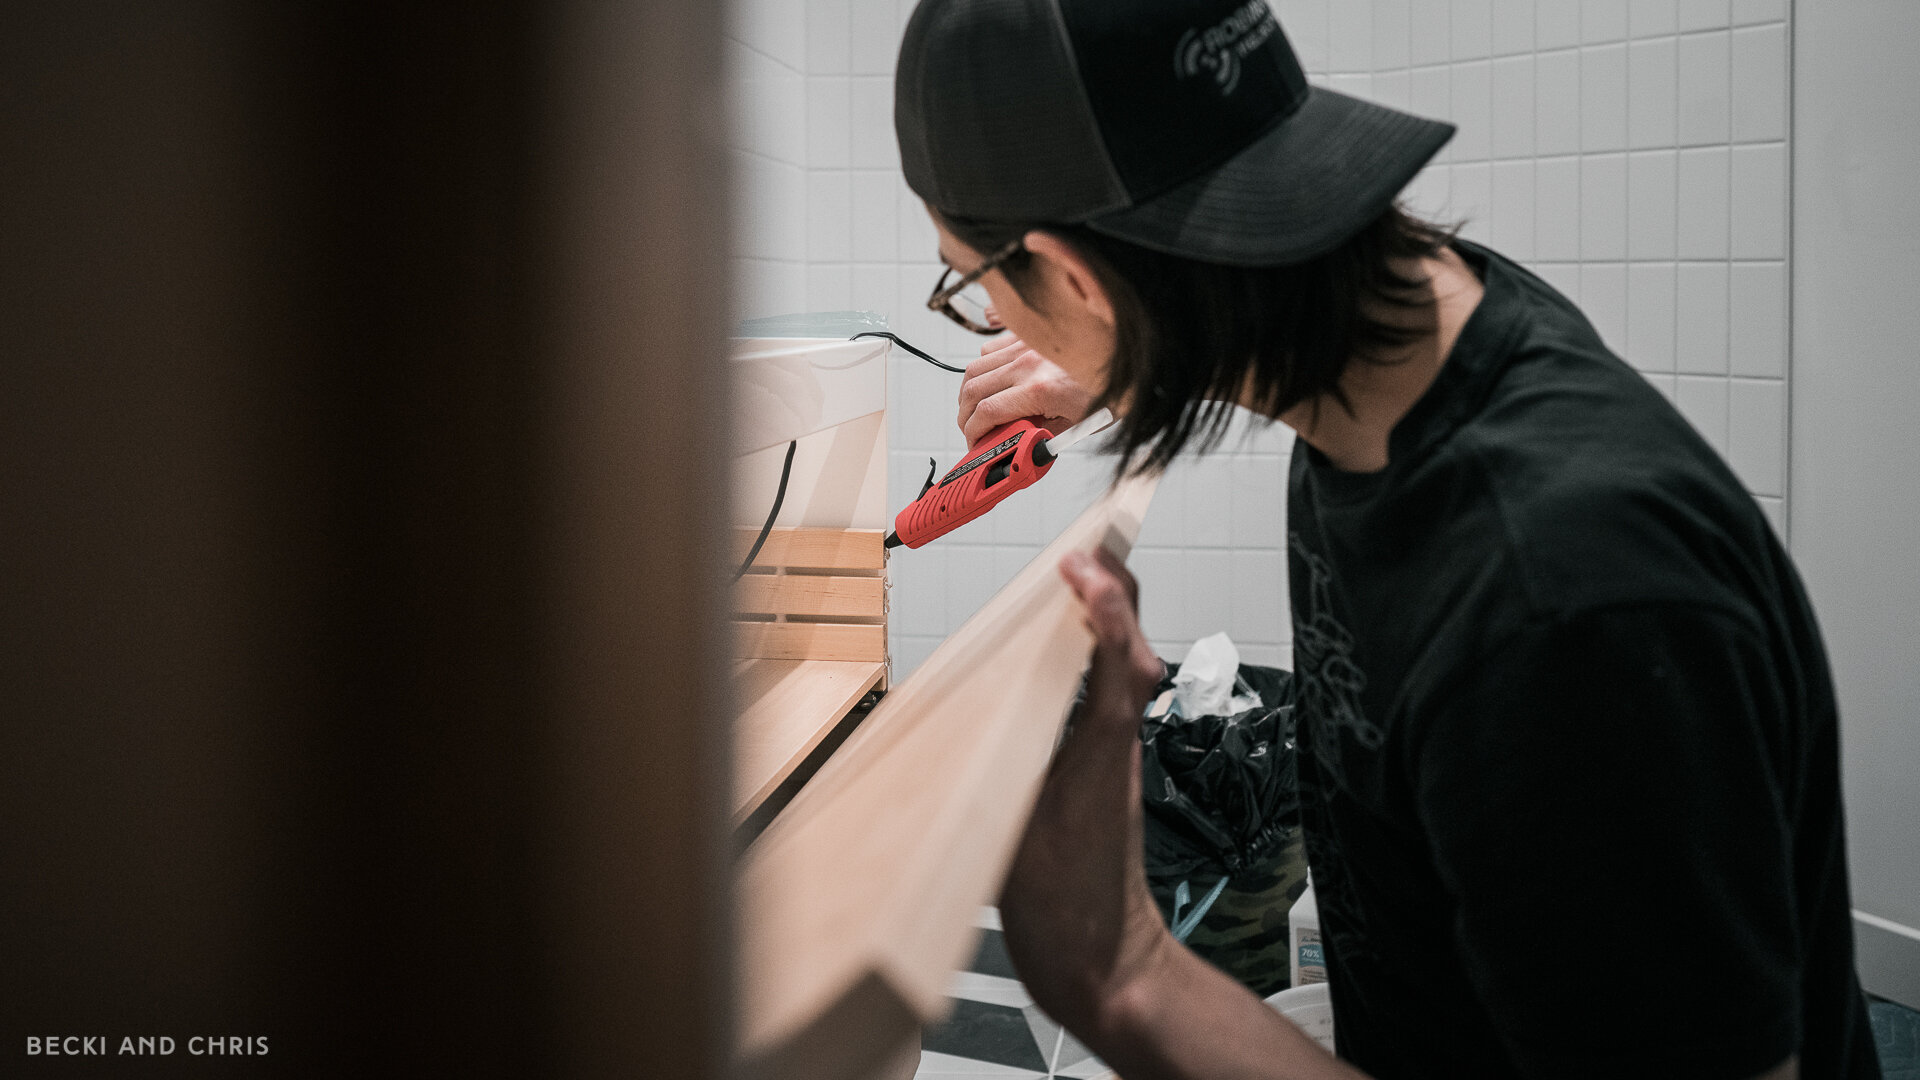
Get your hot glue gun heated and ready. Shout out to Get Hands Dirty for this AMAZING trick.
Line up your top drawer with your bottom drawer. Put some hot glue where the dowel holes are and press the door front onto the drawer side edges making sure your drawer ends are even and your gap between the two drawers is also even. The glue is just there to hold it in place while we drill the pocket holes so it shouldn’t spill out or be seen once you open the drawer.
Once the glue is dry (legit like two minutes) carefully pull out the drawer and attach the backs of the drawer front to the sides of the Ikea drawers using pocket screws just like the bottom so there are two on each side.
Close everything up and make sure it’s looking good and even. If you are happy, remove the tile spacers and handle.
If that reads confusing you can watch us do it in our YouTube video here.
STEP 07
Finishing Up
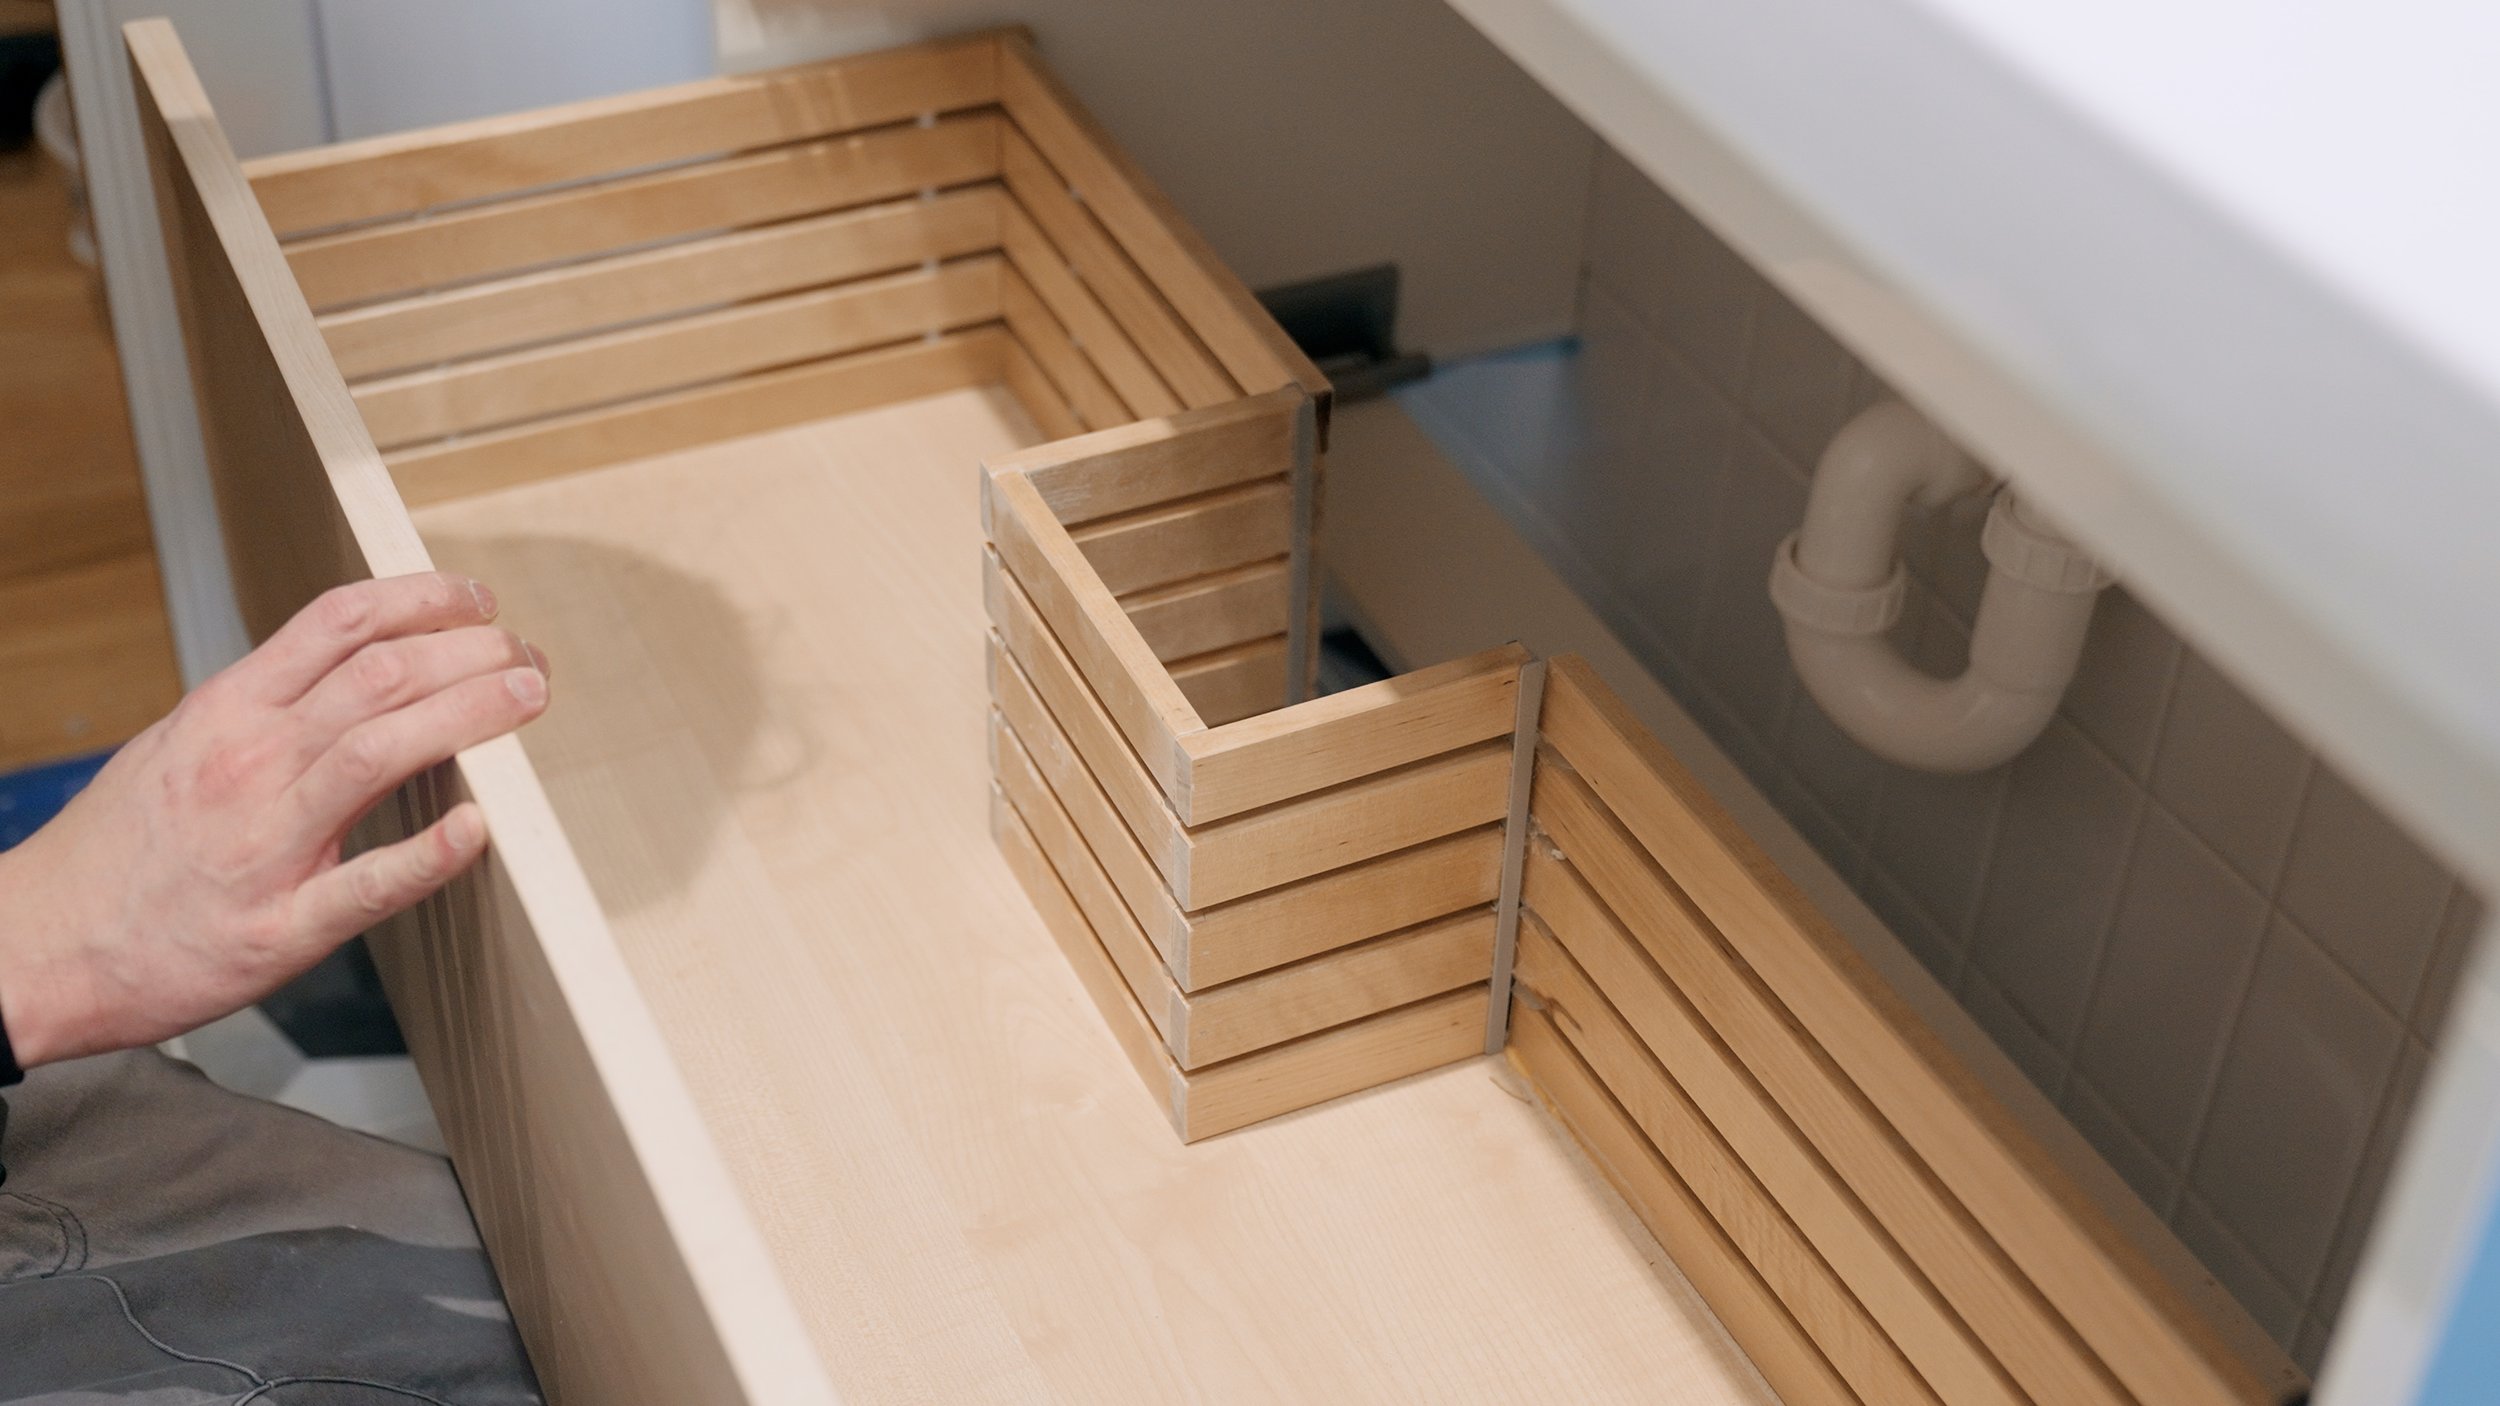
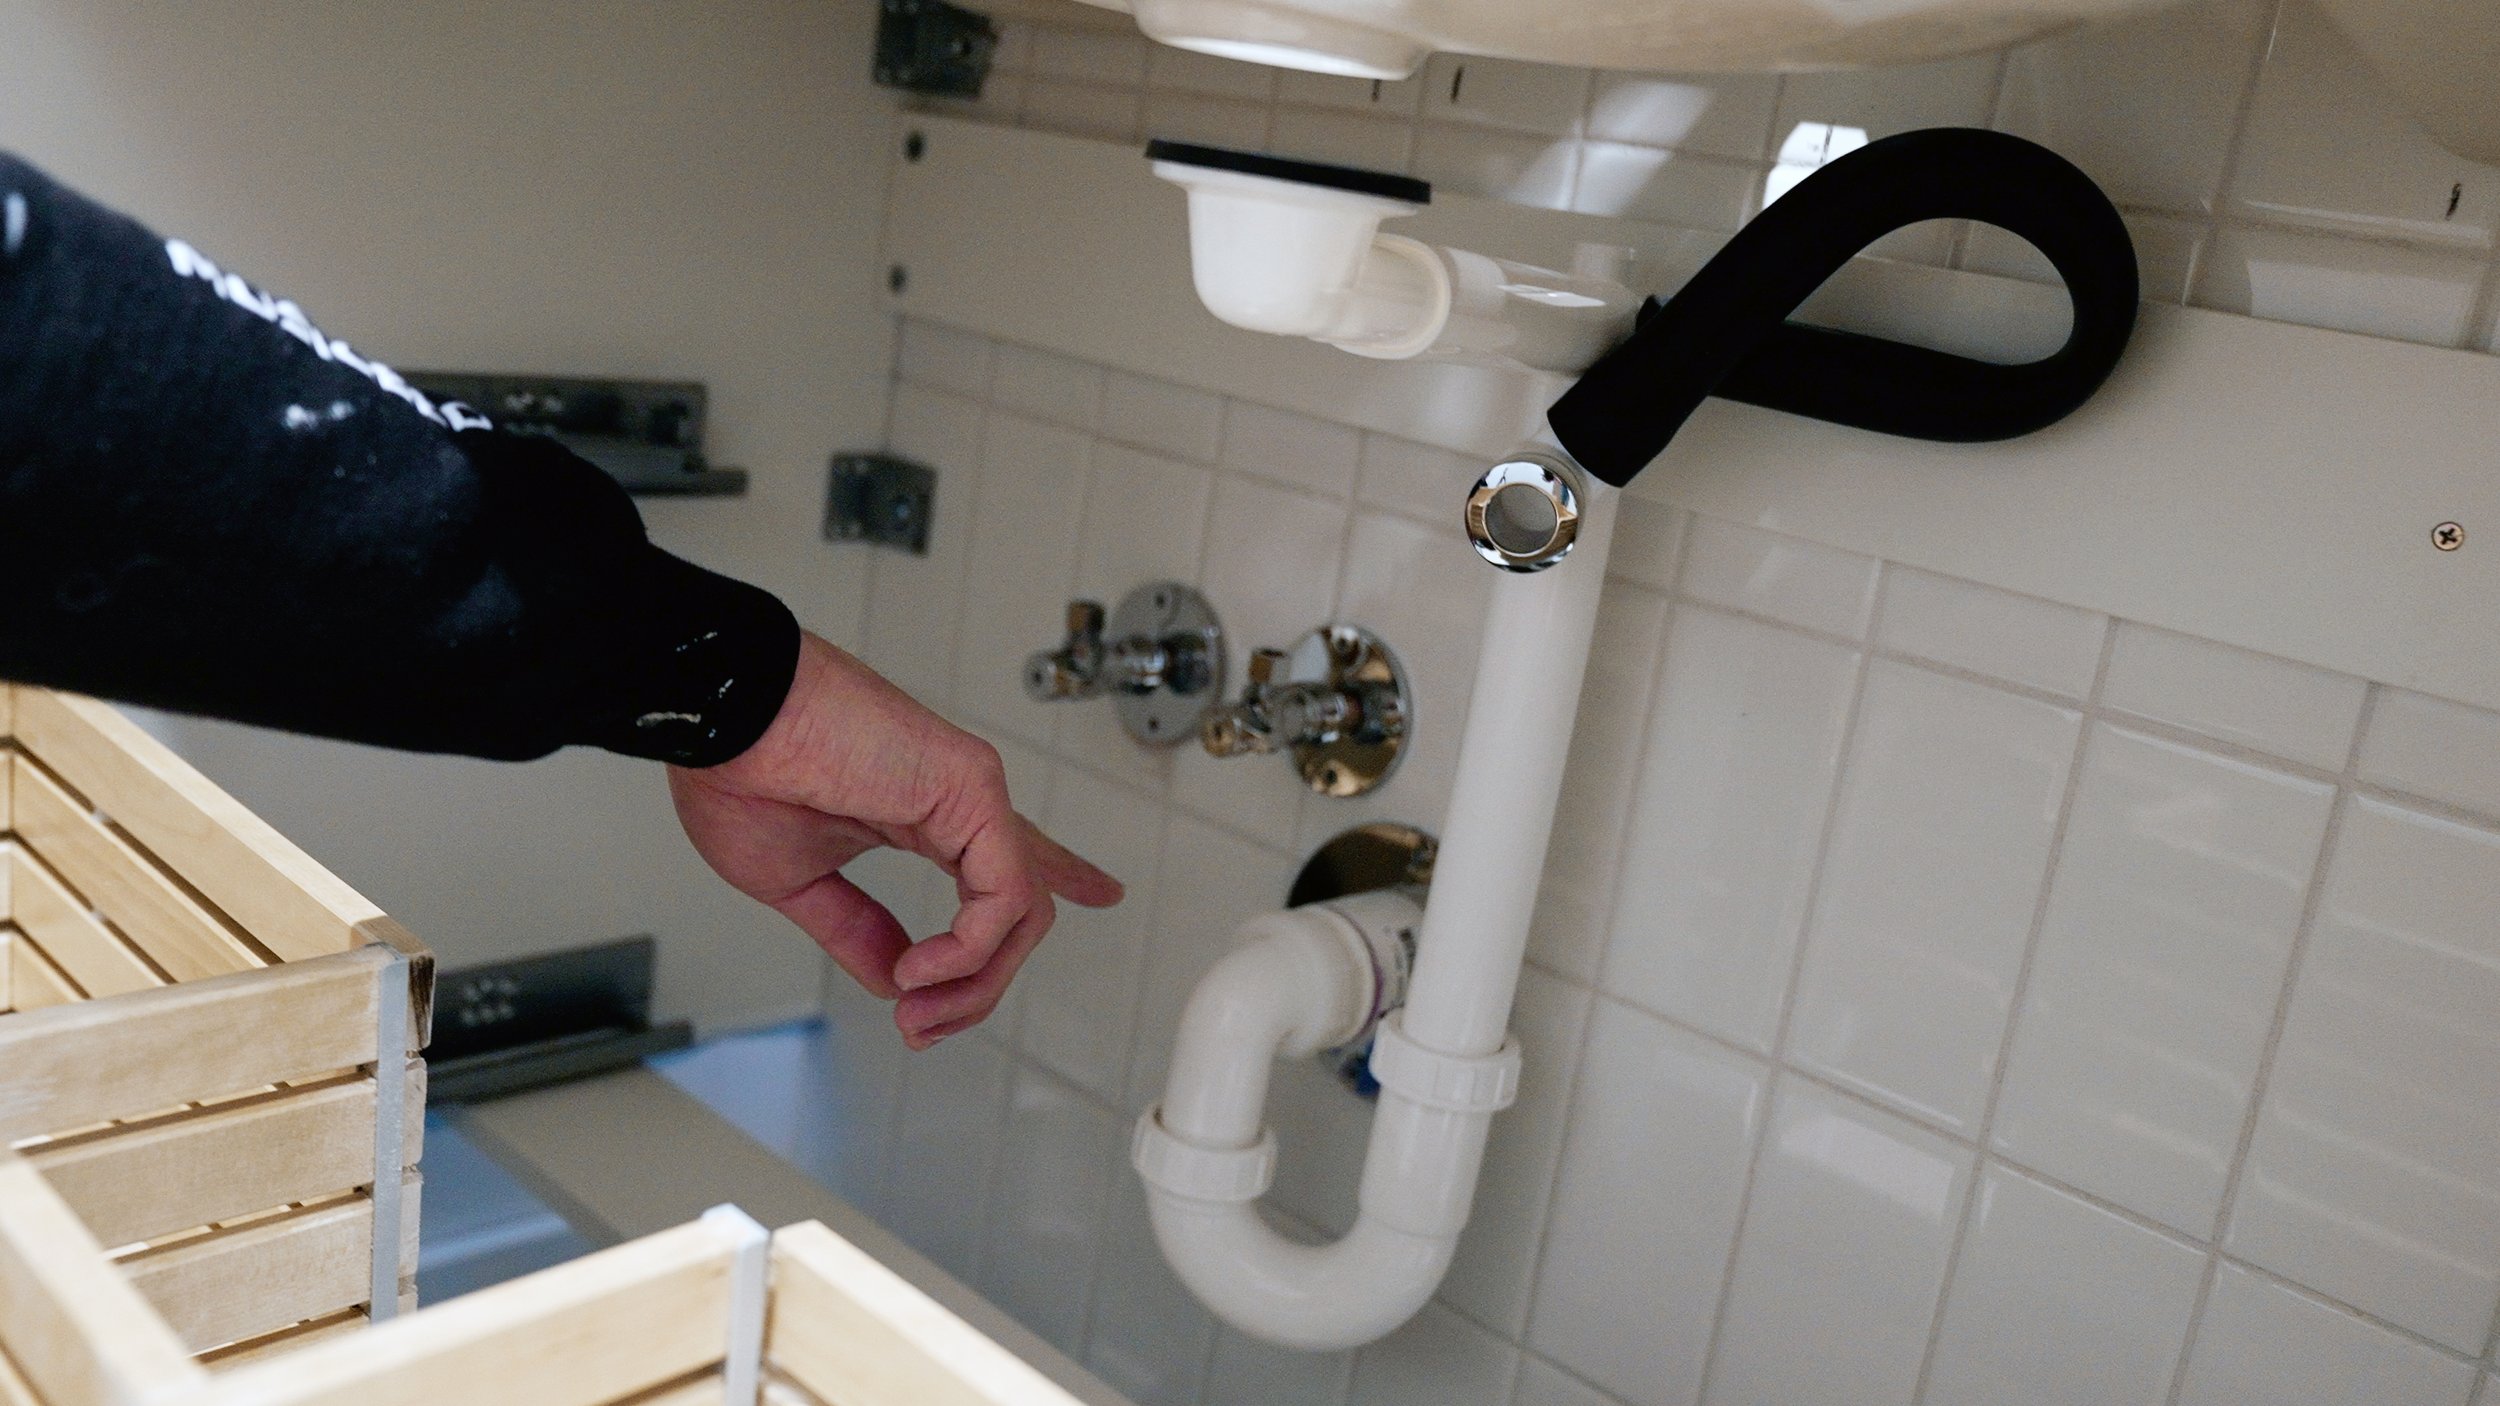
The most irritating part of this vanity set up is the plumbing. I’m not sure if they have changed these since we used them last, but we had to cut a hole in the bottom drawer to accommodate for the plumbing. We followed the directions, installed how Ikea said to, and had our pipes back as far as they could go, and the drawer would not close. PAIN.IN.THE.ASS.
Once we worked around that issue and got the drawers finished up we moved onto installing the sink top, which went smoothly until we realized the sink strainer and overflow cover we’re proprietary Ikea pieces.

We went for a matte black Delta faucet but the sink wouldn’t take our matte black drain cover, and of course the only black faucet Ikea had that came with a black strainer and overflow cover wasn’t matte black, it was chromed. So that was a massive hassle trying to figure out what to do there that would match the fixtures and look good.

The Work Around
In the end we had to do a few work arounds to get the matte black look in the sink. First of all, Chris painted the chrome overflow that came with the Ikea vanity black. He went through the proper steps of sanding, spray priming, and spray painting with plastic spray paint and letting it cure according to the directions on the can. Once dry he put three coats of matte clear coat to protect the paint.
Since Ikea has a propriety drain set up, we couldn’t use the black pop up drain that came with the Delta faucet, so we ended up using the chrome piece that seals the sink to the drain hole that came with the vanity, then found a 2’ screw top matte black drain cover to drop in to cover the drain. With this set up we cannot plug up the sink, but it does give the sink a more polished look.
PROJECT RATING
Skill Level?
Intermediate.
If you can use power tools, have basic wood working knowledge and have access to the tools needed you could tackle this project.
Would You Do It Again?
Absolutely NOT. We were really hoping this would be a good solution for the rest of our bathrooms. If you have enough skills to do this project, then likely you have enough to build a cabinet from scratch. Then you wouldn’t have to mess with plumbing and you could use whatever drain came with your faucet and not have to find a work around. I would ONLY do this again if I was going to use a chrome faucet or if I didn’t care about matching metals.
Was it Worth The Hassle?
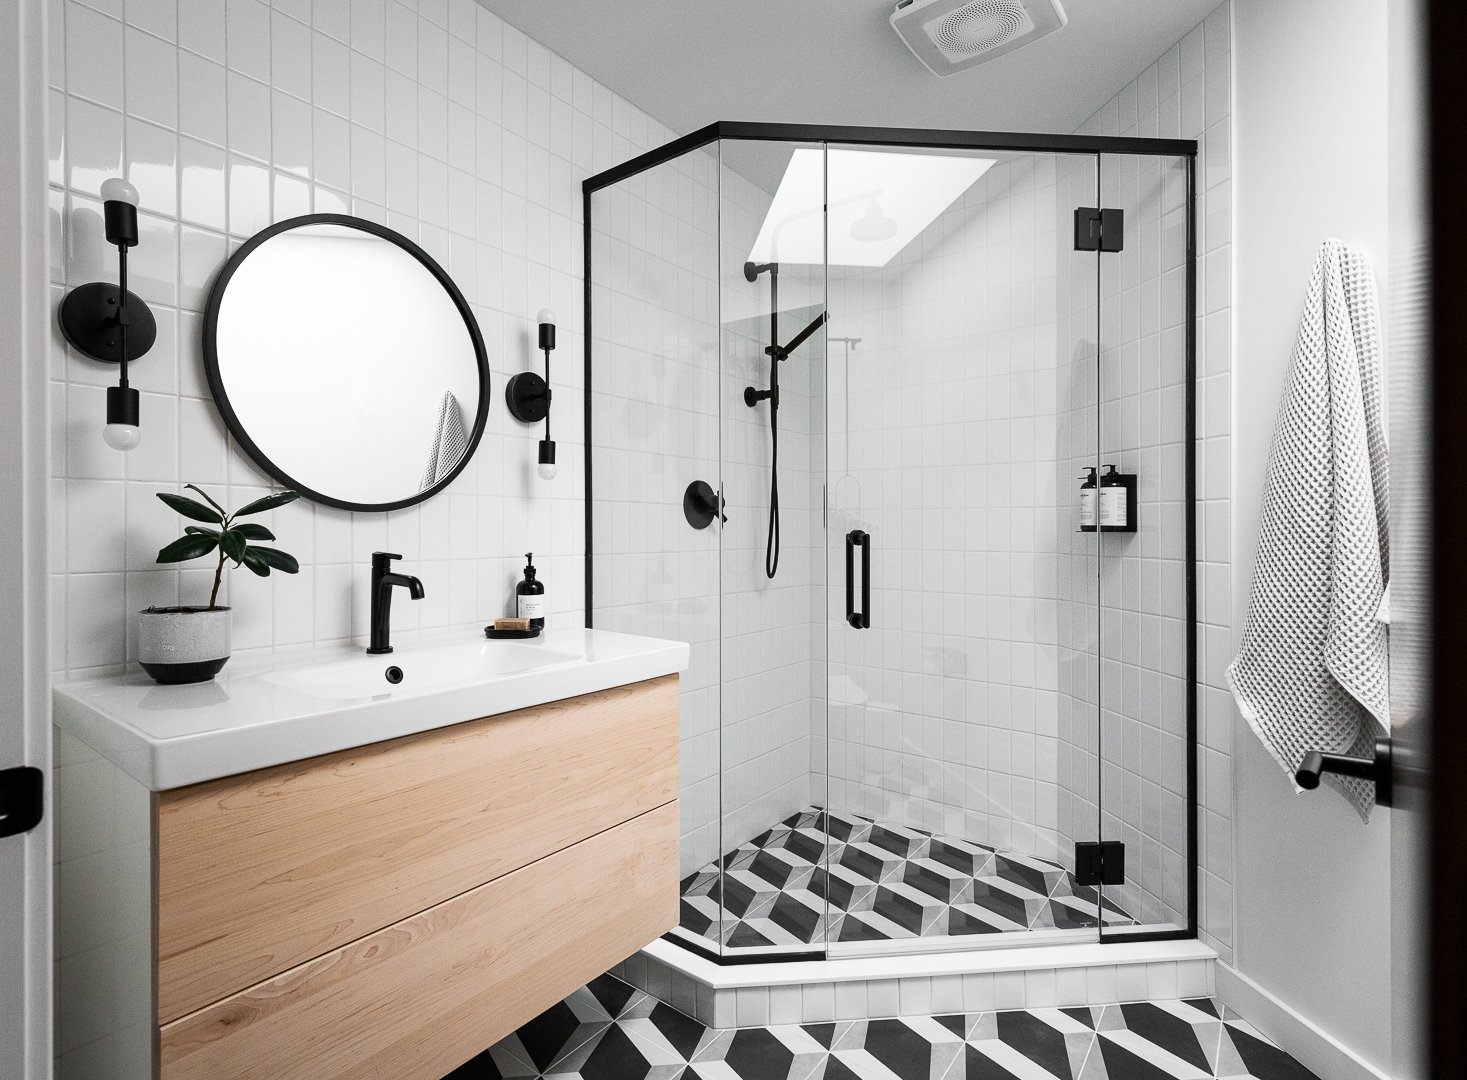
Maybe? We like how it turned out, so it wasn’t a huge bust but the project was a pain. The wood doors definitely warm up the space and give the basic vanity a more custom look. The white doors would have looked nice in here, but the touch of wood really adds warmth to the space. With that said, after doing this project we realized we could have built something from scratch in less time.
You can find the full before and after of this bathroom including all the products we used here. If you want to watch the entire process on how we created this bathroom you can watch it here! Don’t forget to subscribe for the rest of our home renovation series!
BECKI AND CHRIS
Instagram: https://www.instagram.com/beckiandchris
YouTube: https://www.youtube.com/c/beckiandchris
Twitter: https://twitter.com/beckiandchris