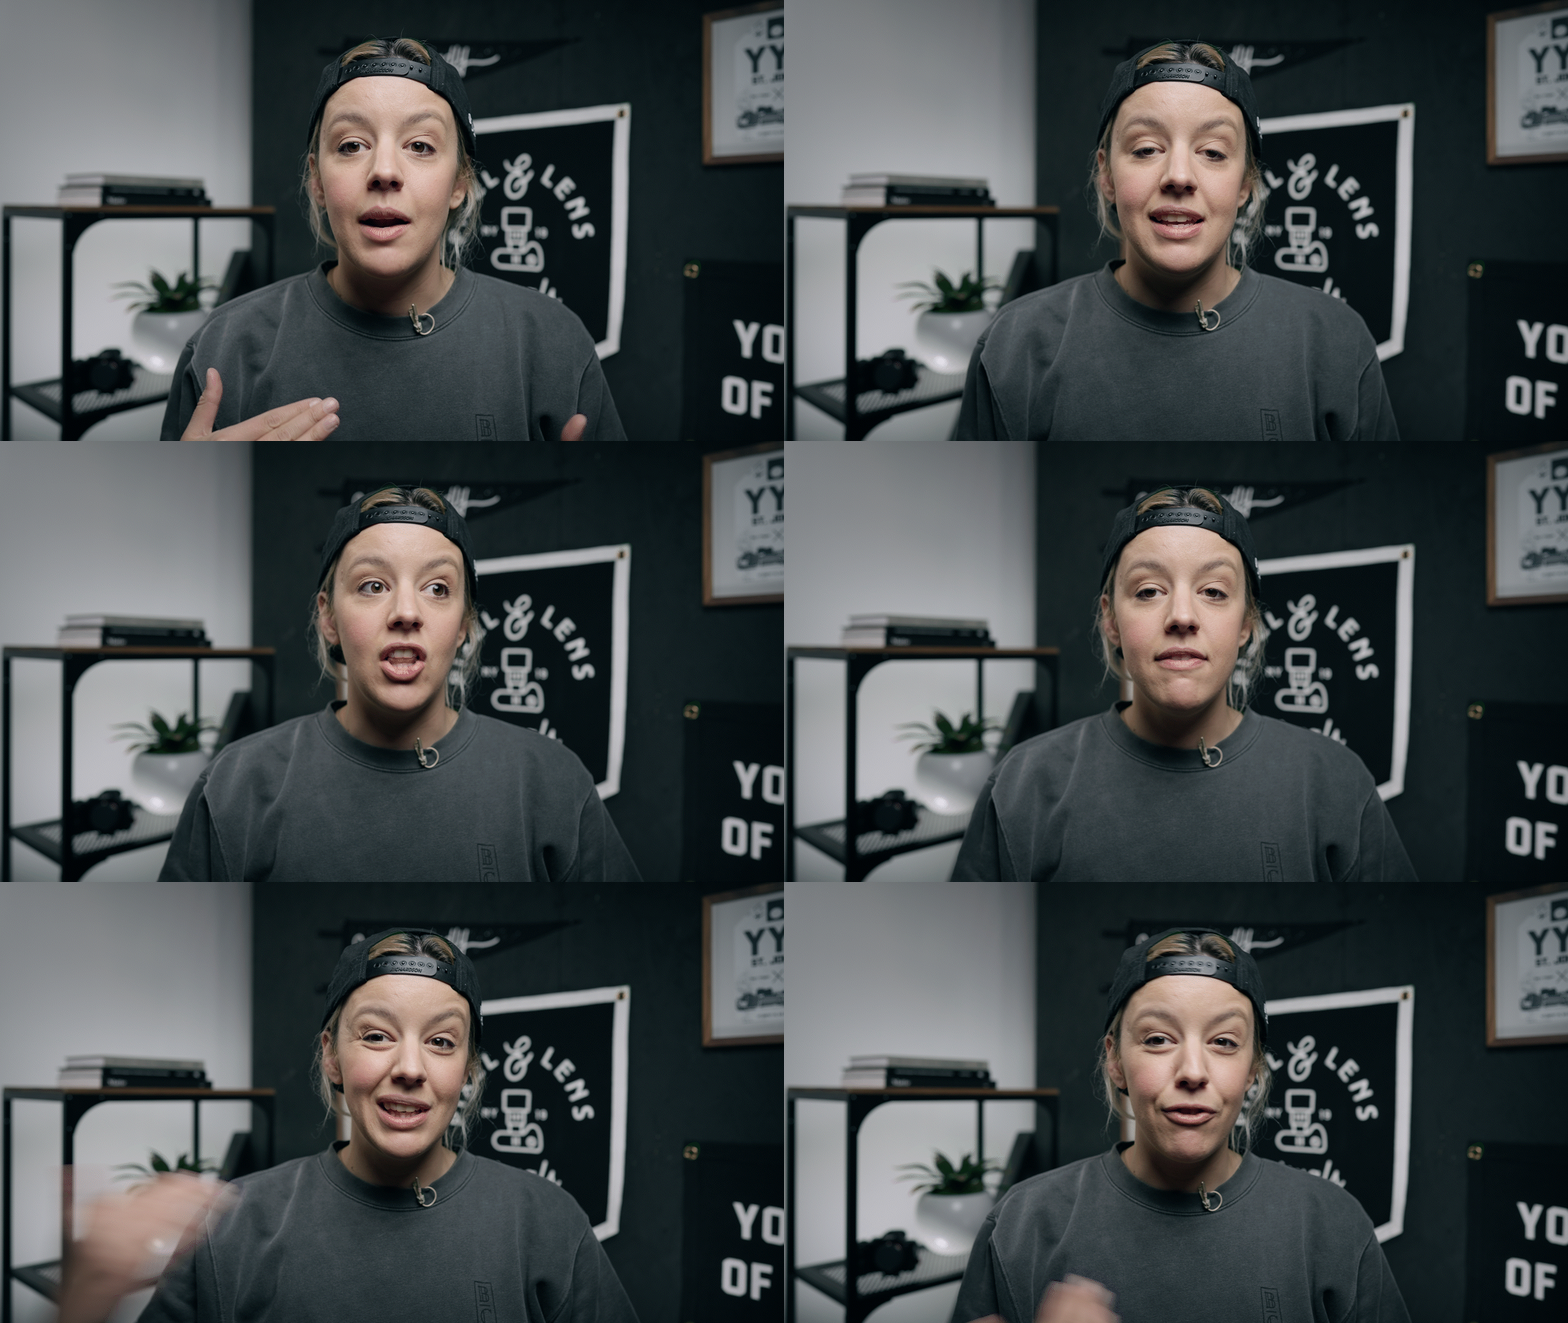
How To Light Your TINY Home YouTube Studio
Disclosure: This video was sponsored by Zhiyun and this post contains affiliate links. By purchasing through our affiliate links, you are directly supporting our blog and us as creators which helps us make more videos and articles! So thank you!
We preach on our YouTube channel about the importance of lighting, we teach on our channel how to design YouTube filming sets, but what if you lack a designated space for shooting? What if you have no other choice but to film in cramped corners like your living room, bedroom, or tiny office? Well, our friends at Zhiyun recently introduced their new Molus G60 and X100 constant lights, which we believe are the perfect choice for home studios with limited space, thanks to their compact size and affordable price tag!
In this video we showcase the new MOLUS lights and talk about some of their features and the packages they come in. Additionally, we share two different lighting setups that you can easily recreate in your small space. For a full breakdown and setup, please refer to the video above. Below, you will find lighting diagrams and all products used for both sets.
Lighting Set-Up 01
Cost: $271 - $396 USD
Our first setup is a more affordable option, using only the Molus G60, a diffusion dome modifier, a lamp, and a reflector. To add a secondary light source, I used a reflector in this shot. However, if this isn't in your budget, you can use tin foil glued to a piece of foam core. For a background light, I used the Zhiyun Fiveray M40. If you don't have this, you can use a normal halogen light bulb inside a lamp. Please note that if you're using an LED light bulb, it might flicker on camera.
Products
Zhiyun Molus G60 Standard Package
ZHIYUN Dome Diffusion ZY Mount (larger option)
Circular reflector (or tin foil on foam)
Zhiyun Fiveray M40 (or non flickering light bulb in lamp)
Behind the scenes with reflector.
The shot from main camera.
Lighting Set-Up 02
Cost: $1200 USD
For the second option, I chose a four-light setup. One of the reasons for this choice is that the cost of this entire Zhiyun Molus four-light setup is about equal to that of a single high-end light + light stand + modifier. This provides you with the ability to have a more dynamic kit for other projects, rather than relying on just one single light.
Products
Zhiyun Molus X100 Combo Package
ZHIYUN Parabolic Softbox (Bowens Mount)
Behind the scenes light set-up 2.
The shot from main camera.
To achieve an even more flattering look, we can include a reflector in our second set-up. As shown below, the reflector can effectively fill in the shadows under the neck and on the face, resulting in a more balanced light. This particular lighting technique is often referred to as "clamshell lighting," as the softbox and reflector combine to create a shape reminiscent of a clamshell.
Behind the scenes light set-up 2 with reflector.
Shot from main camera.
While these lighting schemes serve as basic set-ups, I strongly recommend experimenting with the lights and modifiers to create a customized set-up that suits your specific needs. If you're interested in learning more about setting up your own home studio, our YouTube playlist offers a wealth of additional information on the topic!
Becki and Chris
Instagram: https://www.instagram.com/beckiandchris
YouTube: https://www.youtube.com/c/beckiandchris
Twitter: https://twitter.com/beckiandchris


