
Getting Into Cinematic FPV Drone Flying
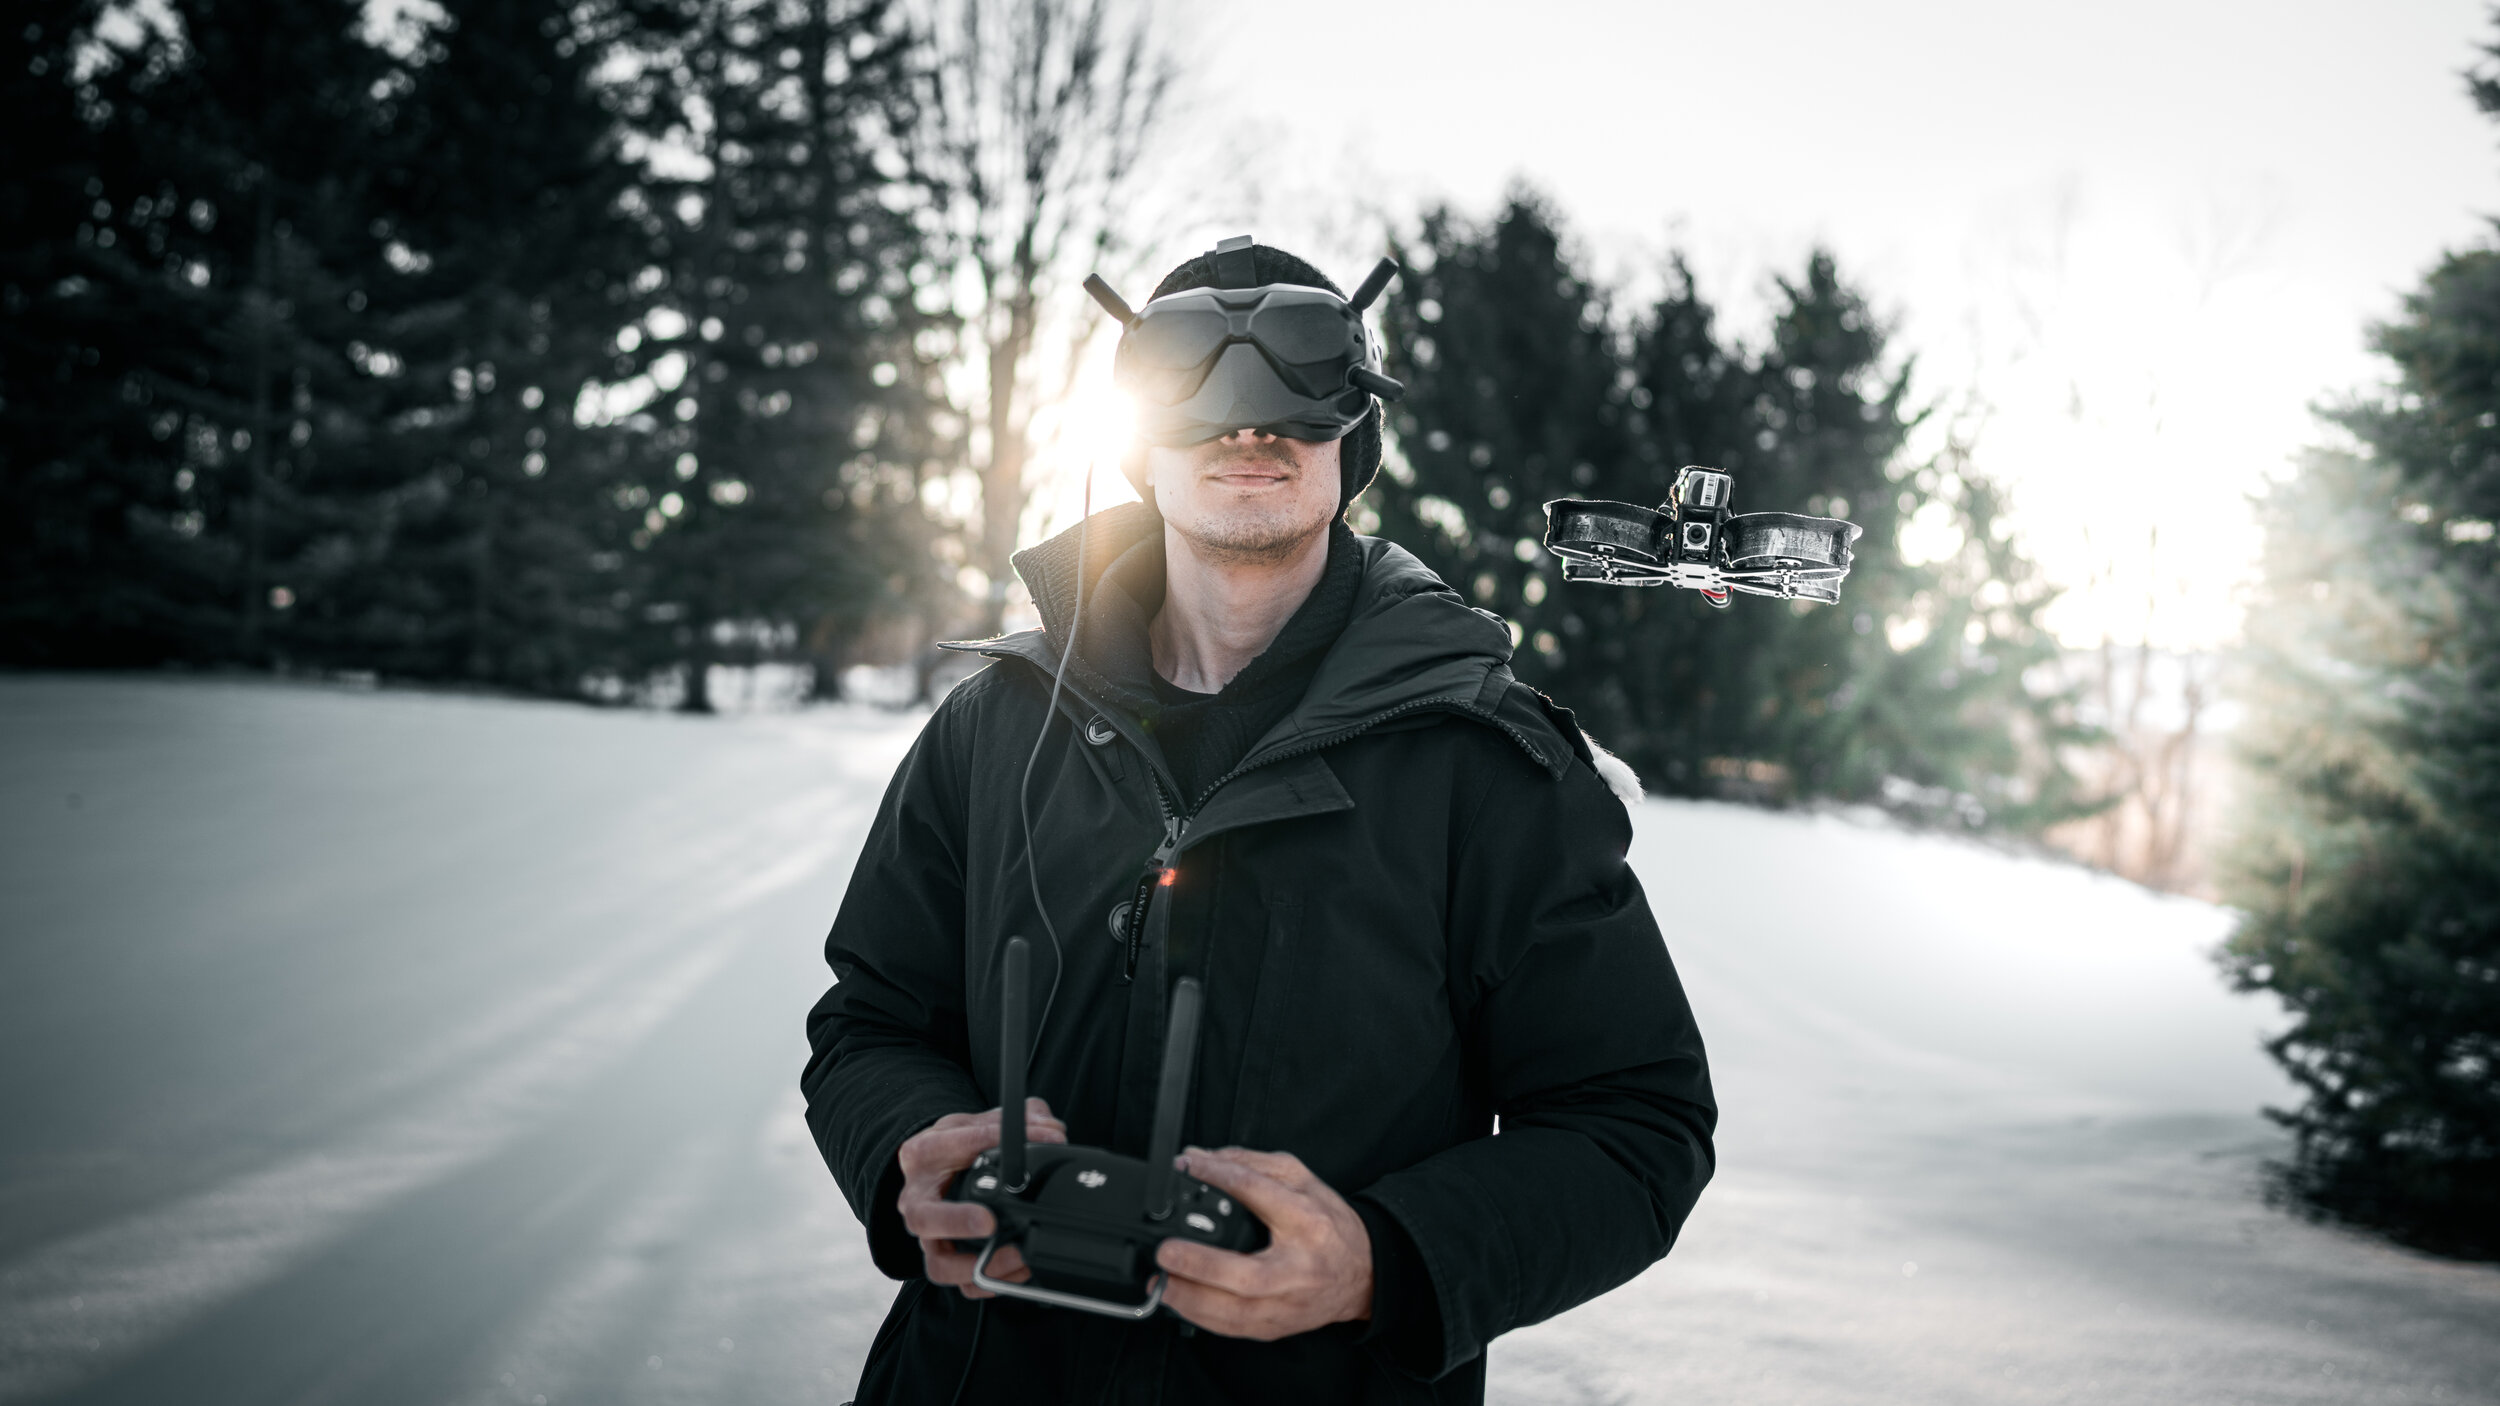
Equipment list and resources we used to build our cinewhoop and 5 inch FPV drones below. If you didn't come here from our Youtube video, check it out here. If you find this list useful, consider using any of our affiliate links below!
SIMULATOR
Buy the radio (controller) first and practice with this simulator on your computer. It will save you time and frustration if you can figure out how to fly FPV drones virtually first, rather than repeatedly crashing and breaking the real thing. I use the Taranis X9D, but the Taranis Q X7 or most other radios will work as well. I use these simulator settings by Mr. Steele.
CHOOSING THE RIGHT DRONE(S)
Initially we started with a cinewhoop, original post detailed in the cinewhoop section below. Since then, we've also added full 5 inch drones to our arsenal. If you're wondering what the differences are, we made a video about that on our YouTube channel.
Most drones have all the same basic components:
Frame: To hold all the components.
Motors: Not a bad idea to have one or two replacements on hand.
Battery: My build uses 4s (4 cells) but some setups are now optimized for 6s.
ESC: Controls the speed of the motors.
Flight controller (FC): The "brain" that controls everything.
Camera: Traditionally a standard definition analog camera. Video signal in an analog system is usually sent through the flight controller so it can overlay data on the screen (OSD).
Video transmitter (VTx) + antenna: Video feed from the flight controller sent to the VTx which transmits a signal back to the goggle.
Goggles: Receives and displays the video feed.
Radio: For controlling the drone.
Receiver + Antenna: Module to receive the control inputs from the radio and relay them to the flight controller.
Buzzer: Optional module that wires to the flight controller and can beep automatically when battery is ejected and can be assigned to a switch on your radio. Very useful for locating a crashed drone.
GPS: Optional unit to beam back coordinates to goggles/radio. Also allows "direction to home" arrow to display on OSD. Not really necessary on a cinewhoop that has limited payload and is usually flown slow and not faraway.
Note that the above description is for a traditional analog system. DJI's digital FPV system replaces the camera, VTx, receiver, goggles, and radio into an integrated unit with it's own goggles and optional radio.
Regarding the build itself, I loosely followed Joshua Bardwell's full drone build guide as well as this build to get the gist of how to assemble the various components. Even though the components are all different, the building process/techniques are the same. I just used the pinout diagram that came in the instructions with the FC/ESC to figure out which wires go where for my specific components. If you don't know how to solder, check out Oscar Liang's guide. If you went with the DJI digital FPV system, I used this tutorial for wiring up the Air Unit.
Once you build your drone, if you built an analog setup, you can then bind it to your radio using this tutorial. If you're using the DJI FPV system, linking the components is as simple as pushing a few buttons.
CINEWHOOP SHOPPING LIST
Using the components below, the drone itself costs about $495.74 not including a GoPro. This is essentially top of the line analog gear, but you can swap out parts for cheaper versions to save money.
The goggles/video receiver will be a separate cost. The goggles listed below are the ones I have, but there are certainly cheaper models available. The radio controller will be a third separate cost. I recommend investing in the TBS Crossfire add on for your radio for maximum reliability. You can use the same radio and goggles with multiple drone builds, so they're a one-time up front cost. Update: see section below about digital vs analog goggles/radio. Anything marked with an "*" below can be omitted if you go with the DJI digital system.
Drone parts
Frame and ducts: Shendrones Squirt v2.0
Battery: TATTU R-line 1300mAh 4s 75c Lipo Battery (get at least 4... they only last a few minutes)
Motors: Brotherhobby Tornado T1 1407 3600KV
*VTx: TBS Unify Pro 5G8 HV (SMA)
*Receiver: TBS Crossfire Micro Receiver V2
Ummagrip Universal Sticky Battery Pad
*Receiver antenna: TBS Crossfire Immortal T Antenna V2
*Camera: RunCam Micro Eagle
*VTX antenna: Lumenier AXII 2 Stubby 5.8GHz Antenna (RHCP)
Props: HQProp 4x4.3x3V1S Black (2CW + 2CCW) (buy multiple packs!)
Buzzer: HellGate FPV Buzzer DUO w/ Built-in Lipo
Flight controller + ESC: XRotor Micro Combo - F4 G3 FC - 60A 4-in-1 ESC
(Can use other ESC/flight controllers, such as smaller 20x20mm varieties)
GetFPV
Lipo Strap
Goggles
*Ultimate FPV Bundle - Fat Shark HDO, ImmersionRC rapidFIRE, + Lumenier AXII Diversity Antenna (RCHP) Bundle
If you are near sighted like me:
*Diopter Sets for FatShark Goggles
Radio
*FrSky Taranis X9D
*Alternative: Taranis QX7
*TBS Crossfire TX LITE
*TBS Diamond Antenna
Tools and miscellaneous equipment
Heat Shrink Tube Assortment Box - 508pcs Black
Motor Soft Mount Silicone Pad w/ 3M Backing (Set of 4)
iExcell 250 Pcs M3 x 6mm/8mm/10mm/12mm/16mm 12.9 Grade High Tensile Alloy Steel Hex Socket Button Head Cap Screws Kit, Black Oxide Finish
Delcast Rosin Soldering Flux Paste 50G
MG Chemicals Desoldering Braid #2 Fine Braid Super Wick with RMA Flux, 5' Length x 0.05" Width, Yellow
Baitaihem 11pcs Solder Soldering Iron Tip for Hakko Station 900M 933 907 936 with Anti-Oxidation Storage Bag and Box
AstroAI Digital Multimeter with Ohm Volt Amp and Diode Voltage Tester Meter (Dual Fused for Anti-Burn)
GoPro Hero6 (Hero6 stabilizes in post better w/ ReelSteady than other versions)
GoPro Hero7
Lumenier 2200 mah battery (for mobile field charging, can't take on planes!)
5 INCH FPV DRONES
Currently we have two 5 inch builds in our arsenal. One is the Xhover Blastr Cinematic and the other is a prebuilt quad DJI sent us to try out their FPV system. Xhover has a few different kits available that include everything you need as well as prebuilt options.
Both drones are quite capable and we've achieved that intense high speed footage that you can expect from a 5 inch build with both units. For those that are wondering, all the 5 inch footage from our Sony camera camp videos is from the Xhover Blastr and all the new footage in our recent FPV video is from the DJI "recommended parts list" below:
T-Motor F55A PRO II + F4 HD STACK
Laser HD frame (really any 5" frame that comes with air unit mounts will work)
DIGITAL VS ANALOG GOGGLES/RADIO
I've recently switched all my quads to the DJI digital FPV system. I now use both their goggles and radio (controller). It's crystal clear 720p HD footage straight to your goggles. This resolution and clarity is kind of normal if you're used to using DJI's regular drones, but it's night and day if you're used to using analog video systems. If you'd like to go this route off the get go, then you can omit buying anything above marked with an "*". Instead you'll buy the DJI FPV goggles, DJI radio, and a DJI Air Unit for each drone you want to build. They have a combo that includes all these items for a discounted price. GetFPV affiliate link here if you are ordering from them. The Air Unit is an all in one module that comes with HD camera attached and functions as a radio control link and video feed all in one. If you're new to the hobby and are trying to figure out cost of going digital vs analog, Joshua Bardwell did a great comparison video here. Bottom line is it's a bit more expensive going digital. Note that if you're building a cinewhoop, you'll need taller 40 mm standoffs to accommodate the Air Unit.
3D PRINTER STUFF
I've found Reelsteady stabilizes your GoPro footage better when used with a vibration dampened mount (even when using the Hero 6 but absolutely required if you are using a Hero 5 or Hero 7). I print mine with TPU (strong flexible material) and a cheap Amazon printer using slicer software Cura with these settings.
3D printer: Official Creality 3D Printer Ender 3 Pro DIY Printer with Removable Magnetic Bed
Aftermarket extruder: HICTOP Upgraded Replacement Aluminum MK8 Extruder Drive Feed for Creality 3D Printer Ender 3/3Pro CR-10, CR-10S, CR-10 S4, and CR-10 S5
Digital Caliper, Adoric 0-6" Calipers Measuring Tool - Electronic Micrometer Caliper with Large LCD Screen, Auto-off Feature, Inch and Millimeter Conversion
PLA filament: HATCHBOX PLA 3D Printer Filament, Dimensional Accuracy +/- 0.03 mm, 1 kg Spool, 1.75 mm, Black
TPU filament: SainSmart Black Flexible TPU 3D Printing Filament, 1.75 mm, 0.8 kg, Dimensional Accuracy +/- 0.05 mm
Files I've developed:
Go Pro holder (with Tile backpack and Immortal T antenna holder)
Generic two hole dampened GoPro mount
Xhover Blastr dampened GoPro mount
Reelsteady
In my opinion, the best software for stabilizing GoPro footage, hands down. $5 off ReelSteady Go here.