
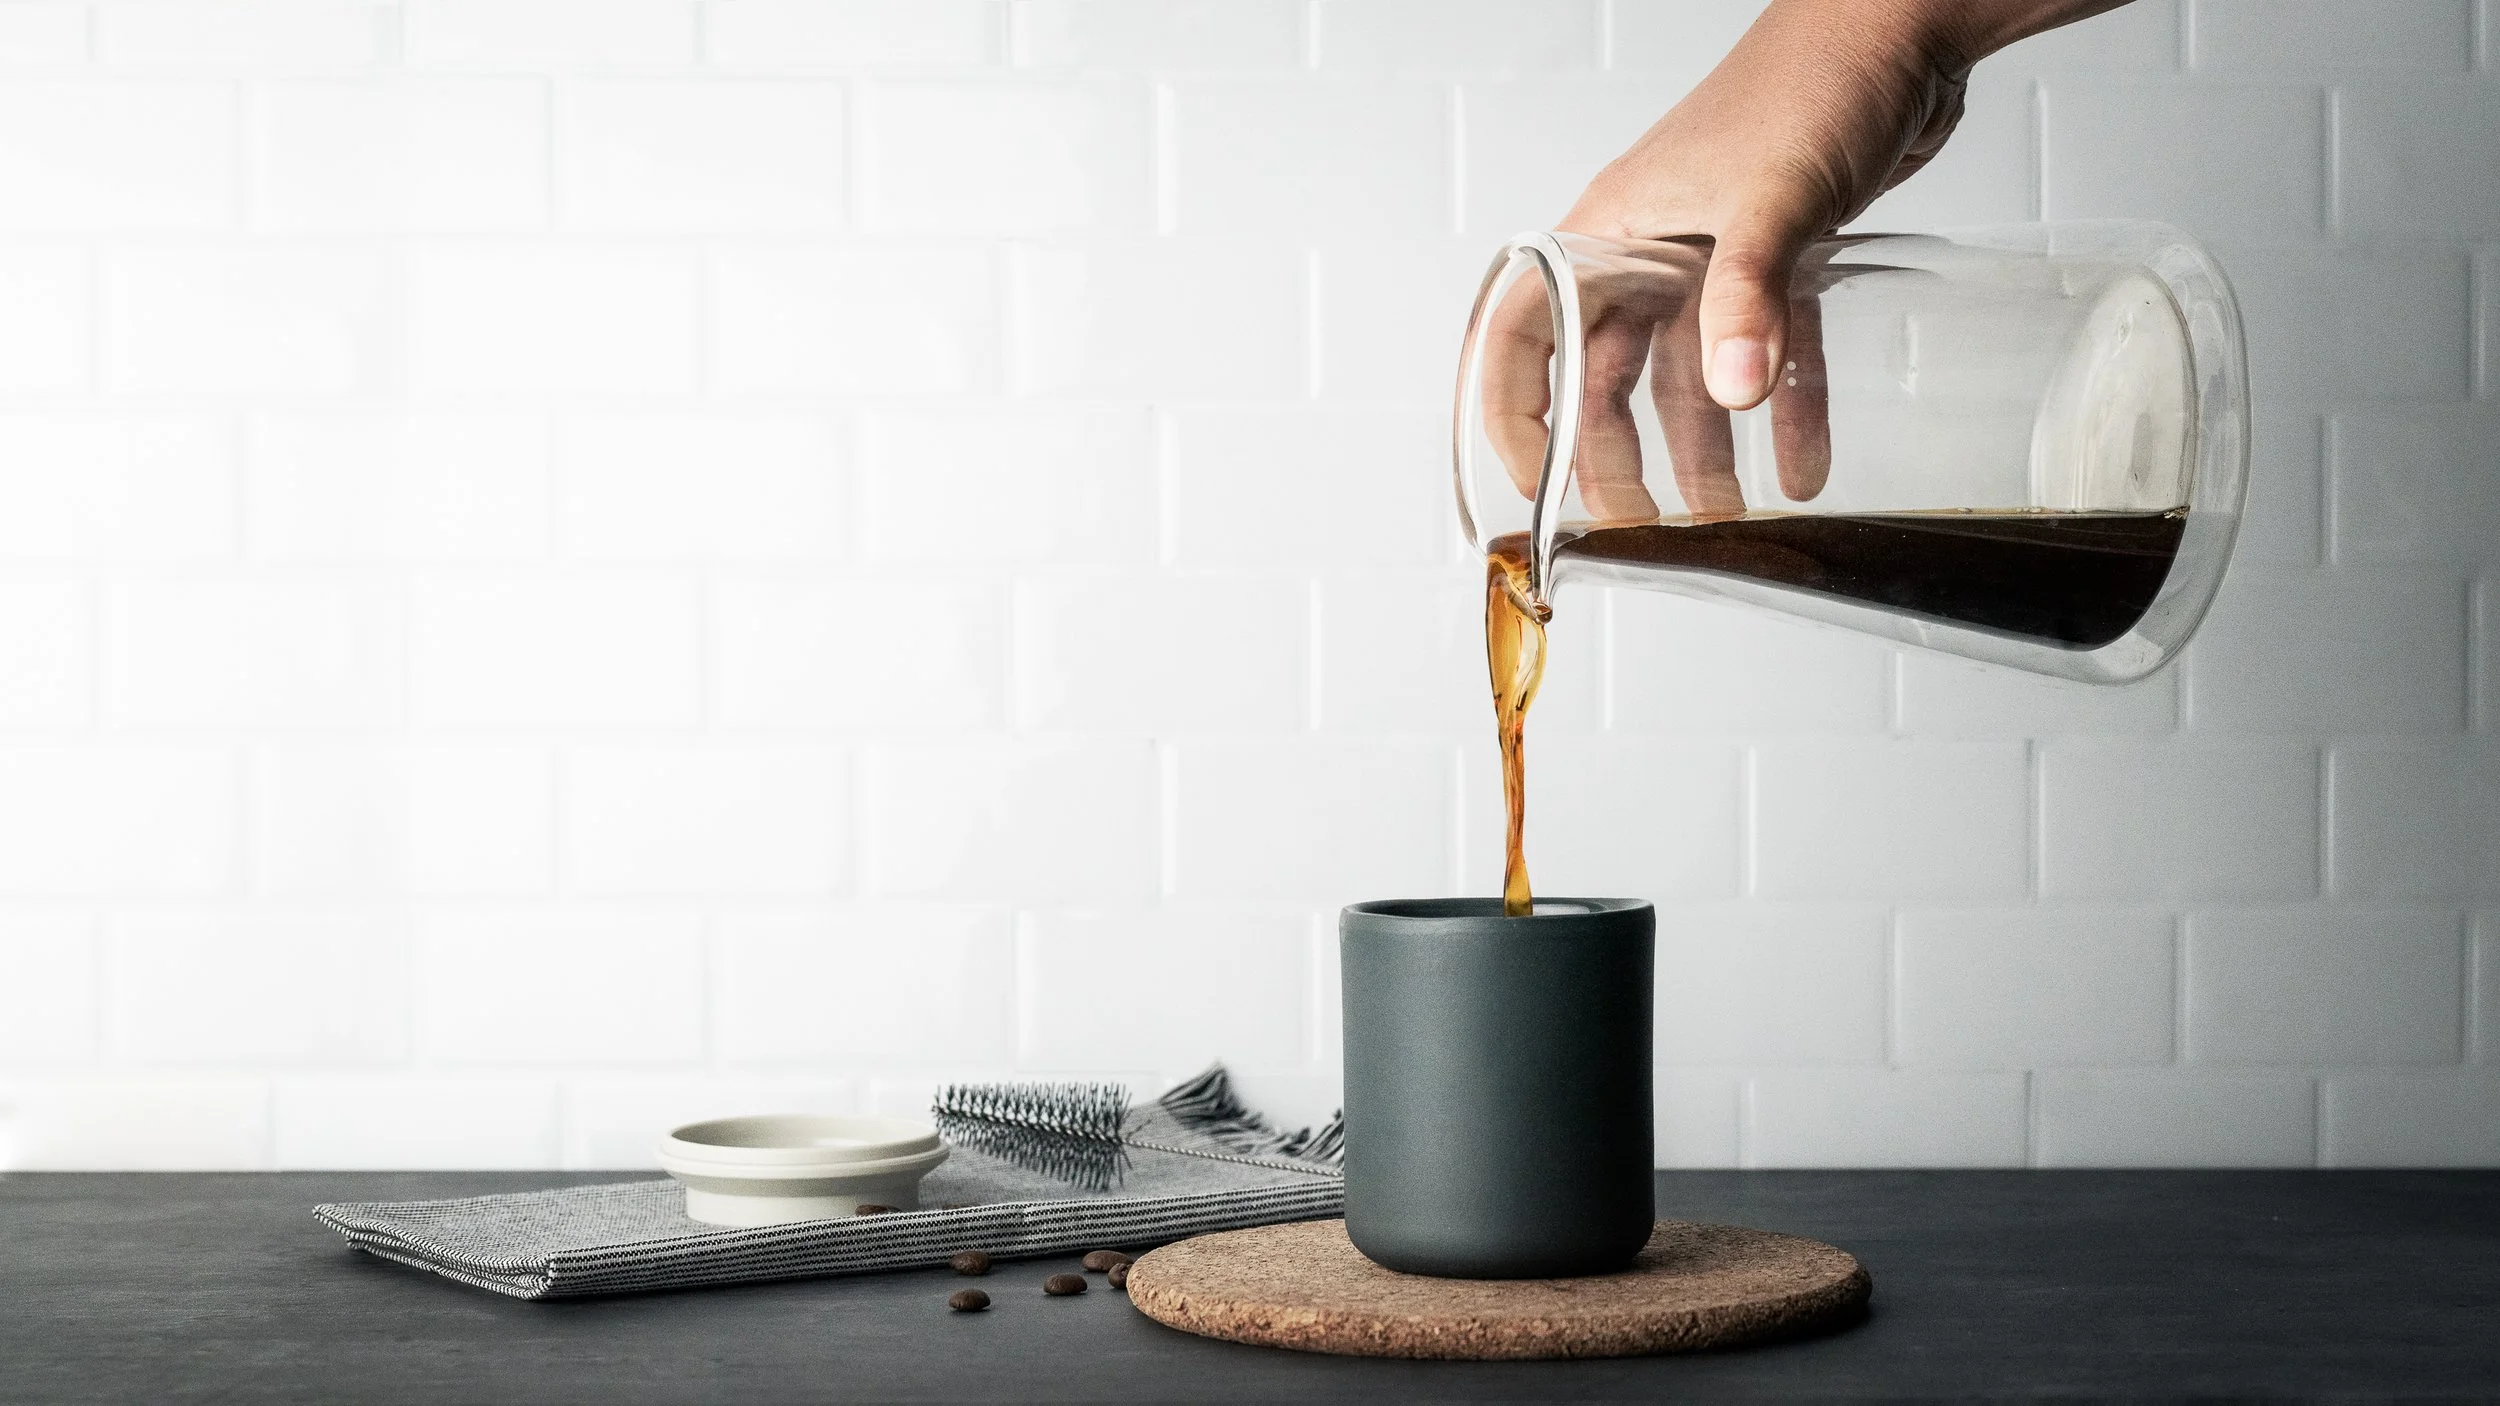
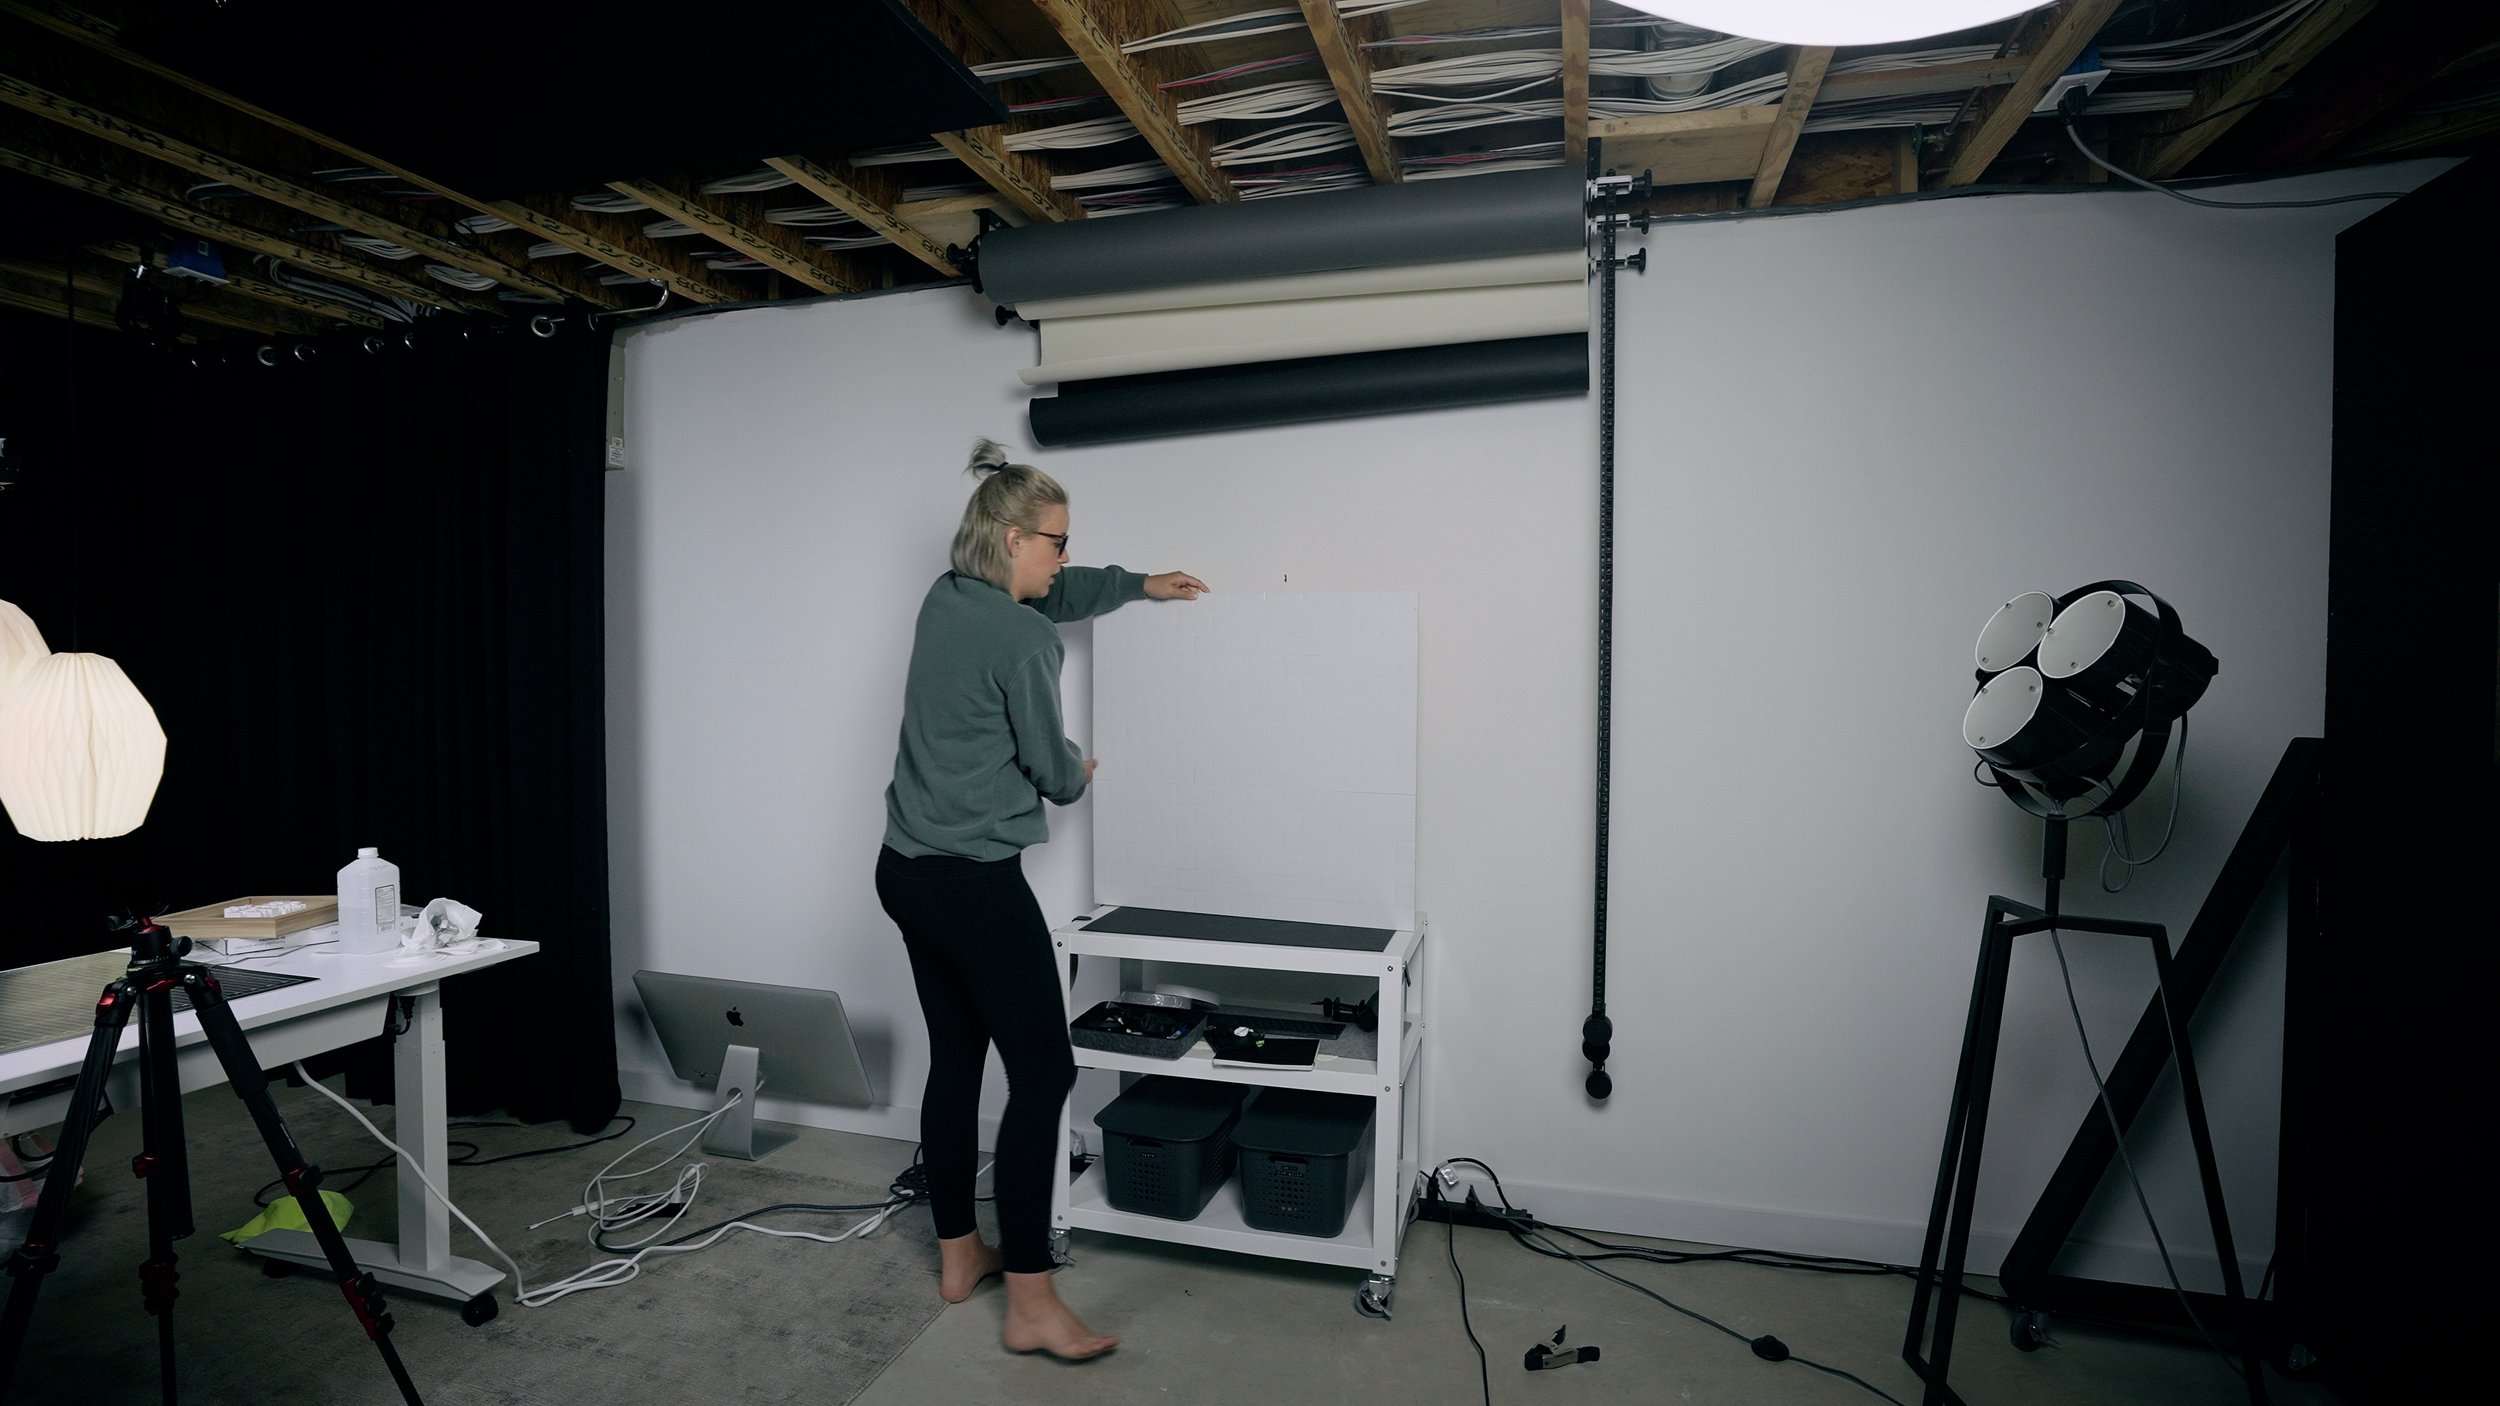
DIY Fake Kitchen Product Photography Set

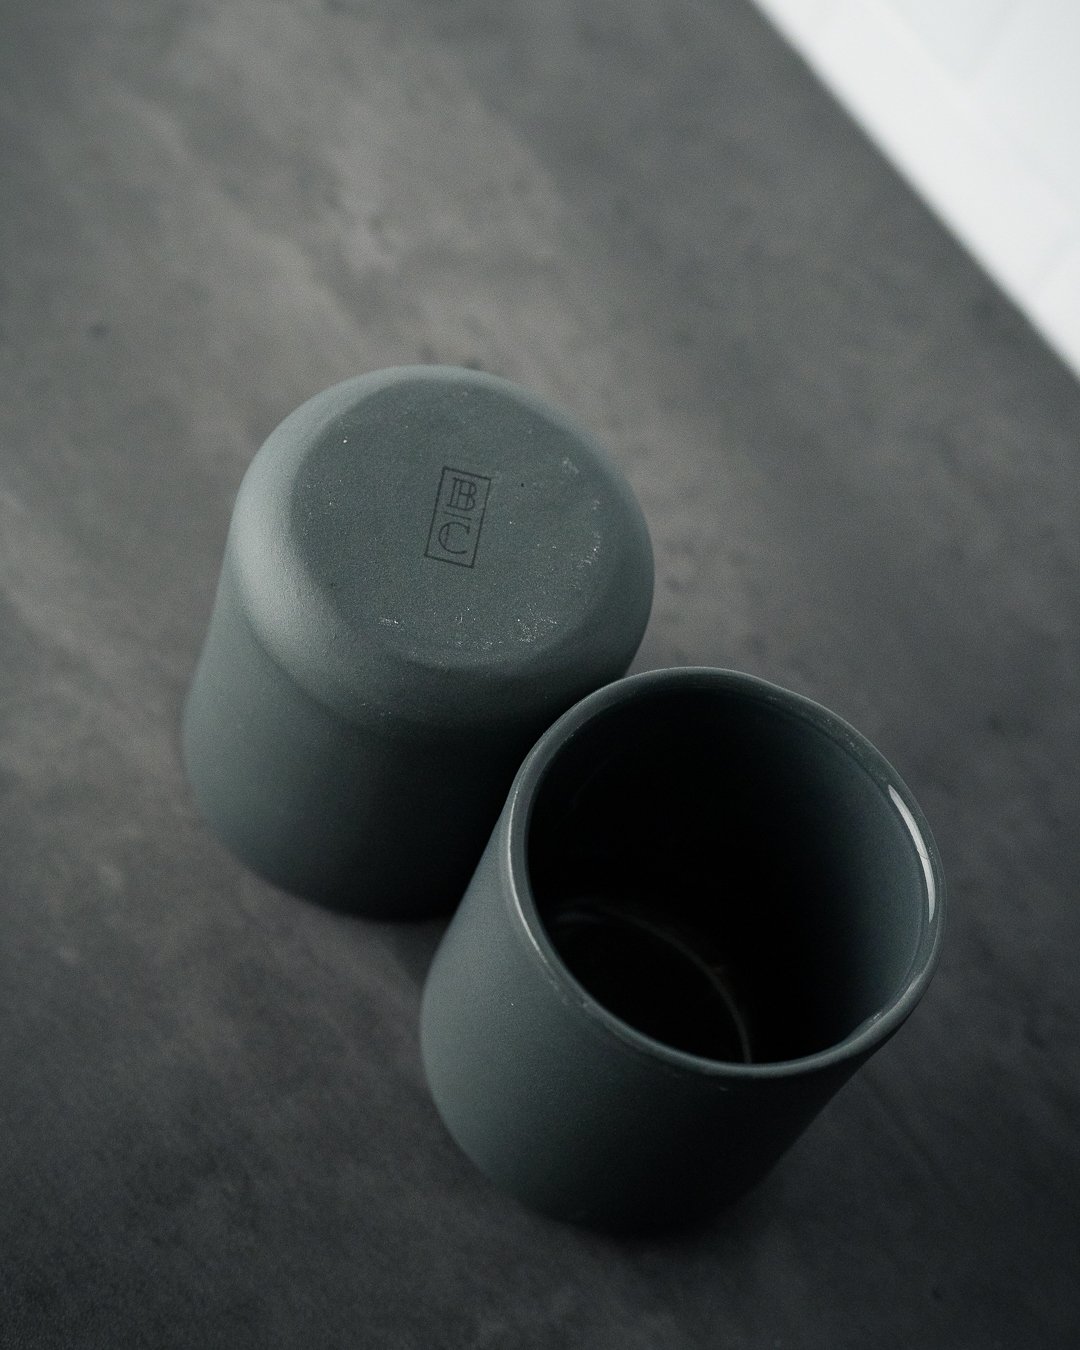
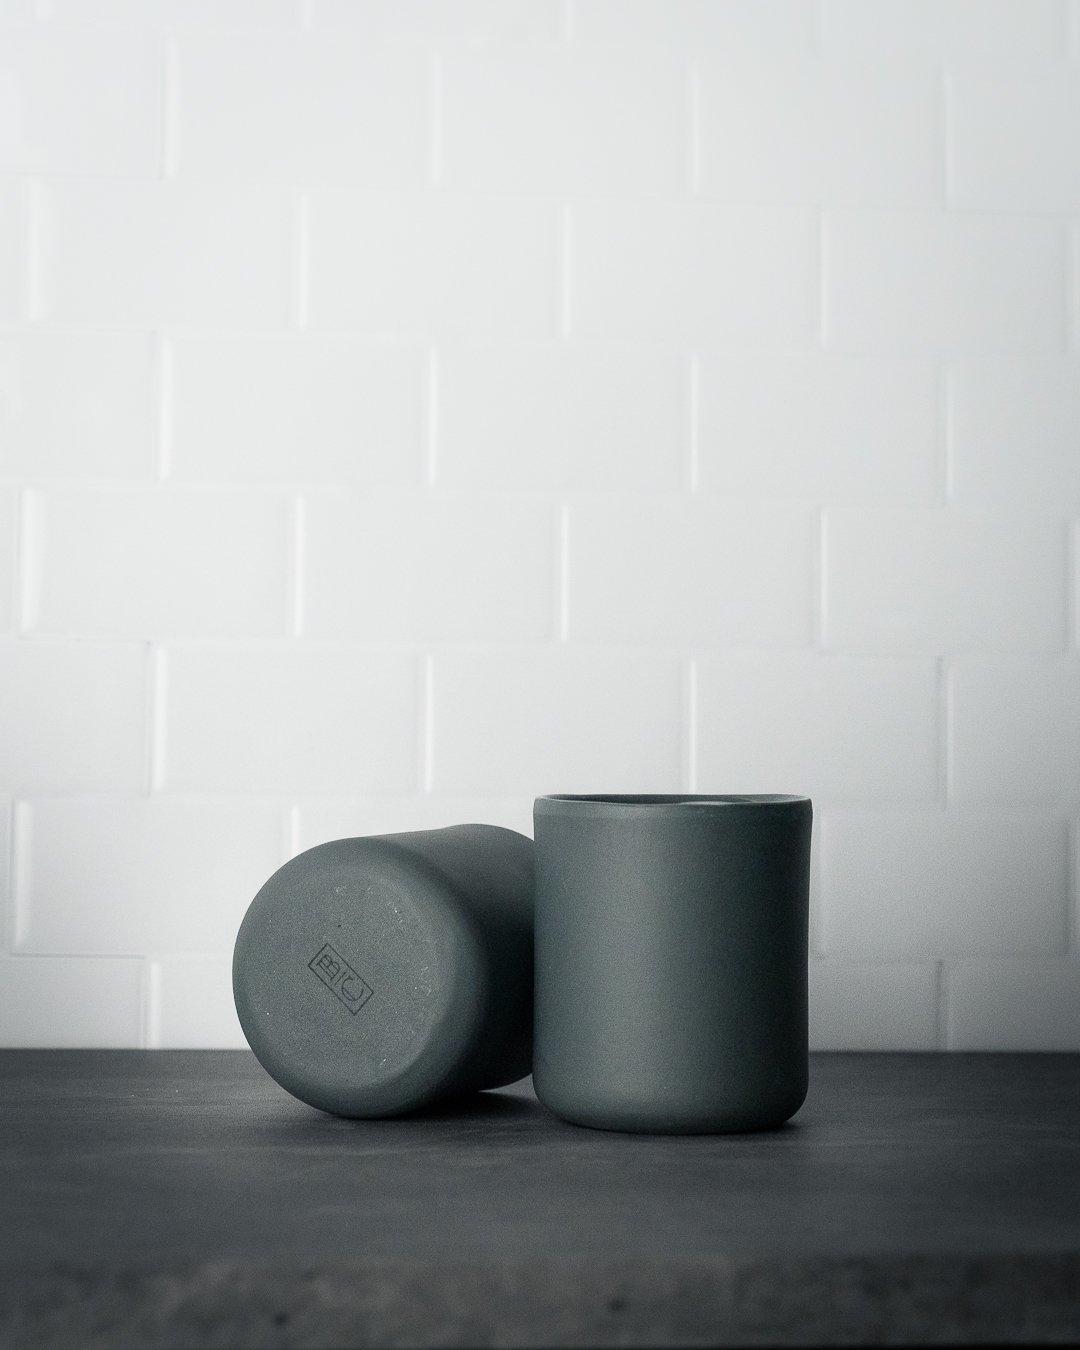
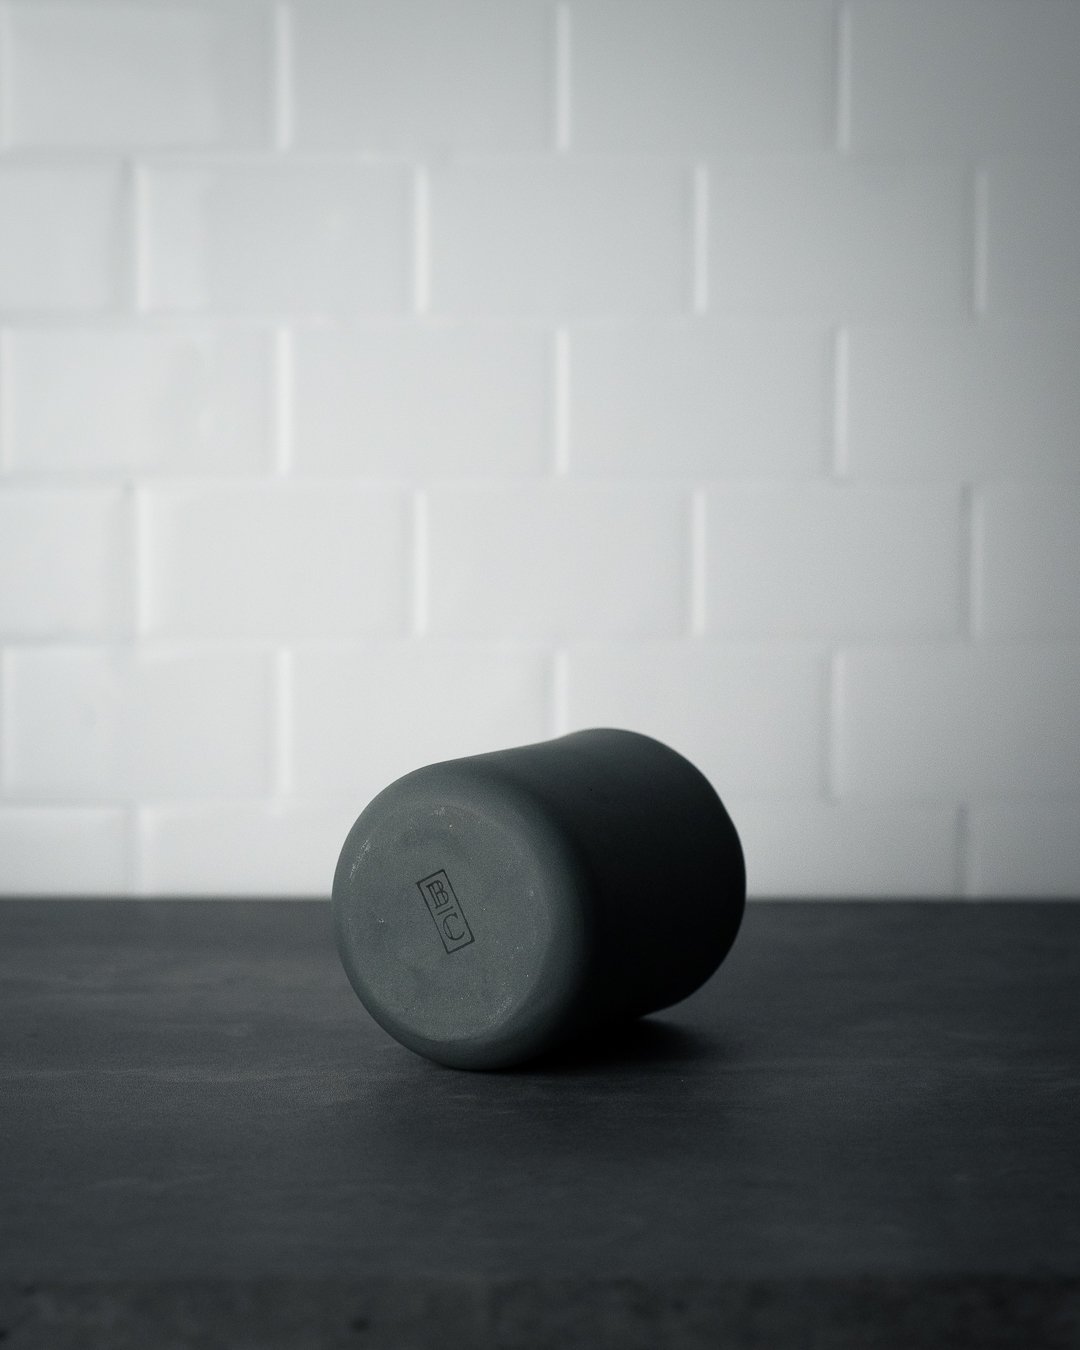
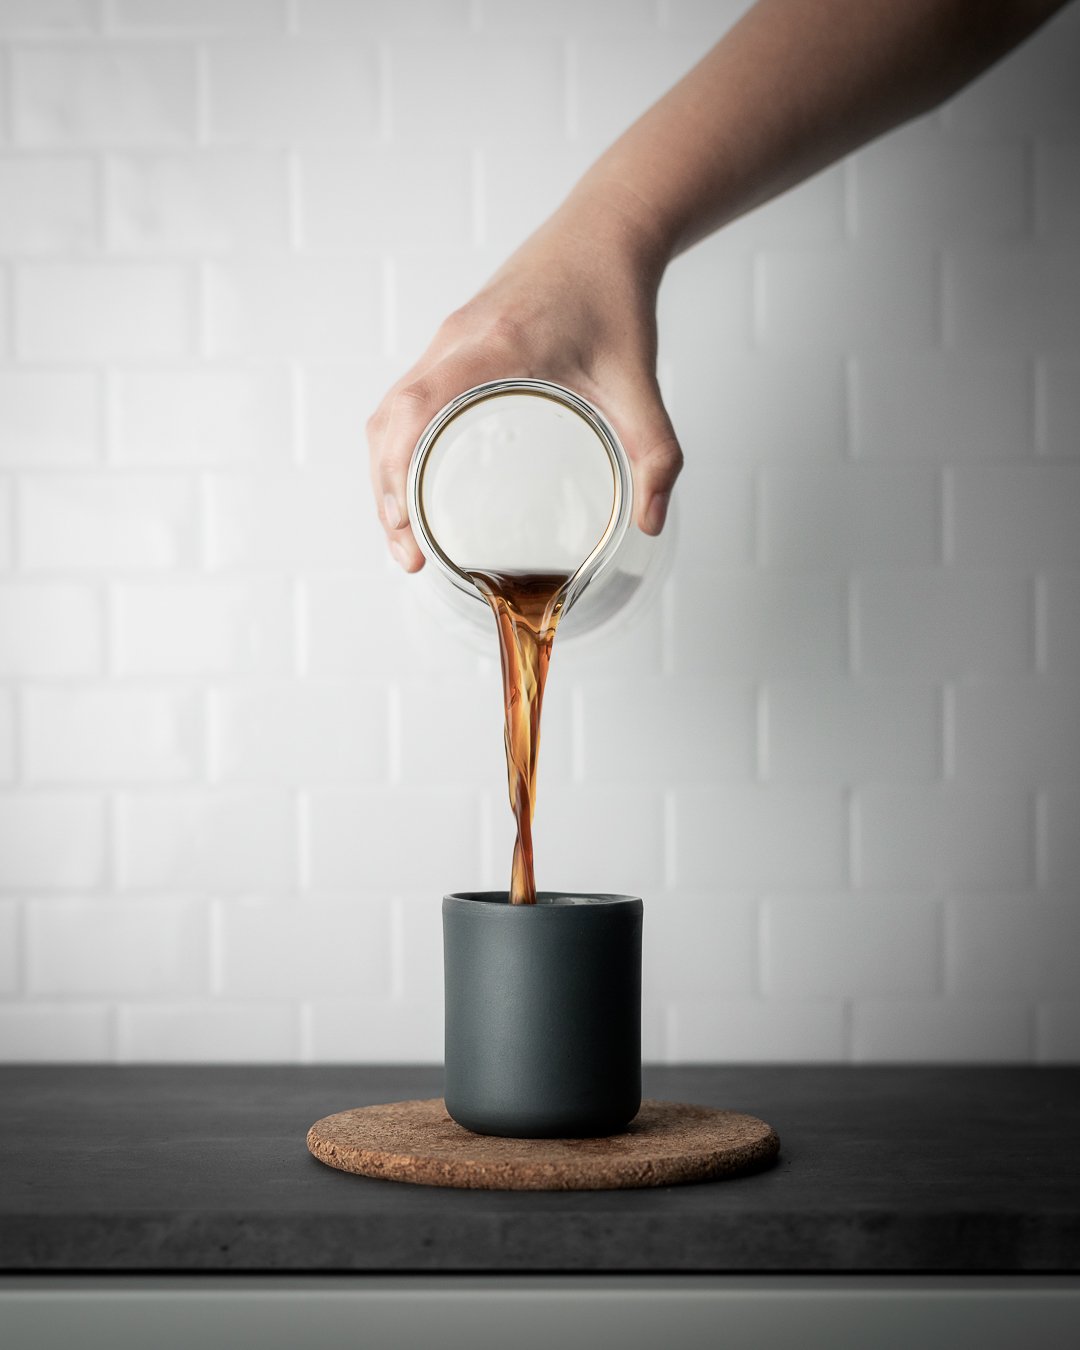
We just launched the third product in our home accessory line, Muggy! It’s an 8oz matte grey porcelain coffee cup, handmade in Michigan! We had to shoot some product photos for our new mug, but our kitchen hasn’t been renovated yet and doesn’t quite match the aesthetic we were going for. So we build out a fake kitchen in our studio with garage scraps, contact paper, and peel and stick tiles!
Watch us build this out here:
Check out out Muggy here:
Disclosure: This post contains affiliate links.
By purchasing through our affiliate links, you are directly supporting our blog and us as creators! So thank you!
Products We Used
Particle board shelf with edge banding
(size of your choice)
1/4” plywood
(size of your choice, make sure it’s tall enough for portrait images)
Paint
Peel and Stick Tile
(I do not recommend these, was not happy with the results for in home use)
Exacto Knife
Vinyl squeegee
(credit card or gift card will work)
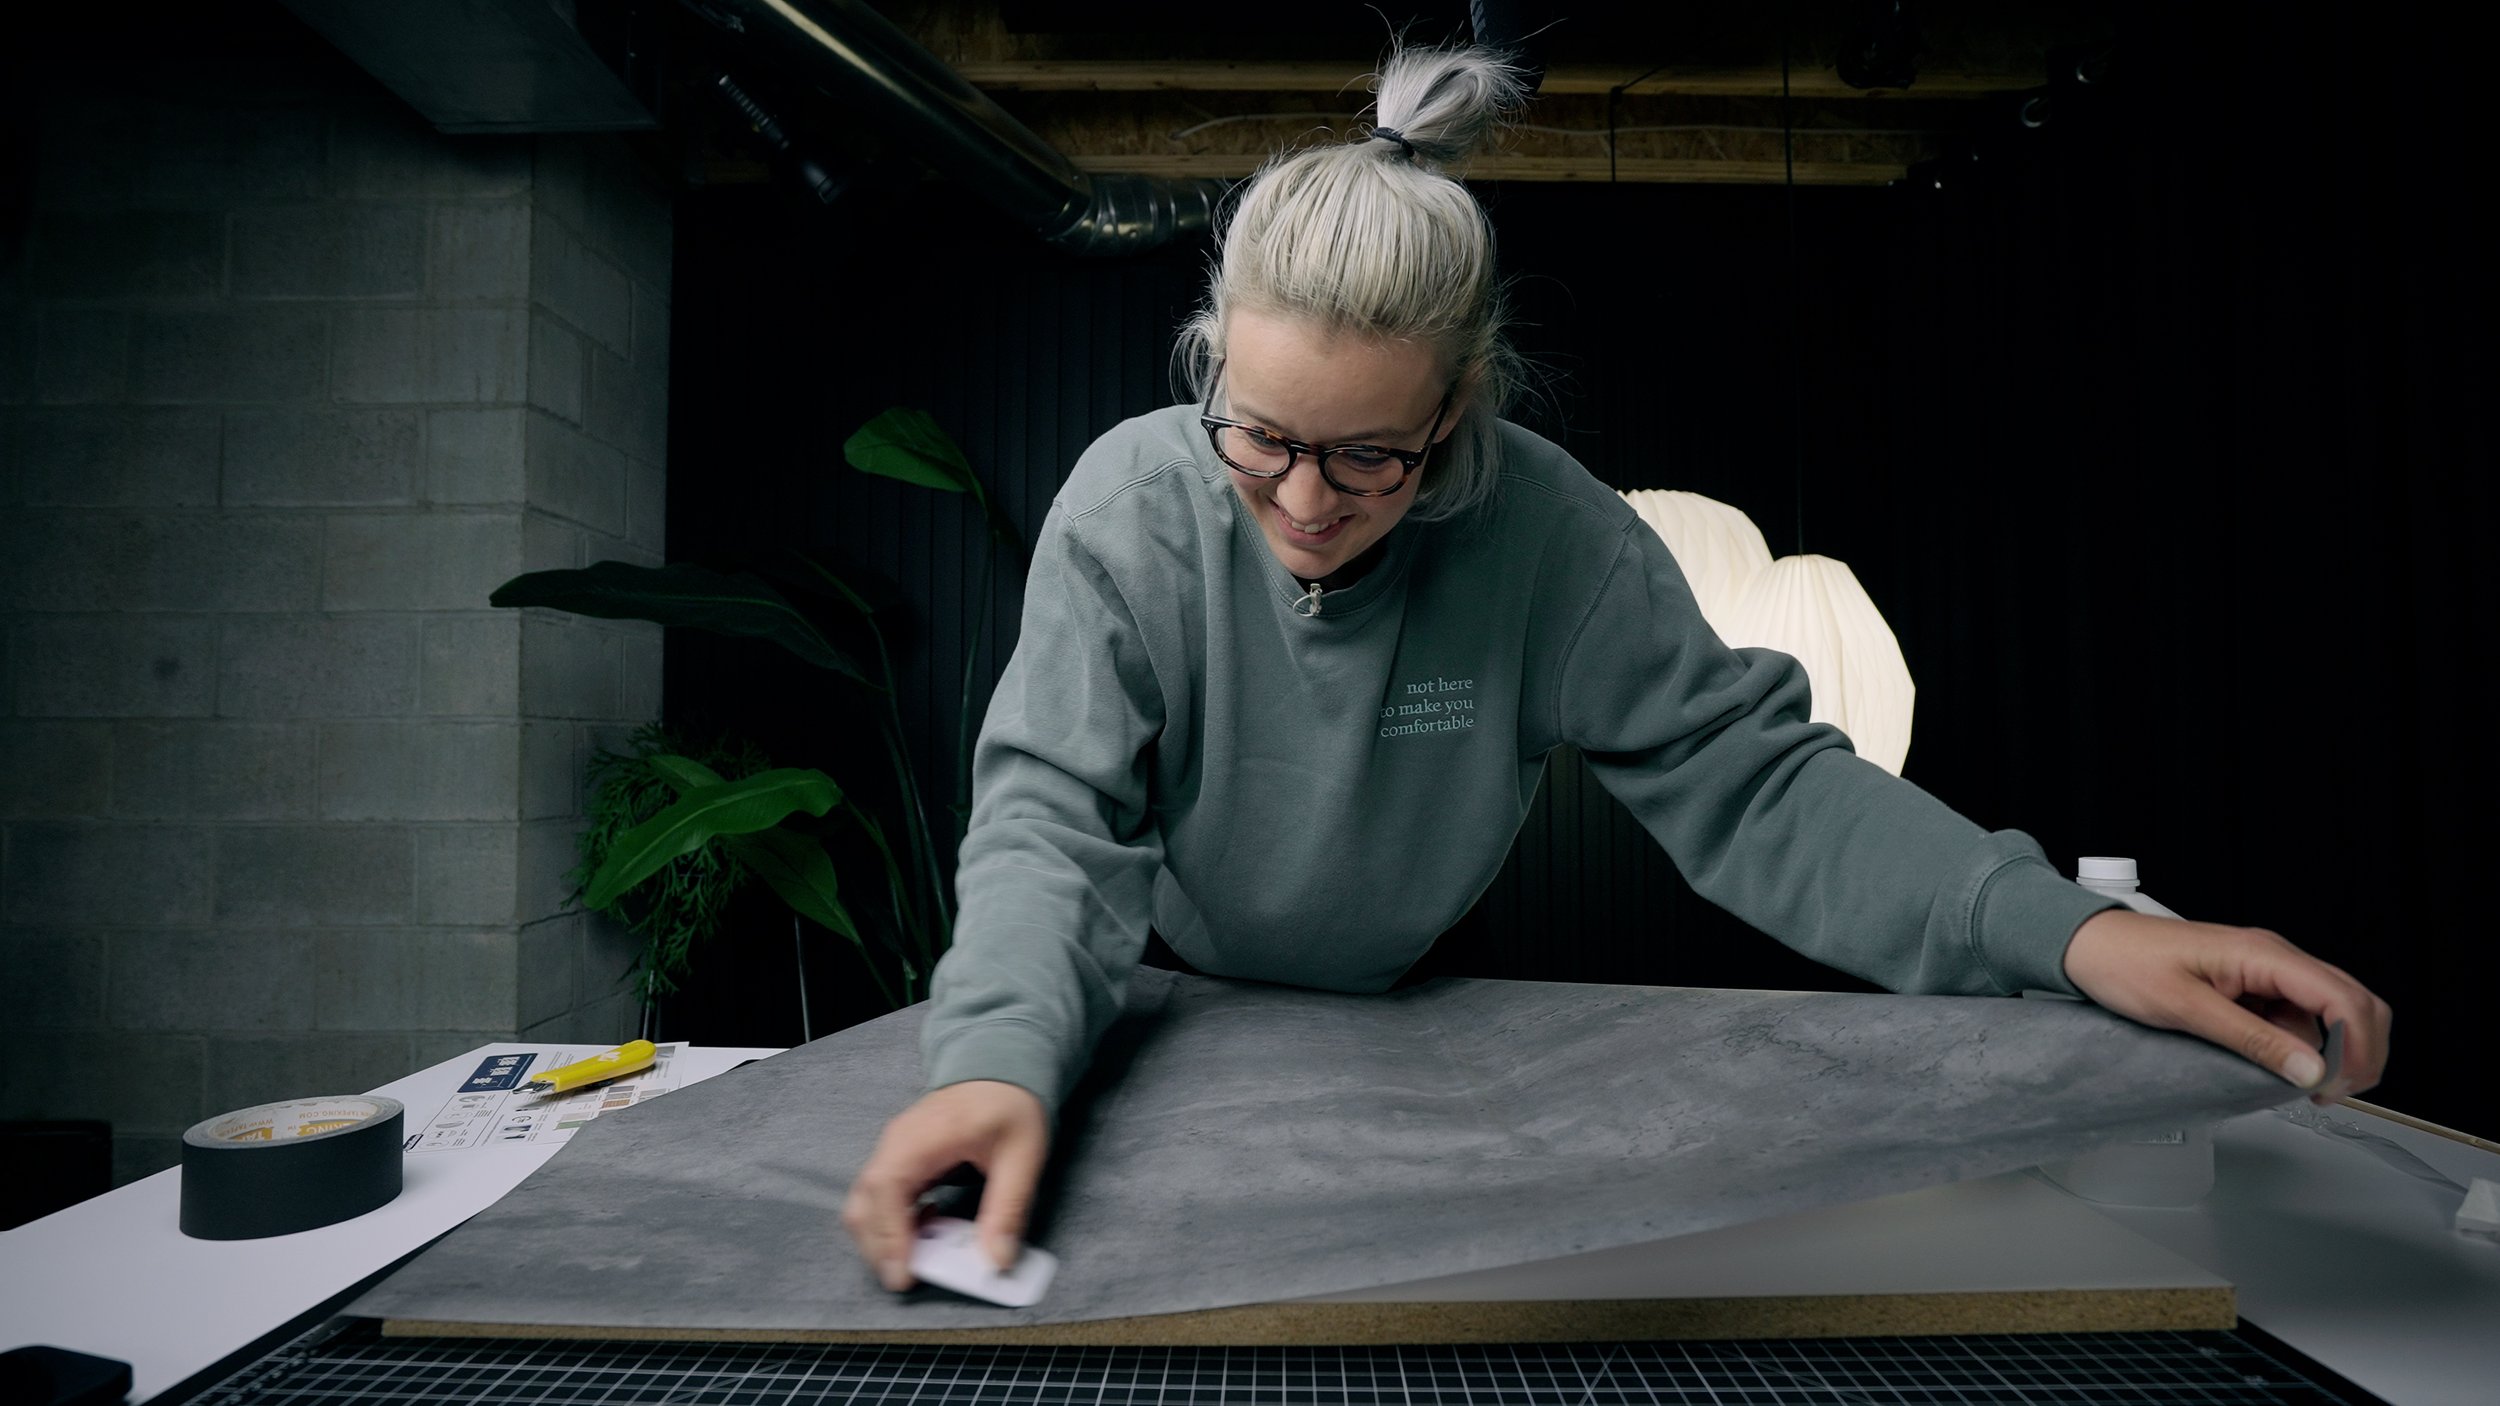
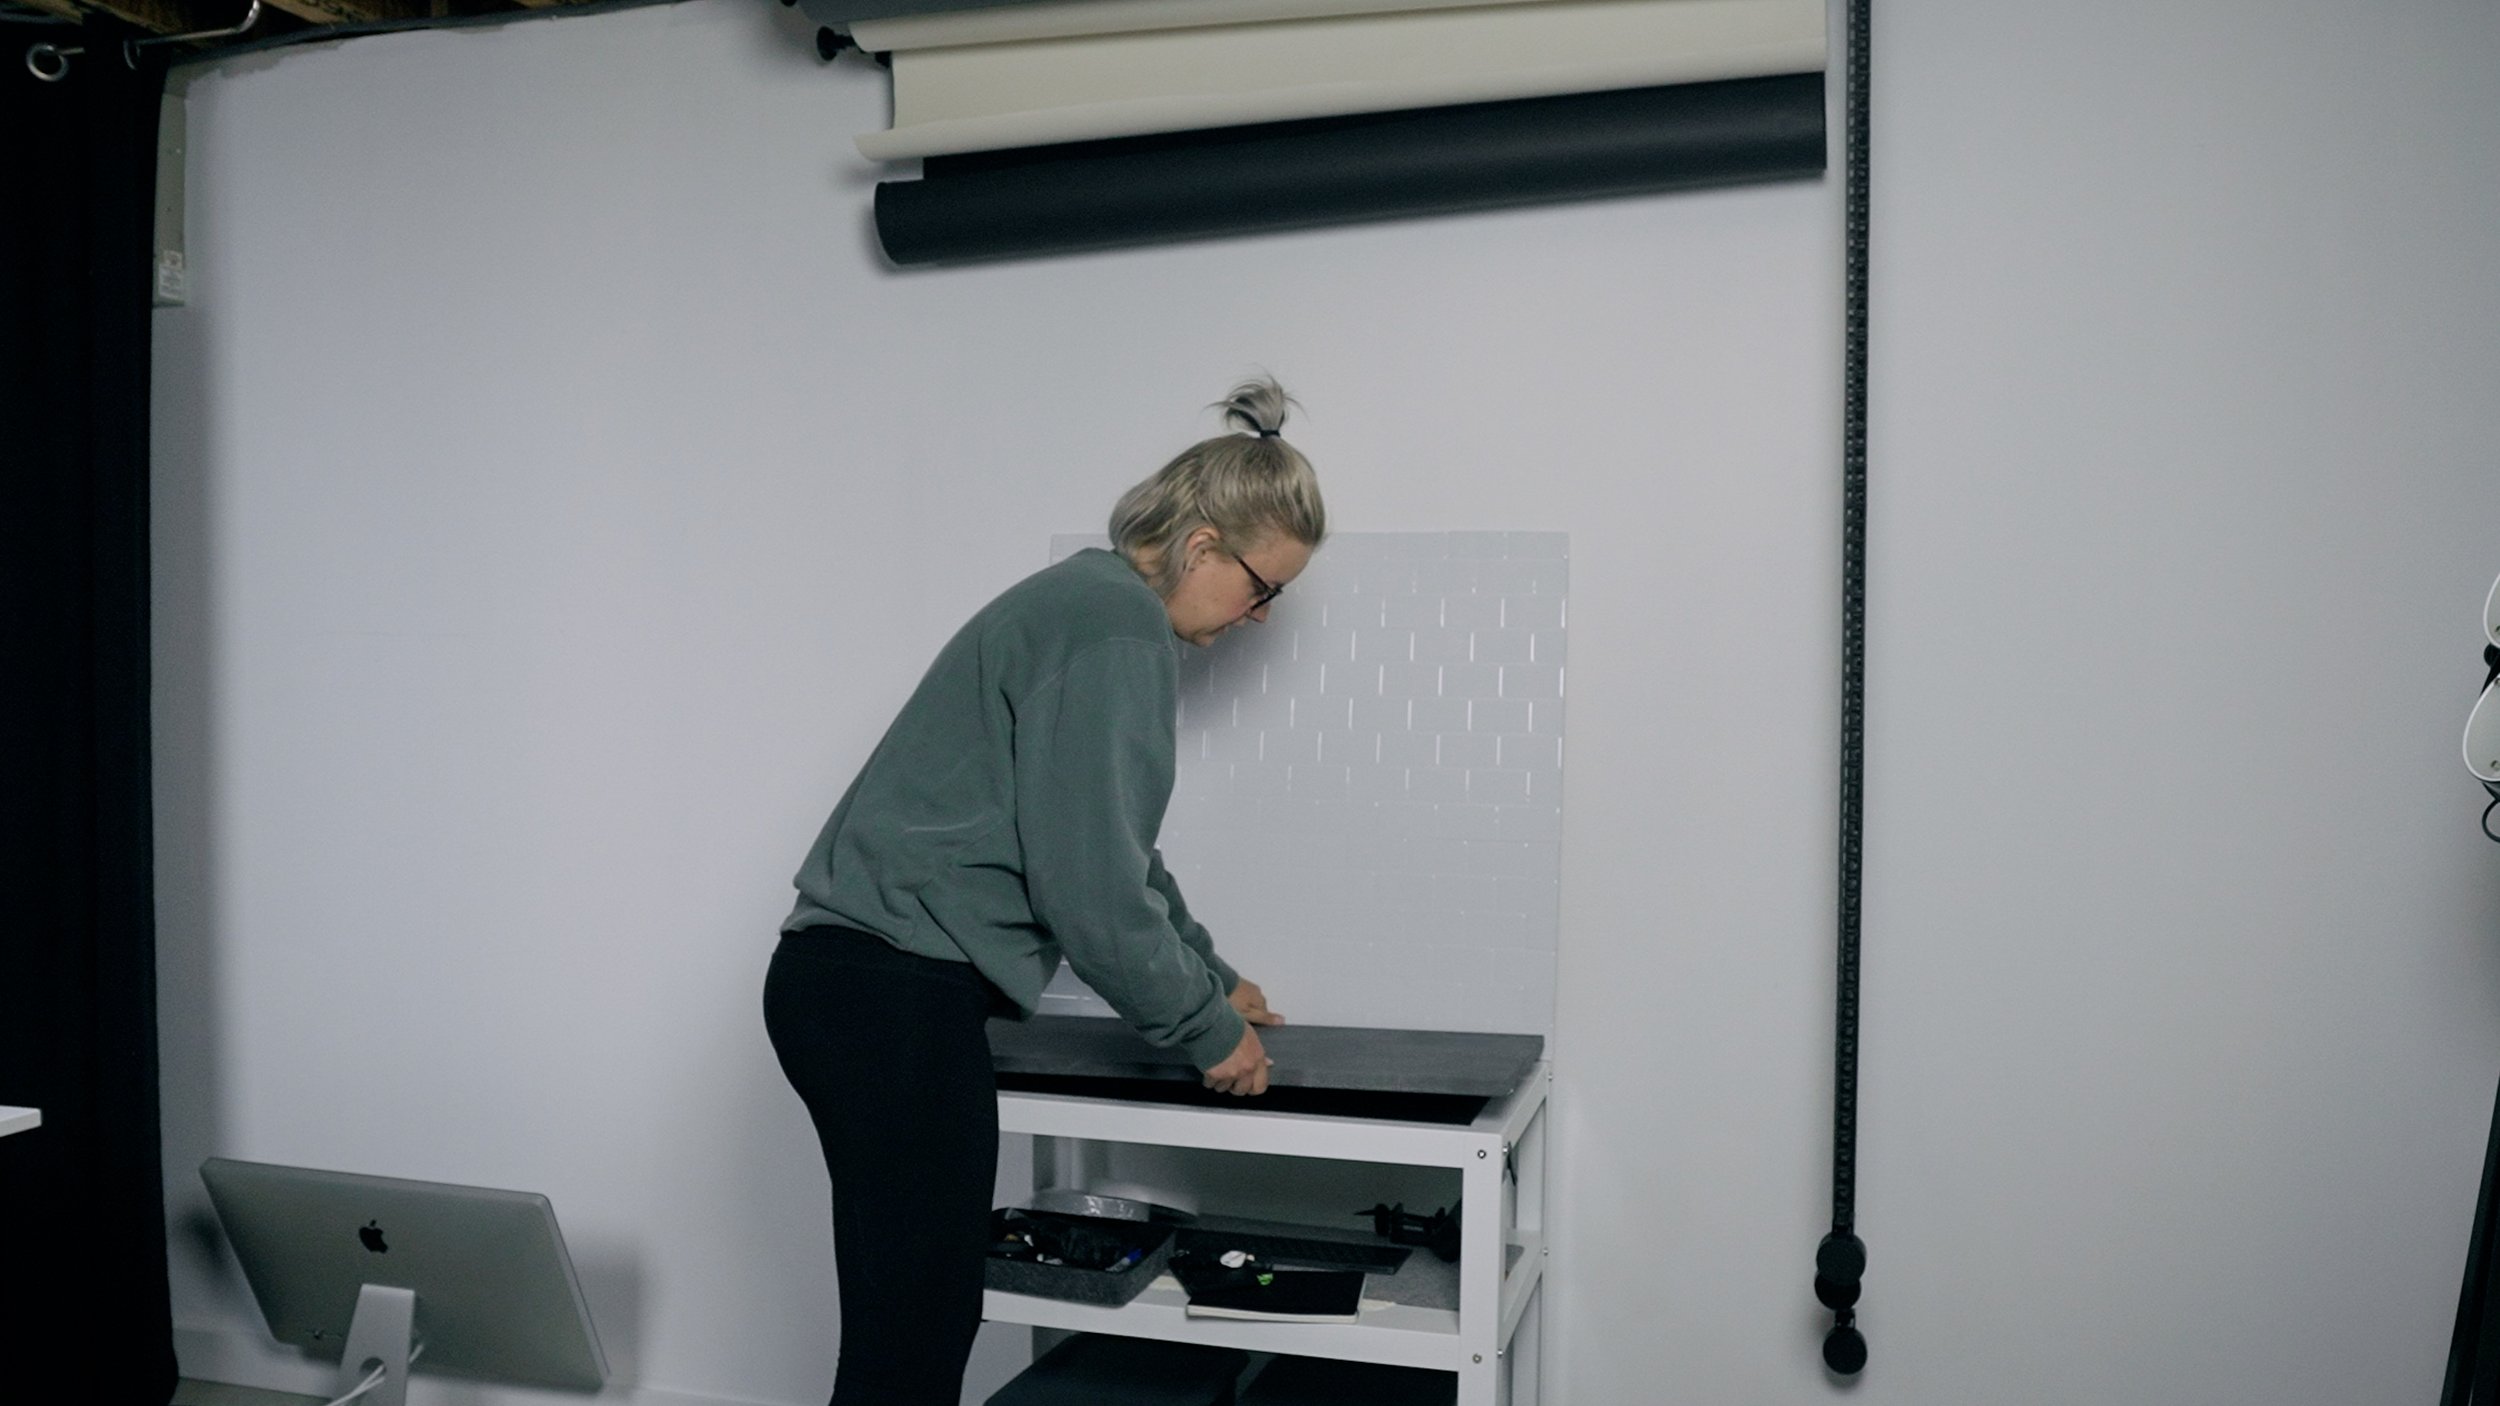
The Countertop
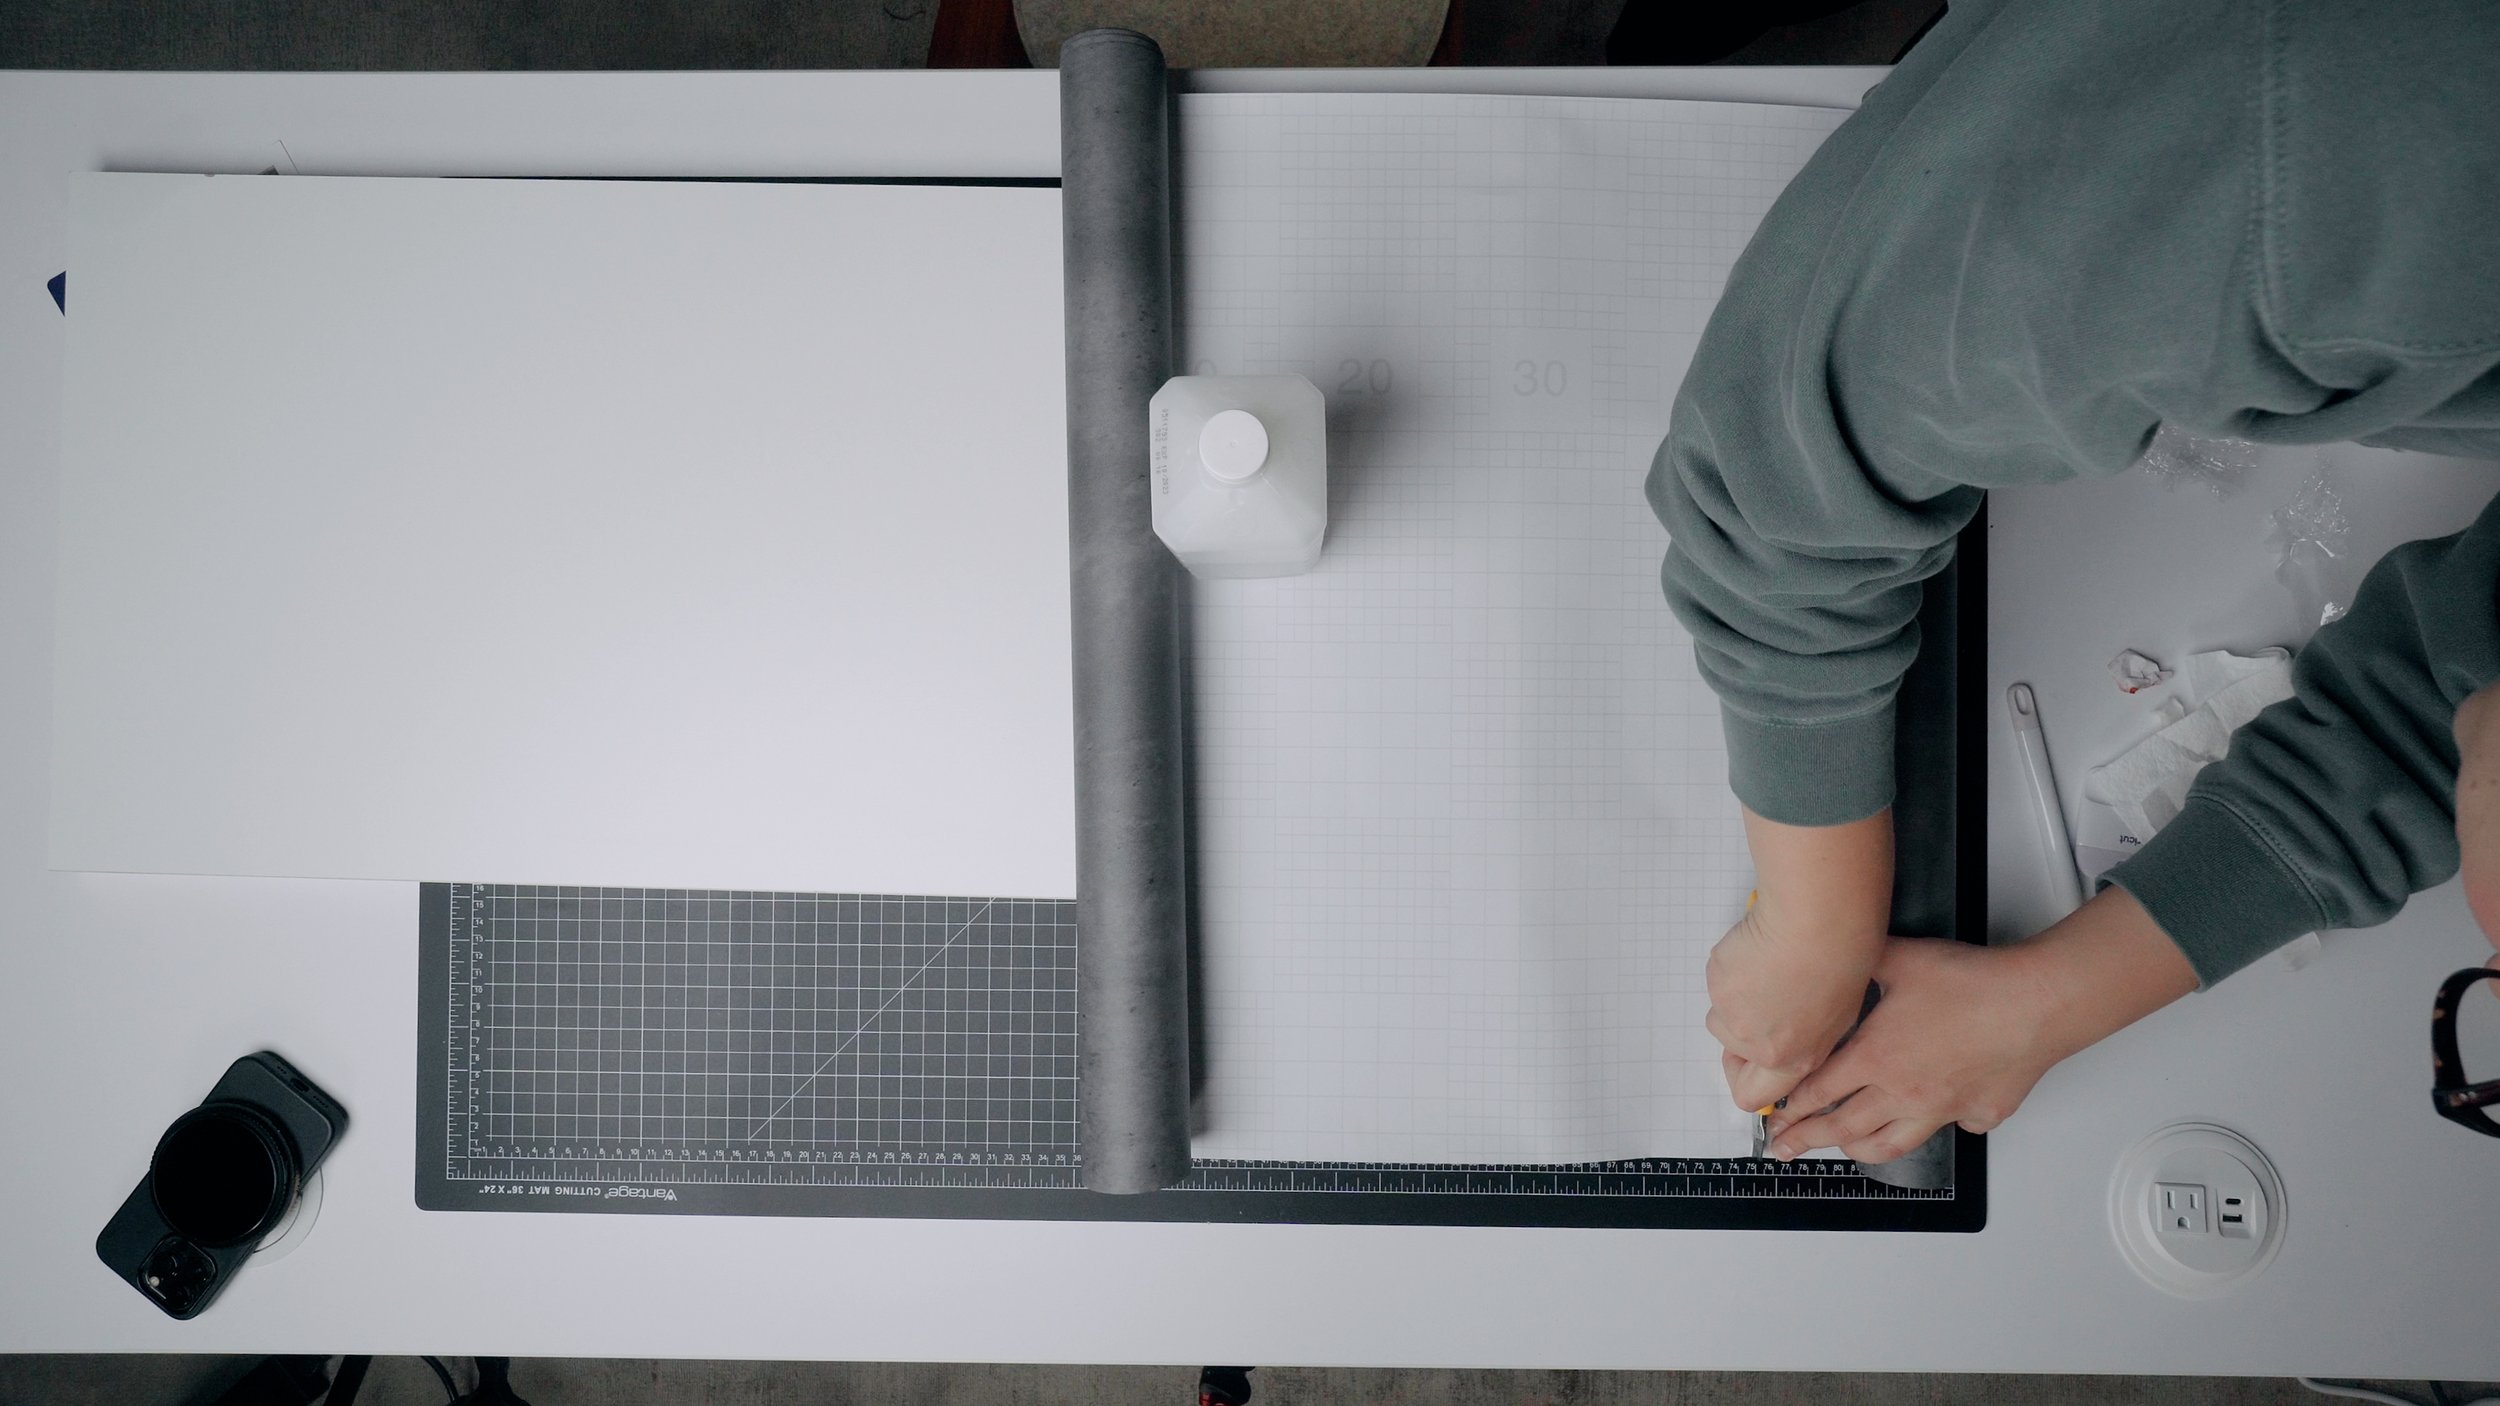
For my countertop I used a piece of melamine shelving I found in our garage and covered that with peel and stick contact paper with a concrete look. Keep in mind that in order for the contact paper to stick to the edges of your base, you MUST have edge banding along the side. If it’s raw, exposed particle board the paper will not stick. You can get iron on edge banding at the hardware store.
A few tips here:
Measure and cut your contact paper before you start. Make sure you leave enough overhang for the finished edge and sides.
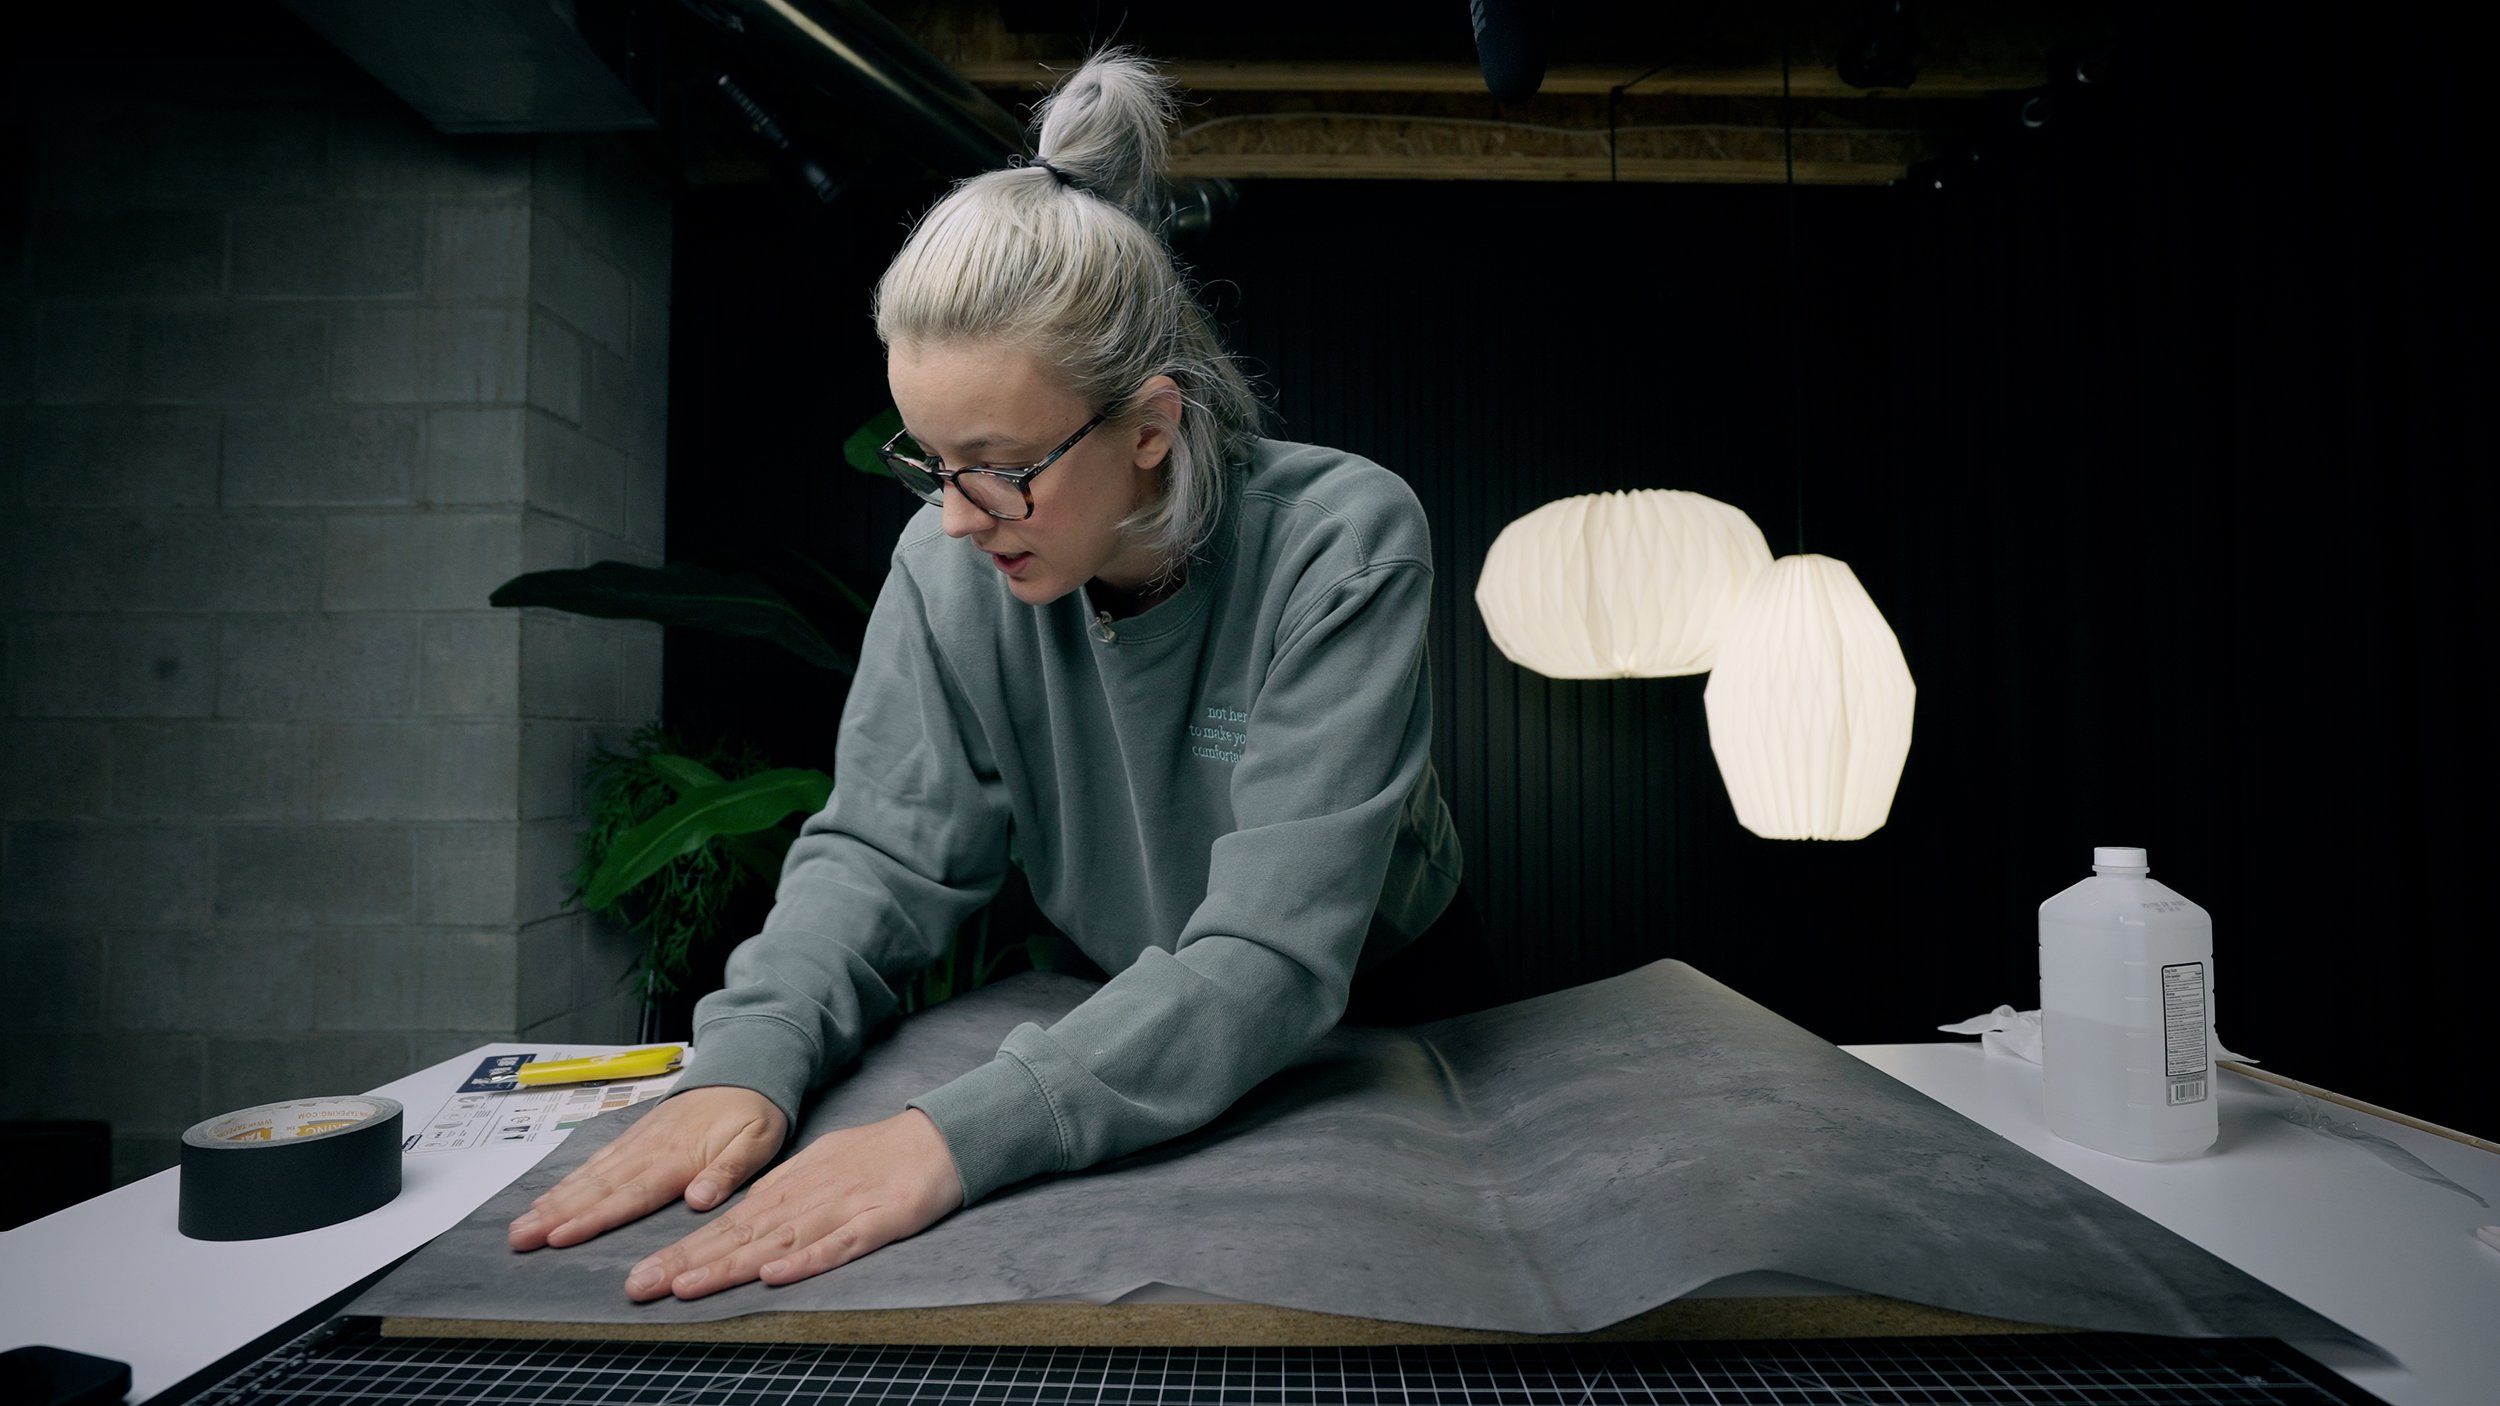
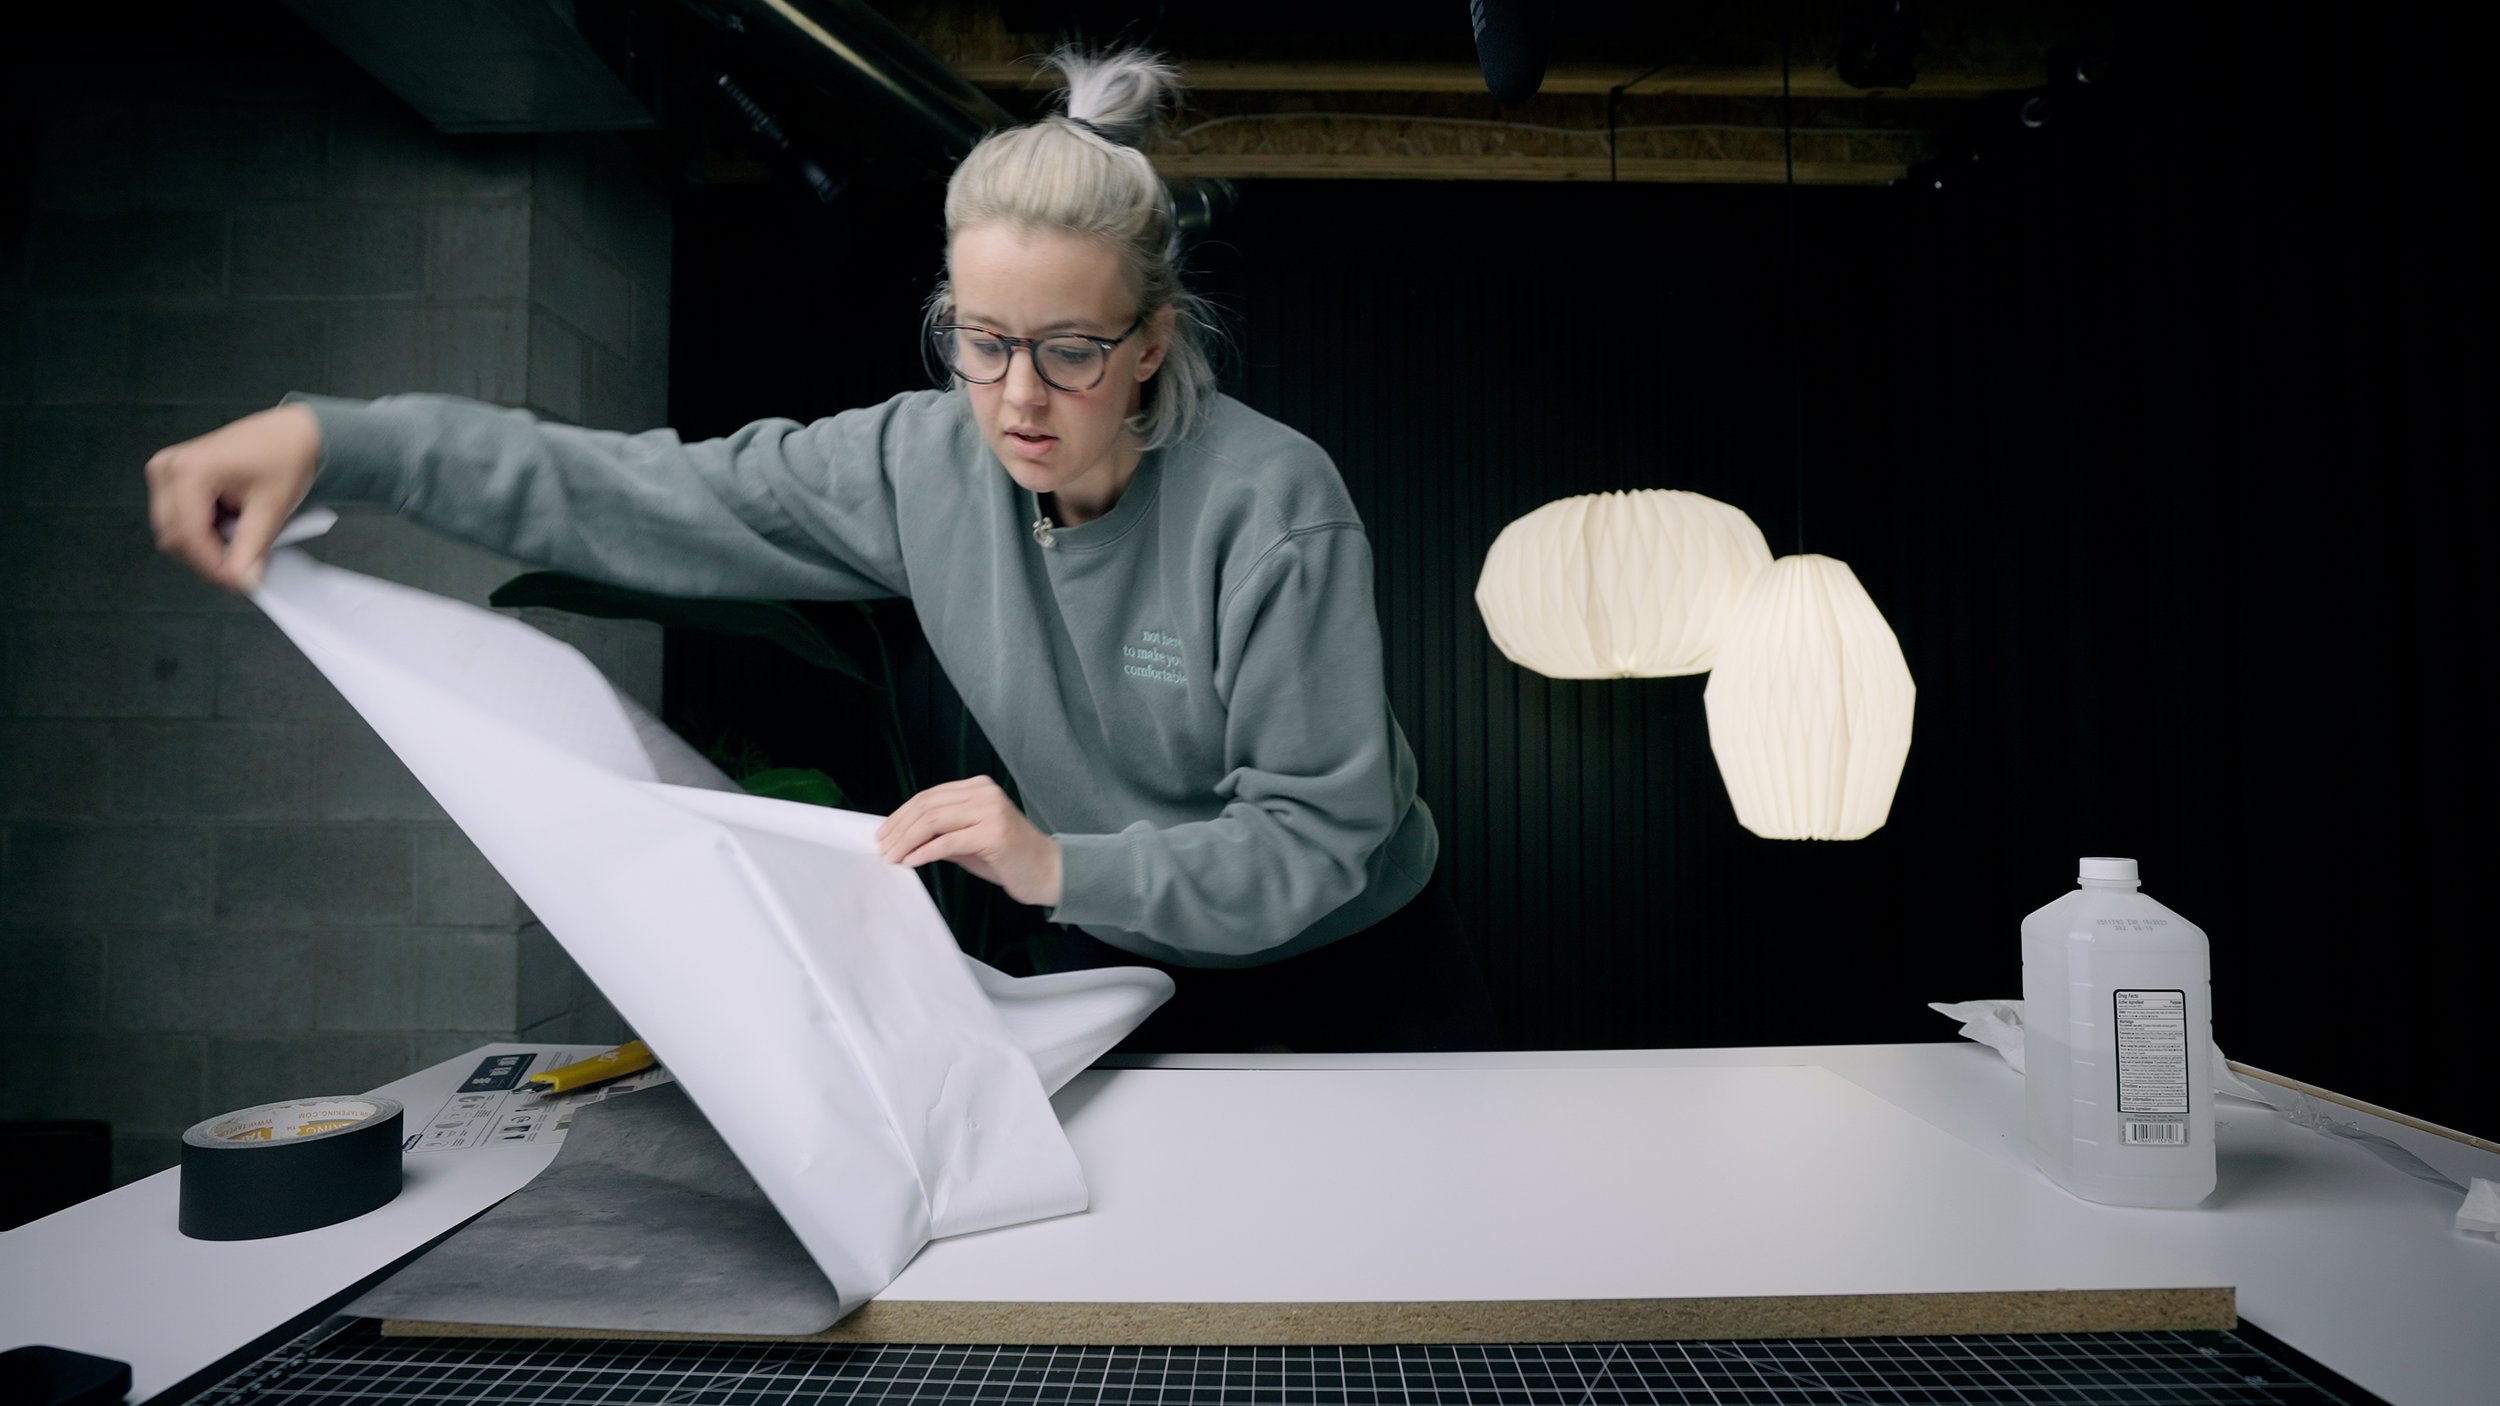
Don’t peel the backing off all at once. Start by removing one edge, peel the backing down a few inches and stick one side on while working your way to the other side being careful the paper doesn’t stick together.
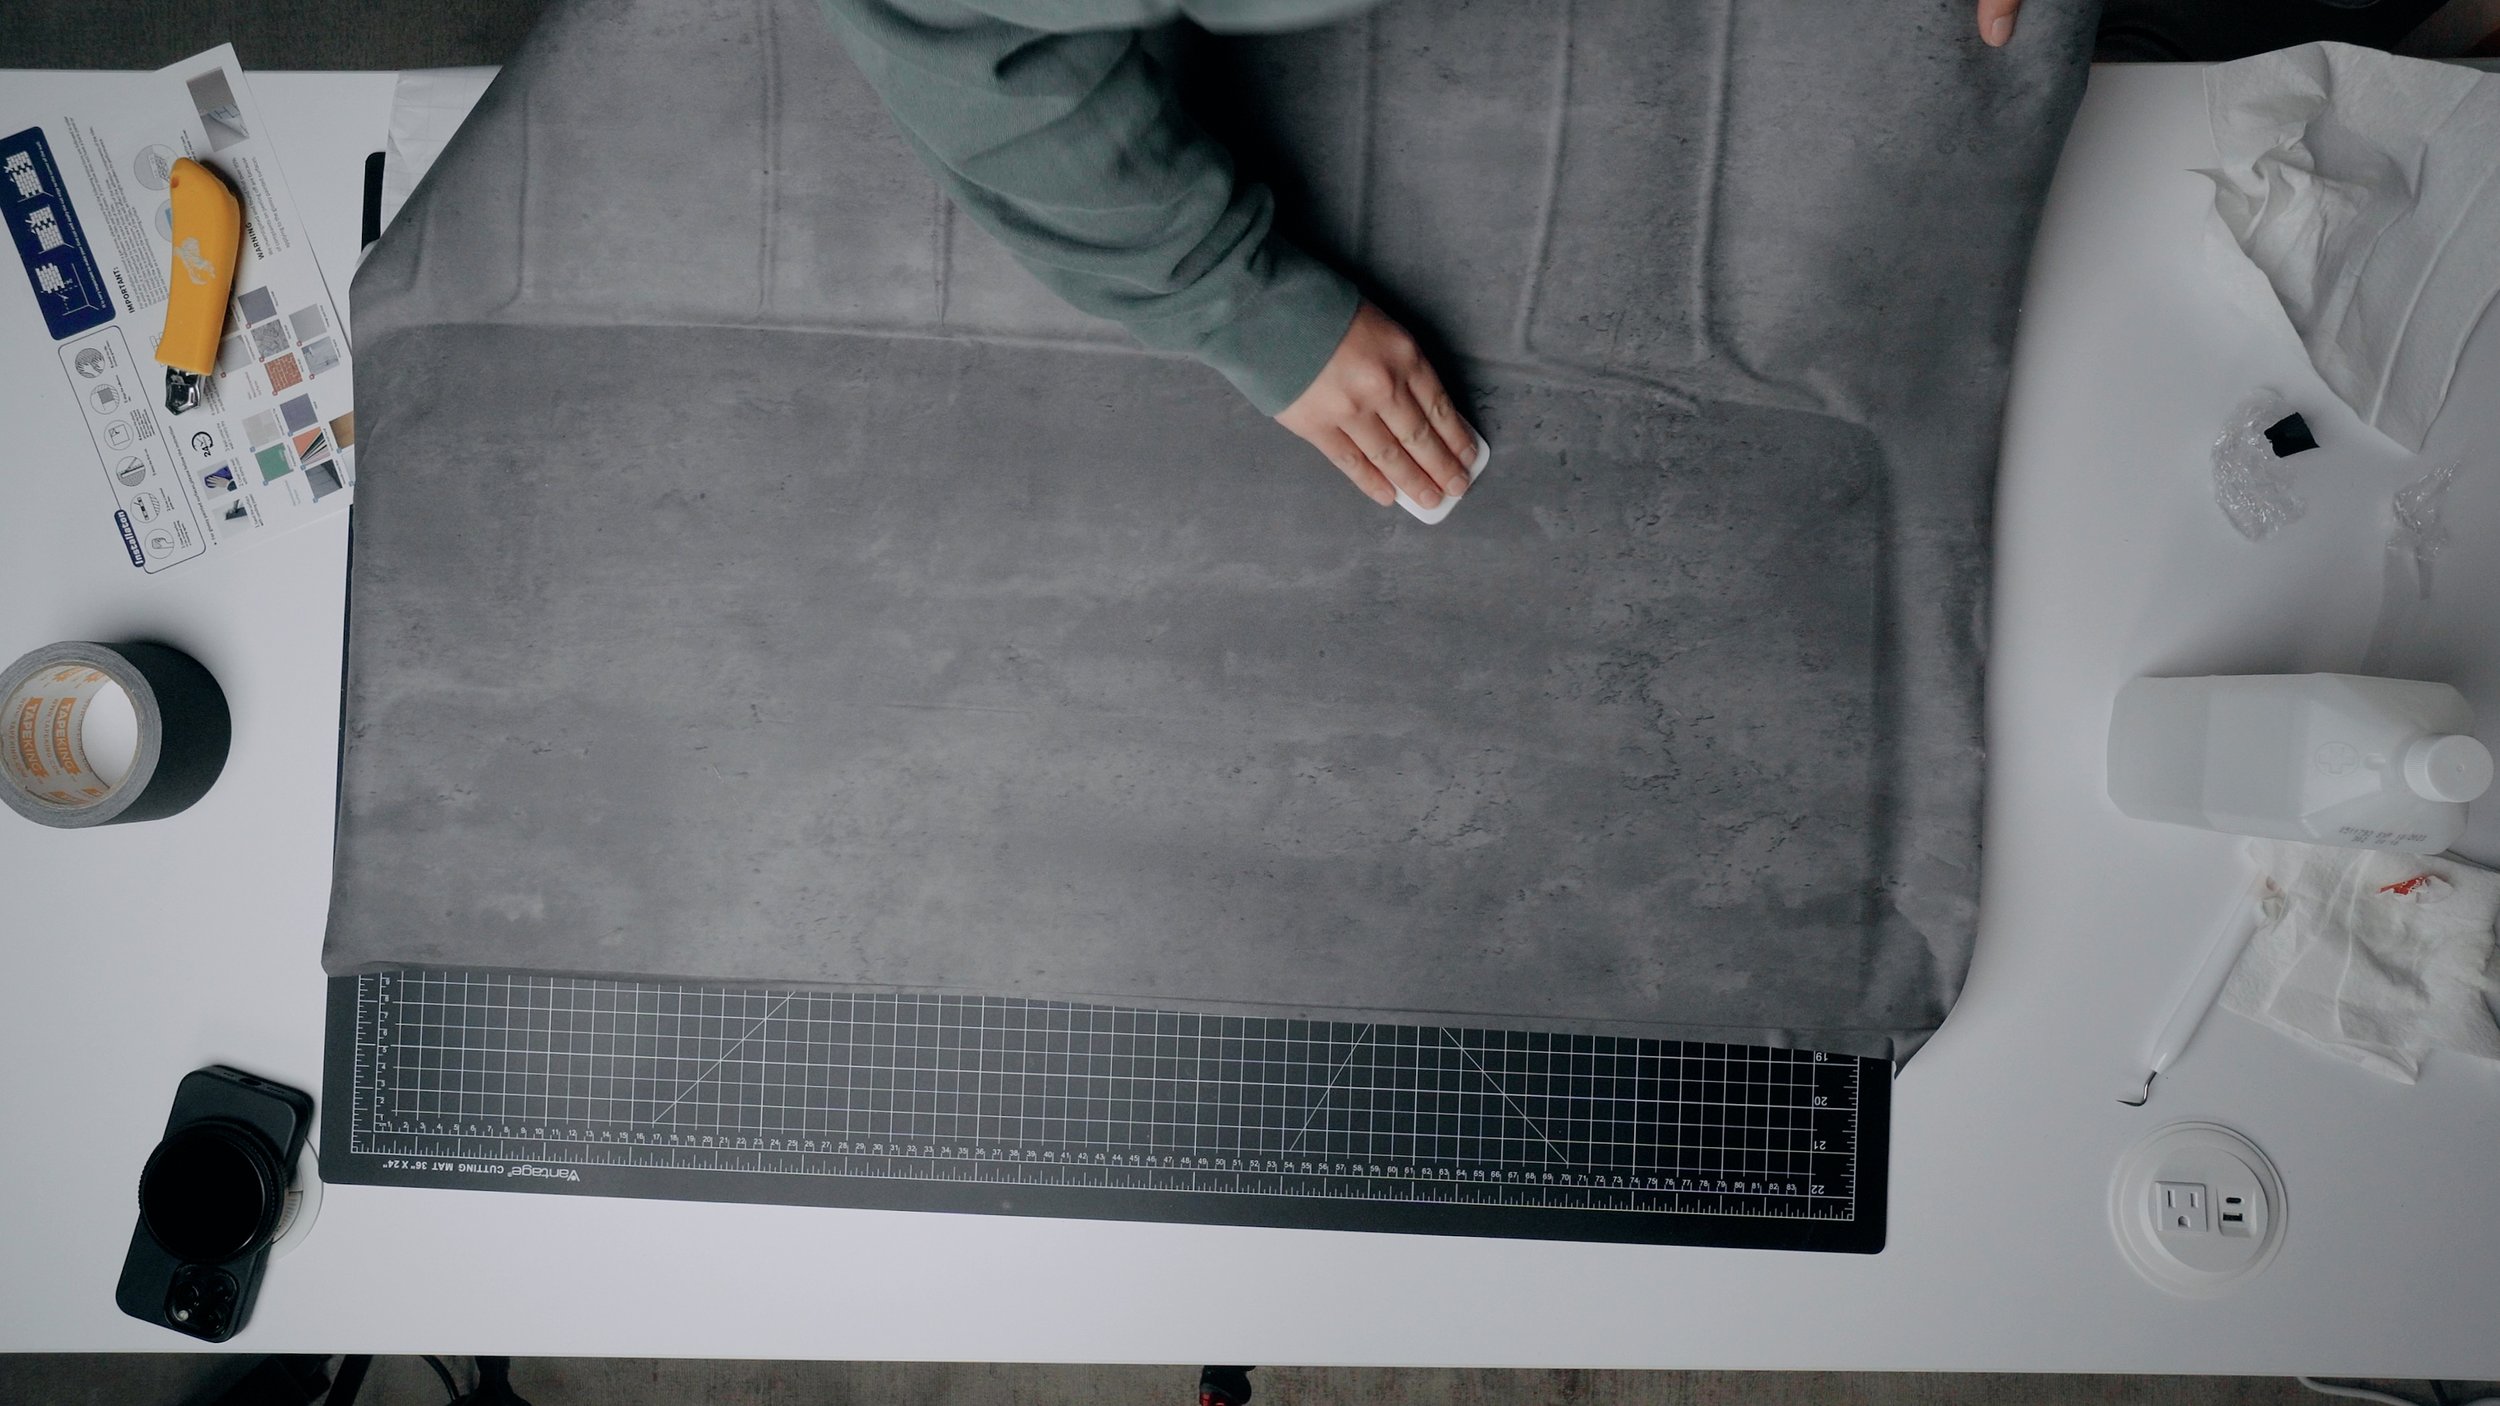
Use a credit card to help flatten/stick the paper to the surface. This helps get out any bubbles.
Speaking of bubbles, if you find you’ve got a few air bubbles in the center of your install, you can poke a tiny pin hole with the edge of your knife, then smooth over it with your credit card. This will get any air out and stick the paper to the surface.
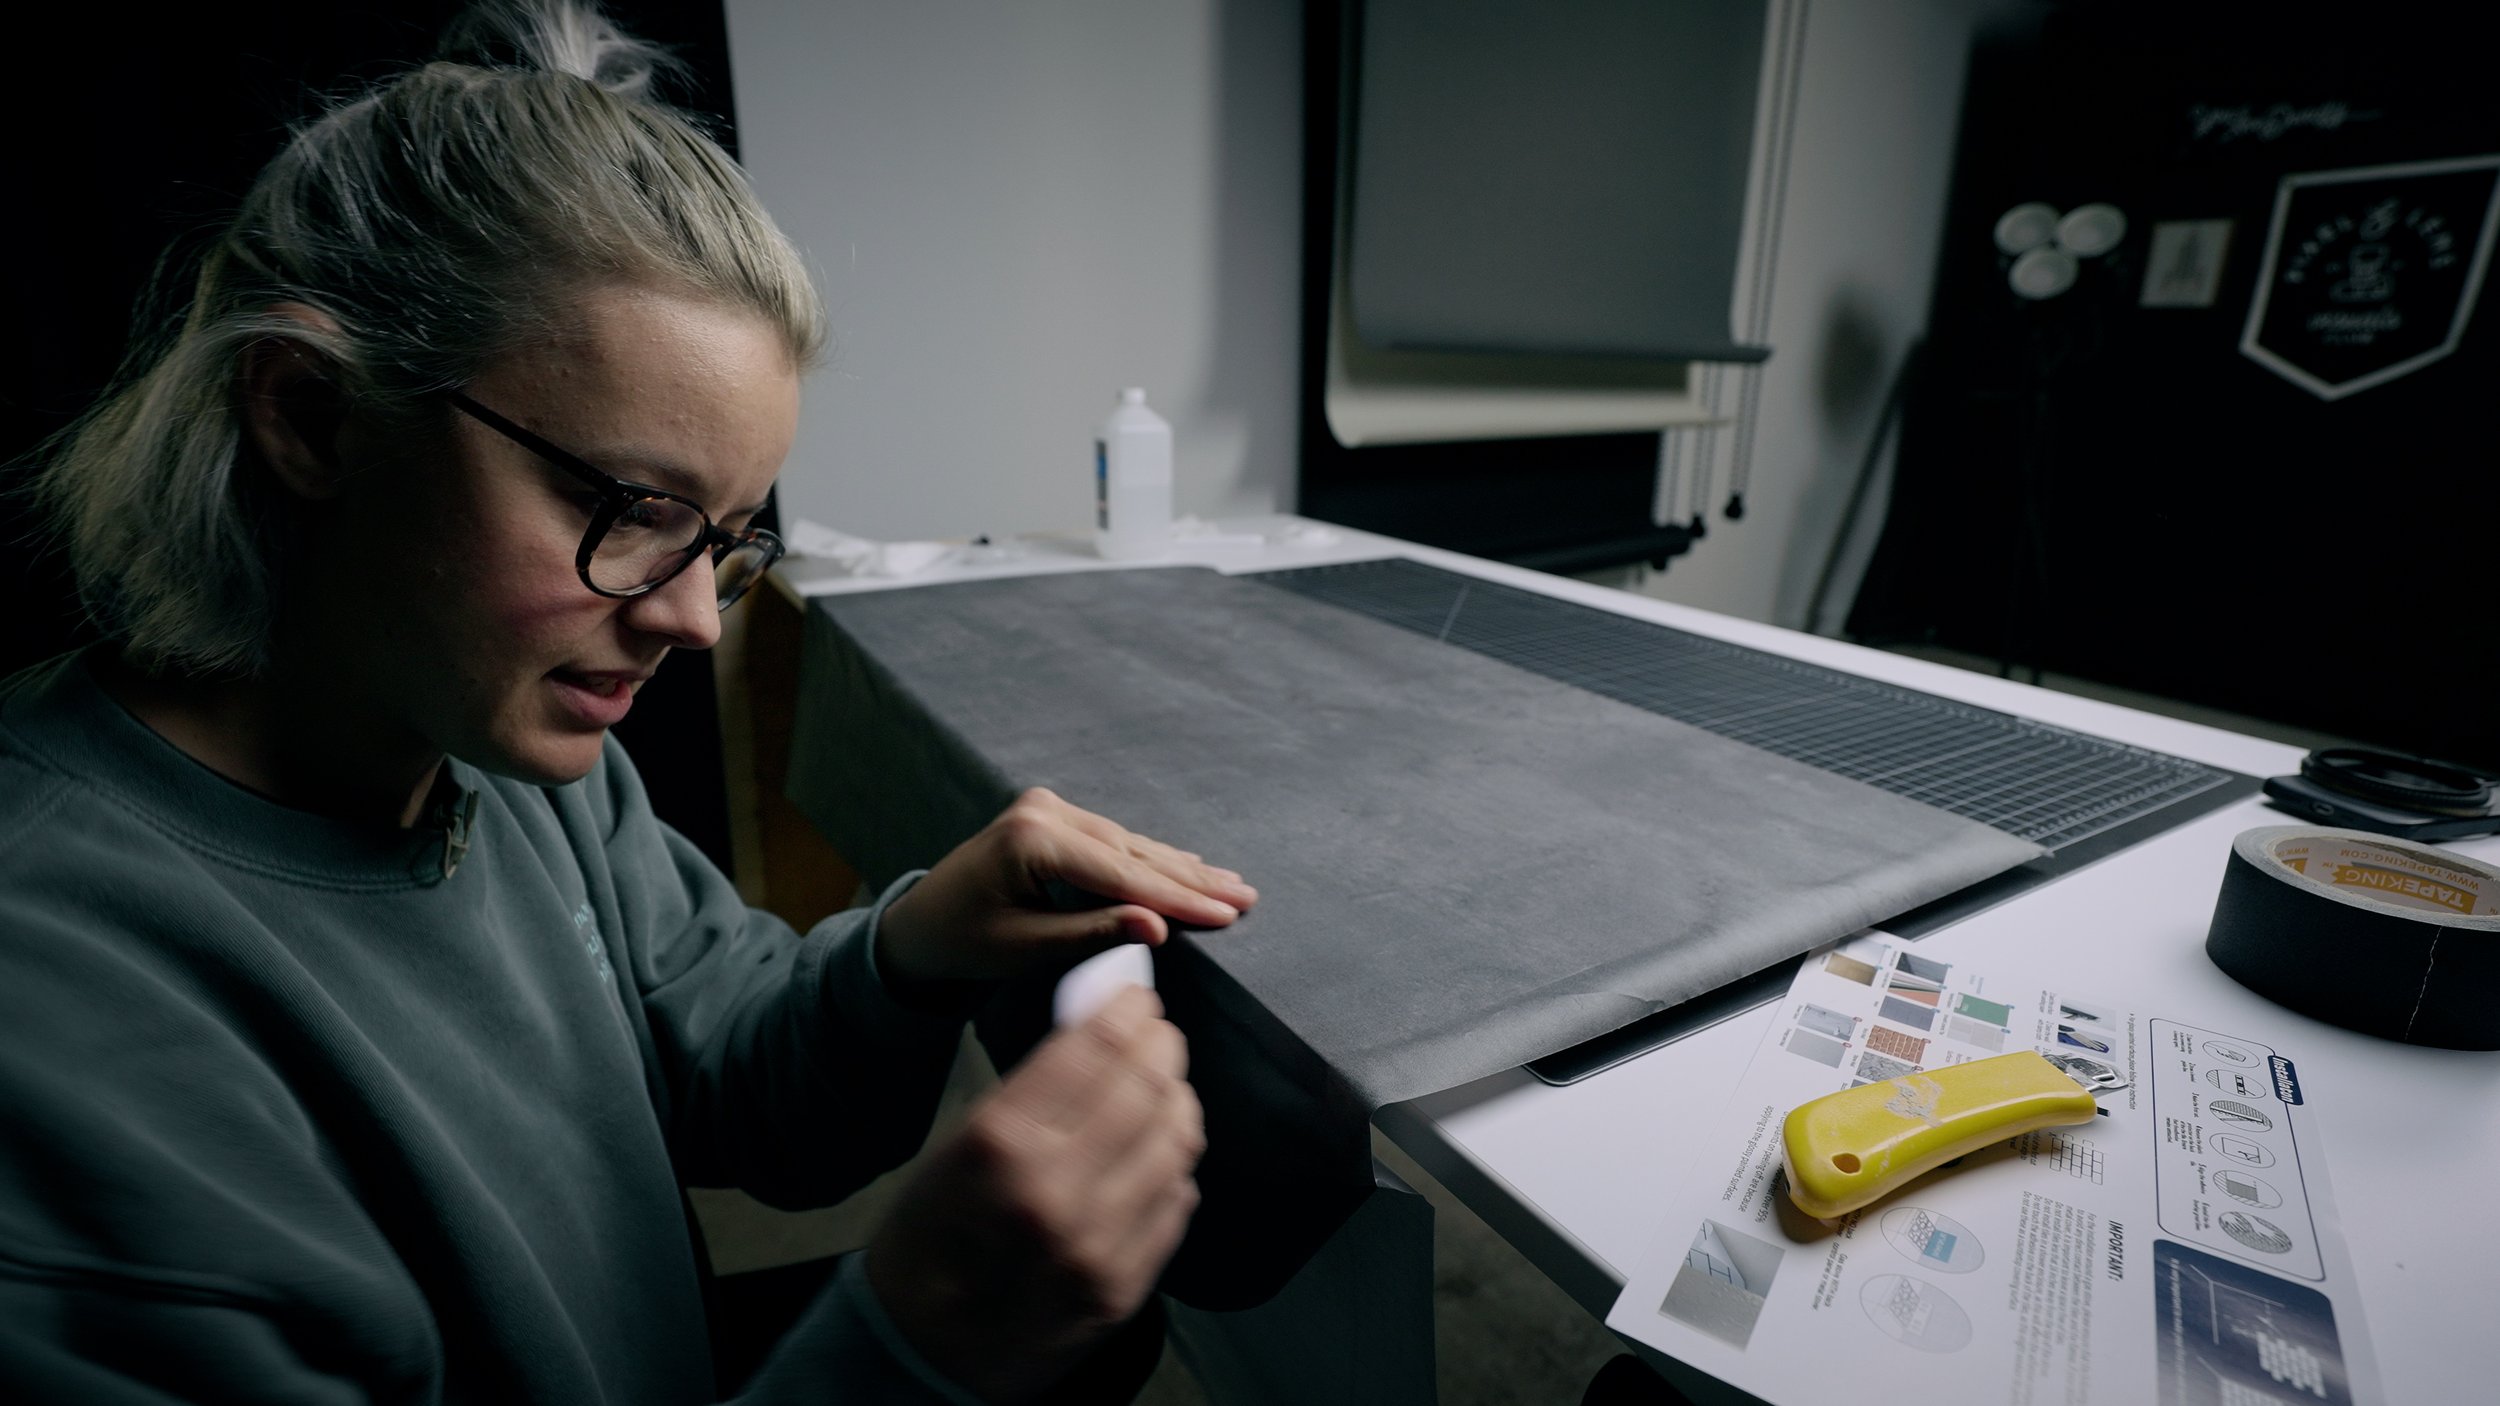
When you get to the edge, hang your board over the edge of a table so you can neatly pull the paper around the edging and onto the back of the board.
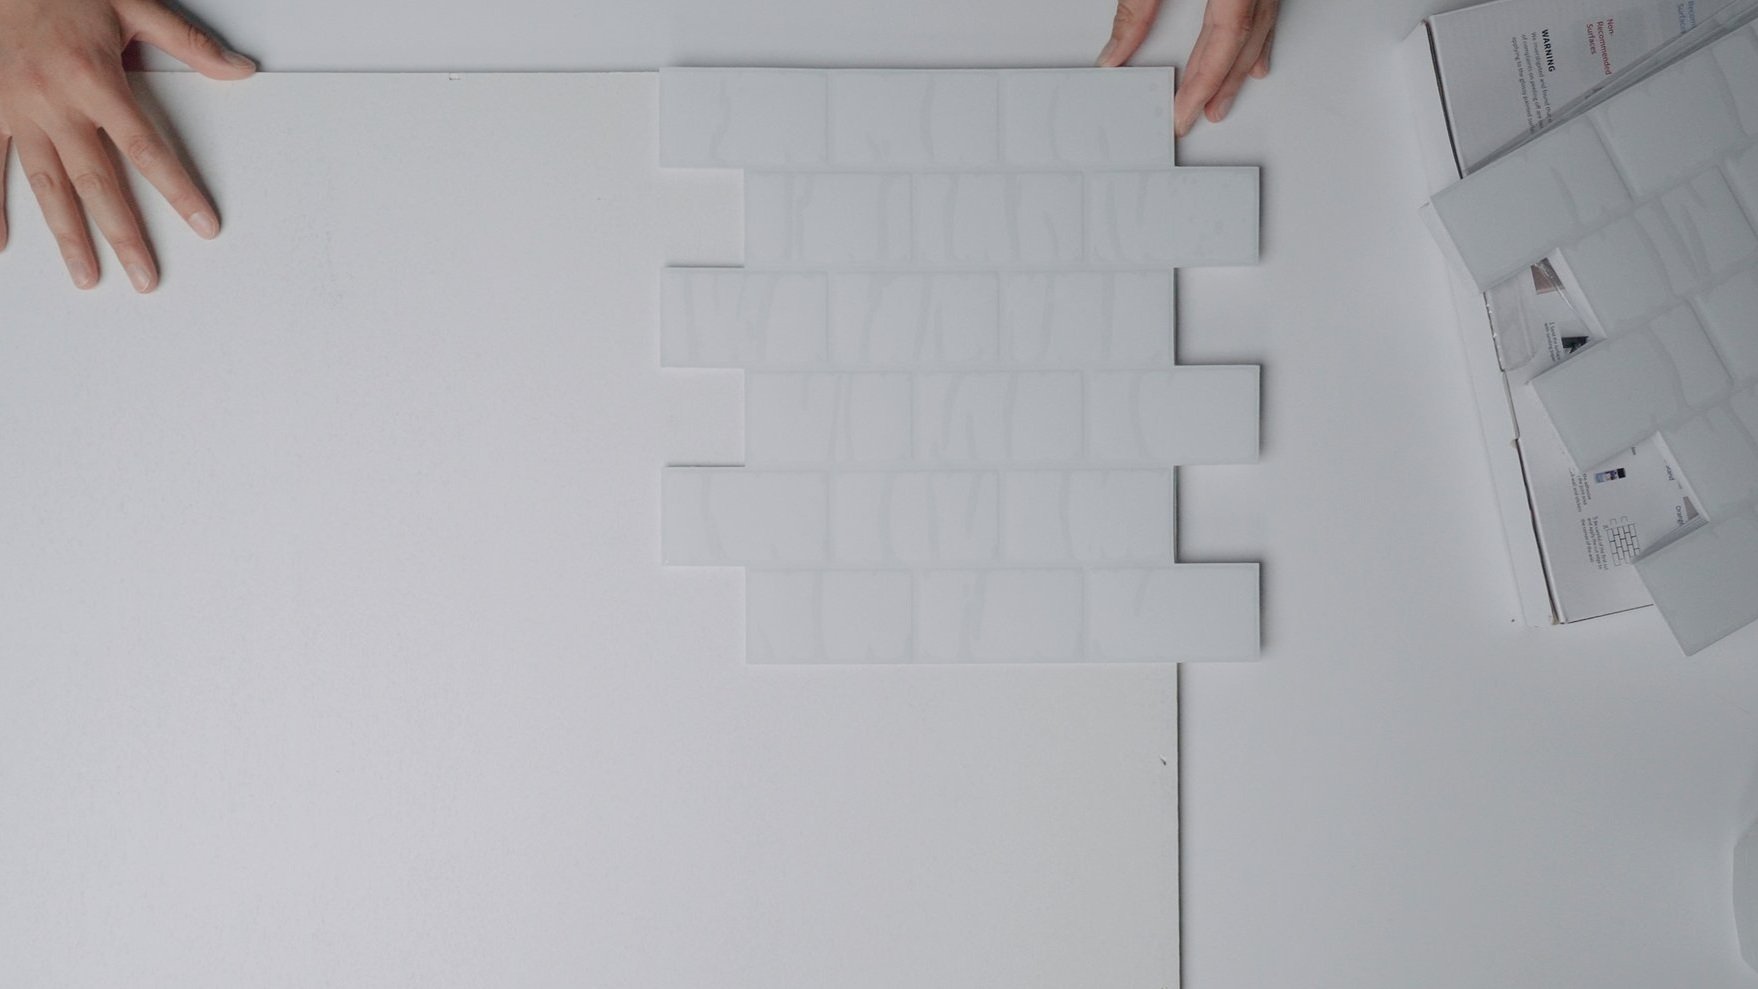
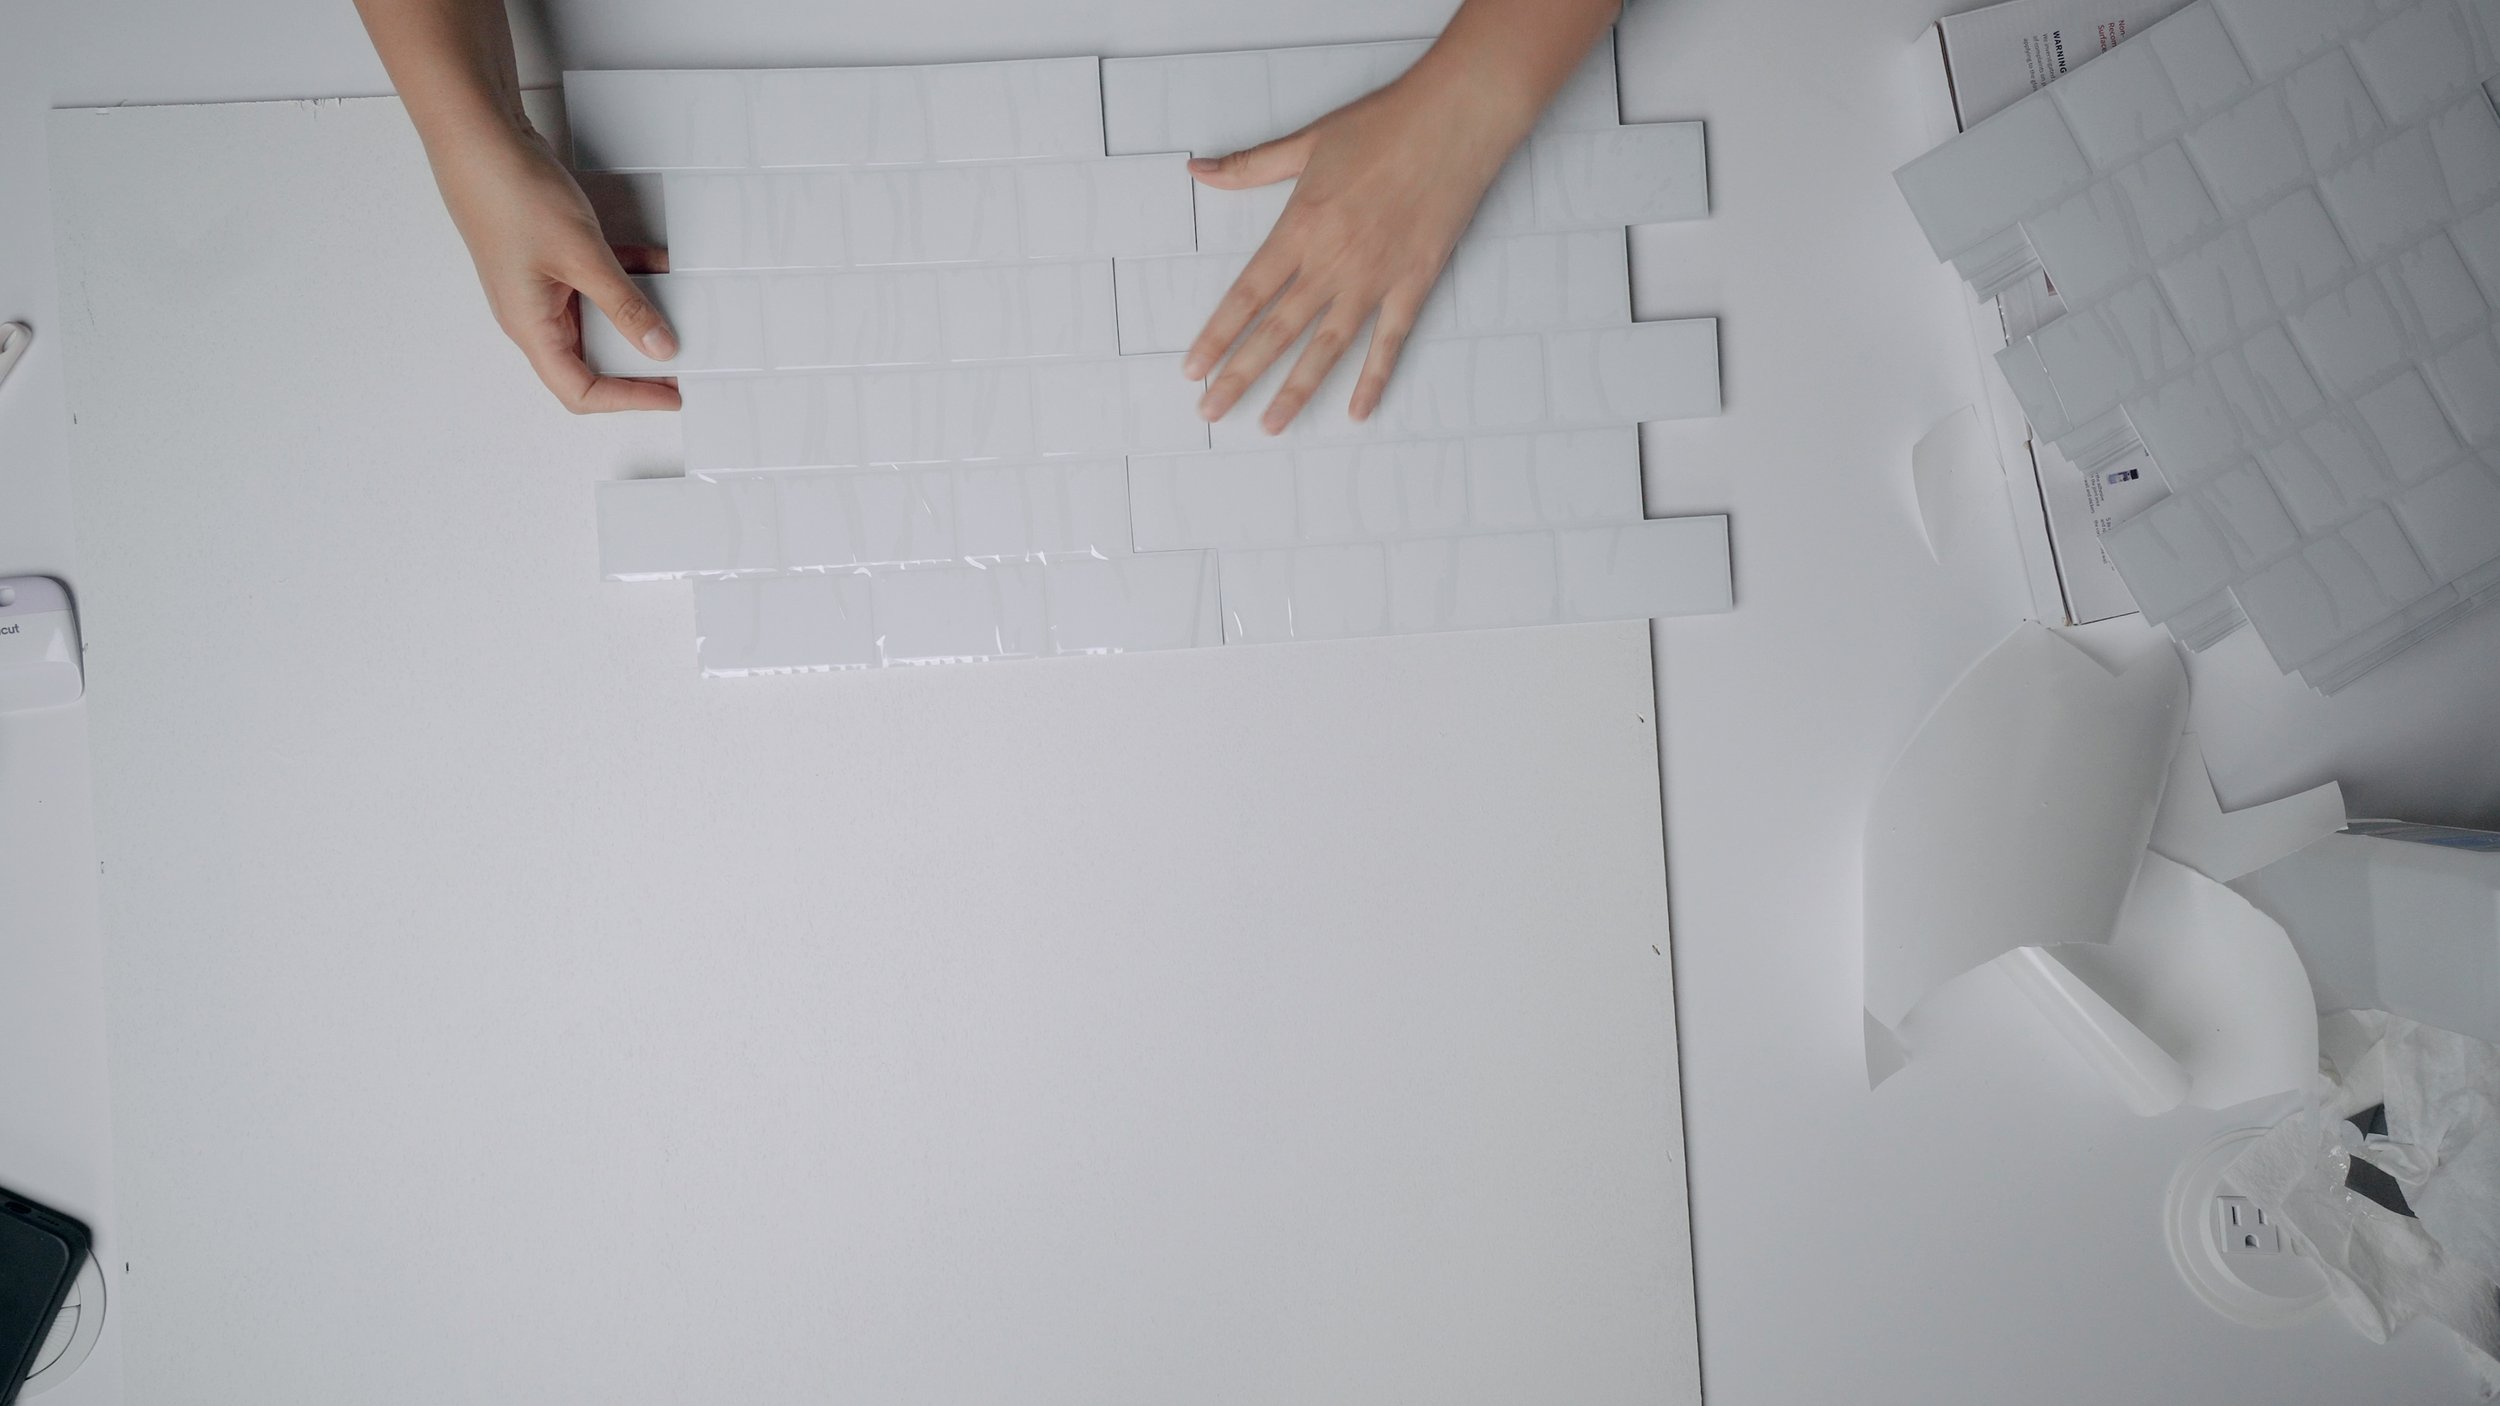
The Backsplash
Had I had the time I would have actually tiled this board with ceramic tiles, but because I was on a tight deadline I went for peel and stick. This was my first time using peel and stick tiles and I must say I was not impressed. The physical tiles looked pretty cool and had a glossy texture which makes them look real, but there is no way to hide the seems between sheets. This could have been the product I was using, perhaps there is a better one out there? It looked fine on camera but in person… not so much.
A few tips here:
The directions say to mark a level line, but because my board would be sitting on a table top, I needed the tile to be in line with the bottom of the board so that’s where I started, and then followed the rest of the instructions.
Paint your backer board the same color as your tiles incase you end up seeing some of the board after.
Make sure the surface you are tiling is as wide as your “countertop” and TALL enough for a vertical photo! Mine was a square which gave me lot’s of room to fake a shelf photo later!
Overall I am kind of shocked at how good this looks on camera! It’s not great in person, and as I said in the video I would NOT recommend doing peel and stick in your house. Save up and do the real thing, it will add more value to your home! BUT it did the trick for us buy giving us a neutral tile and countertop combo to use as a backdrop for our coffee cups! I’m considering trying this again with maybe a darker color tile and lighter countertop, but next time I will use real tiles!
Would you try this?
Let us know in the comments of our video!
BECKI AND CHRIS
Instagram: https://www.instagram.com/beckiandchris
YouTube: https://www.youtube.com/c/beckiandchris
Twitter: https://twitter.com/beckiandchris