
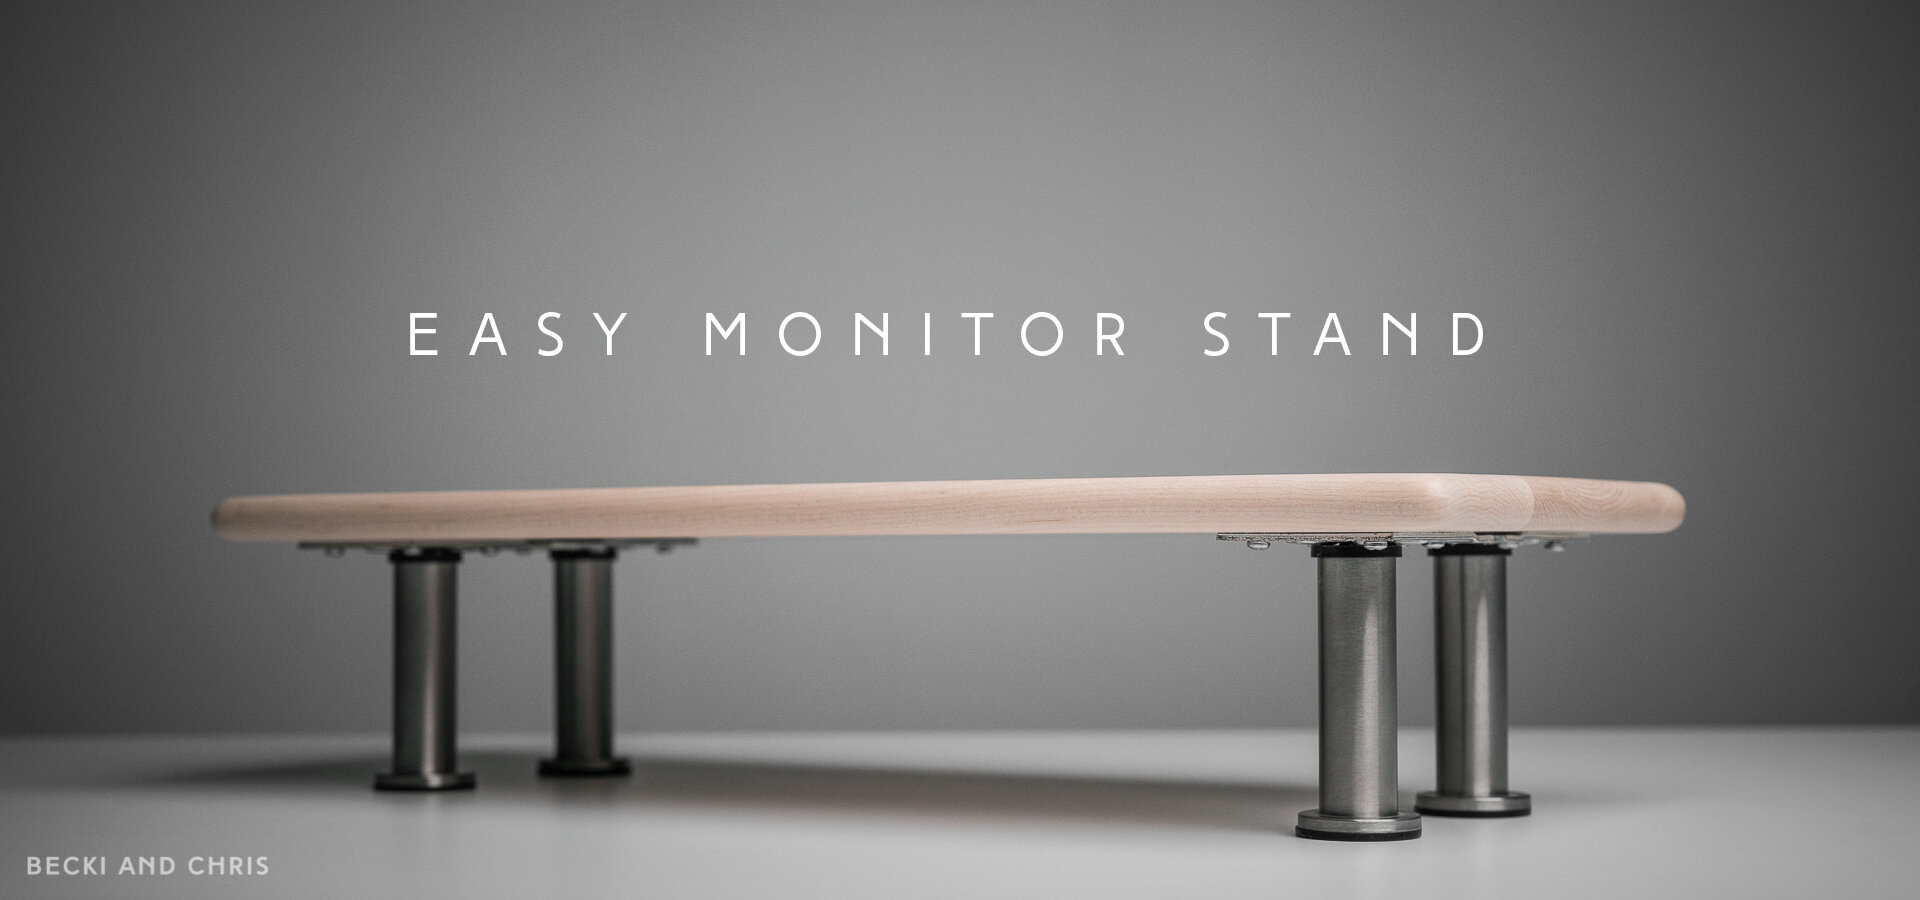
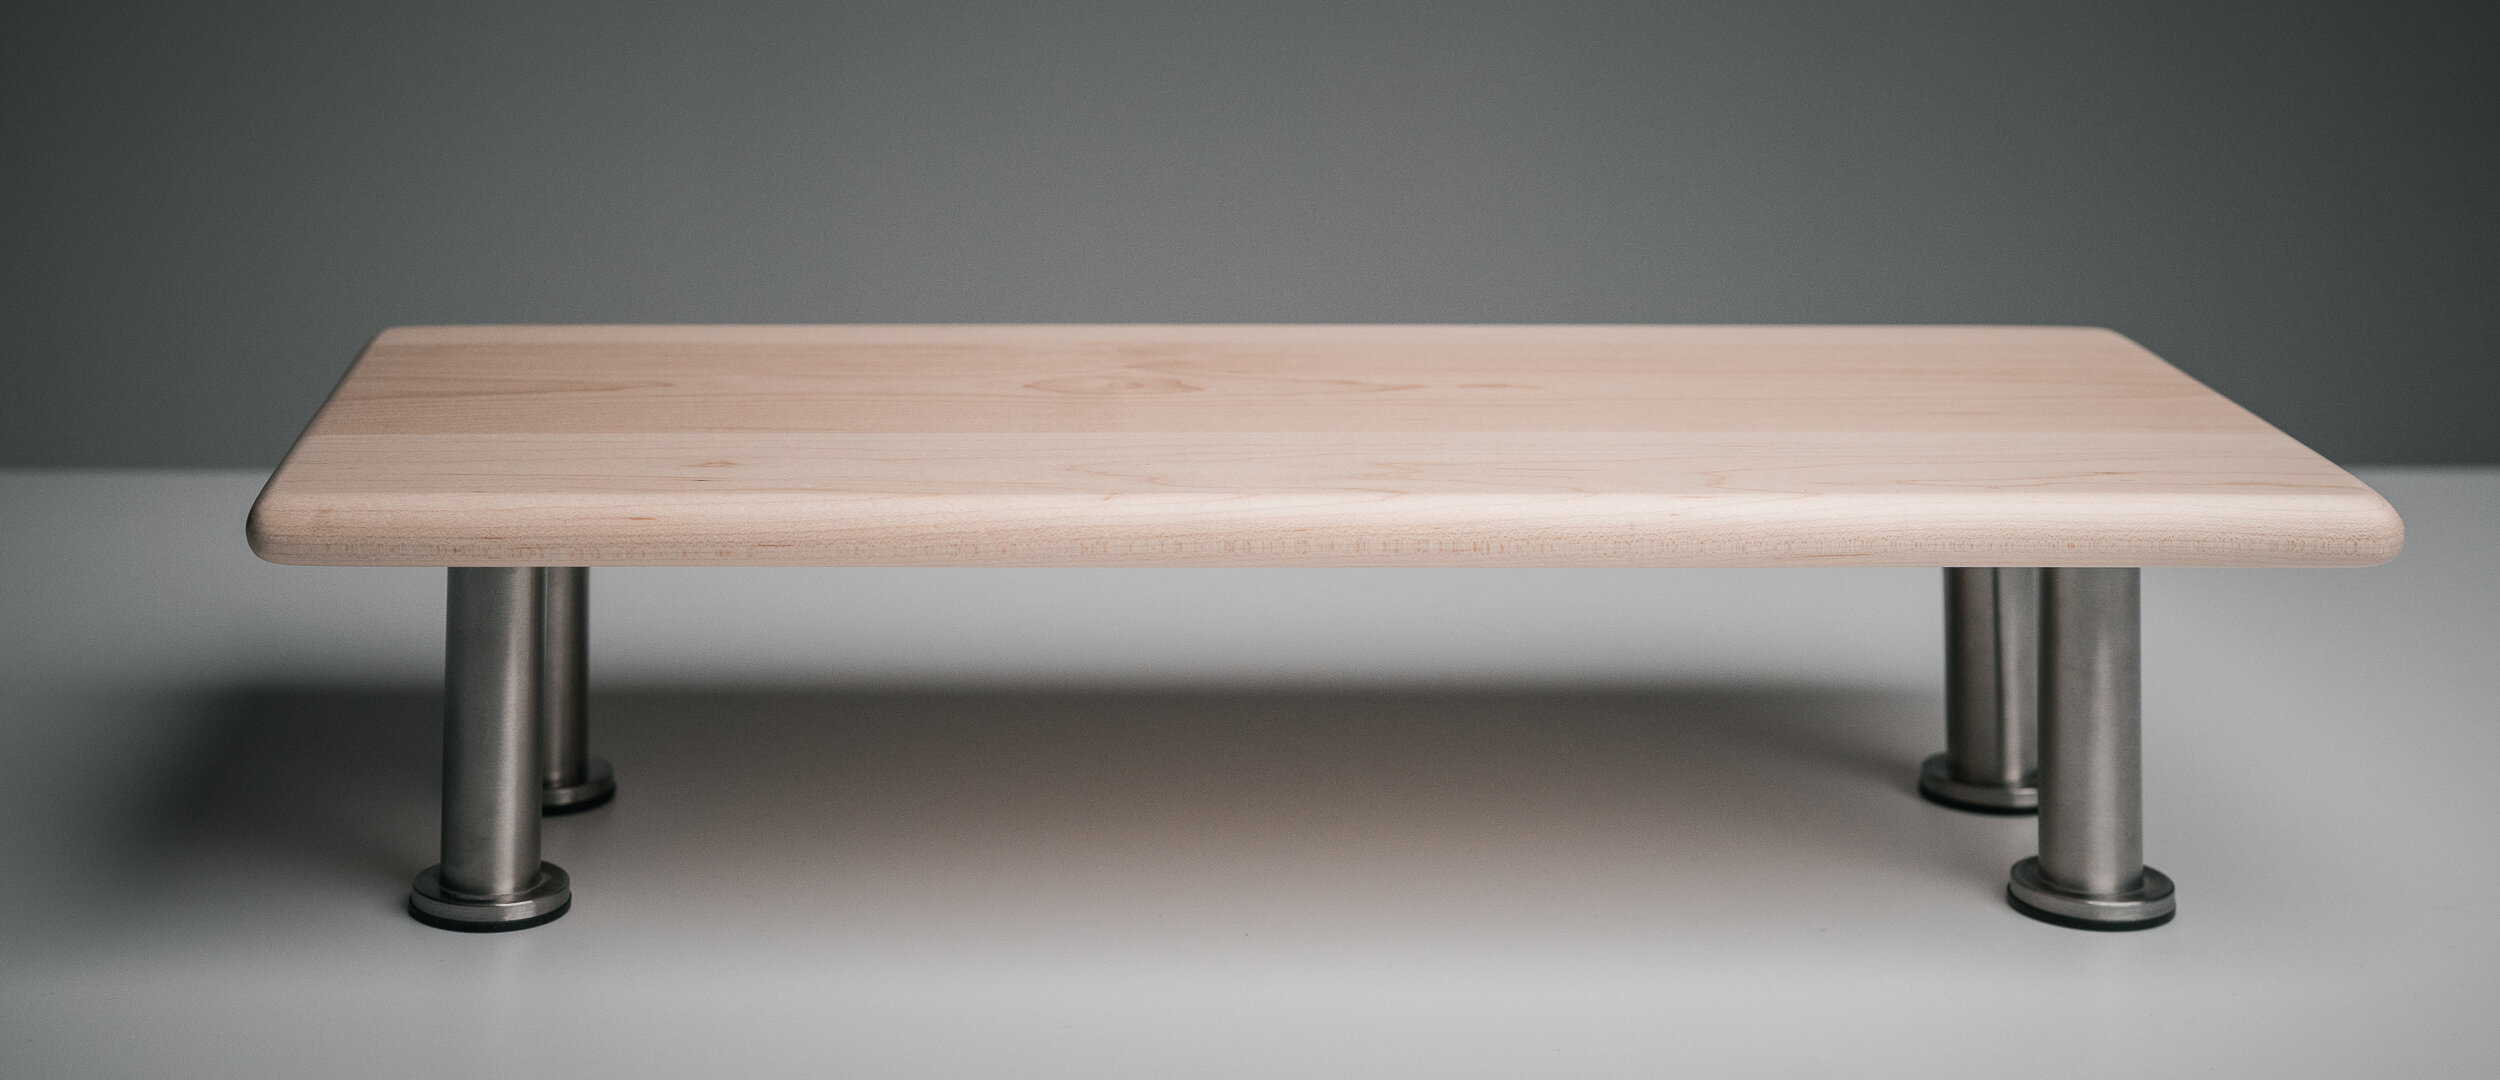
DIY Easy Monitor Stand
During the office makeover we decided to make a desk shelf out of materials we had laying around for the main workstation. While we were at it, we decided to build a matching monitor stand for the closet. We thought it would be fun to give you guys two options to build depending on your skill and comfort level, so we kept this project a little stripped down compared to the other one!
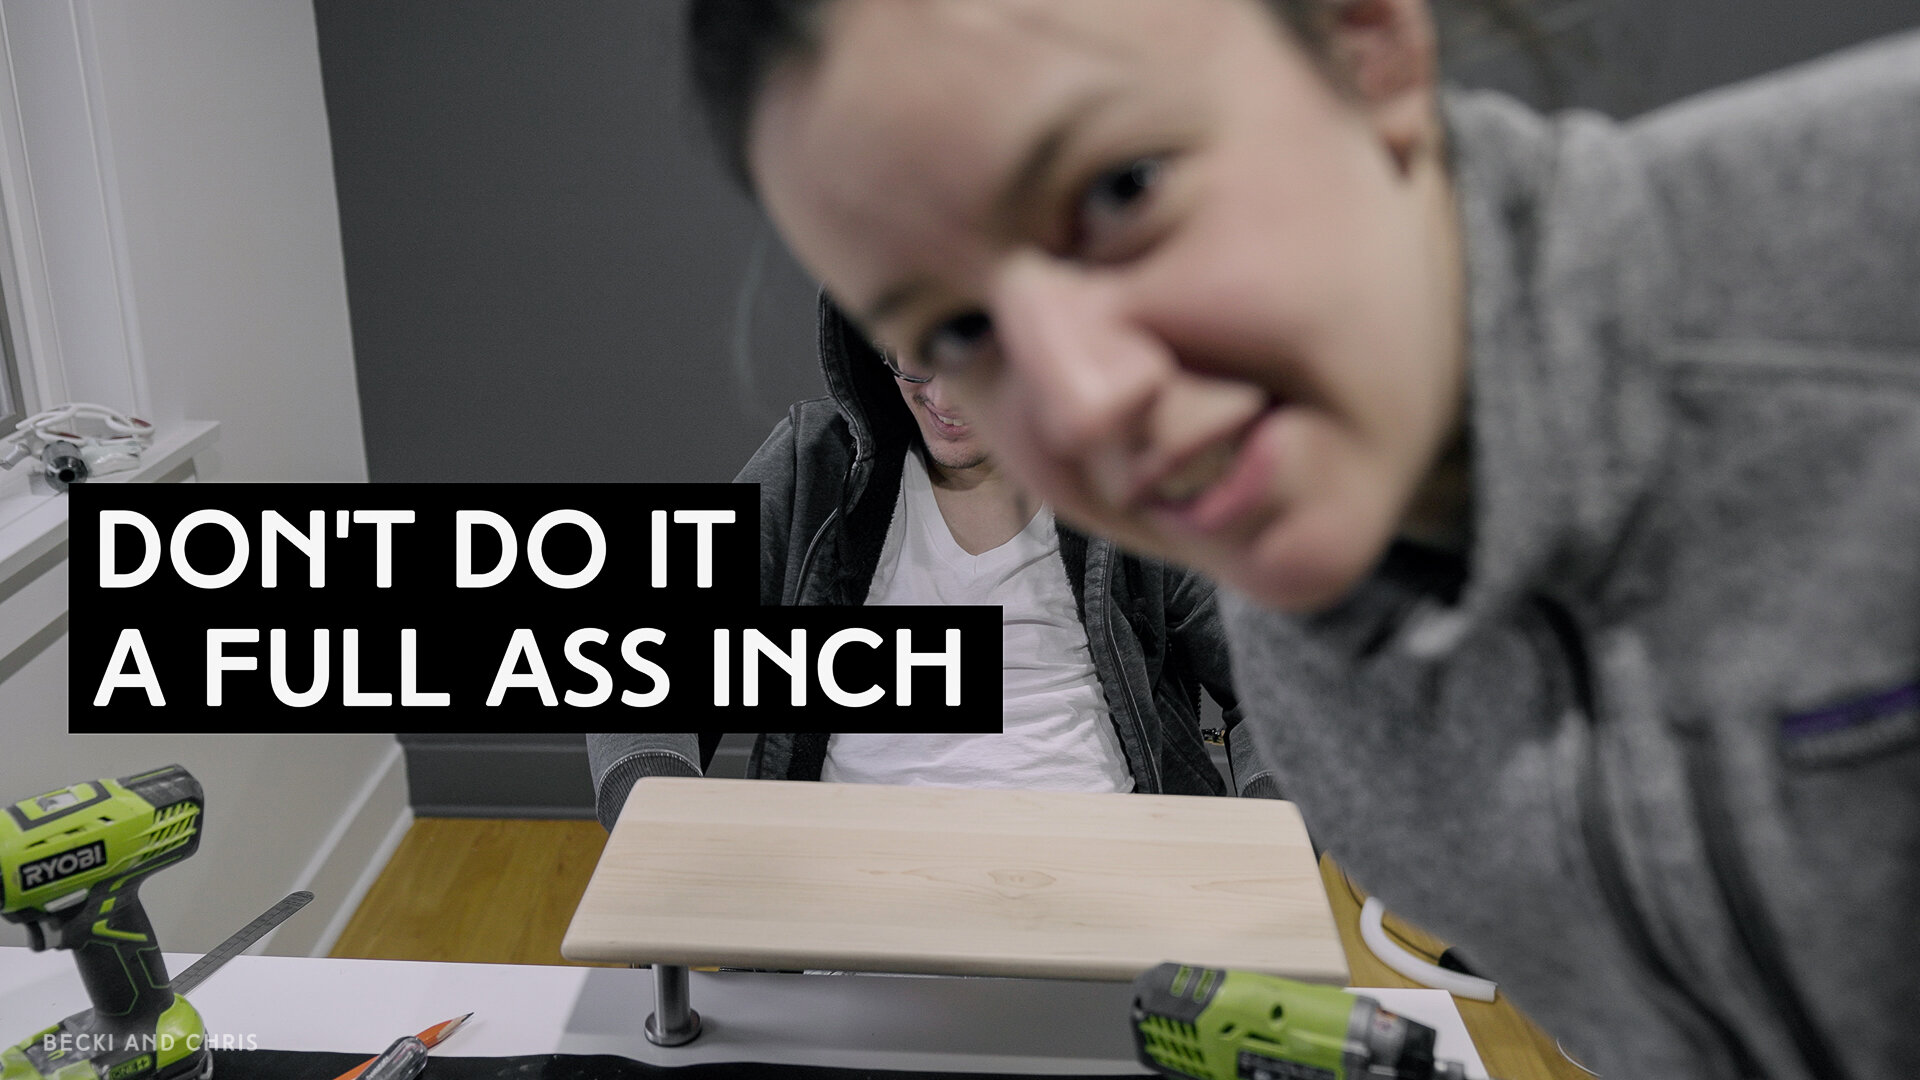
If you want to watch the process on the building of these two pieces you can watch below:
Disclosure: This post contains affiliate links.
By purchasing through our affiliate links, you are directly supporting our blog and us as creators! So thank you!
Tools and Materials
Router table with 3/8” round over bit (optional)
Combo square
Wood of choice
Belt sander or planer (if removing old finish)
Sand paper
Table saw
STEP 01
Cut
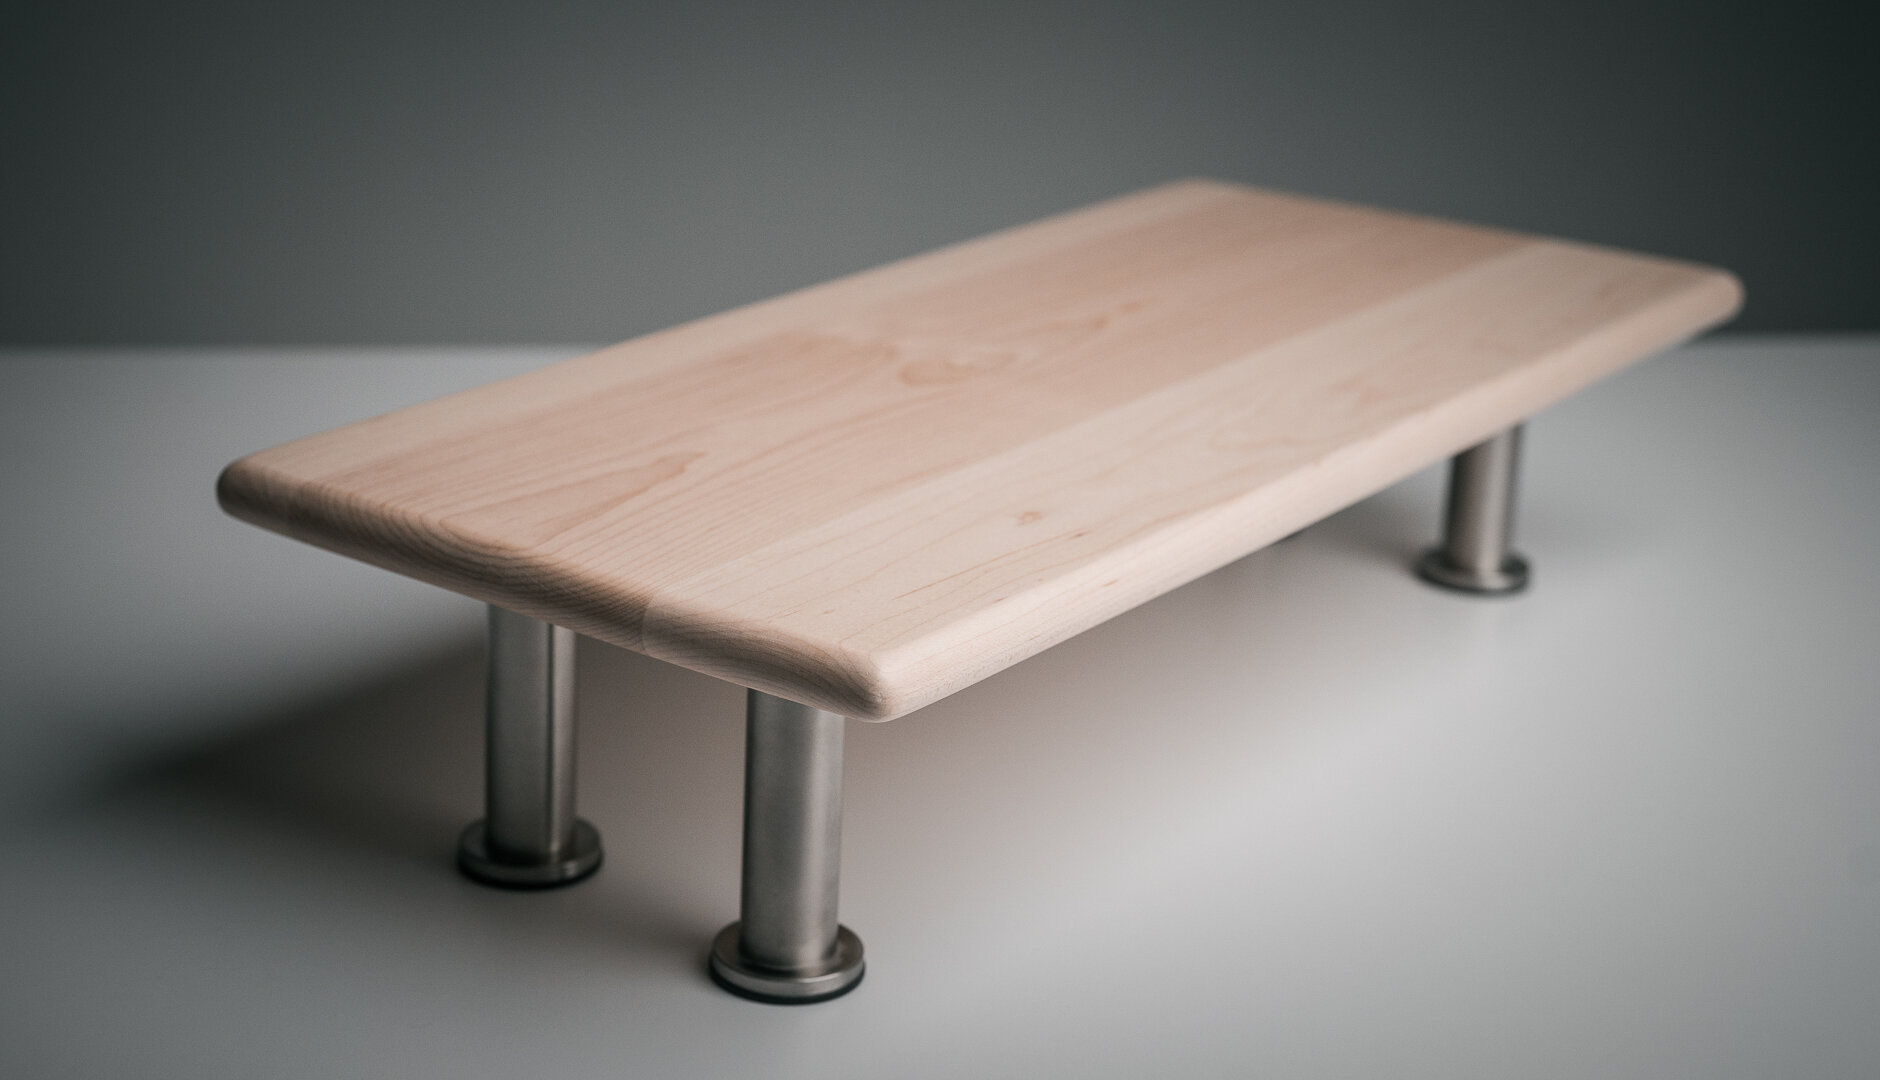
Cut your wood to the size you want your monitor stand. The measurements for ours was 20” wide x 9” deep.
STEP 02
Round the Edges
This step is optional depending on the look you are going for. We decided to use a 3/8” round over bit on our router table to round the edges of our monitor stand. We’ve done a similar project before with plywood and leaving the edge square, easing the sharp edge with sandpaper by hand.

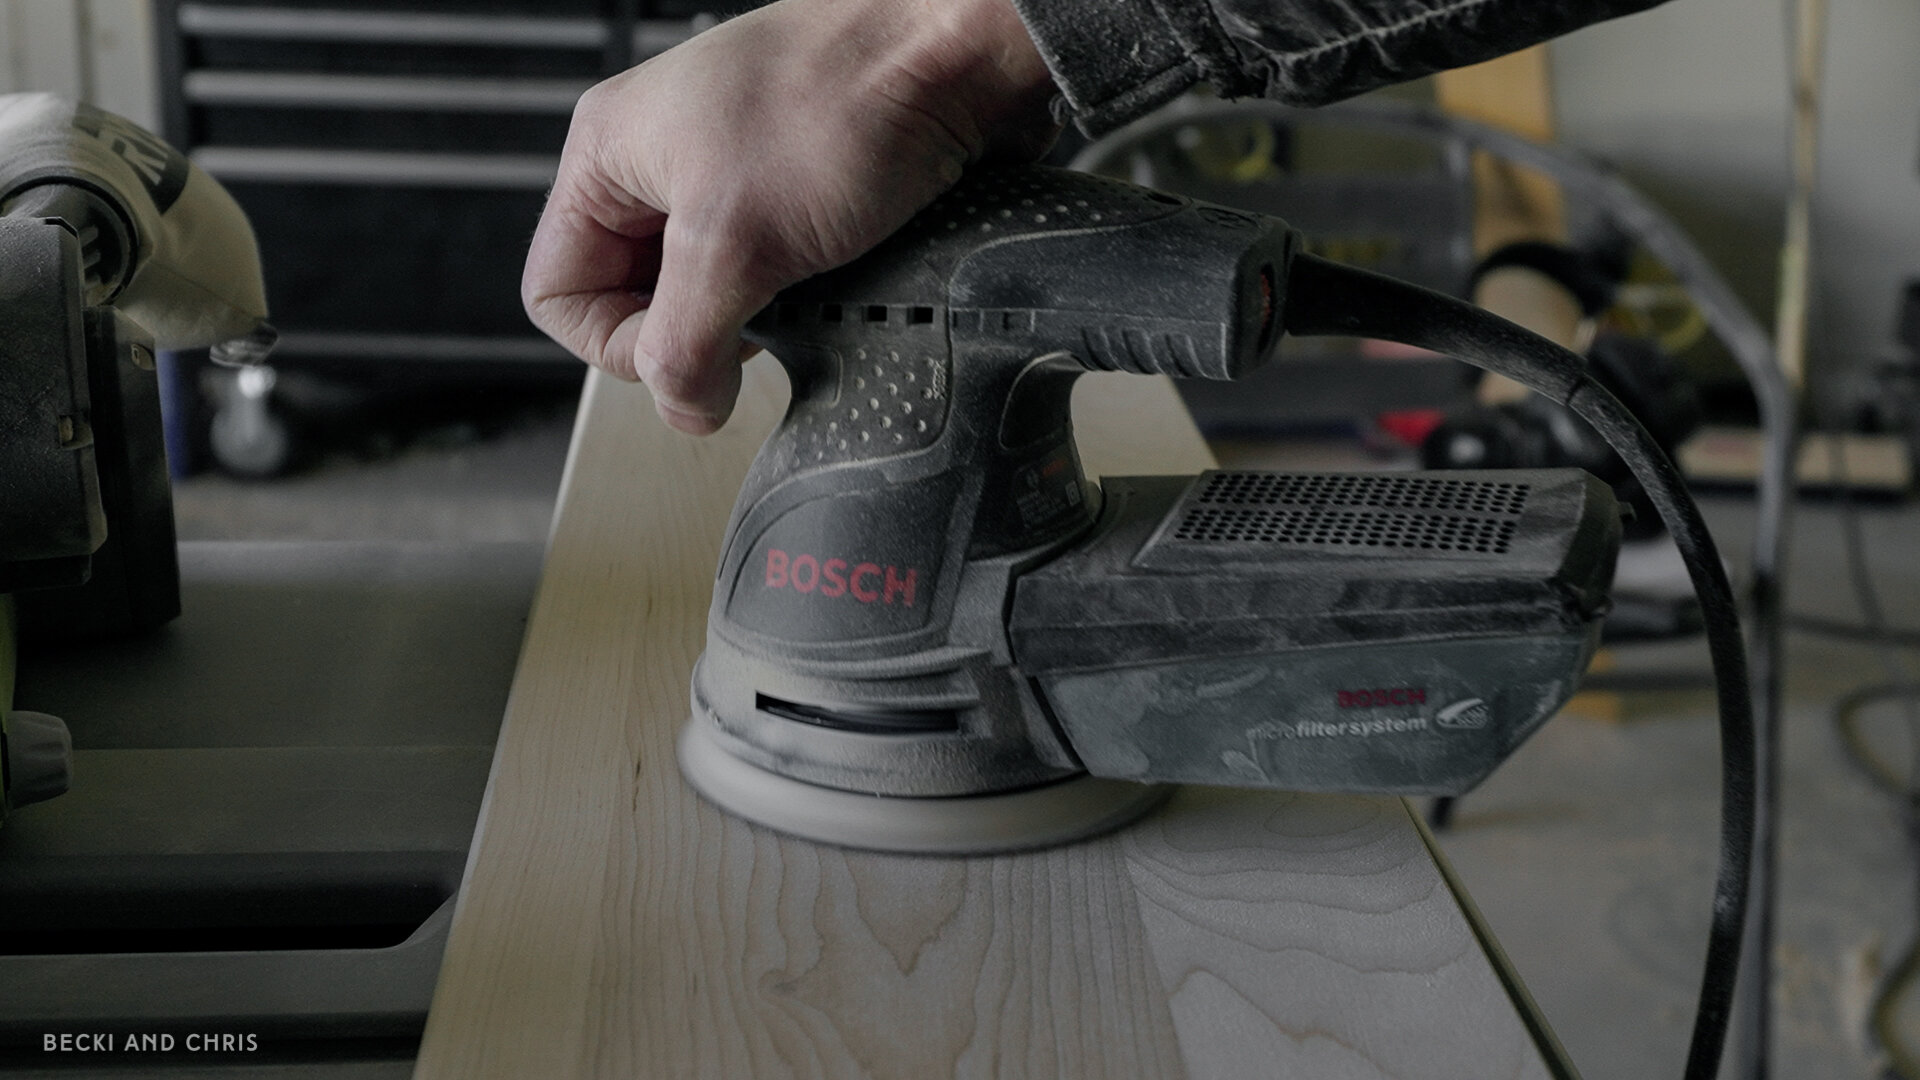
STEP 03
Sand
If you are recycling old wood, you may need to use a belt sander or planer to remove the old finish (protect yourself with a mask and safety goggles). Otherwise, if your wood is new you can start with the random orbital sander and sand all sides of your wood working your way up from 100 grit to 220 grit until the wood is smooth. You can do the edges by hand. If you are painting, then a light sand overall will be fine.
STEP 04
Stain/Finish
At this point you are going to want to put whatever finish you choose on your wood. Wipe it down with a tack cloth first to get rid of the dust. Do a stain test to make sure you like the finished look before applying to your project. We wanted to keep things natural so we used a flat clear water based polyurethane and applied three coats according to the instructions on the can with a synthetic bristle brush. If you decide to paint, I’d recommend a cabinet paint like the Benjamin Moore Advance line, or put a protective finish on top of your paint after it’s cured (water based clear over water based paint).
STEP 05
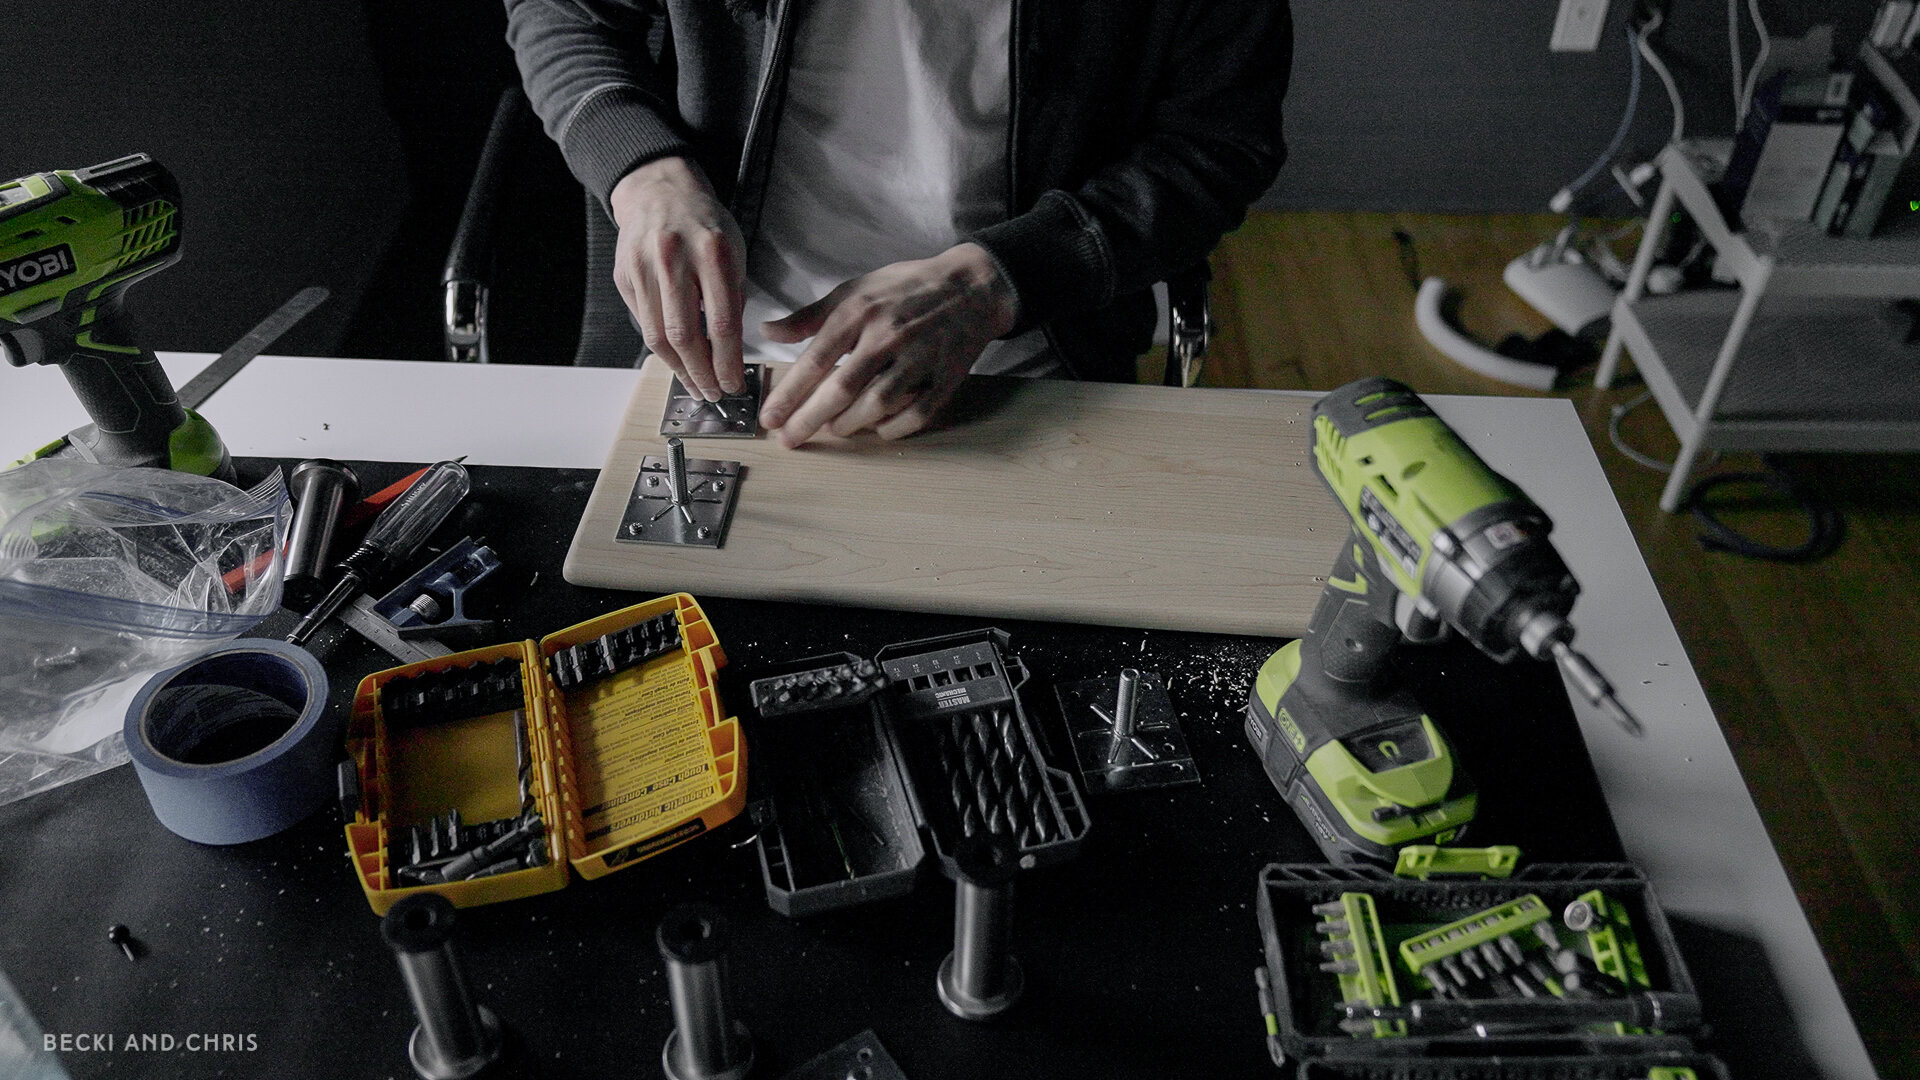
Install Legs
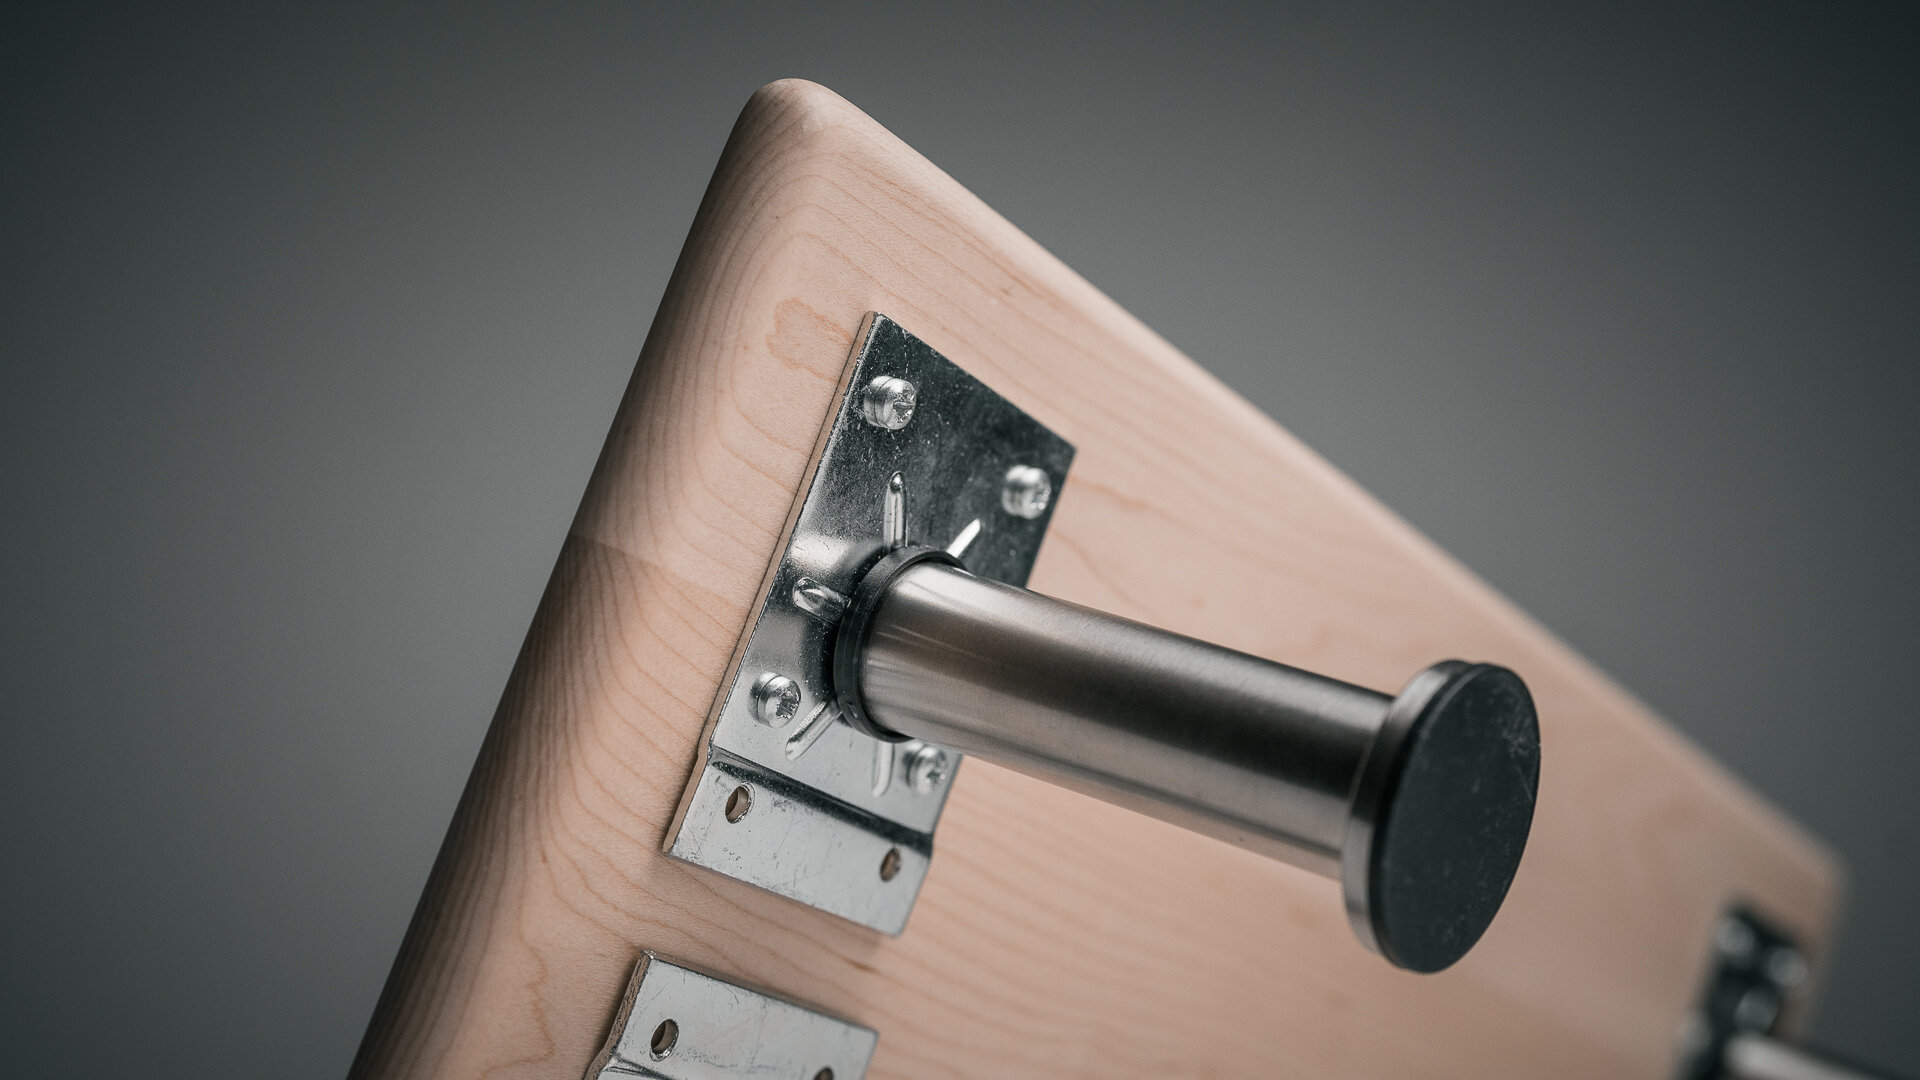
This project was an upcycle for us so we used legs we already had. These may not be the most ideal due to their unsightly large base plate.

Removing the legs from the old project to re-use on the new one.
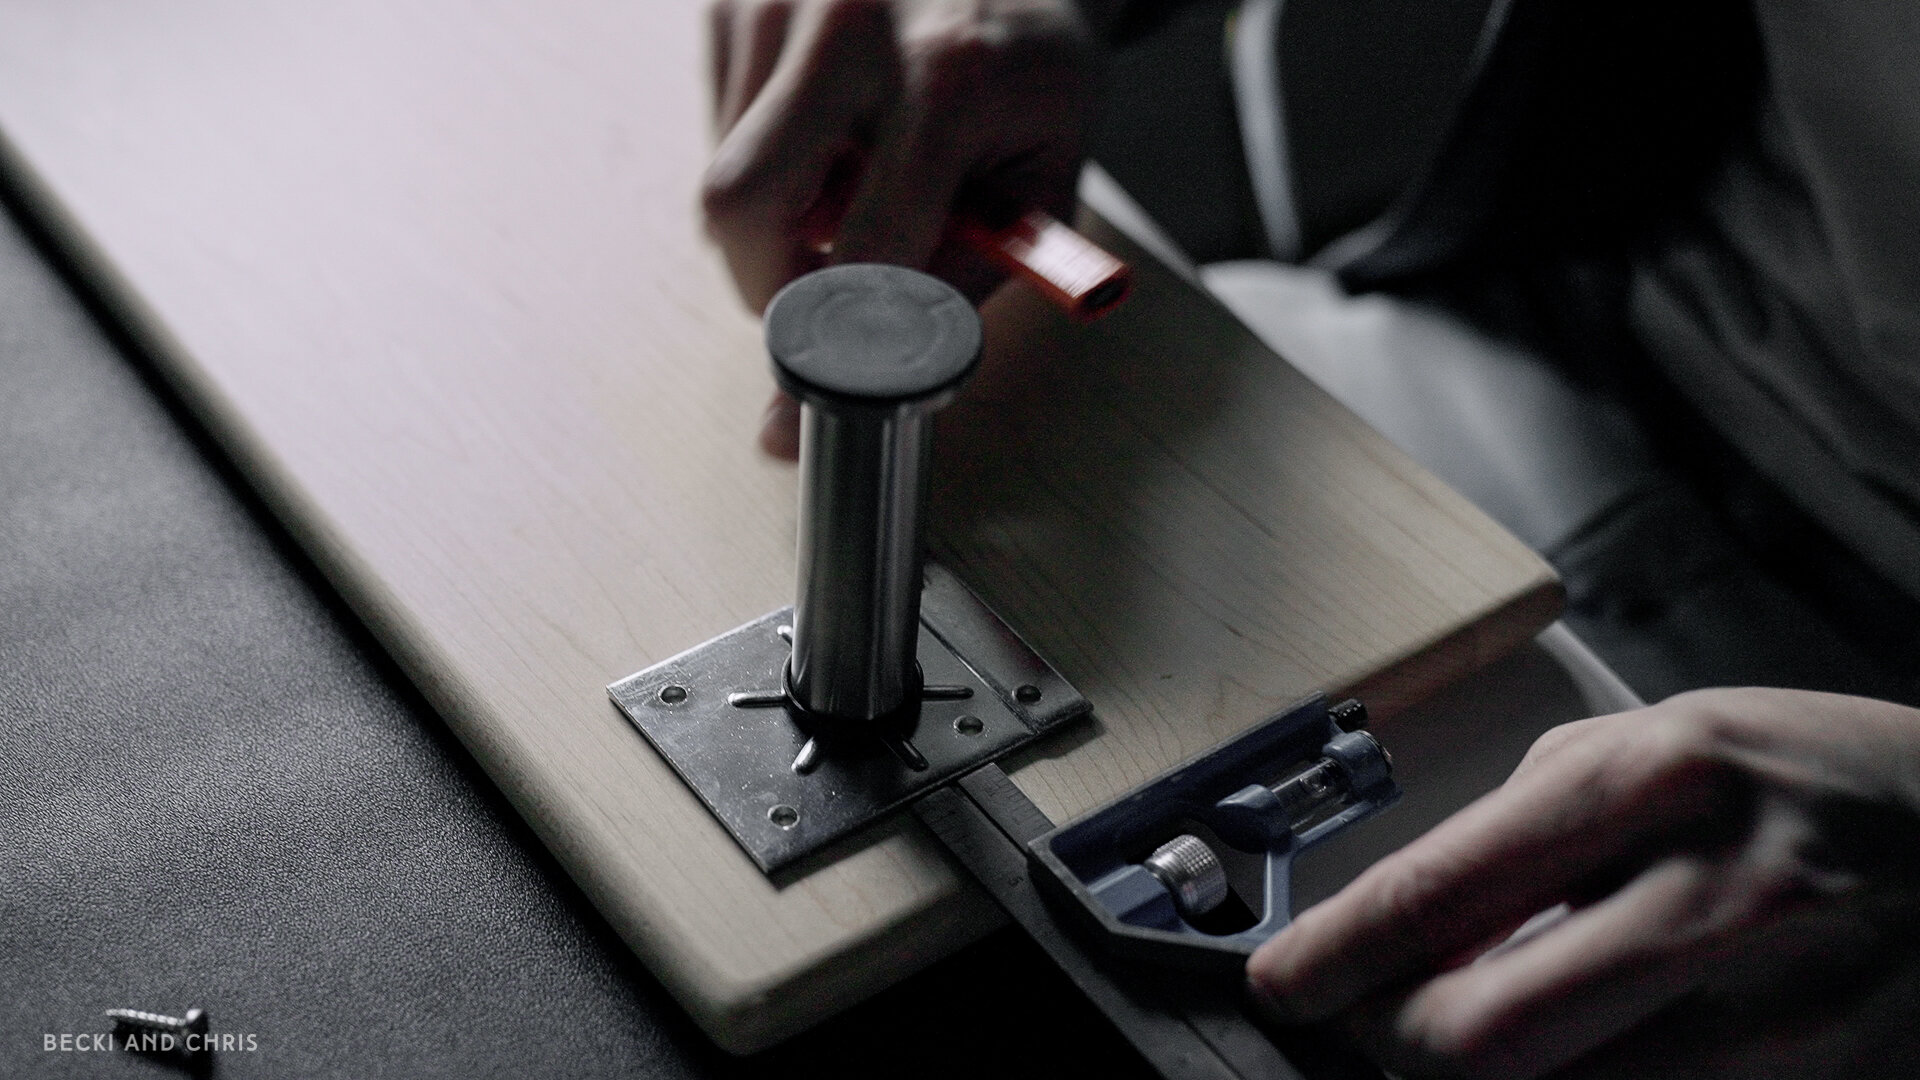
We made a mistake here, by trying to minimize the base plate being seen, we pushed the plates in 1” from all edges. Once they were installed we realized that the legs looked kind of silly set back so far on the short dimension. If you use the same legs, install them a little closer to the edge.
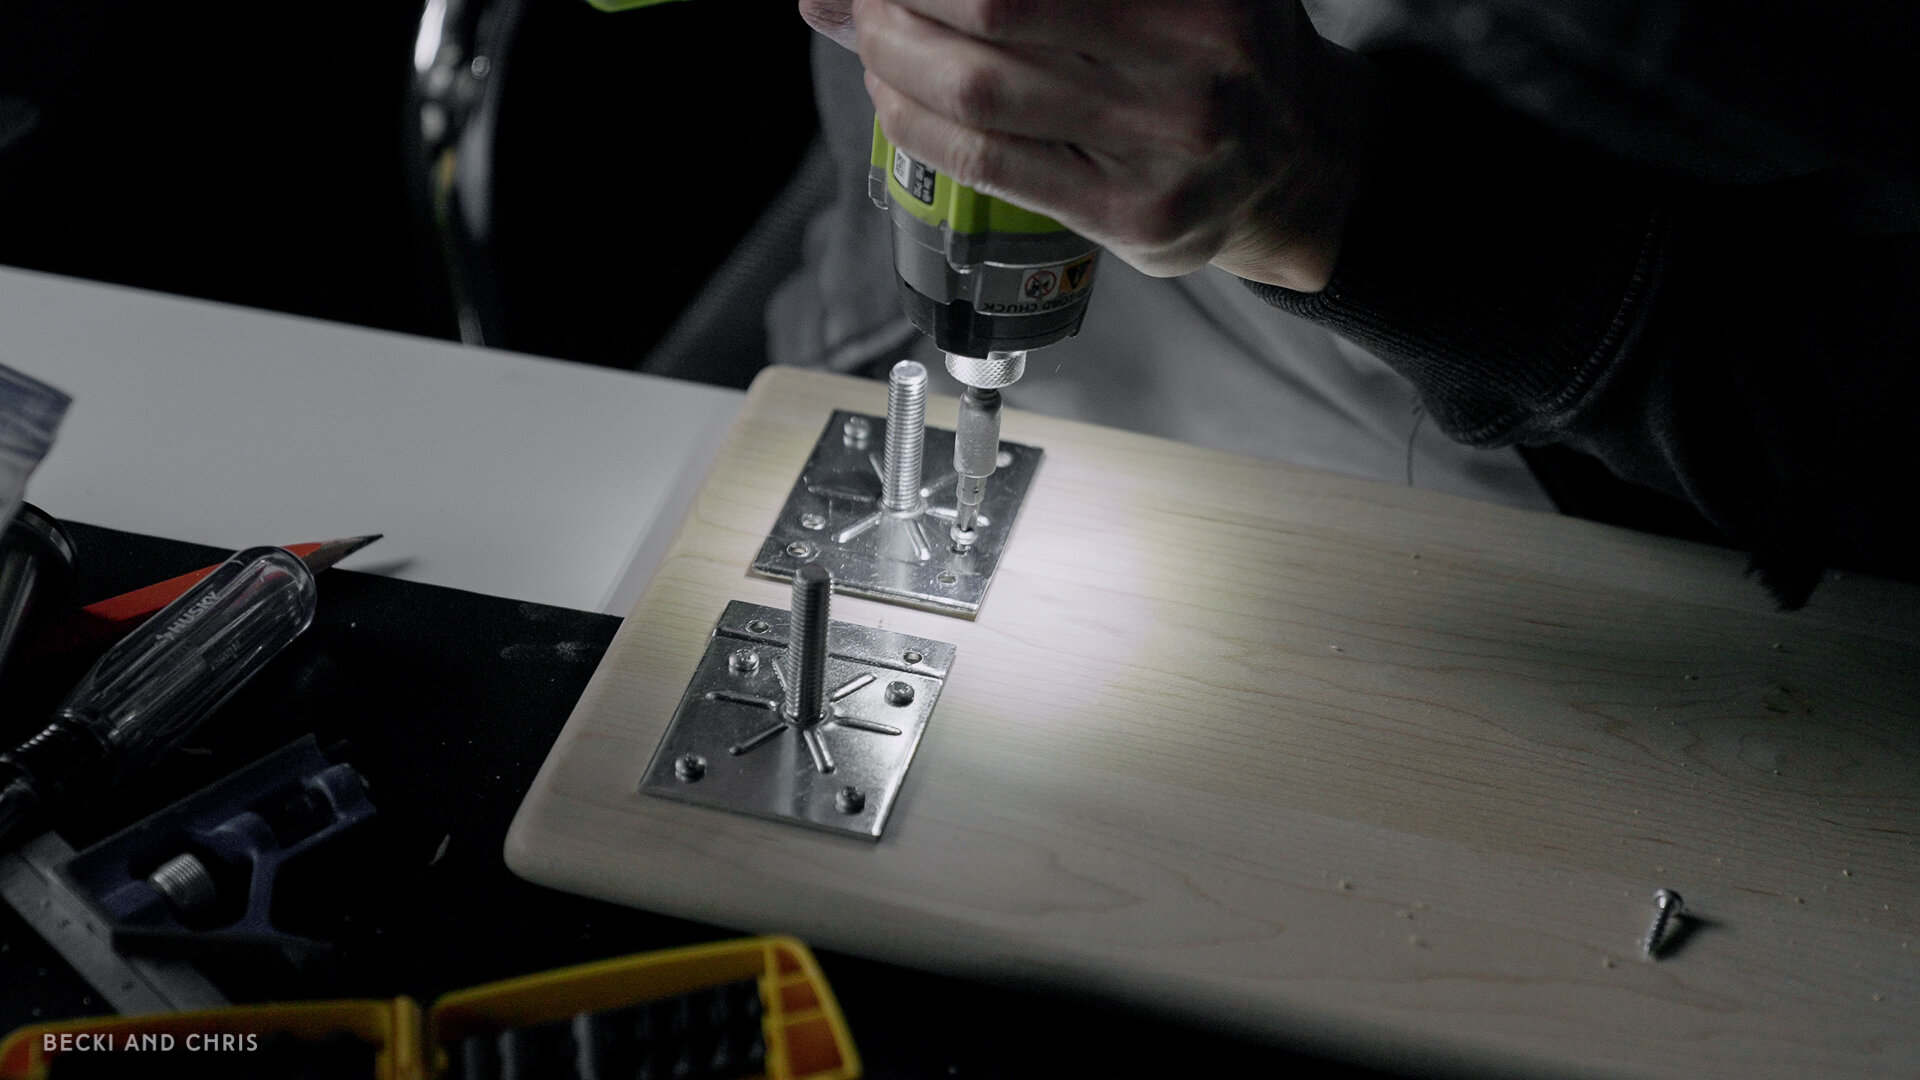
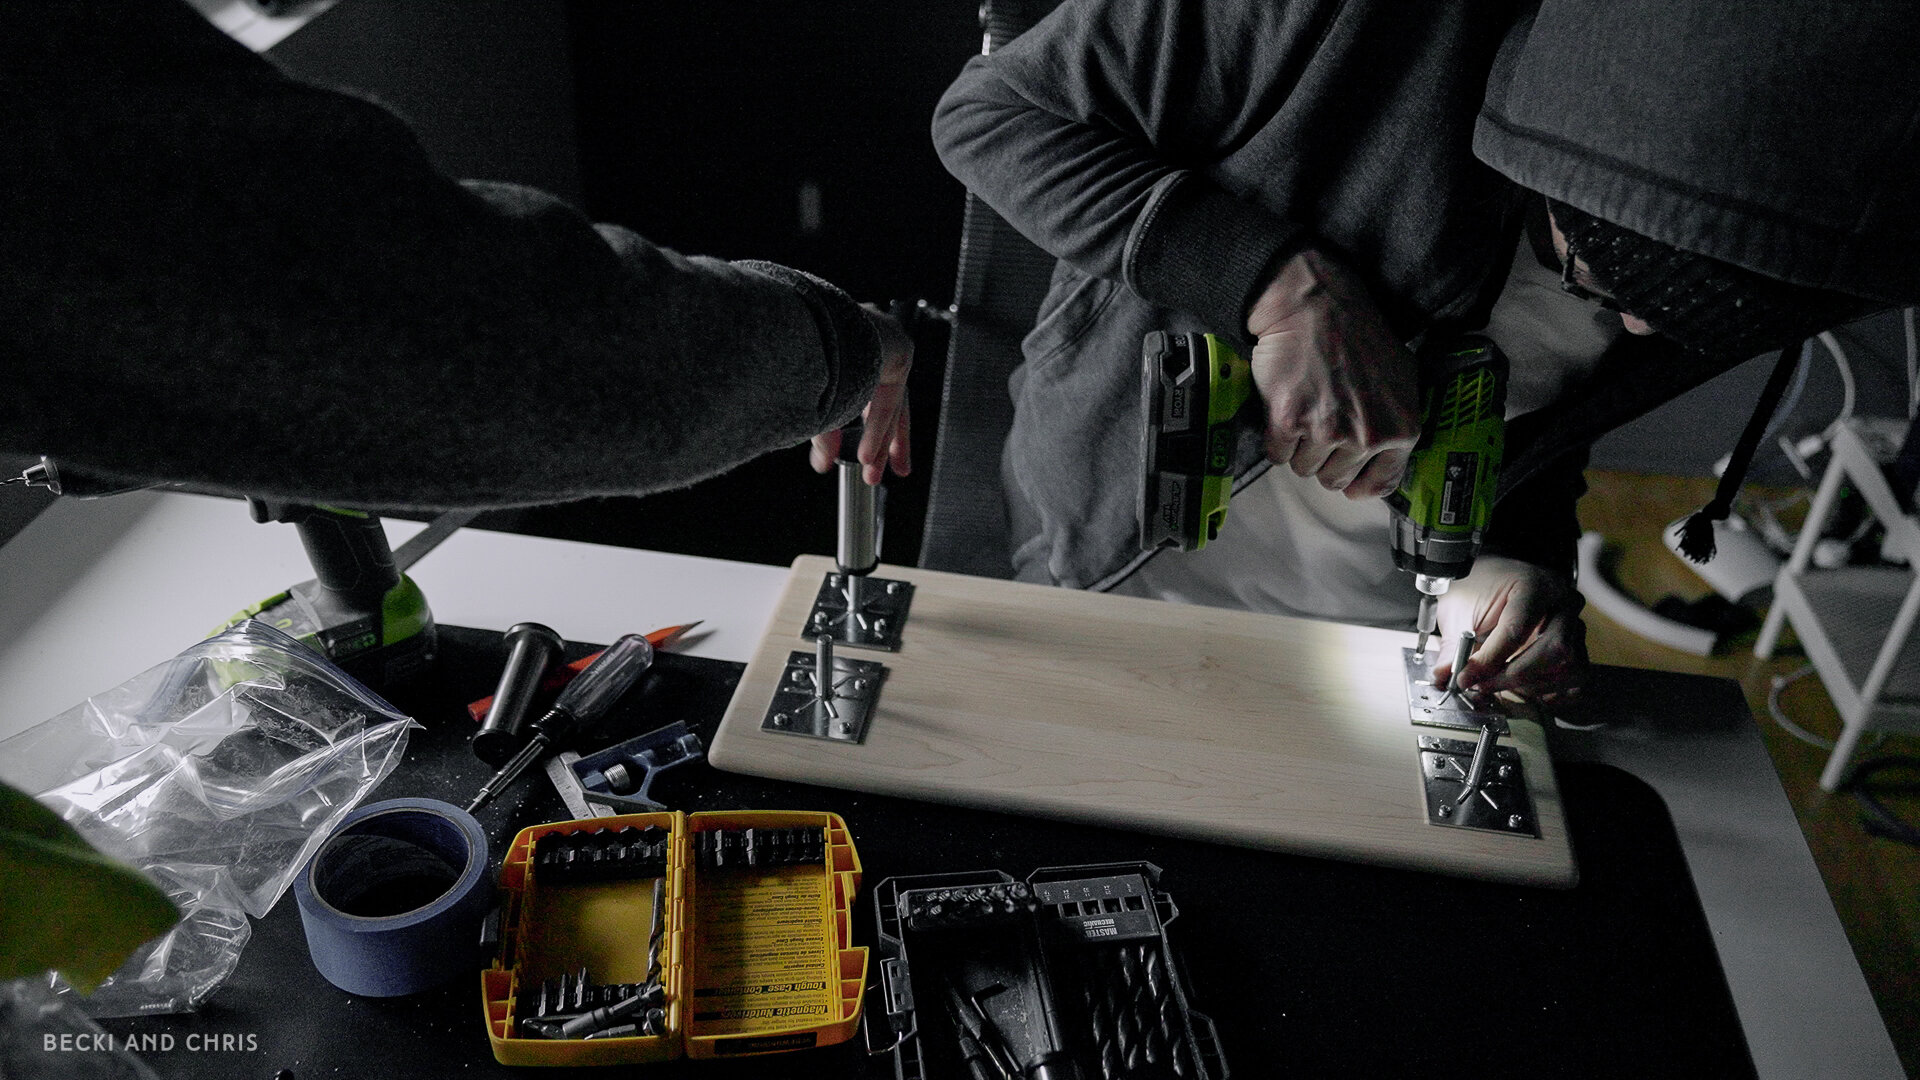
So to install our legs we used a combo square to measure 1” from the edge of the wood to the edge of our baseplate (again, recommend less for the short side). We marked the holes with a pencil and predrilled some holes making sure not to drill through the top of the wood. We pre-drill so the wood doesn’t split when we start driving in the screws.
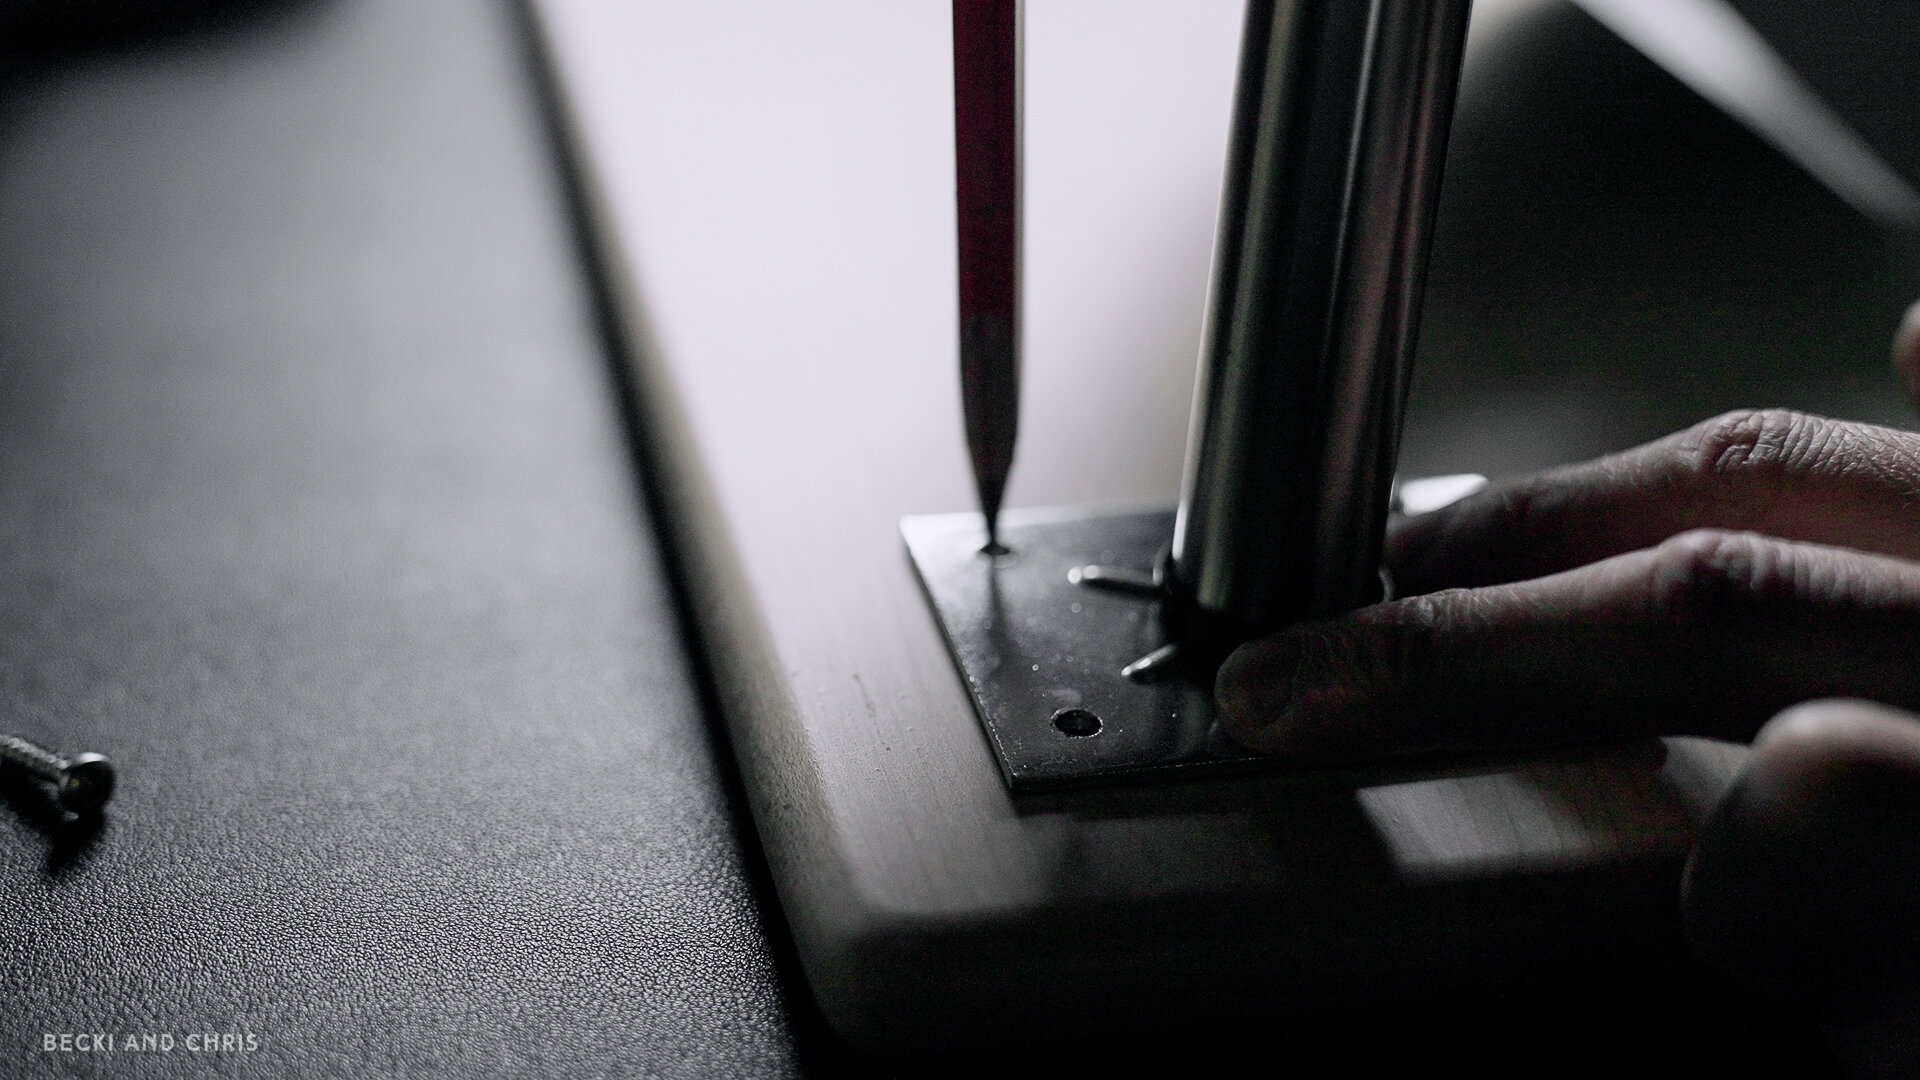
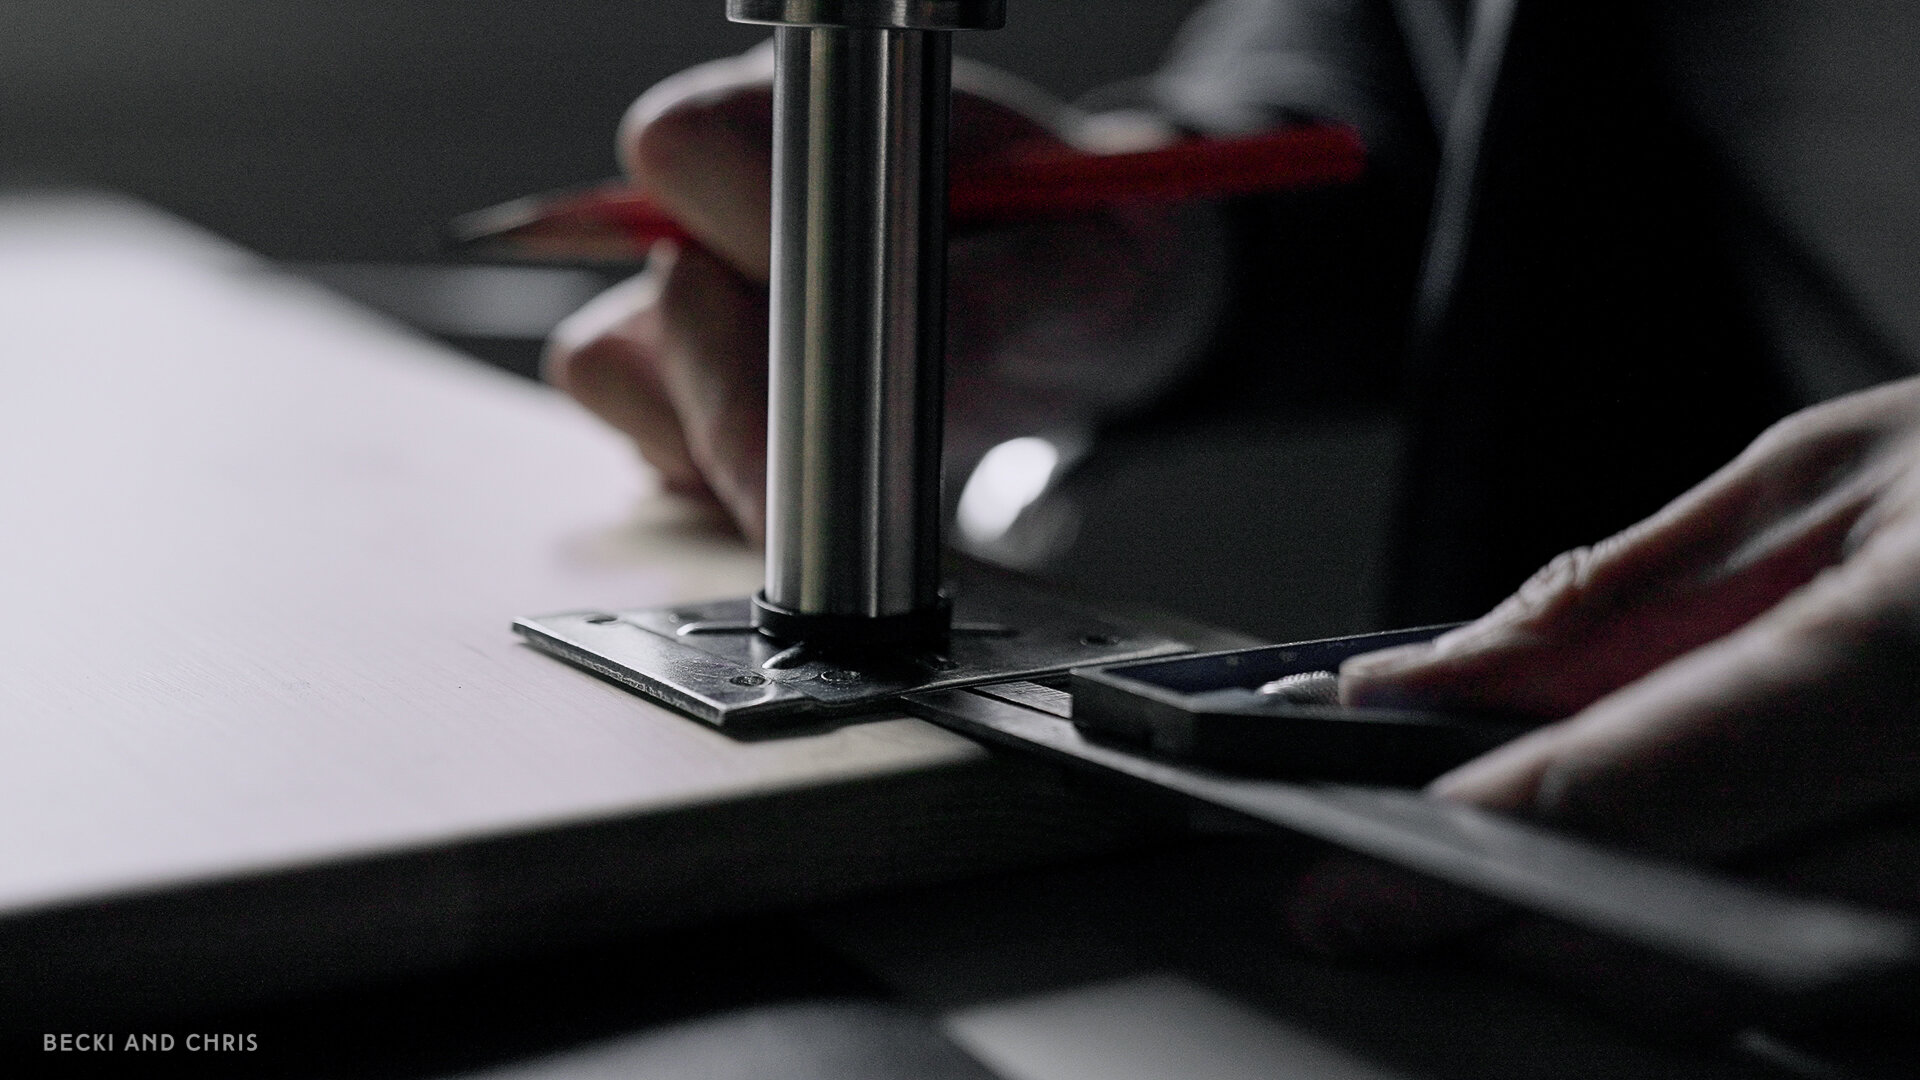
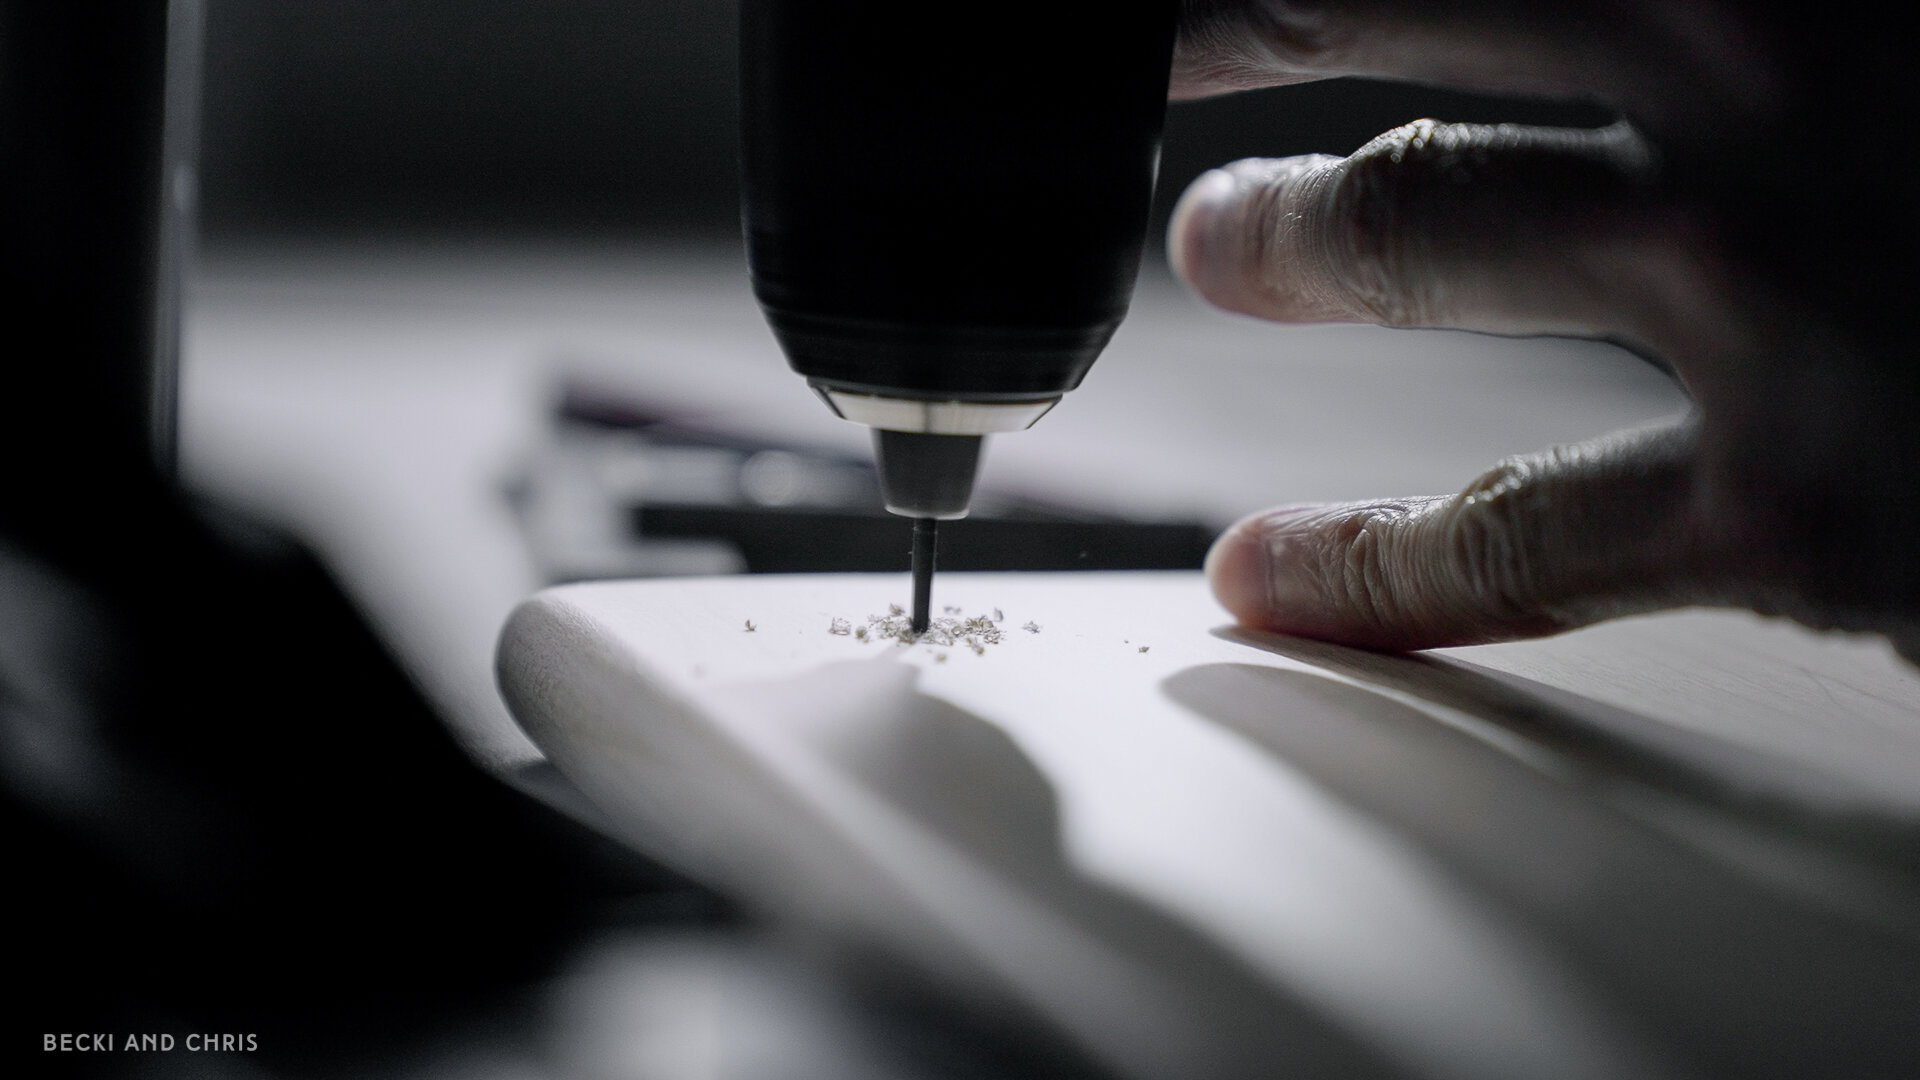
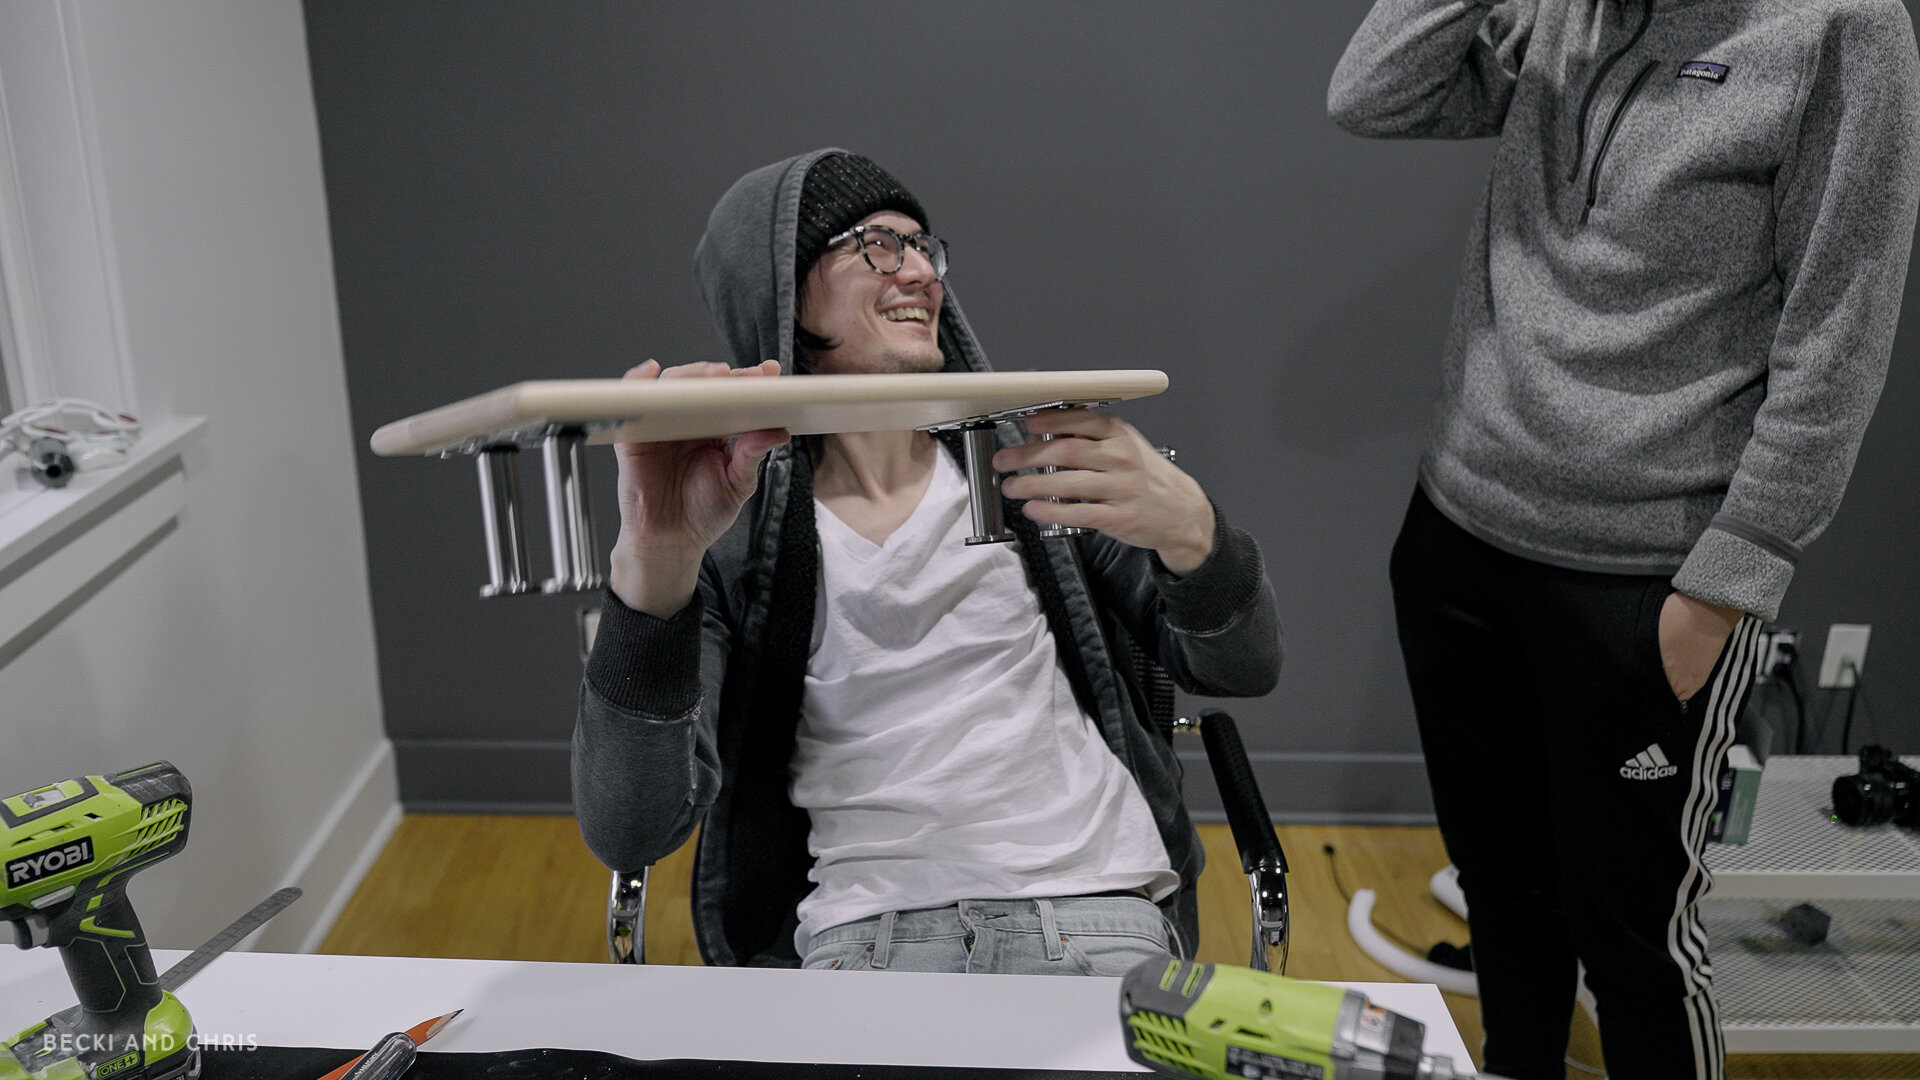
Once the pilot holes were done, we used the appropriate screws to attach the legs. It’s important your screws aren’t too long for your wood or else they will go straight through the top! Depending on the thickness of wood, and legs you choose, you may need to pick up new screws to mount the legs.

There you go! I think the project turned out decent; of course we would have changed either the placement of the legs or gotten different legs altogether, but we wanted to share the mess up with you so you don’t make the same mistake we did. Plus we reused the materials from other projects!

PROJECT RATING
Skill Level?
Basic
This requires minimal knowledge in woodworking. If you don’t have the ability to cut the wood, you may be able to have the hardware store cut it for you. Which would just leave the sanding, finishing, and the leg installation to you.
Would You Do It Again?
Yes BUT we would change the leg placement, or change the way the legs were installed so you couldn’t see the baseplate sticking down.
Was it Worth The Hassle?
Yes, it was an easy project and brings another hit of that light wood into an otherwise dark corner of the room.
If you want to watch us build this along with the desk shelf then you can check out the video below, and if you want to watch the full office makeover you can see it here!
Plans for the desk shelf can be found here.
BECKI AND CHRIS
Instagram: https://www.instagram.com/beckiandchris
YouTube: https://www.youtube.com/c/beckiandchris
Twitter: https://twitter.com/beckiandchris